How To Create Printables
Learn How To Create Printables to use, share, or even sell!
Way back in 2001, when my daughter was just a toddler, I co-coordinated a MOPS group. I had a binder full of schedules, ideas, and calendars I had created. They were created in a program on my computer that took forever to start up. That was when we had dial up internet and the simplest of printables was a beautiful thing.
Fast forward to 2014, when I started to blog. I spent hours in front of the computer trying to figure out what to write about. THEN … I discovered how FUN it was to design printables to share with other people!
It started when I needed a way to track my Thyroid Labs. I found out I had Hashimoto’s and decided I needed to be an active participant in my health. The Thyroid Trends Printable led to a full-fledged Medical Binder … because I needed it! If I was creating it for me, why not share it with others who needed it too?
Since that time, I have created a Resource Library full of printables, built a Shopify store, where I sell printables, and designed printables for others to use in their businesses! Printables to use in binders, as gifts, and to help organize our lives!
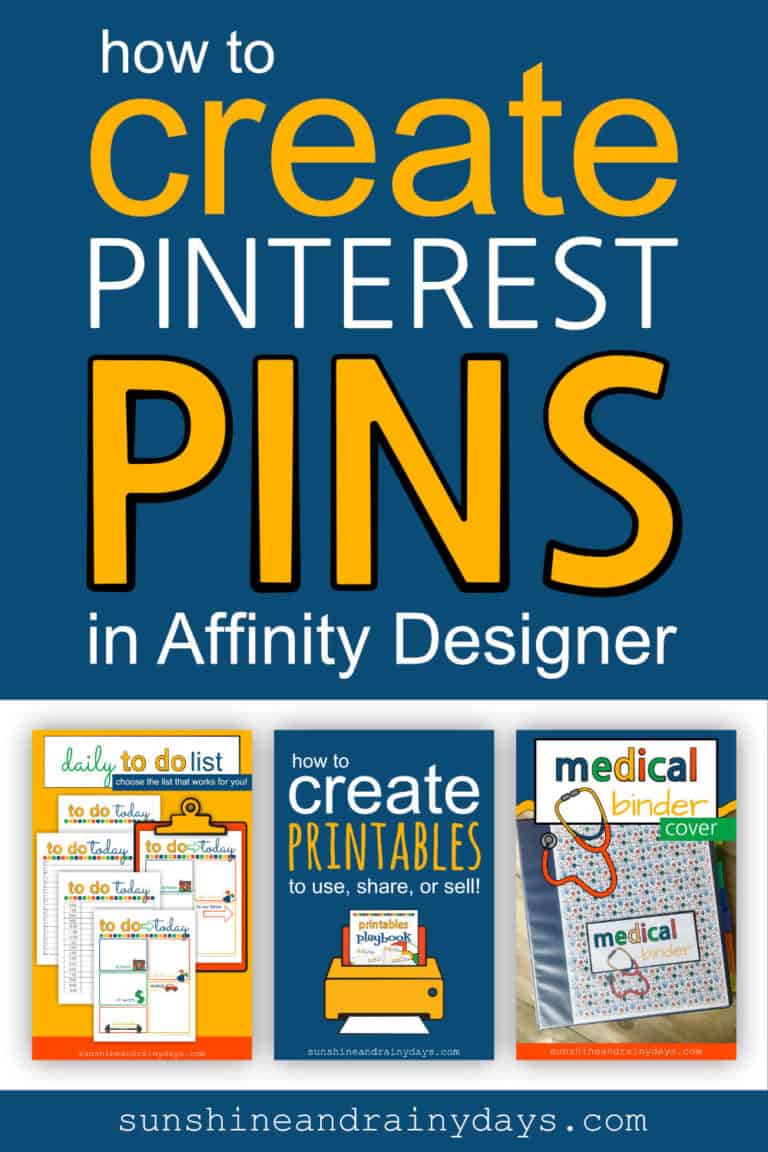
There seems to be a big interest in HOW to make printables so I got to work and created a course, called the Printables Playbook, showing exactly how I create printables!
Here’s a brief overview!
How To Create Printables
This post contains affiliate links. When you purchase through an affiliate link, we receive a small commission at no additional cost to you. Disclosure.
Determine Which Program You Would Like To Use
In the beginning, I dabbled in a few of the free options but I wanted more. I needed flexibility and the ability to take the visions in my head and put them on paper. However, I wasn’t making money on my blog, at that time, so I wasn’t willing to take on a monthly subscription cost.
That’s when I discovered Affinity Designer! I could pay for it once and do everything I wanted to do!
There are a lot of platform options when it comes to creating printables. Some are paid, others are free.
Here are a few:
- Canva
- PicMonkey
- Photoshop
- InDesign
- Pages
- Google Drive
- Power Point
- Word
- Affinity Designer – my personal favorite! (that’s NOT an affiliate link)
I’m sure there are others as well. Choose the one you are willing to learn and can grow with!
Jot Down A Few Ideas
The best printable ideas come from need.
For example: When we went out of town for a few days, we needed to hire a dog sitter. We could write everything out on a piece of paper OR I could design a printable we could use every time we left town.
What printables would be helpful to you?
Jot down your ideas.
Make A Sketch Of Your Design
Have a notebook handy to sketch a printable design.
Determine which of your ideas you want to bring to life first and make a quick sketch of what you want it to look like.
This is no time for perfection. There’s no need to make your sketch pretty. Nope! This is just a general idea of the vision in your head.
Don’t have a vision? Start sketching anyway. It’ll come to you!
Your sketch doesn’t need to exactly match your final product. You have room for changes and improvement.
Set Up Your Page
Paper Size
There is often confusion between A4 and U.S. Letter paper sizes. I found it best explained here: What’s The Difference Between A4 and U.S. Letter Paper Sheets
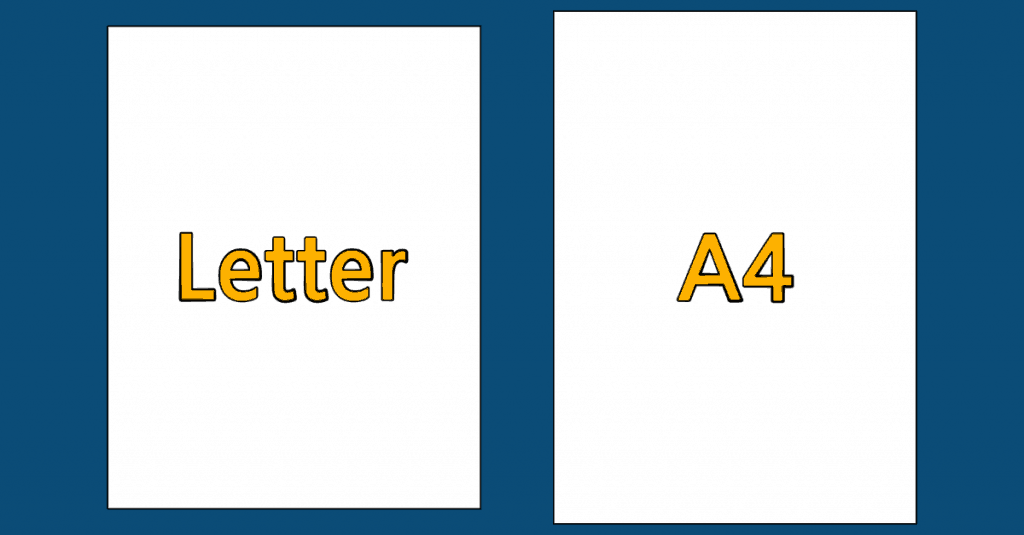
A4 is used in most countries of the world, with the exception of the U.S. and some neighboring countries.
A4 is approximately 8-1/4 x 11-3/4 inches and U.S. Letter is 8-1/2 x 11 inches.
Since I’m in the U.S., I design my printables in U.S. Letter.
It hasn’t always been that way though. In my early days, I created a few printables in A4 and they’re probably still out there somewhere.
Orientation
Refer to your sketch and determine if your printable will be portrait or landscape.
DPI
Your printable should be at least 300 DPI (Dots Per Inch). Any less than that, your printable may be fuzzy or pixilated.
Margins
I choose to use a .5 margin on all sides of my documents and it seems to work fine.
If it’s a document that will go in a binder, I will often use a .75 margin on the left or top to allow room for holes to be punched.
Color Format
Whether you use RGB or CMYK is debatable. It is often understood that CMYK should be used for printables, however, most home printers must first convert CMYK to RGB before it can print.
If you are sending your printables to a professional printer, you may want to use CMYK but should consult with the printer to determine what color format they prefer.
I talk about this more in depth in the Printables Playbook!
Add The Header
Design the header of your printable.
This is where you can start to get creative!
I like to use a combination of a sans serif along with a cursive or handwritten font.
You may want to include clip art as well.
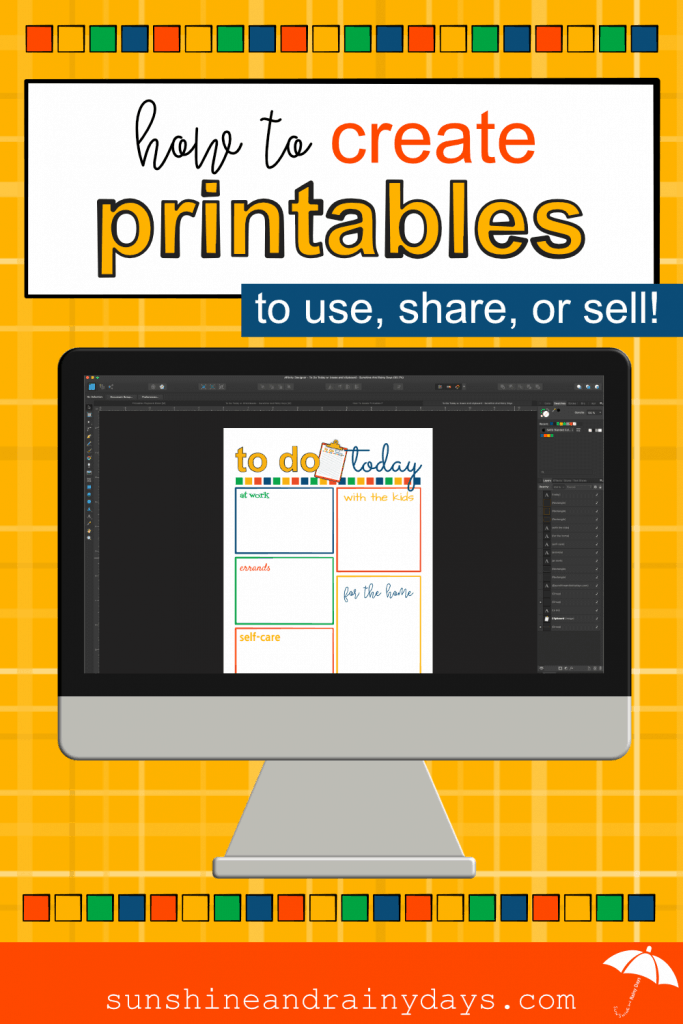
Design The Body Of The Printable
The body of your printable is where you will provide spaces to write by using lines, boxes, or checkboxes.
Perhaps your printable is a card, a wall hanging, or something people won’t fill in. If so, create your design!
Include Your URL And Copyright
If you have a website, you will want to include your URL so people will know where to go if they want to make another copy of the printable.
I choose to put a copyright symbol, the year, and my URL on each printable I create.
On the Mac, use Option G to create the copyright symbol.
©2019SunshineAndRainyDays.com
Print Your Design
It is always a good idea to print your design before you share it with others.
This gives you a chance to make sure your printable works like it should.
For example:
If you created a printable like this Popcorn Valentine, you would want to make sure it actually fit on a package of microwave popcorn!

If you created a printable with lines or boxes to write on, you would want to make sure there is adequate space to write the information needed.
Save As A PDF
In whatever program you use to design your printable, save as a PDF. This is the best way to deliver your printable to others.
In Affinity Designer, I choose Save As and then choose PDF.
The Quick Version Of How To Make A Printable
- Determine the program or app you would like to use to make printables.
- Jot down a few ideas for printables.
- Make a sketch of your design.
- Set up your page in your program of choice.
- Add the header to your printable.
- Design the body of your printable.
- Include your URL and copyright symbol.
- Print your design to try it out.
- Save as a PDF to share!
Step-By-Step Help To Create A Printable
The thing is … so many of the programs you can use to create printables are confusing, have a steep learning curve, and take time to learn. Time you don’t have.
Guess what? You don’t have to learn everything all at once! You can take it one step at a time and learn what you need to know when you need to know it!
I’m here to help with the Printables Playbook!
In the Printables Playbook, I walk you through step-by-step in creating a printable four different ways.
I show you the exact tools to use to get the job done.
Then, when you’re ready, I walk you through the steps to create your own clip art with basic shapes. It’s easier than you think!
As a bonus, you will also learn how to manipulate text.
It’s time to get down to business and create printables with confidence! Printables you can use in real life, share, and sell!
You’re no longer at the mercy of others. Nope! You can take your visions and turn them into reality!