DIY Fake Window Frame For Decor

This DIY Fake Window Frame is a fun DIY house project that adds a decorative touch to your space. It was easy to build and turned out just as I had hoped!
There was a space above this sink that was bare and needed visual interest. A faux window frame was an easy and inexpensive way to fill this space.

Supplies
- Miter Saw
- Sander
- Pocket Hole Jig
- Drill
- Nail Gun
- Painting Supplies (paintbrush, foam roller, dropcloth)
Materials
- 1 x 3 Wood
- Sandpaper
- Pocket Hole Screws
- Wood Glue
- Primer
- Paint
- Handle
Instructions For A DIY Fake Window Frame
1. Determine how big you want your fake window frame to be.
For this space, I wanted the window frame to go up to the top of the cupboards and leave a bit of space on each side. The actual dimensions of this faux window frame are 22″ high x 25″ wide.
2. Gather your materials and supplies.
3. Cut your boards.
I made each window pane frame 23-1/2″ x 10″. They didn’t need to be exact on the height because I planned to make them look like the window was slightly open.
Because this window frame was going to be 25″ wide, I subtracted the width of the 1 x 3 which is 3/4″ times two, to account for each side. So 25″ minus 1-1/2″ = 23-1/2″. Then, I chose a height that made sense. In this case, that was 10″.
Cut the window pane boards and then lay them out how they will go before taking final measurements for the top, bottom, and sides of your window frame.
Here are the cuts you will make:
- 4 x the height of each window pane for the sides of each window pane.
- 4 x the width of your window pane minus the width of each side. In this case, the boards will lay flat, so the width is 2-1/2″. If the window pane width is 23-1/2″, then I would subtract 5″ (2-1/2″ x 2) to come up with the length to cut the top and bottom of each window pane.
- 2 x the width of your finished window for the top and bottom.
- 2 x the height of your finished window minus the width of the top and bottom pieces. If your height is 22″, then you would subtract 1-1/2″ (if the width of your wood is 3/4″).
Here are the cuts I made for this 22″ x 25″ window frame, but be sure to measure the window panes you’ve put together before cutting the outside frame pieces:
- 4 x 10″
- 4 x 18-1/2″
- 2 x 25″
- 2 x 20-1/2″
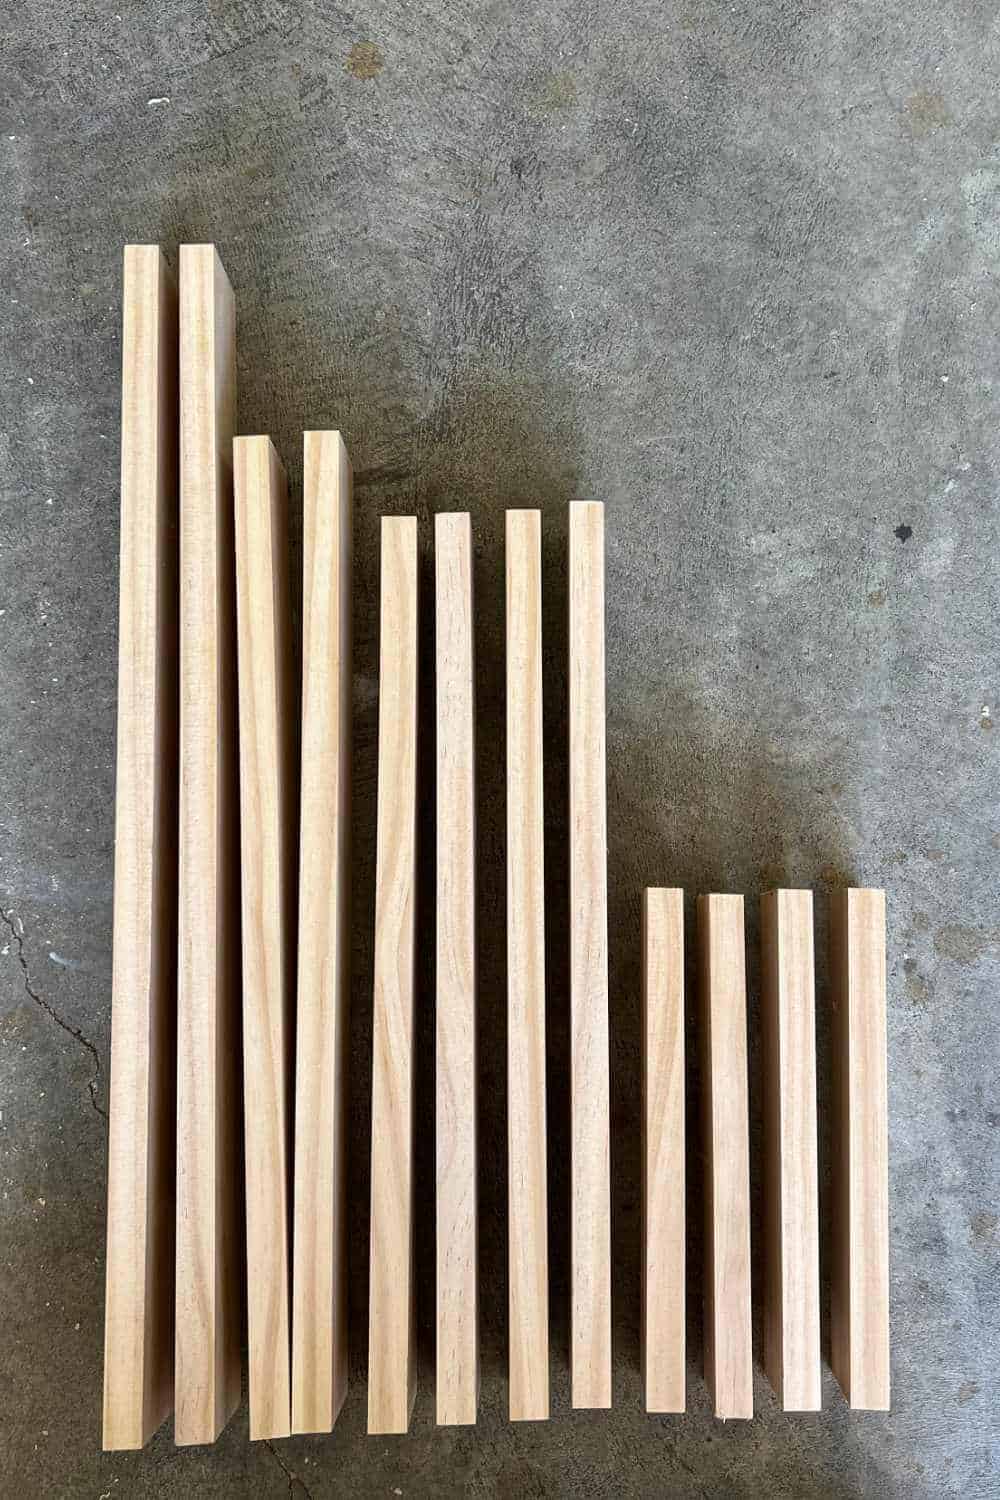
4. Sand your boards.
I chose to use nice 1 x 3 poplar for this project, so it didn’t require much sanding. However, the ends did need sanding where they were cut.
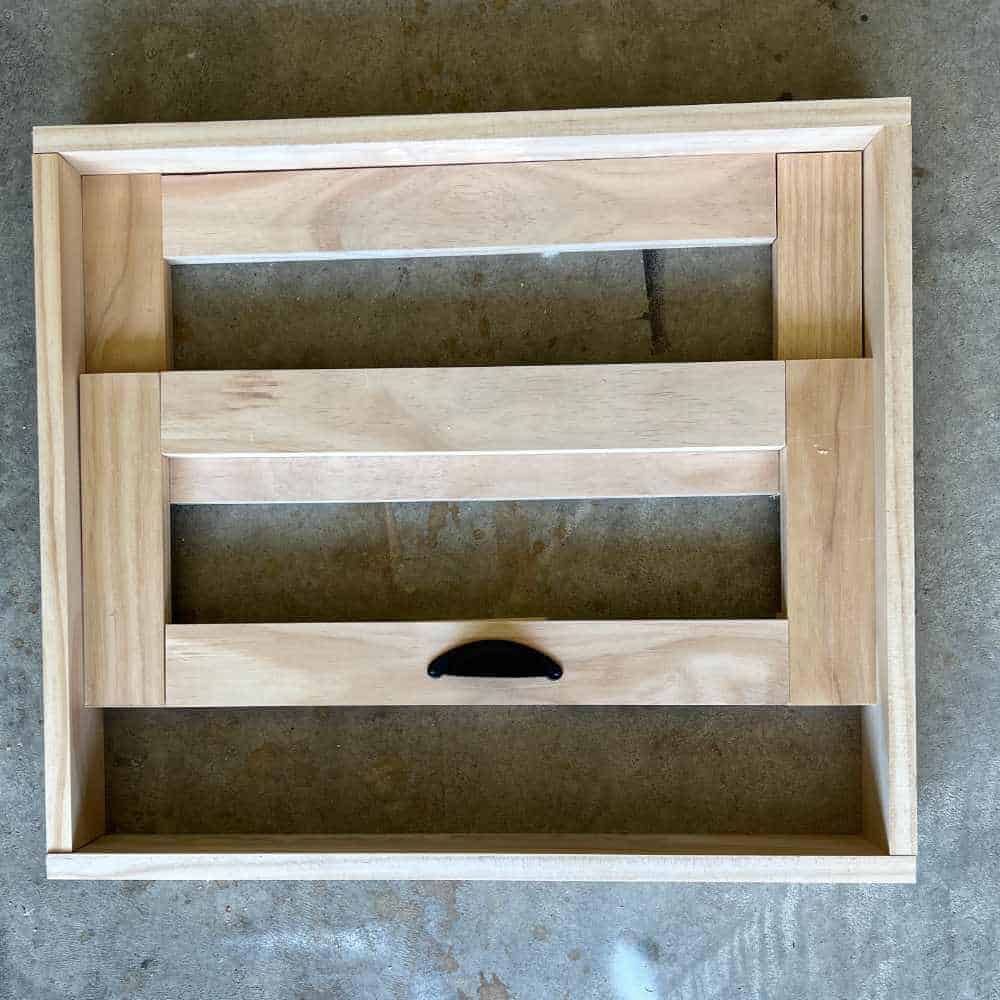
5. Lay out your cut pieces of wood and how they will go.
I used small pieces of wood under the second window pane that looks open to ensure everything was right.
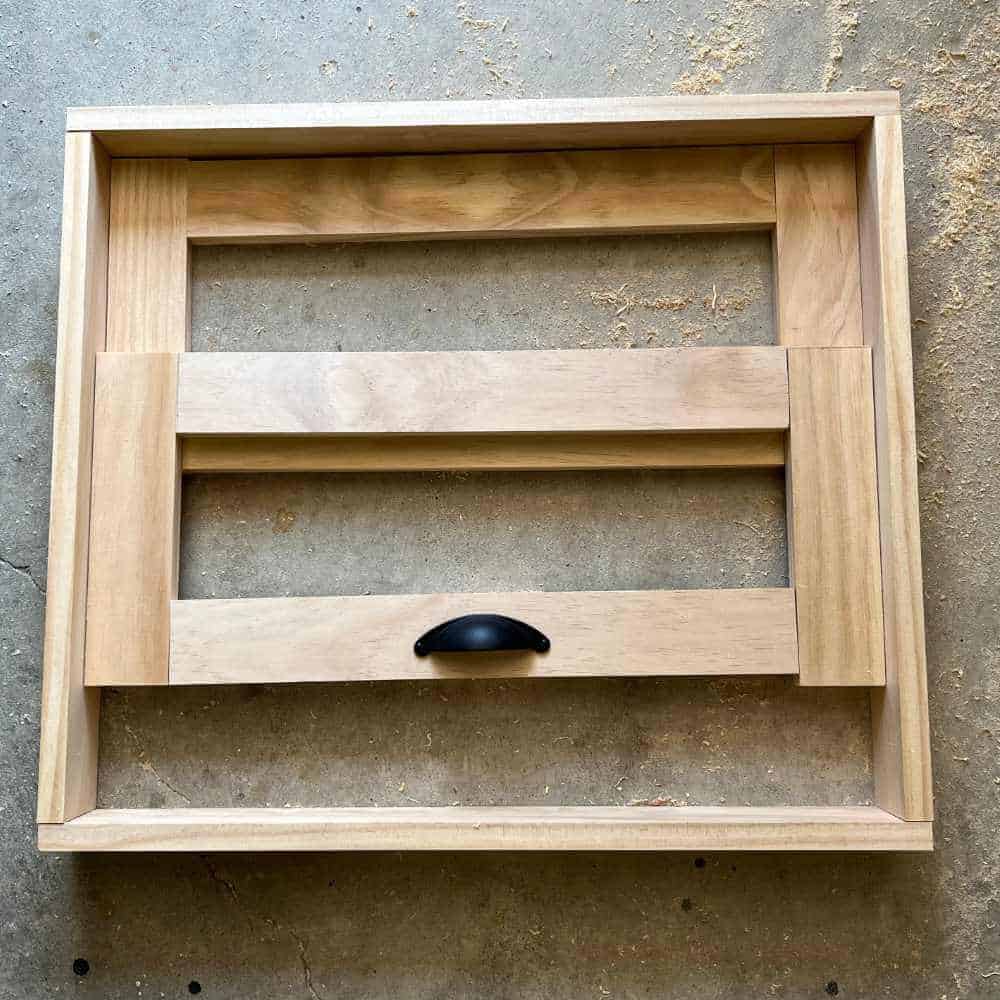
6. Assemble the window panes using pocket hole screws.
Drill two pocket holes on each end of the four long pieces of your window panes and attach them to the side window pane pieces using pocket hole screws and wood glue.
7. Assemble your window frame.
For this step, I didn’t want pocket holes to show, so I used a nail gun and wood glue to assemble the wood window frame.
8. Attach the back window pane.
Lay the back window pane inside the window frame and use wood glue and a nail gun to attach it to the edge.
9. Attach the front window pane.
Next, place the front window pane where you would like it to be positioned and attach it to the window frame using wood glue and a nail gun. You may need to place scrap wood under this window pane to ensure it lines up correctly. I used scraps from the same 3/4″ material used for this project.
10. Give your window frame a quick sand, if needed.
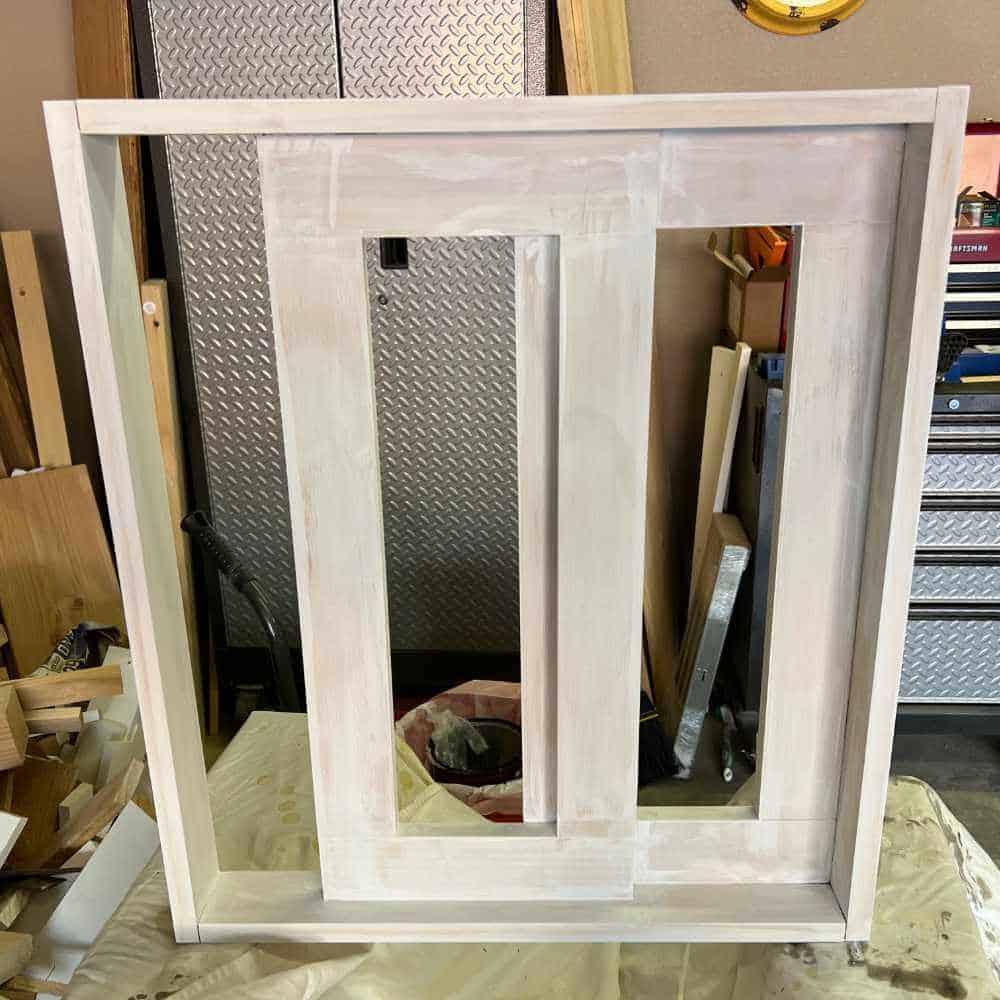
11. Prime the window frame.
If you’re choosing to paint your window frame, it’s a good idea first to prime it, so it doesn’t soak up as much paint.
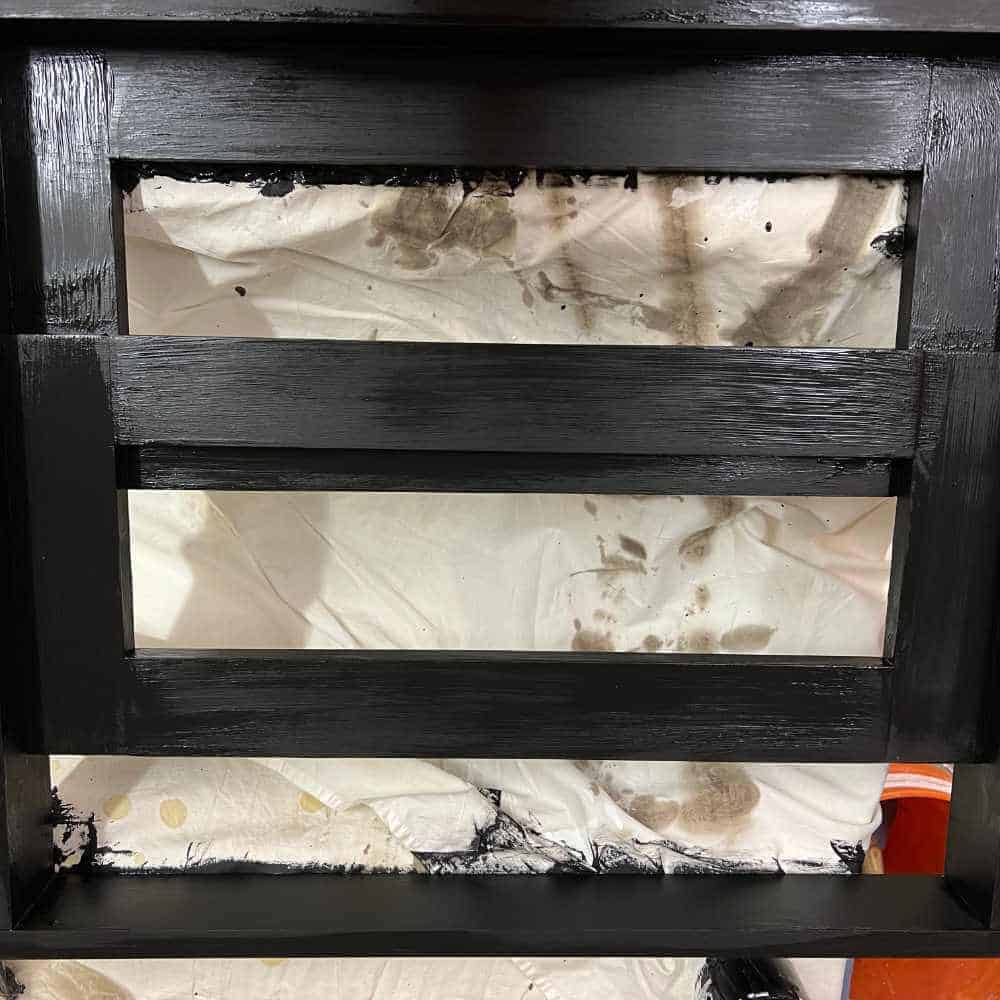
12. Paint the window frame.
This post contains affiliate links. When you purchase through an affiliate link, we receive a small commission at no additional cost to you. Disclosure.
I used black paint that I had on hand. It turned out just fine, but I prefer to use Fusion Mineral Paint and, next time, would probably exercise patience to order the Fusion Mineral Paint in my choice of color. It’s a bit more durable for a project like this that may be moved around and dusted.
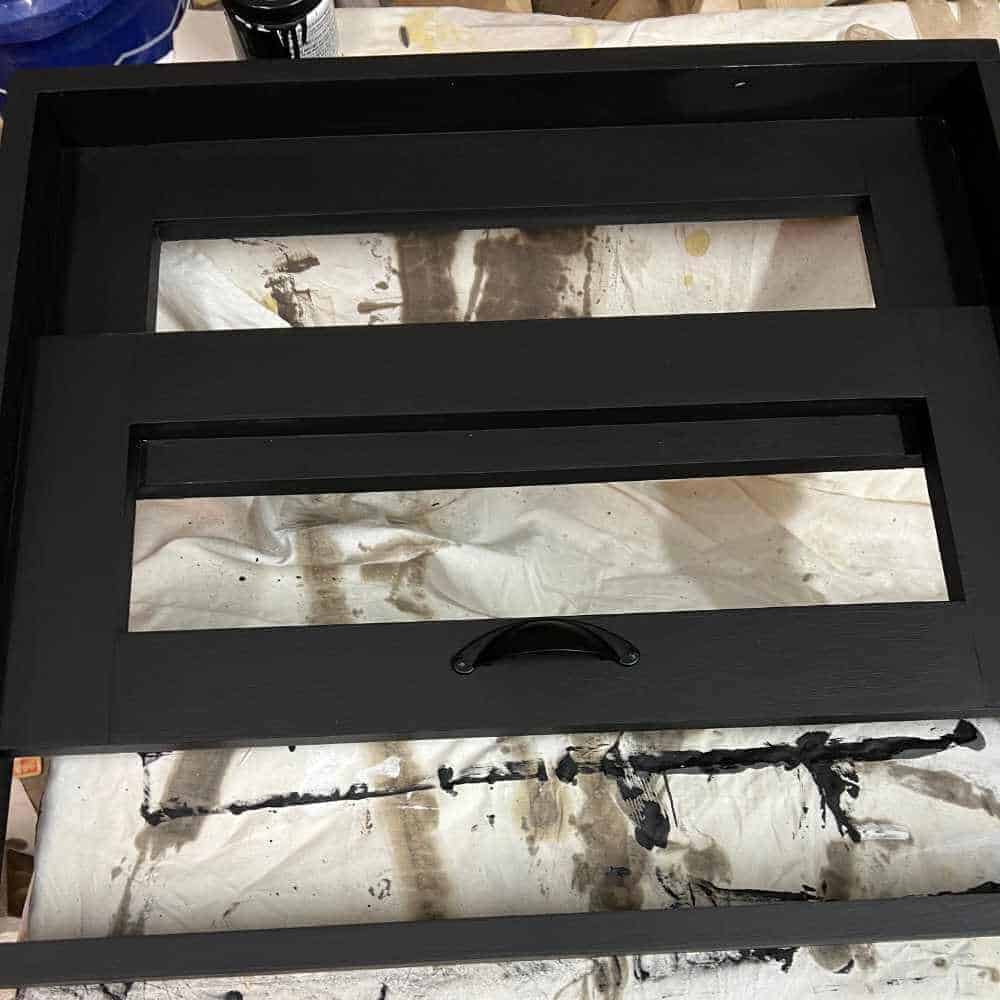
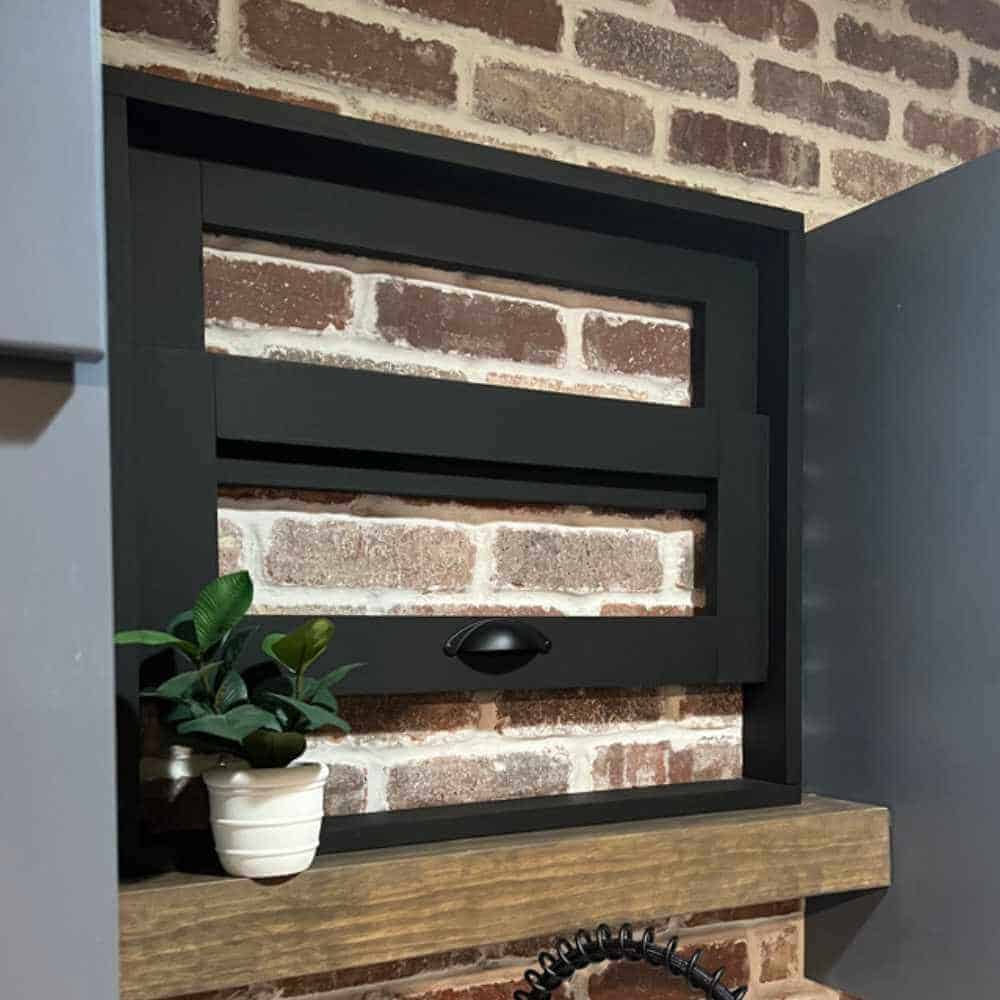
13. Install hardware.
In hindsight, the handle I chose blends too much with the paint color. Next time, I would try to choose a contrasting color.
Fake Window Frame Decor
This spot needed something visually interesting, and the fake window frame added just the right touch!

You can create a fake window frame that adds visual interest to any room.