DIY Tabletop Riser
This DIY tabletop riser is an easy, beginner friendly, project that can be used in many different ways.
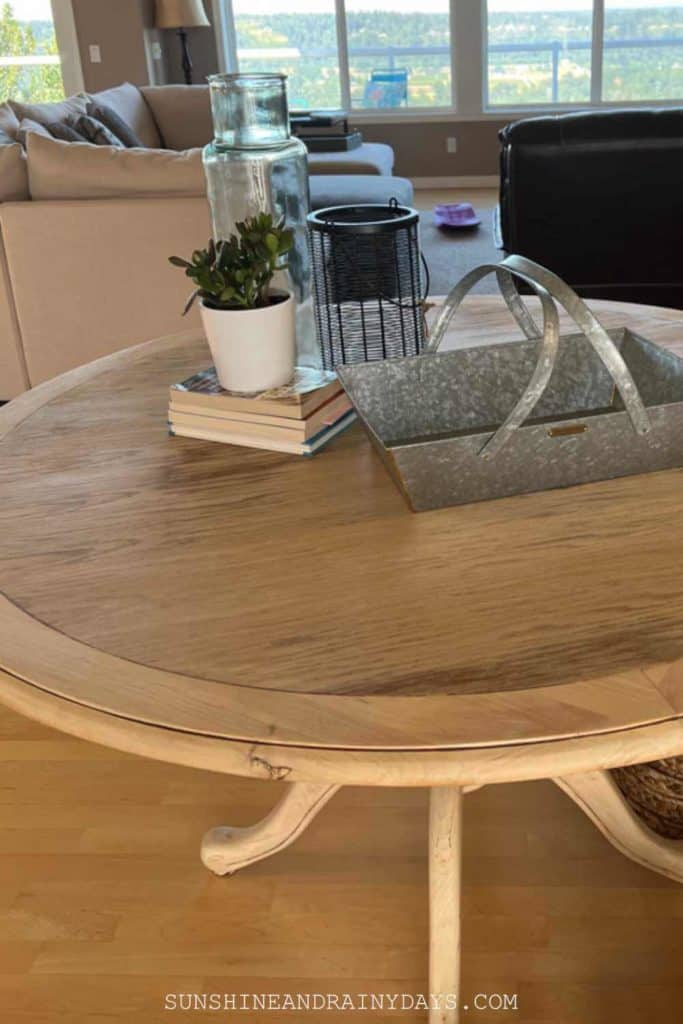
I was gifted a round table in my local Buy Nothing Group. It was in our future plans to build a round table, for our entryway, but free is even better! So, we set to work refinishing the table to fit our style and then it came time to decorate.
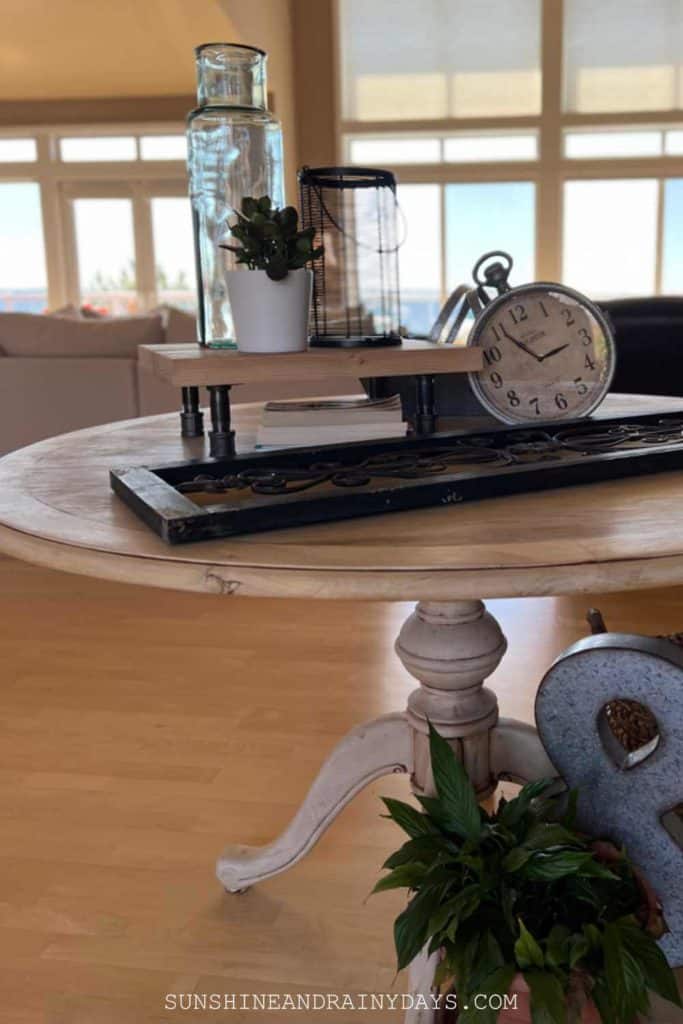
This table is for our entryway and needed decor, with height, and I knew the answer. A tabletop riser was exactly what I needed.
DIY Tabletop Riser Supplies
This post contains affiliate links. When you purchase through an affiliate link, we receive a small commission at no additional cost to you. Disclosure.
There are many different ways to build tabletop risers but I chose to use materials I had on hand!
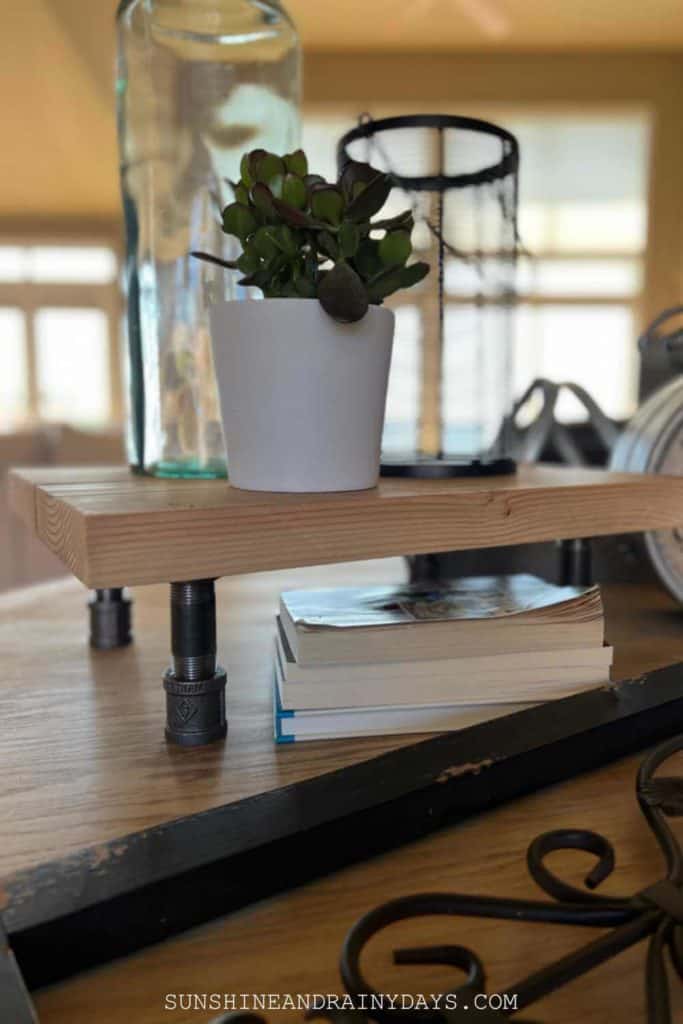
- 2 inch thick board in the dimension that you need – I used 2, 2 x 12 boards I had left, from a previous project and ripped them down to 2 x 7. Then, I used pocket holes to attach the two boards together. I needed my tabletop riser to be 14″ x 18″ and this worked perfectly.
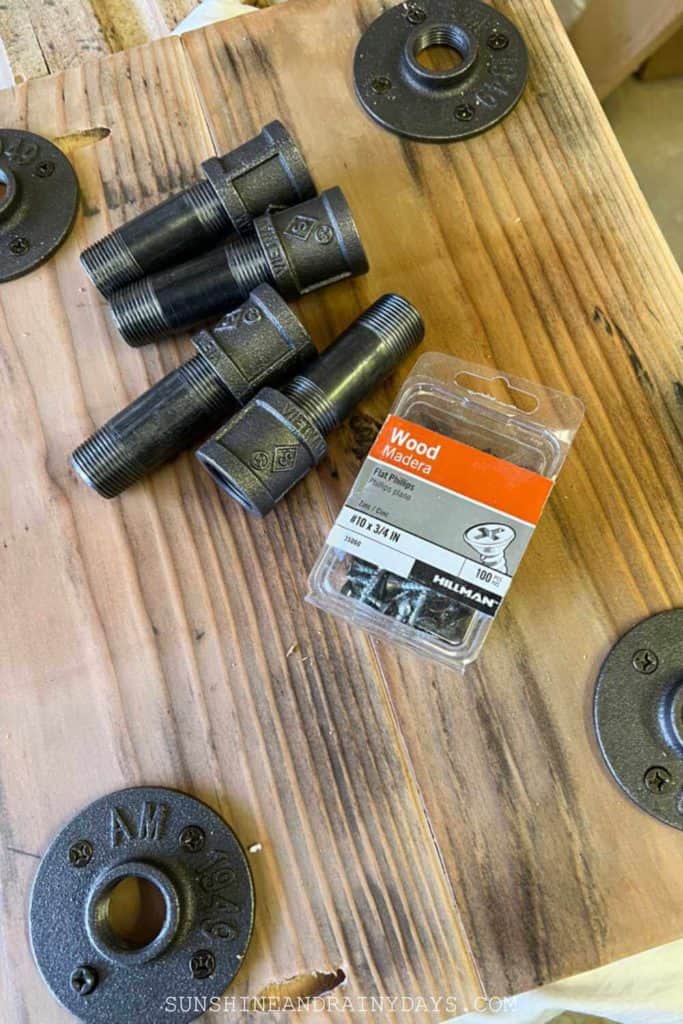
- 4 Legs – A lot of tabletop risers use wood furniture legs and they look great! I happened to have iron pipe flanges, 3″ iron pipe, and couplings on hand from the corner bookshelf my daughter designed so I chose to use those for a more industrial look!
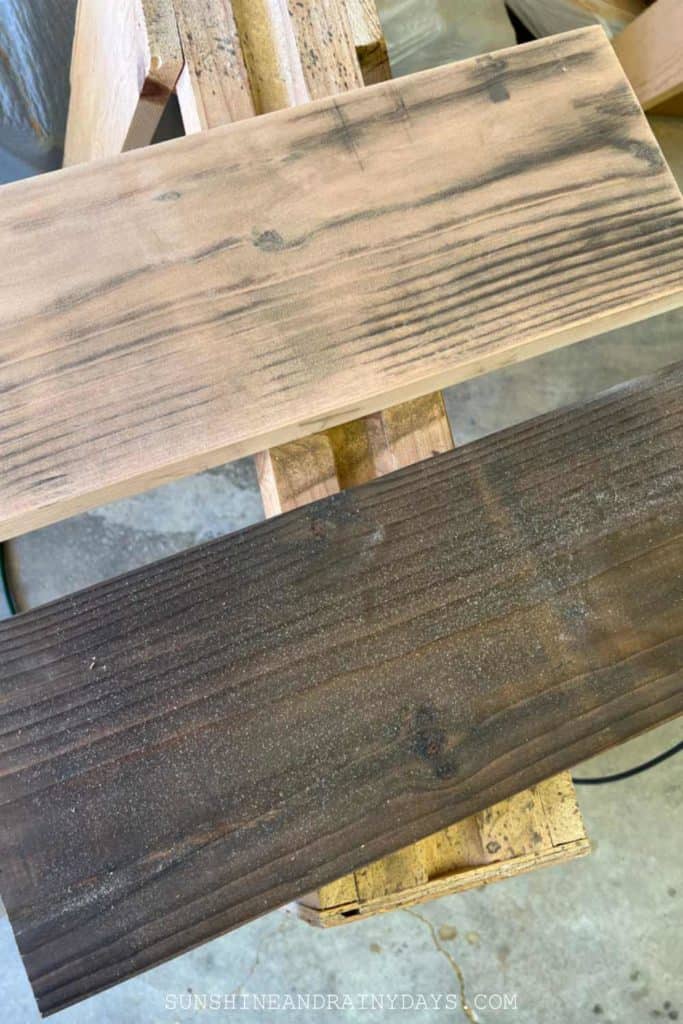
- Sandpaper – Since I started with rough cut lumber, I used 80, 120, and 220 grit sandpaper. Sanding went quick, for this project!
- Pocket Hole Screws – To attach two boards together.
- Screws – To screw in the pipe flanges.
- Stain – Optional – The boards I used had been stained, from a previous project, and I loved the look after giving them a quick sand. The stain barely showed through and it was perfect for what I was going for.
- Finish – I used a wax finish for this project but also like to use Wipe On Poly.
Tools Used To Build This Tabletop Riser
- Miter Saw
- Table Saw – Optional – To rip the boards to the size I needed and to give the rough cut lumber a squared off look rather than a rounded edge.
- Kreg Jig
- Sander
- Drill
How To Build A Tabletop Riser
I spent about a total of 30 minutes building this tabletop riser. Of course, there was a bit of drying time for the finish but it was a quick and easy build.
1. Decide how big you want your tabletop riser to be and cut your boards.
I chose to use wood from a previous project and made my tabletop riser 14″ x 18″. I cut the lengths to 18″ and ripped the curved edges, with a table saw, to 7″ each.
To determine the size of your tabletop riser, gather the items you want to place on it and use a tape measure to figure out the size that would work best for those items.
2. Sand your boards.
Since I used rough cut lumber, I used 80, 120, and then 220 grit sandpaper. It was quick and easy! The boards I used were from another project and had previously been stained. I loved the look of the stain showing through, after sanding.
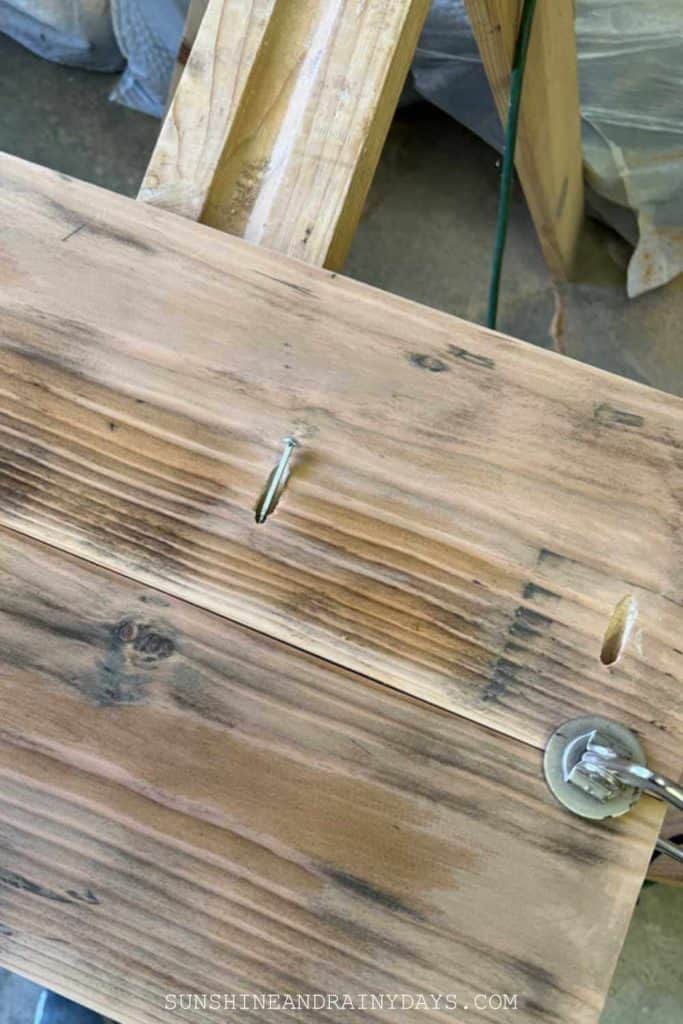
3. Drill pocket holes on one edge of one board.
You may be able to skip this step if you have a board that is the dimensions you need. I drilled 3 pocket holes on the long edge of one of my boards.
4. Attach your wood pieces using pocket holes.
I had two 7″ x 18″ boards I combined, with 2-1/2″ Kreg screws, to make the top of my tabletop riser 14″ x 18″.
5. Apply a finish.
At this point you may want to stain, paint, or just apply a finish. I chose to use a wax finish.
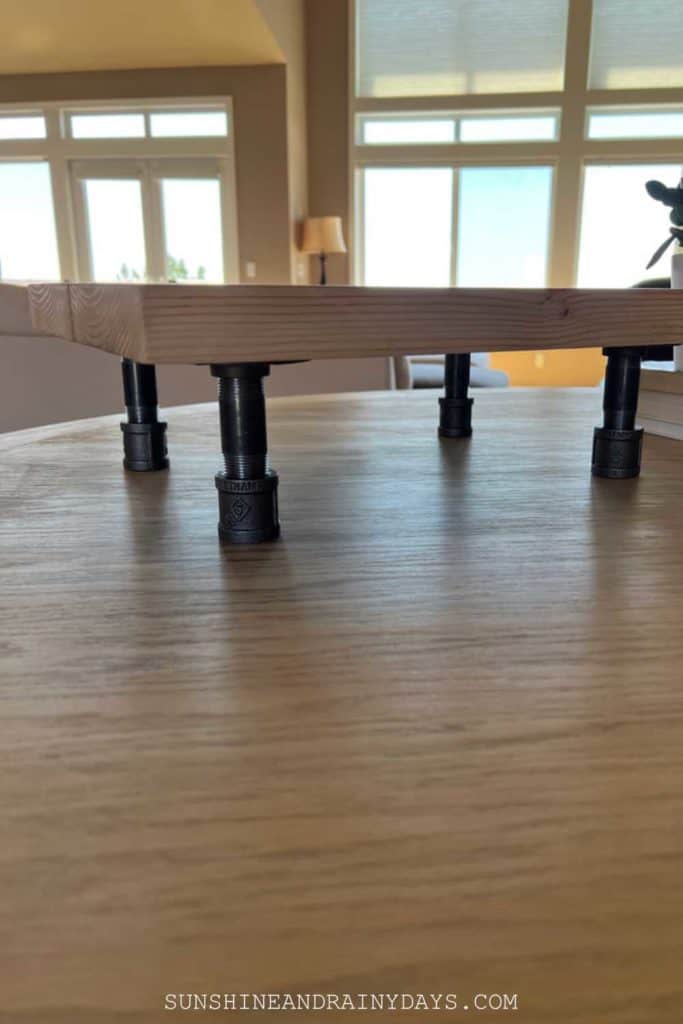
6. Attach legs to your tabletop riser.
I used 3/4″ iron pipe flanges, 3″ iron pipe, and couplings for an industrial look.
To attach the iron pipe flanges, I used #10 x 3/4″ wood screws.
7. Style your new DIY tabletop riser!
I had fun styling my new tabletop riser with a few finds from Target, Marshall’s, and from my own home! I even added a real life plant that I hope to keep alive!
The Difference A Tabletop Riser Makes
Check out the difference a tabletop riser makes!