How To Freeze Green Beans
We came home from a daycation to my brother’s farm with a box full of green beans, a box of Roma tomatoes, enough corn for dinner, a few peaches, nectarines, peppers, and watermelon. The green beans in our cinder block raised garden bed are doing well and keeping us fed for the summer but we wanted to freeze green beans for the winter months, too. We’ve also grown sugar pumpkins and made our own Homemade Pumpkin Puree and learned How To Freeze Potatoes For Hash Browns.
This post contains affiliate links. When you purchase through an affiliate link, we receive a small commission at no additional cost to you. Disclosure.
1) Wash and chop your green beans into bite-size pieces.
As we washed and chopped our green beans, we placed them in a colander, with a larger bowl underneath, to catch the water.

2) Blanch your green beans.
To freeze your green beans, you first need to blanch them.
Blanching is done by briefly cooking the food in boiling water and then immersing in ice-cold water to stop the cooking process.
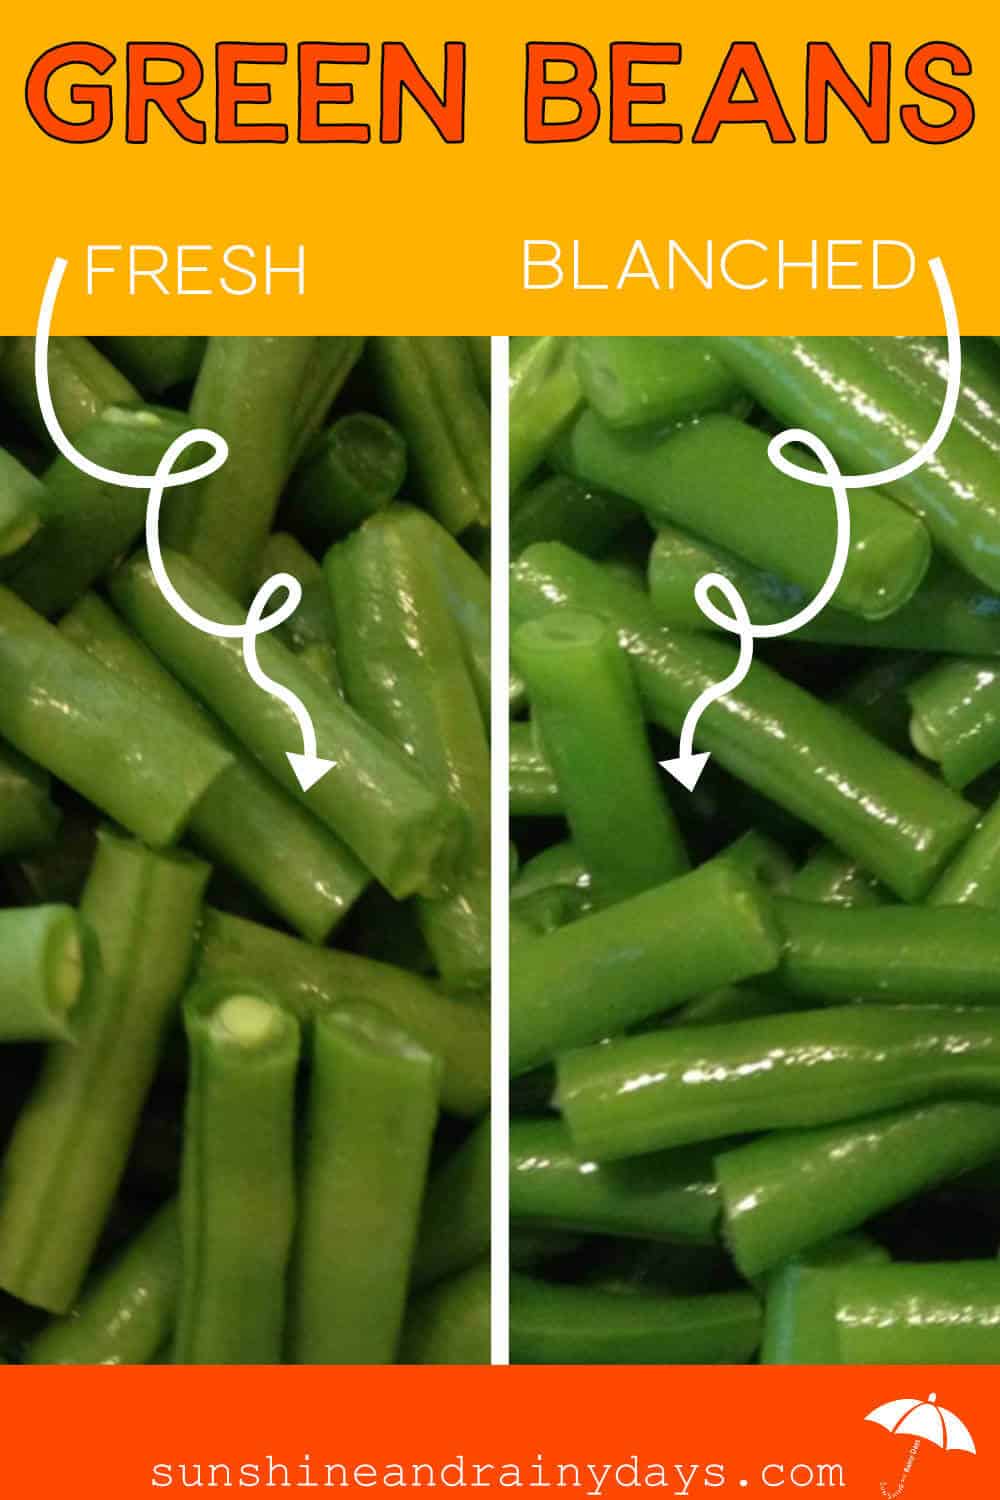
Blanching brings out the color in vegetables and helps to maintain their nutritional value by decreasing the enzyme activity that reduces the flavor and texture of food.
First, carefully dump a portion of your green beans into a pot of boiling water, for three minutes.

Then, spoon your green beans into a waiting bowl of ice water, with a slotted spoon.
You won’t want to dump the entire pot through a strainer because you will want to continue to use your boiling water for more batches of green beans.
If you have a mesh strainer, you can simply pull the strainer, with beans, out of the boiling water. This whole process would be a whole lot simpler with a mesh strainer, to avoid all the scooping, but we used what we had!

Once sufficiently cooled, use a slotted spoon to spoon your beans into a colander, with a bowl underneath, to catch the water.
Again, a mesh strainer would speed this process up. If you have a mesh strainer, you can pull it out of the boiling water, run it, with beans inside, through cold running water (to cool the strainer), and then dunk the whole thing in your ice water. Then, once sufficiently cooled, pull the whole thing out of the ice water and let it drip dry into a bowl underneath. It would be helpful to have a few mesh strainers, to blanch multiple batches.
I was surprised by the color difference between the fresh-cut and blanched green beans.
3) Freeze your green beans.
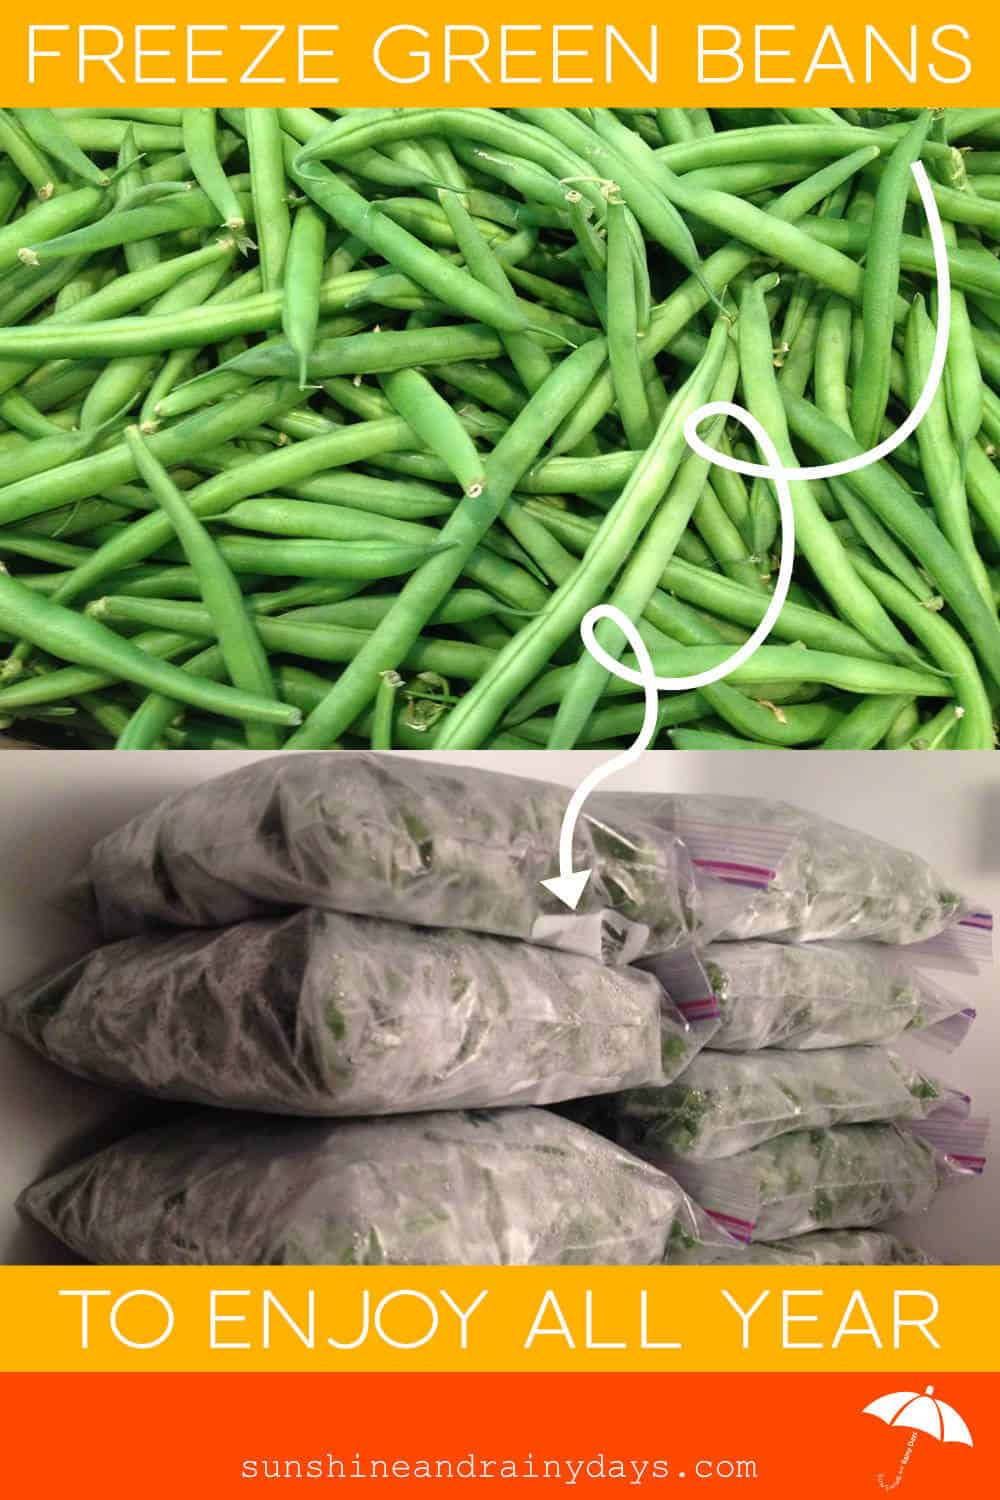
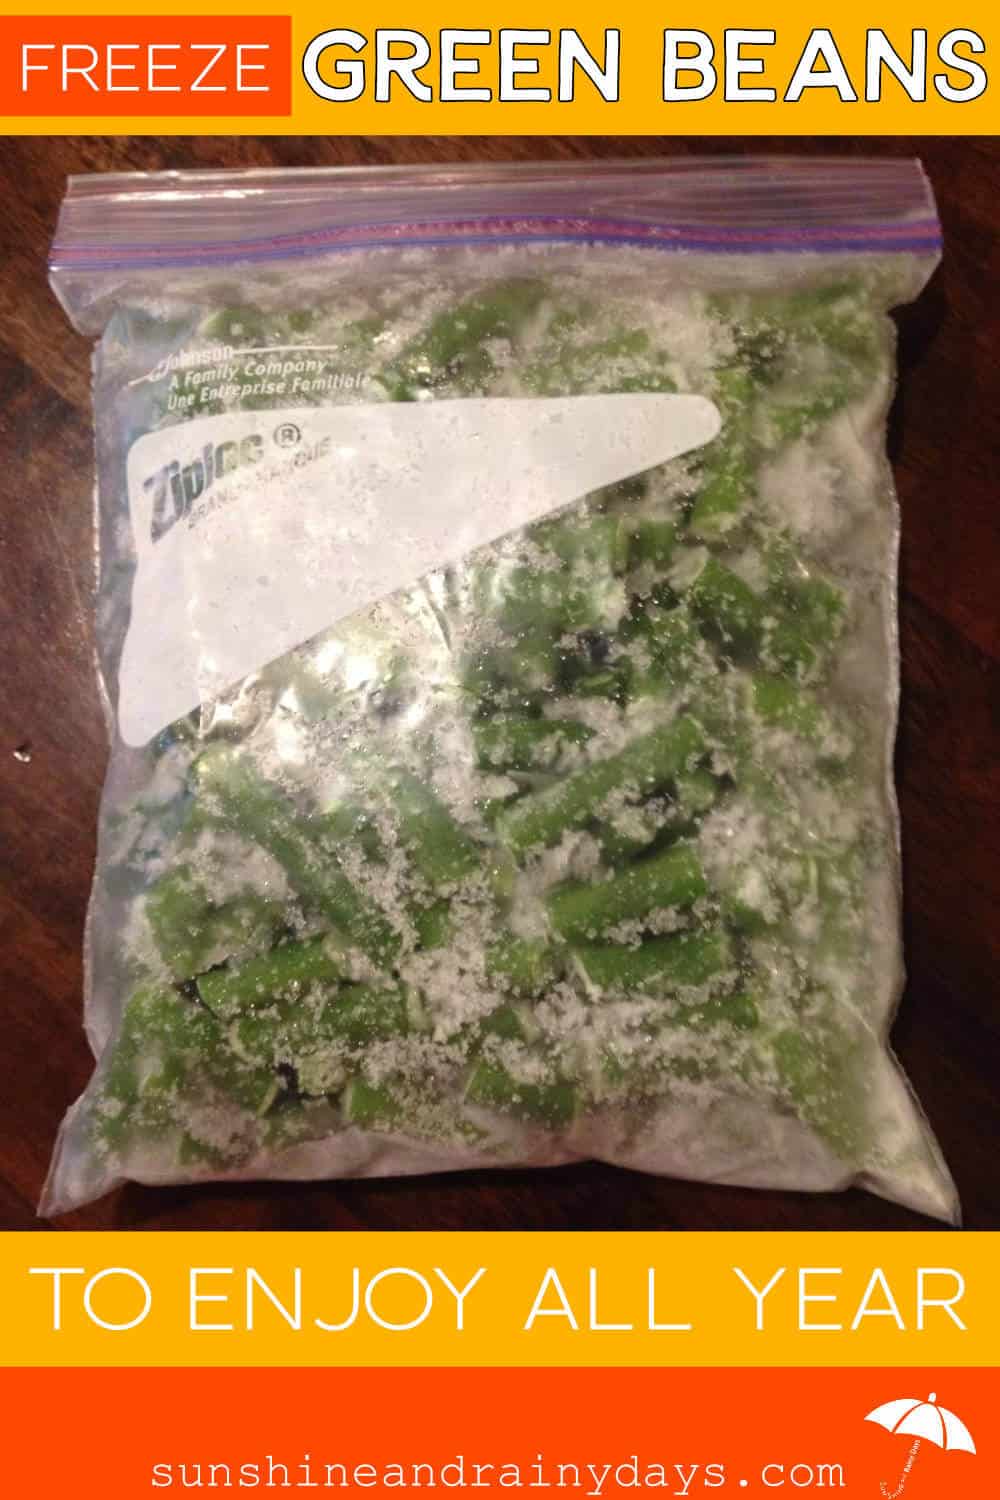
To freeze your green beans, fill quart-size freezer bags and lay them flat, for easier storage.
For the initial freeze, we spread our green bean bags out, for optimal airflow, then we stacked them, once they were frozen.
How exciting to know we will be able to enjoy summer goodness in the winter! Now, I’m off to take care of those Roma tomatoes!


