DIY Pumpkin Planter: A Step-By-Step Guide For Fall Decor
When my daughter was a toddler, we went to a local greenhouse where you could buy small plants and a pumpkin and the nursery provided the supplies and space to create a DIY pumpkin planter. They also had a fun fall scene where we could take pictures with our pumpkin creation. It turned out great and is a fun fall memory.
Fast forward to 20 years later, my daughter is now 23 and my nieces have little kids about the same age Justine was when we went to that nursery. So, when we planned a fall craft party, I knew this would be a great activity to incorporate!
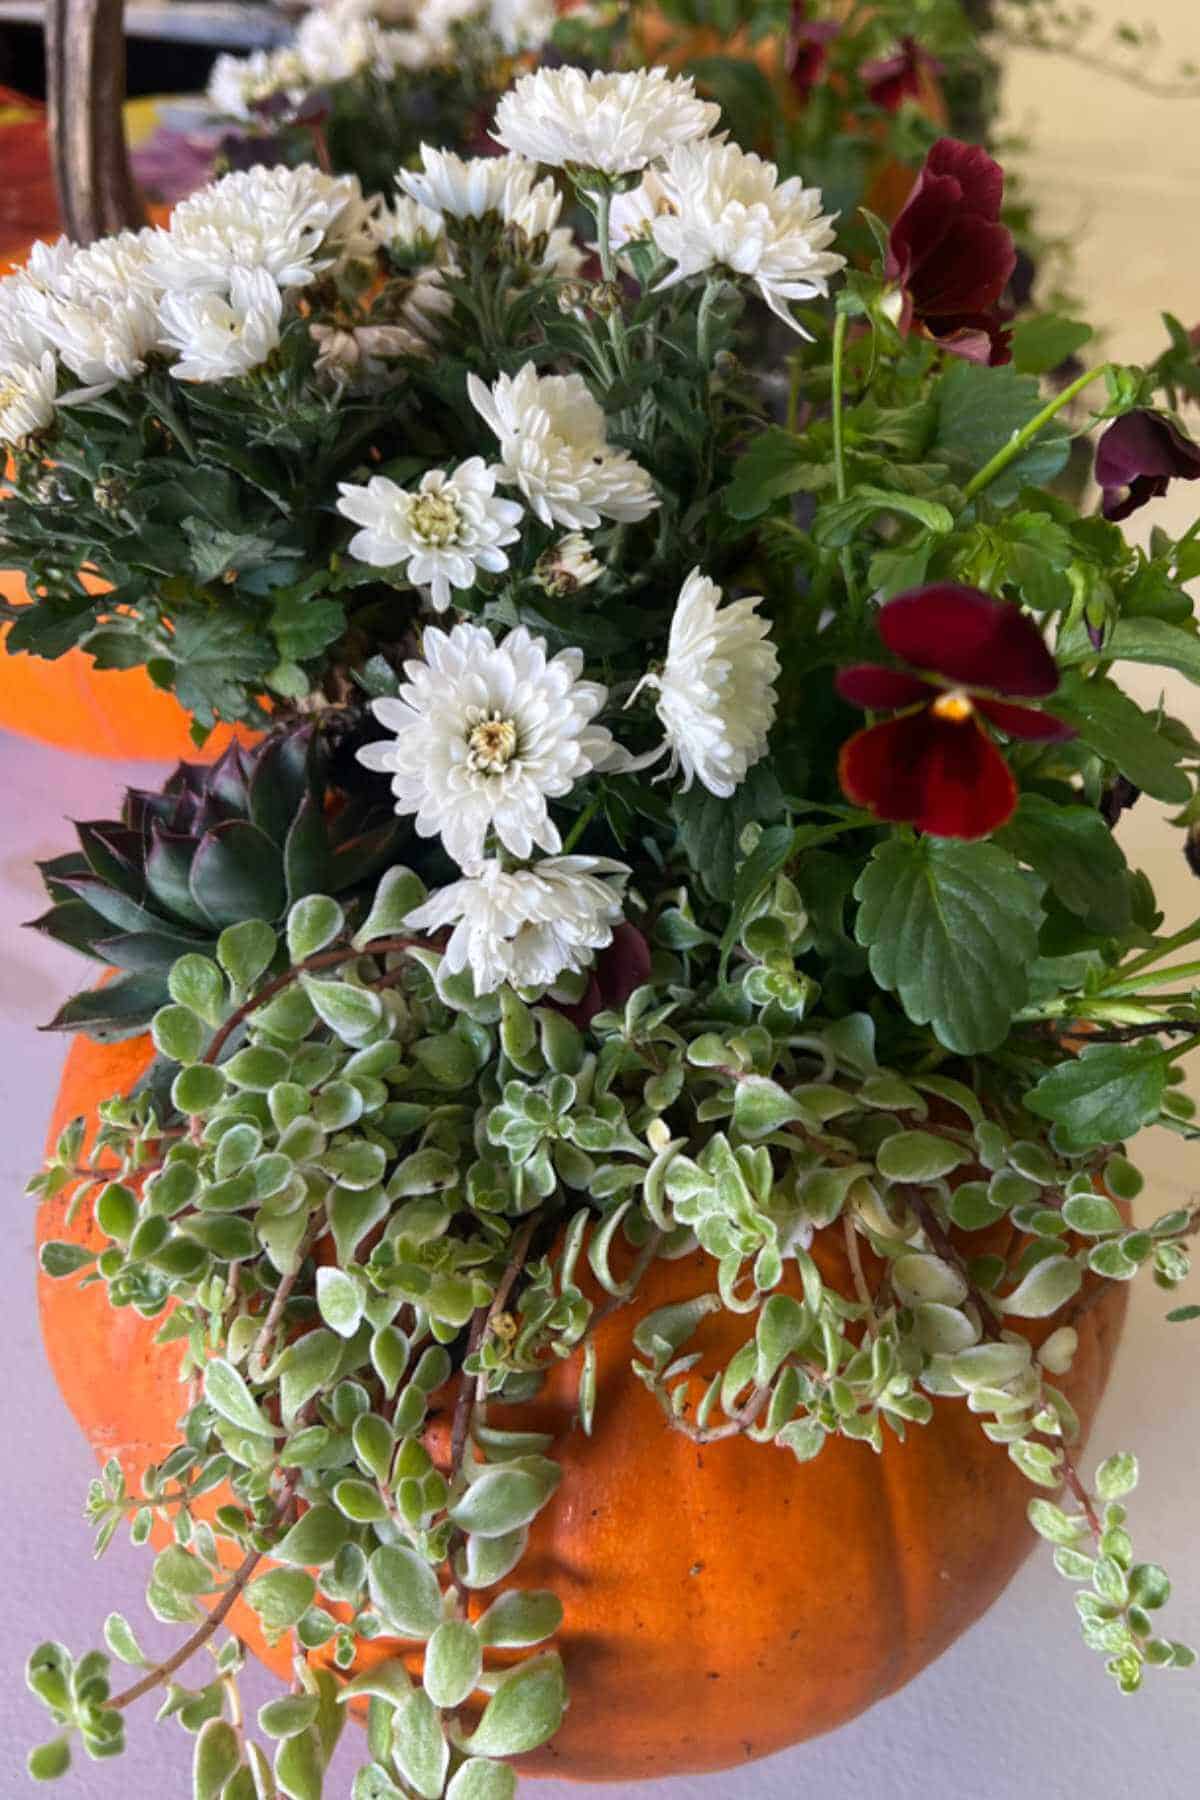
Supplies For Pumpkin Planters
This post contains affiliate links. When you purchase through an affiliate link, we receive a small commission at no additional cost to you. Disclosure.
- Pumpkins – Choose a size that corresponds with the plants you want to put in it. It’s also a good idea to find pumpkins with a bit of a flat, level bottom so they will sit nicely. My kids and I went to the pumpkin patch and chose Field Trip pumpkins. The pumpkins were on a wagon and, at first, we thought they were just for kids on a field trip. But they were the perfect size so we asked someone who worked at the pumpkin patch if we could buy the field trip pumpkins and she told us that Field Trip was the name of that variety of pumpkin and yes, anyone could buy them!
- Disposable Gloves – This is optional but we chose to use gloves to save our hands from the mess.
- Knife – A good knife for cutting the top of the pumpkins. We used a serrated CUTCO knife and it worked great but we were sure to keep it away from the kids and were extra careful with it. If you know CUTCO, you KNOW CUTCO. (When we bought our CUTCO knife from Costco, the traveling salesperson said, ‘Welcome to the CUTCO family’! We giggled a bit and thought it was kind of a weird thing to say. Then, after my husband and I BOTH cut ourselves we understood.)
- Garbage Can – A garbage can is great to have available so you can quickly throw away the top of the pumpkin.
- Ice-Cream Scoop – The BEST way to scoop the guts and seeds out of a pumpkin is with an ice-cream scoop. It makes the job go super easy and fast. Trust me on this! My niece even said it was the fastest she’d ever cleaned a pumpkin out.
- Large Bowl – We had a few large bowls on the table so the pumpkin guts and seeds could be saved for later since I like to roast pumpkin seeds.
- Drill – You can use a drill to drill holes in the bottom of your pumpkins for drainage. We chose not to do this but it is an option if you’d like to try it.
- Vaseline – When my daughter was a toddler and we planted a pumpkin, the greenhouse provided Vaseline to rub on the cut edge of the pumpkin. Presumably to help it last longer.
- Potting Soil – Place potting soil in the bottom of your pumpkin and around your plants.
- Plastic Cup – A plastic cup works great for scooping the potting soil into the pumpkins.
- Plants – Choose the plants you’d like to plant in your pumpkin. For our fall craft party, I chose to have mums, pansies, and a variation of weeping plants like ivy available. They were all 4″ pots and worked well for our Field Trip pumpkins that were about the size of a smashed basketball. I also pulled a few succulents from our own garden to use in the pumpkins.
- Paper Towels – Paper towels are great to have on hand to wipe off your finished planted pumpkin since they get a little dirty.
If you’re looking for another great idea to keep little hands busy, check out these pumpkin activities for toddlers. The fall sensory bin would be easy to incorporate into a fall craft party. Kids also seem to like googly eyes so I had a few mini pumpkins on hand for them to stick googly eyes on. It was a hit and a few of the mini pumpkins ended up with multiple eyes because sticky googly eyes are so much fun!
If you love the taste of pumpkin, we had a lot of fun making our own Homemade Pumpkin Puree and it was delicious!
How To Plant Flowers In Real Pumpkins
This is a messy project so we chose to set up a few tables in the garage so we didn’t have to worry about getting dirt in the house.
If you’re looking for a less messy pumpkin idea, check out how to make sweater pumpkins.
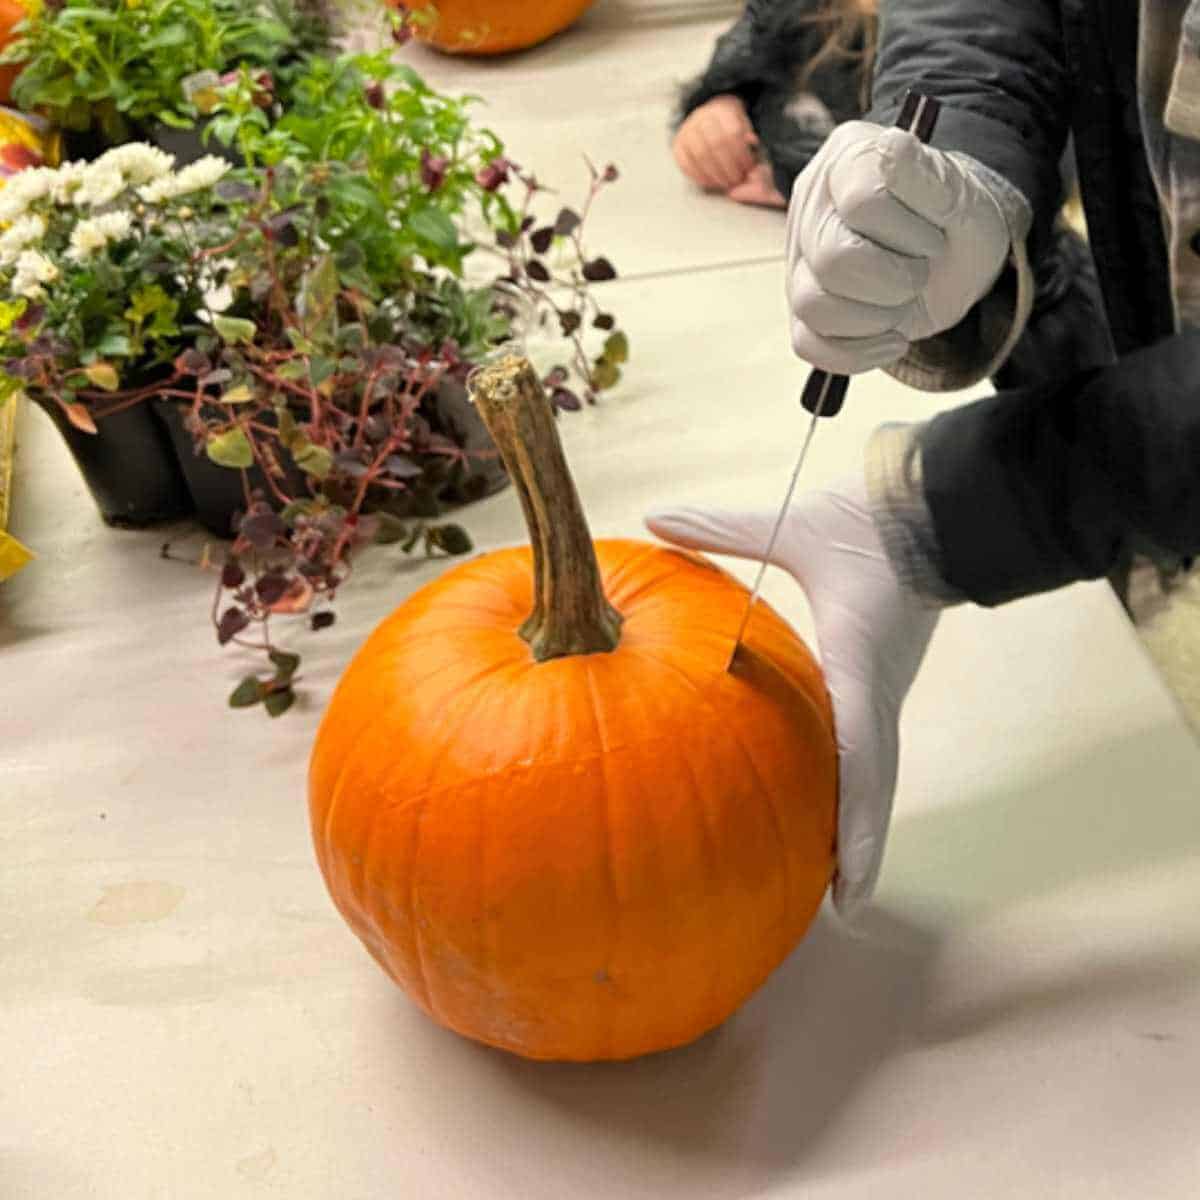
1) Cut the top of the pumpkin.
We used a serrated knife to cut the top of the pumpkins. You’ll want to cut the top to fit the plants you’ve chosen. It’s hard to go back and make the opening bigger once you’ve started planting so I suggest making the opening a bit bigger than you think you’ll need. I wanted to fit three plants in and really had to cram them in because I hadn’t cut the top quite big enough.
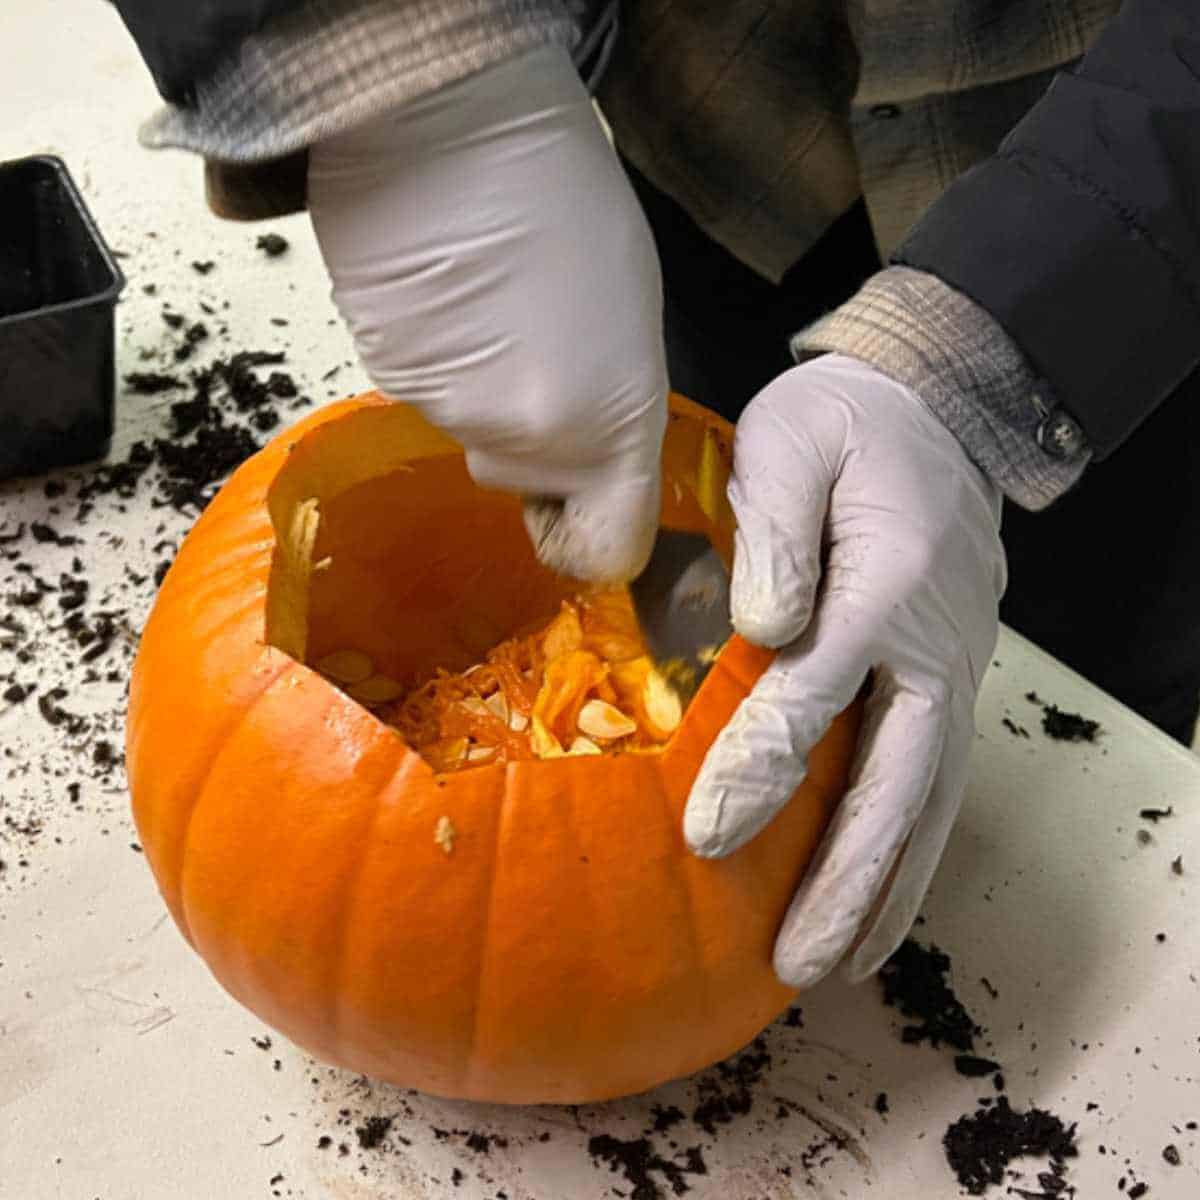
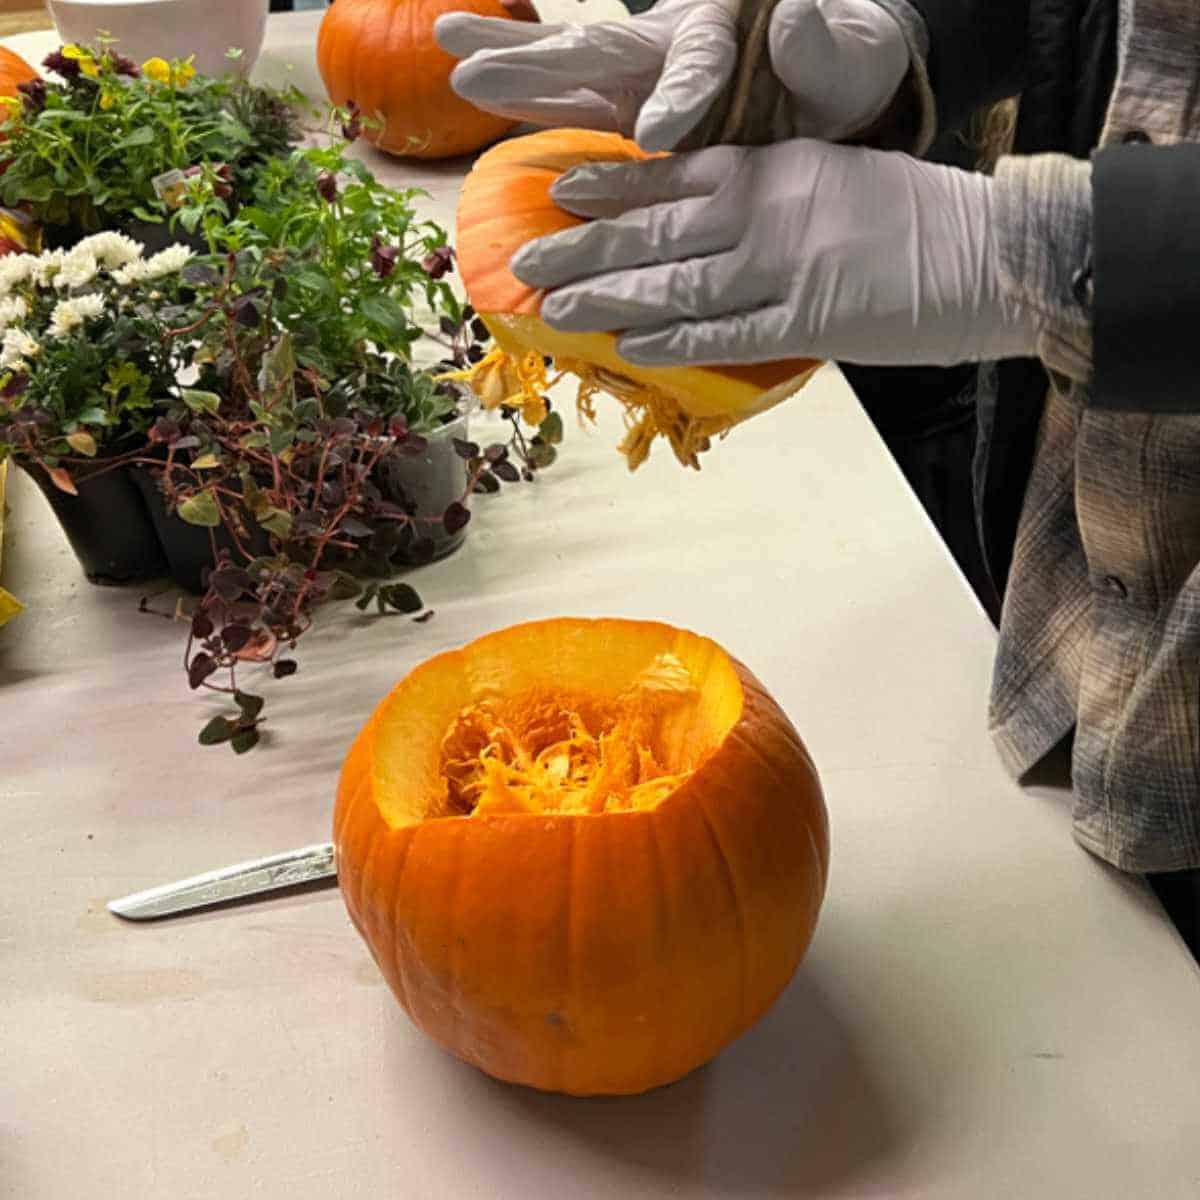
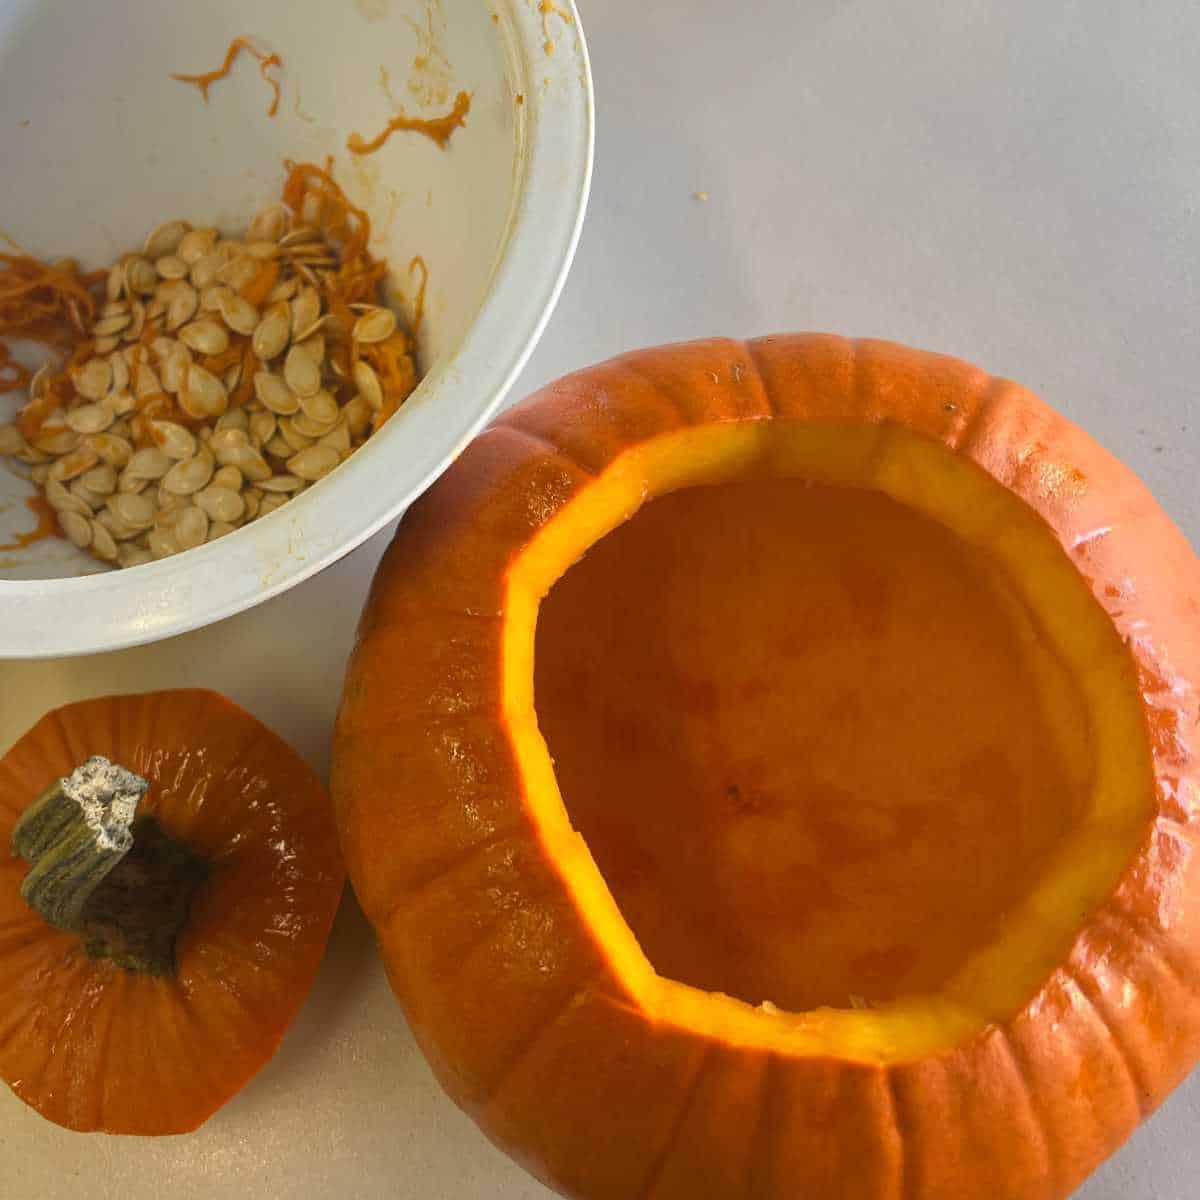
2) Scoop out the pumpkin guts and seeds using an ice cream scoop.
An ice cream scoop makes fast work of cleaning out your pumpkins. If you’d like to roast your pumpkin seeds, place the pumpkin guts in a big bowl to separate the seeds later. (Hint: fill the bowl of pumpkin guts full of water and the seeds will float to the top making them easier to separate.)
3) Drill a few holes in the bottom of your pumpkins for drainage.
It’s said they will last longer if you do this. We chose not to.
4) Spread Vaseline on the cut edge of the pumpkin.
This helps seal the cut edge so the pumpkin will last longer.
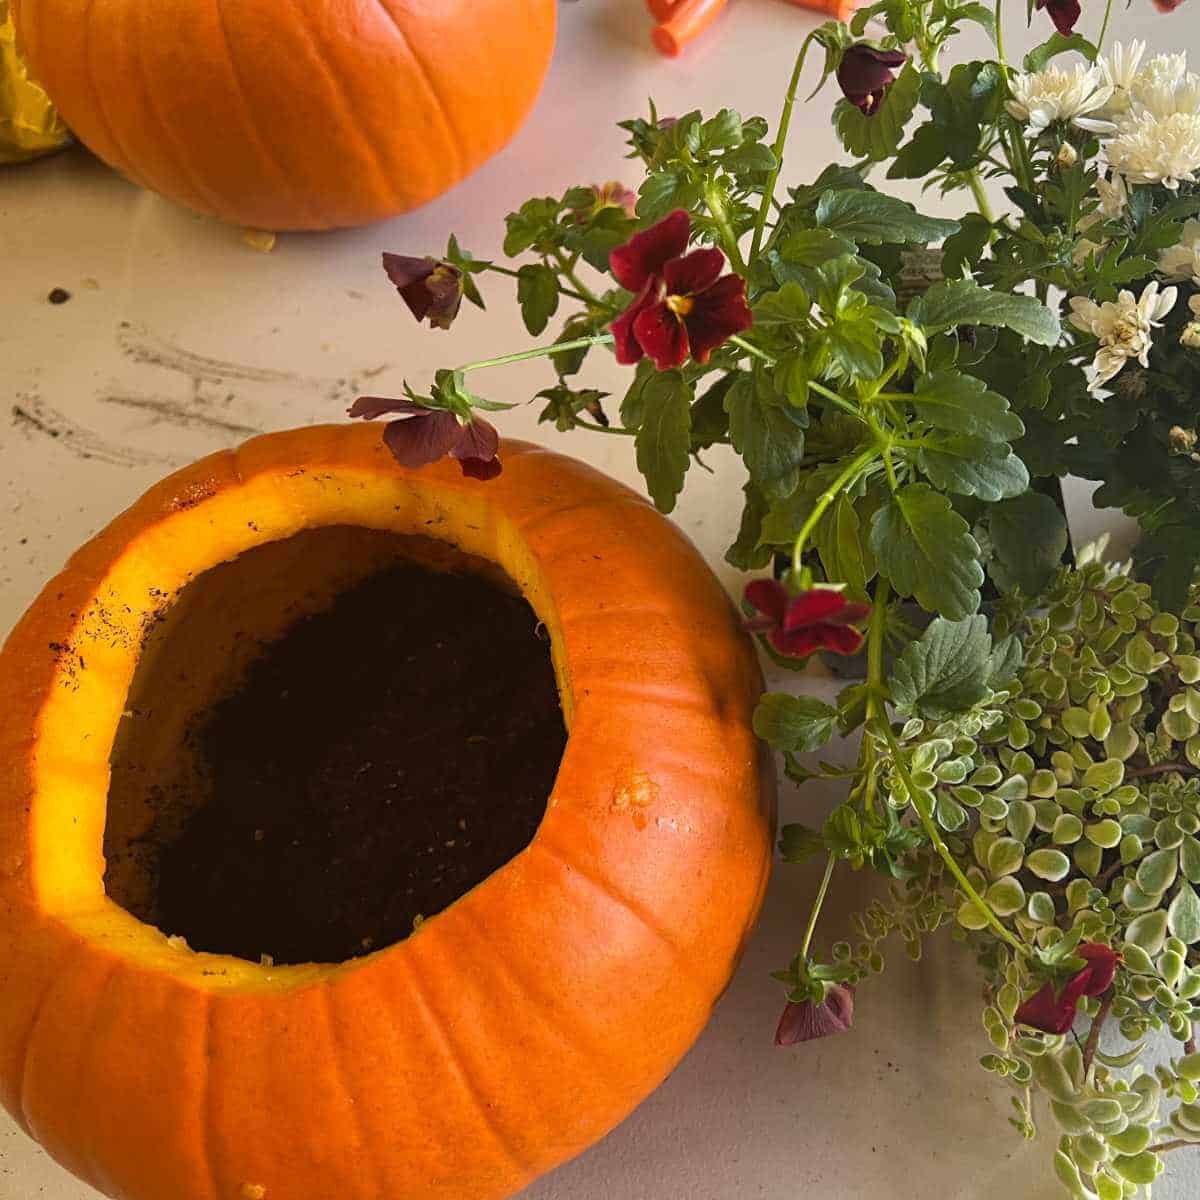
5) Scoop a little potting soil into your pumpkins using a plastic cup.
You can also put a little pea gravel in the bottom for drainage if you’d like.
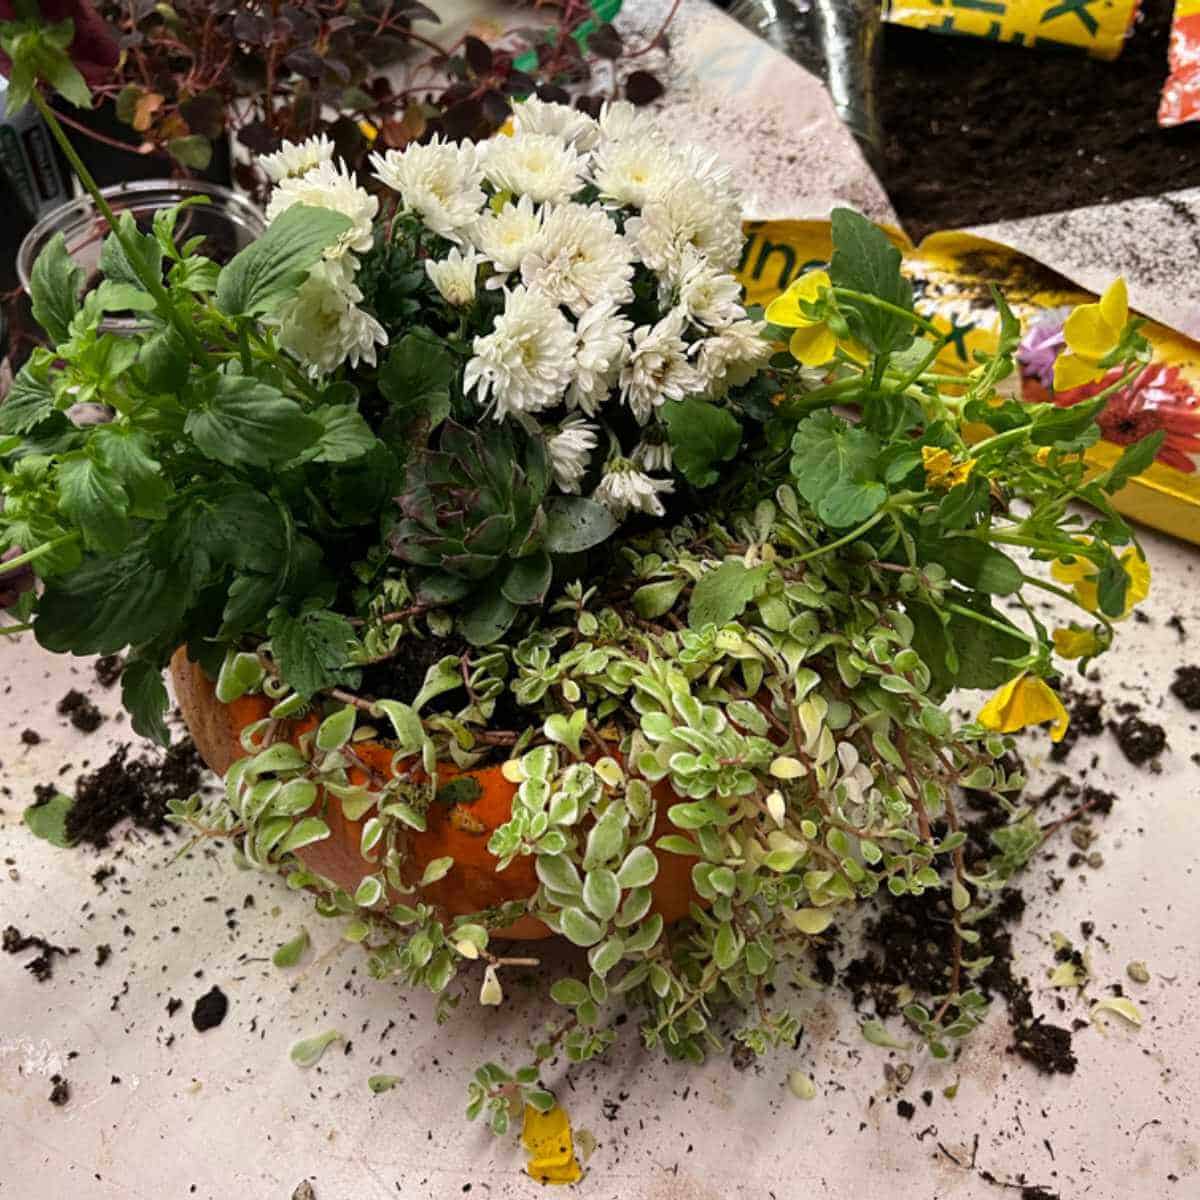
6) Remove your plants from their containers, loosen up the root balls, and arrange them in your pumpkin.
7) Add potting soil around your plants to fill your pumpkin.
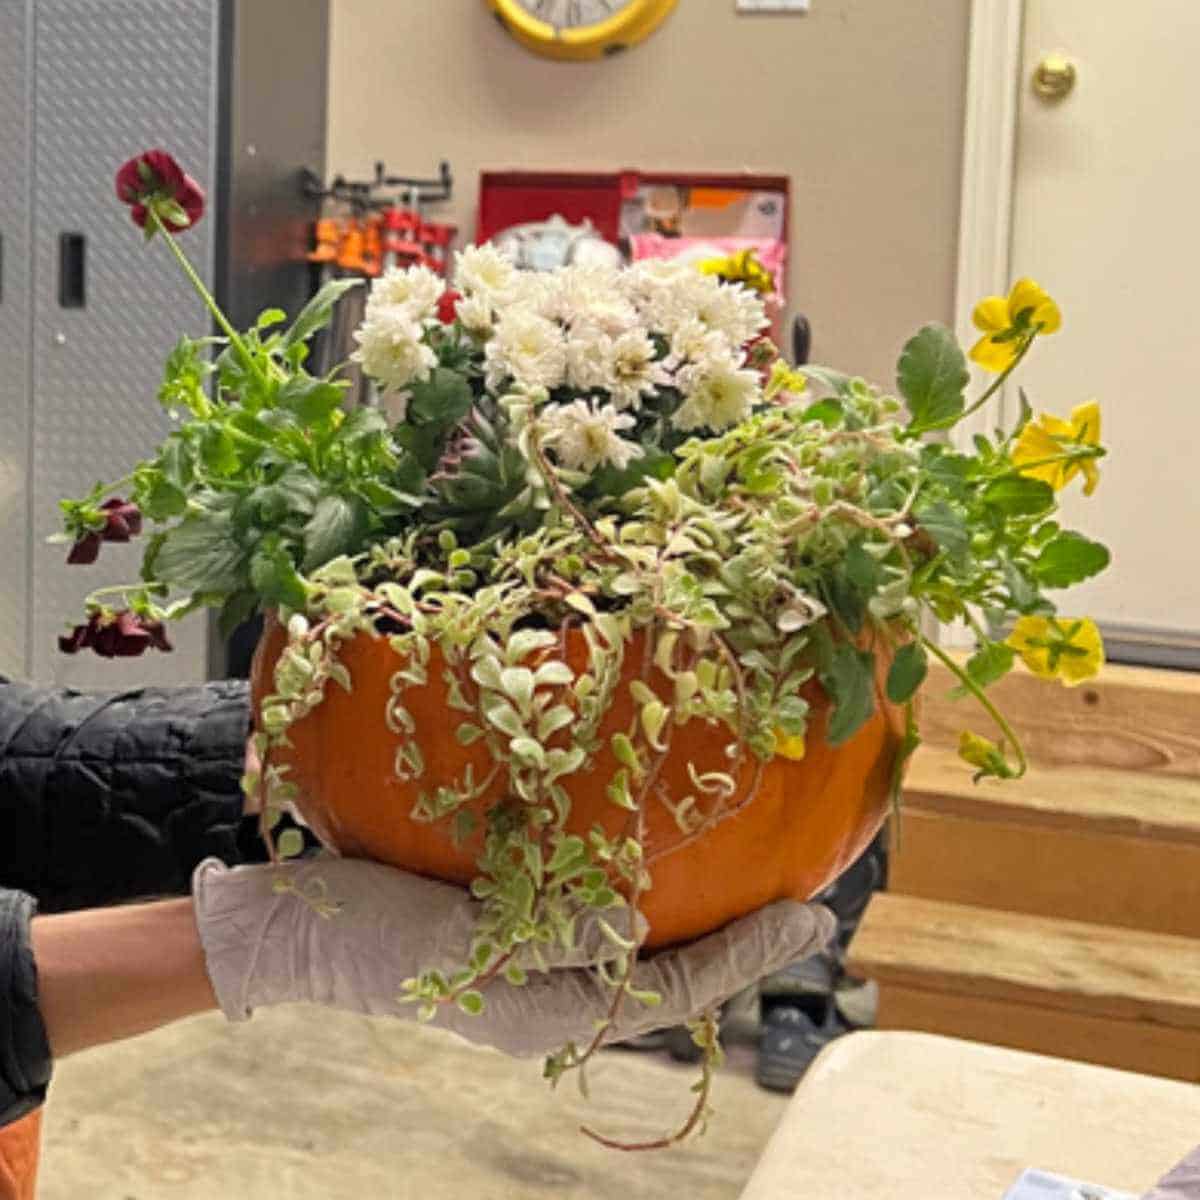
8) Use a paper towel to wipe off your pumpkins as they will likely have dirt on them.
How long will a pumpkin last as a planter?
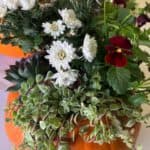
A pumpkin will last as a planter around 7 – 14 days. Some variables will help it last longer or deteriorate quicker. Water your plants in the pumpkin sparingly as the wetter the soil is, the quicker the pumpkin will rot. The temperature is also a factor. We placed our planted pumpkin on the front porch where it is cooler although the pumpkin planters also make an excellent table centerpiece.
Once the pumpkin rots, you can take the plants out and plant them somewhere else. You could even plant the entire pumpkin arrangement in the ground if you’d like.
Another option is to use a plastic container for your plants and place the container inside the pumpkin. When you need to water your plants, remove the container from the pumpkin, water it well, let it drain, and then place it back in the pumpkin.
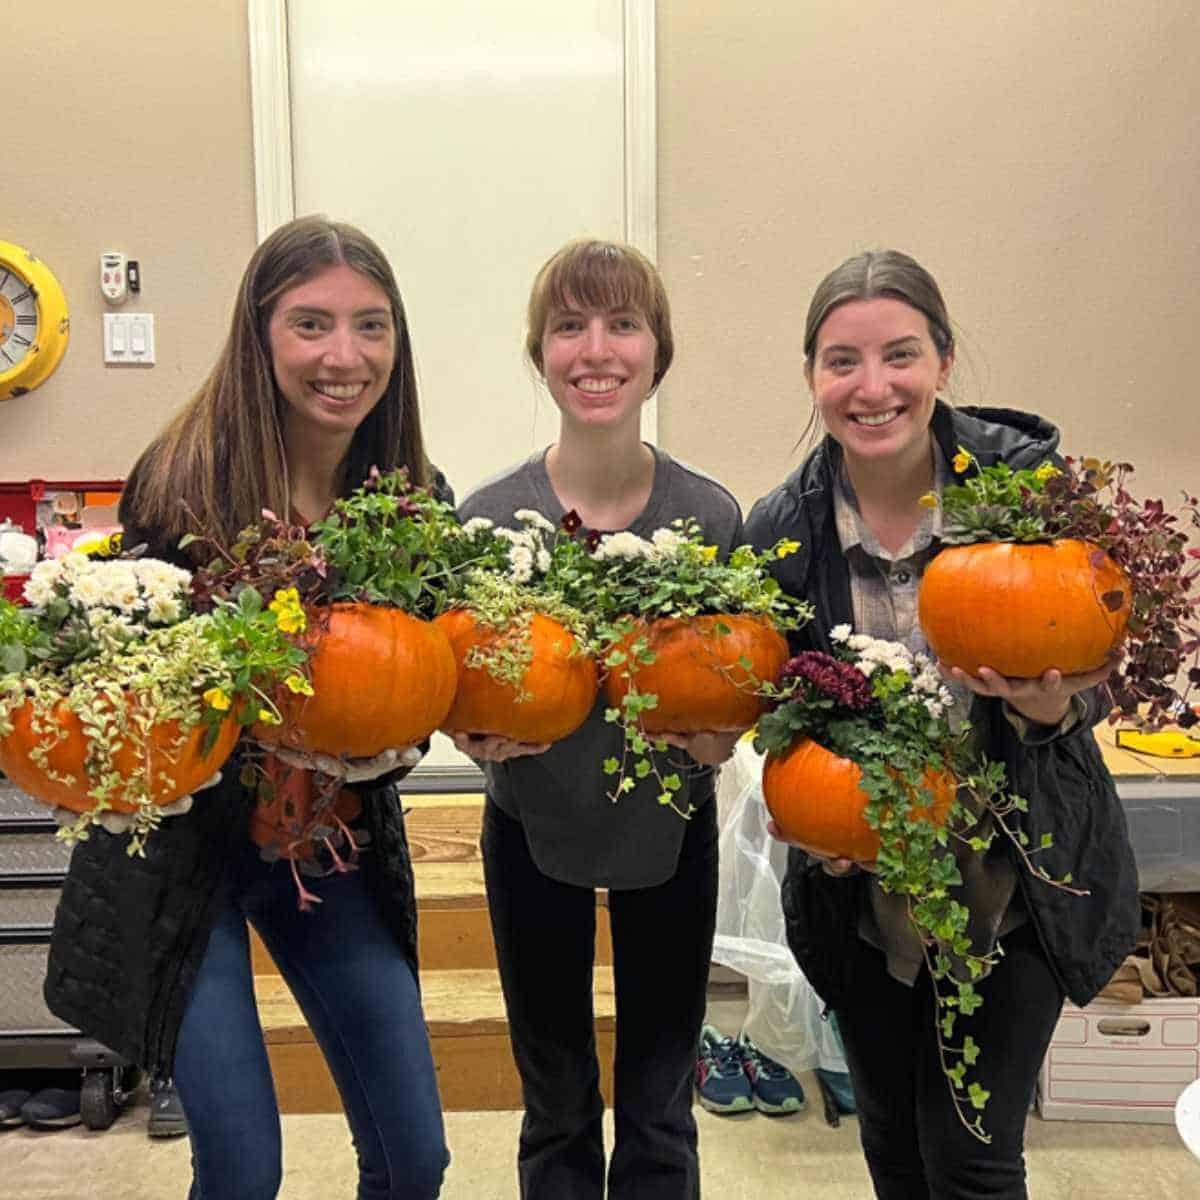
For the fall craft party, I had planted a pumpkin as an example but I was quite impressed with the creativity of my daughter and nieces as they planted their pumpkins!
Frequently Asked Questions
More Fall Ideas
- DIY Pumpkin Planter: A Step-By-Step Guide For Fall Decor
- How To Make Sweater Pumpkins
- How To Make 4 X 4 Pumpkins
- How to Make Homemade Pumpkin Puree
- Fall Word Search
- Fall Crossword Puzzle
- Fall Word Challenge
- Free Fall Coloring Pages
- Printable Fall Activity Sheet
- Cozy Fall Microwave Popcorn Tag
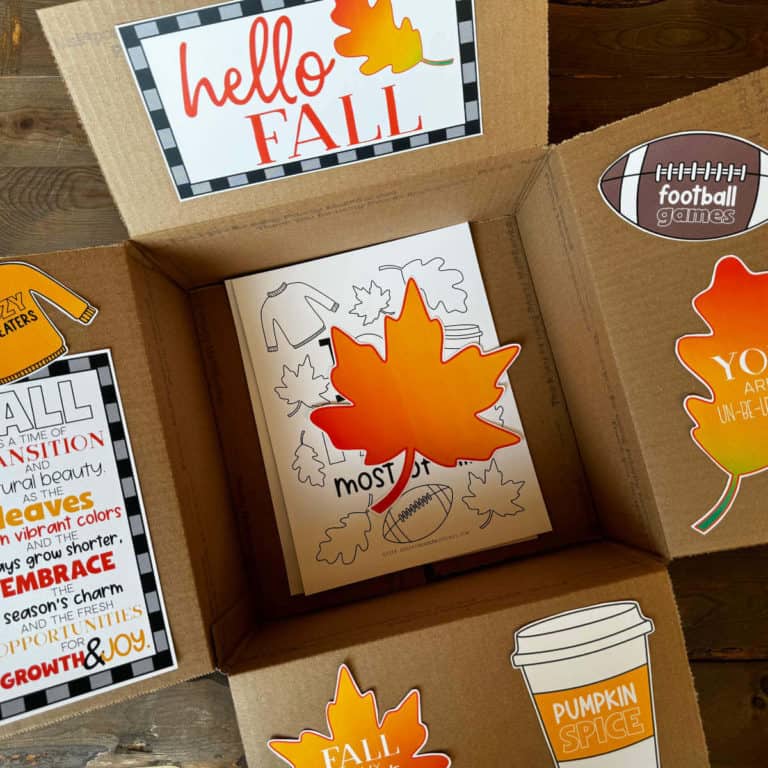
- Fall Care Package Printables

Hi! I’m Bridget!
I create printables and DIYs to help you get organized and celebrate special occasions! It’s my mission to inspire you to get creative and find joy in every day!