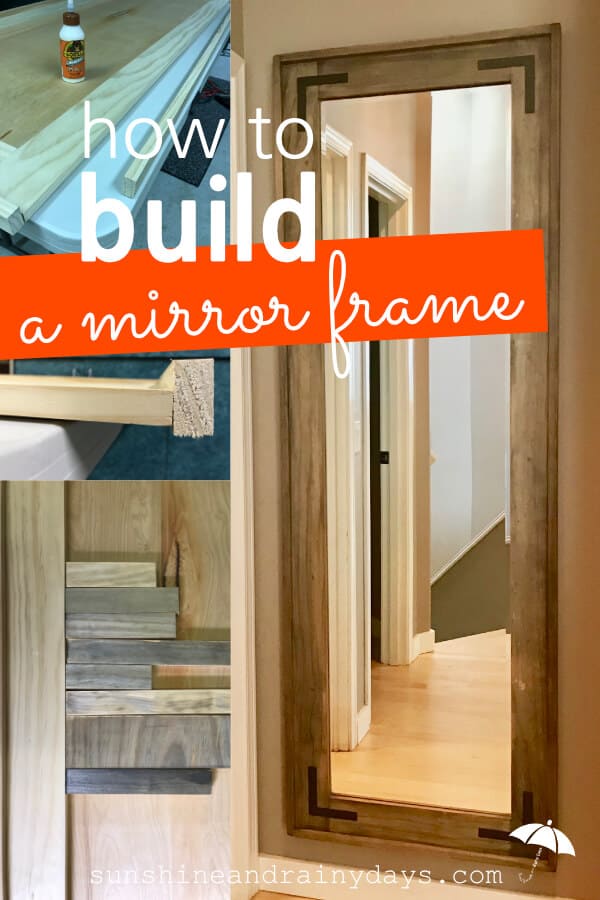
How To Build A Mirror Frame

We have a hallway that was begging for a full-length mirror! With so many spots to decorate, I’ve decided to take a DIY approach to house projects. Plus, I just love to create and build! Are you ready to learn How To Build A Mirror Frame? Woot! Woot!
How To Build A Mirror Frame
I first saw this idea from the gals on Shanty 2 Chic! They built three identical mirrors as decor for a dining room. I was inspired to use their idea to build a bigger mirror!
Mirror Supplies
This post contains affiliate links. When you purchase through an affiliate link, we receive a small commission at no additional cost to you. Disclosure.
- Mirror
- 1 inch X 4 inch X 8 foot Whitewood or Pine (2) – Actual size .75″ X 3.5″
- 1 inch X 2 inch X 8 foot Whitewood or Pine (2)– Actual size .75″ X 1.5″
- 1 inch X 2 Inch X 6 foot Whitewood or Pine (1) – Actual size .75″ X 1.5″
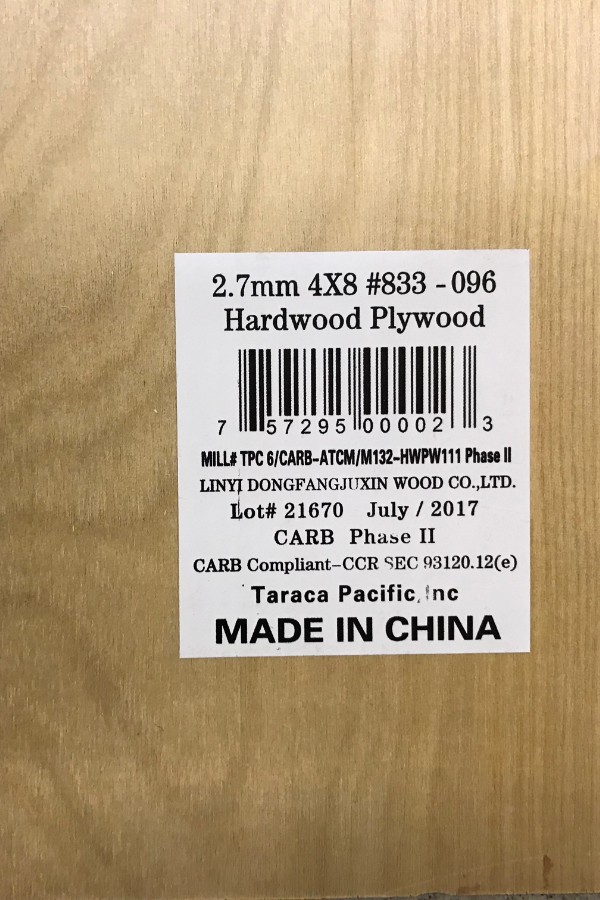
- 2.7mm Plywood or Project Board Approximately 24″ X 74″
- Flat Corner Brace (4) and Screws
- Oil Rubbed Bronze Universal Spray Paint
- Mirror Mastic
- Wood Glue
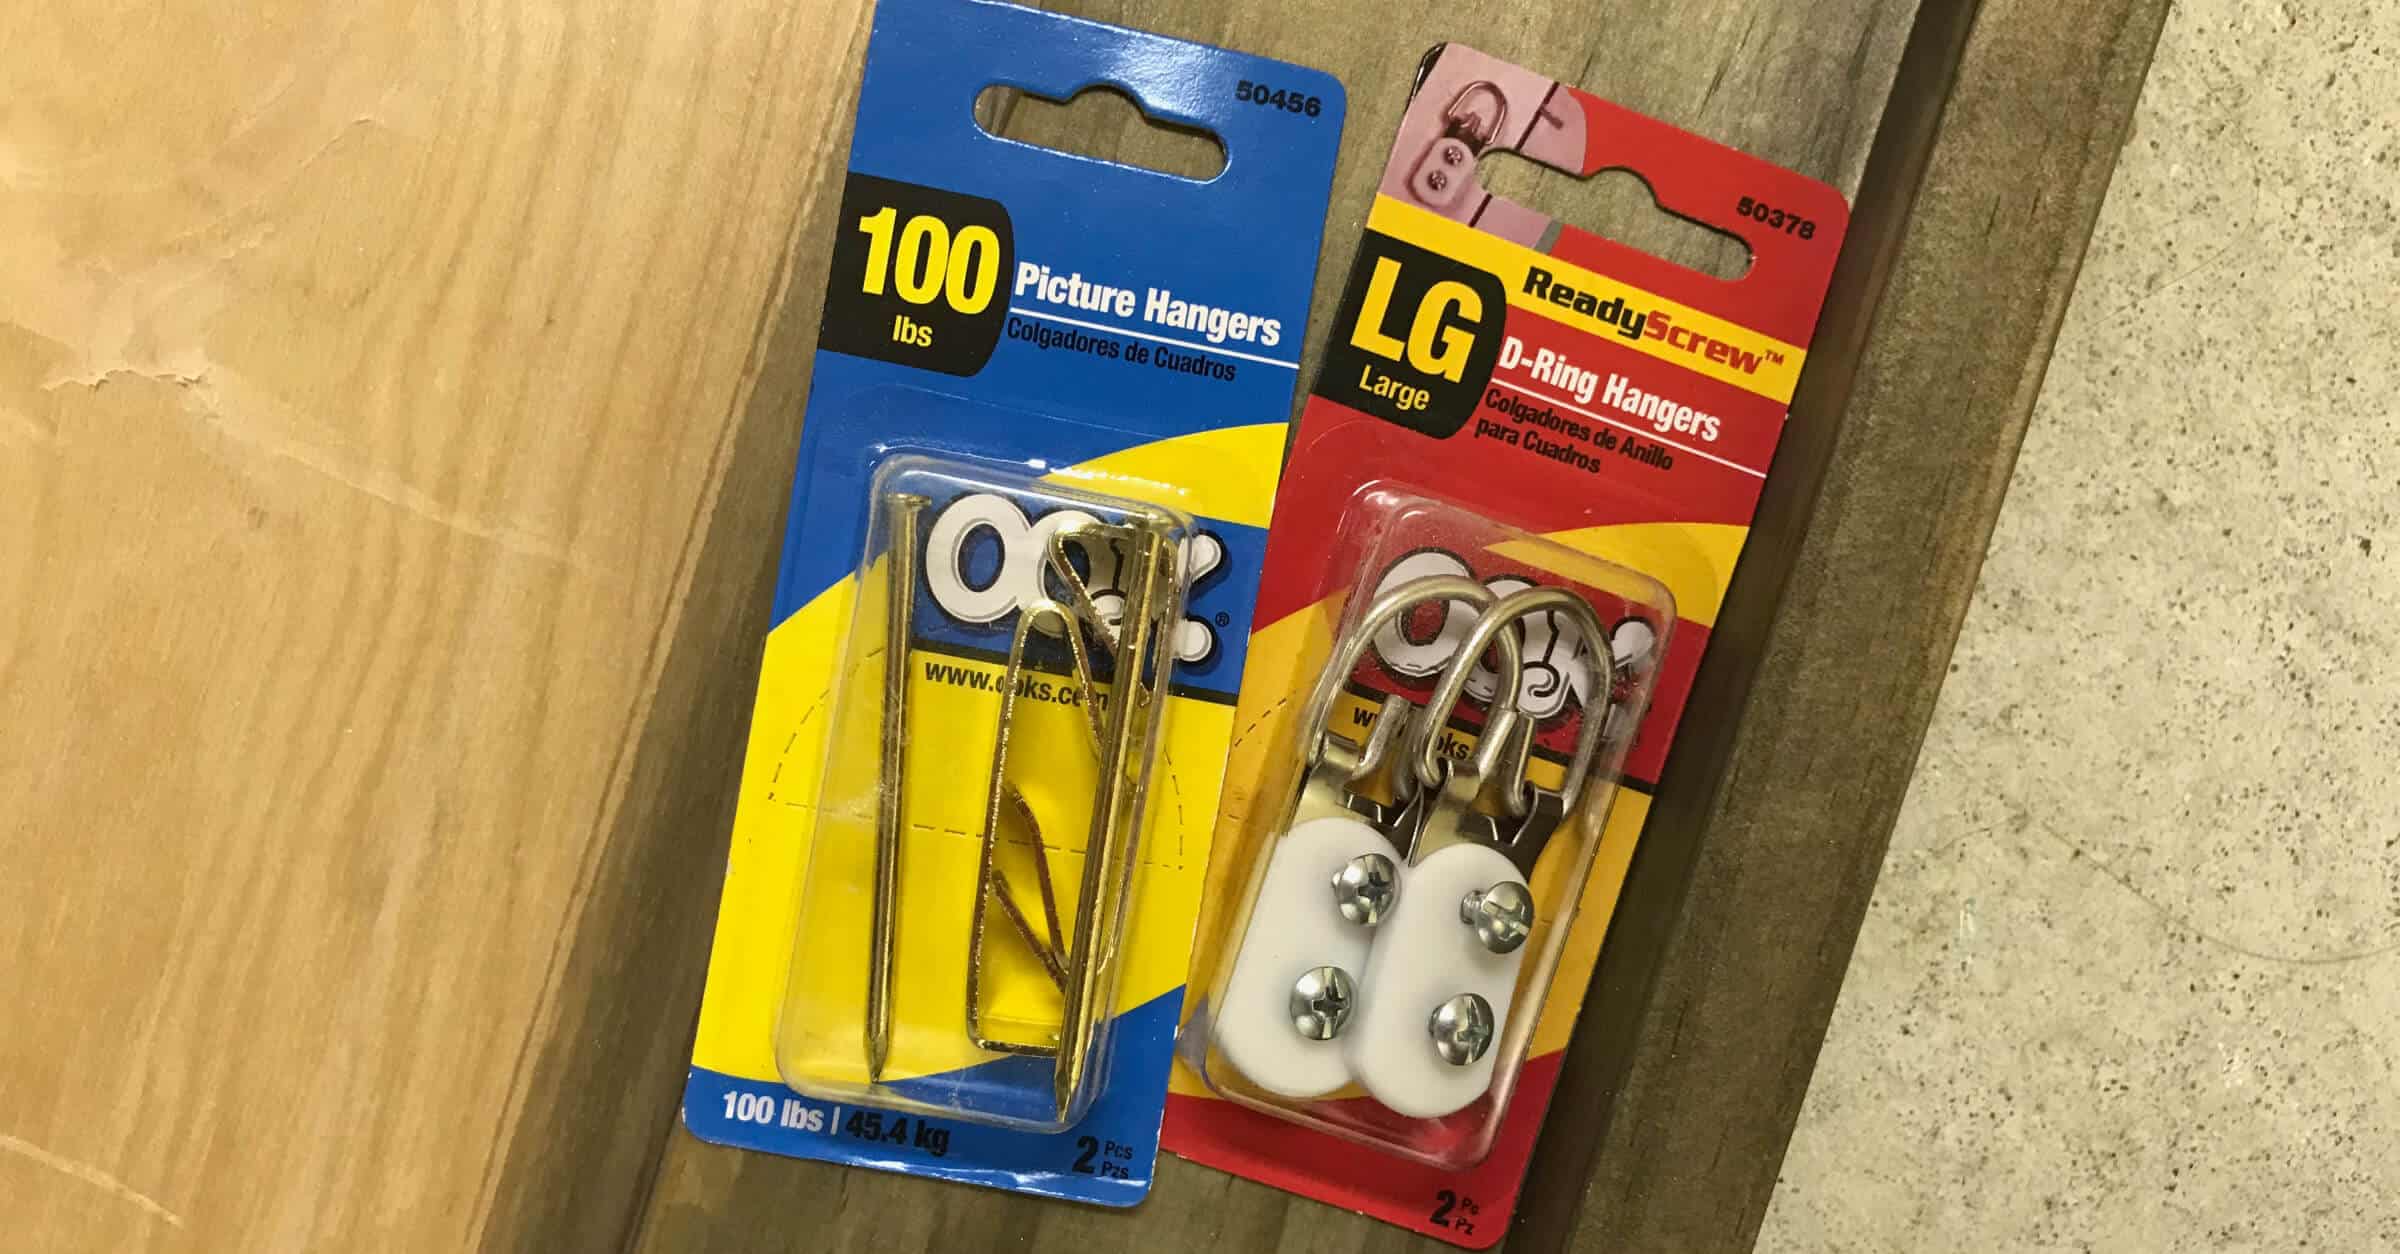
- D-Rings – We used heavy duty D-Rings and Wire. I think it would be more secure to hang D-Rings on screws drilled into studs.
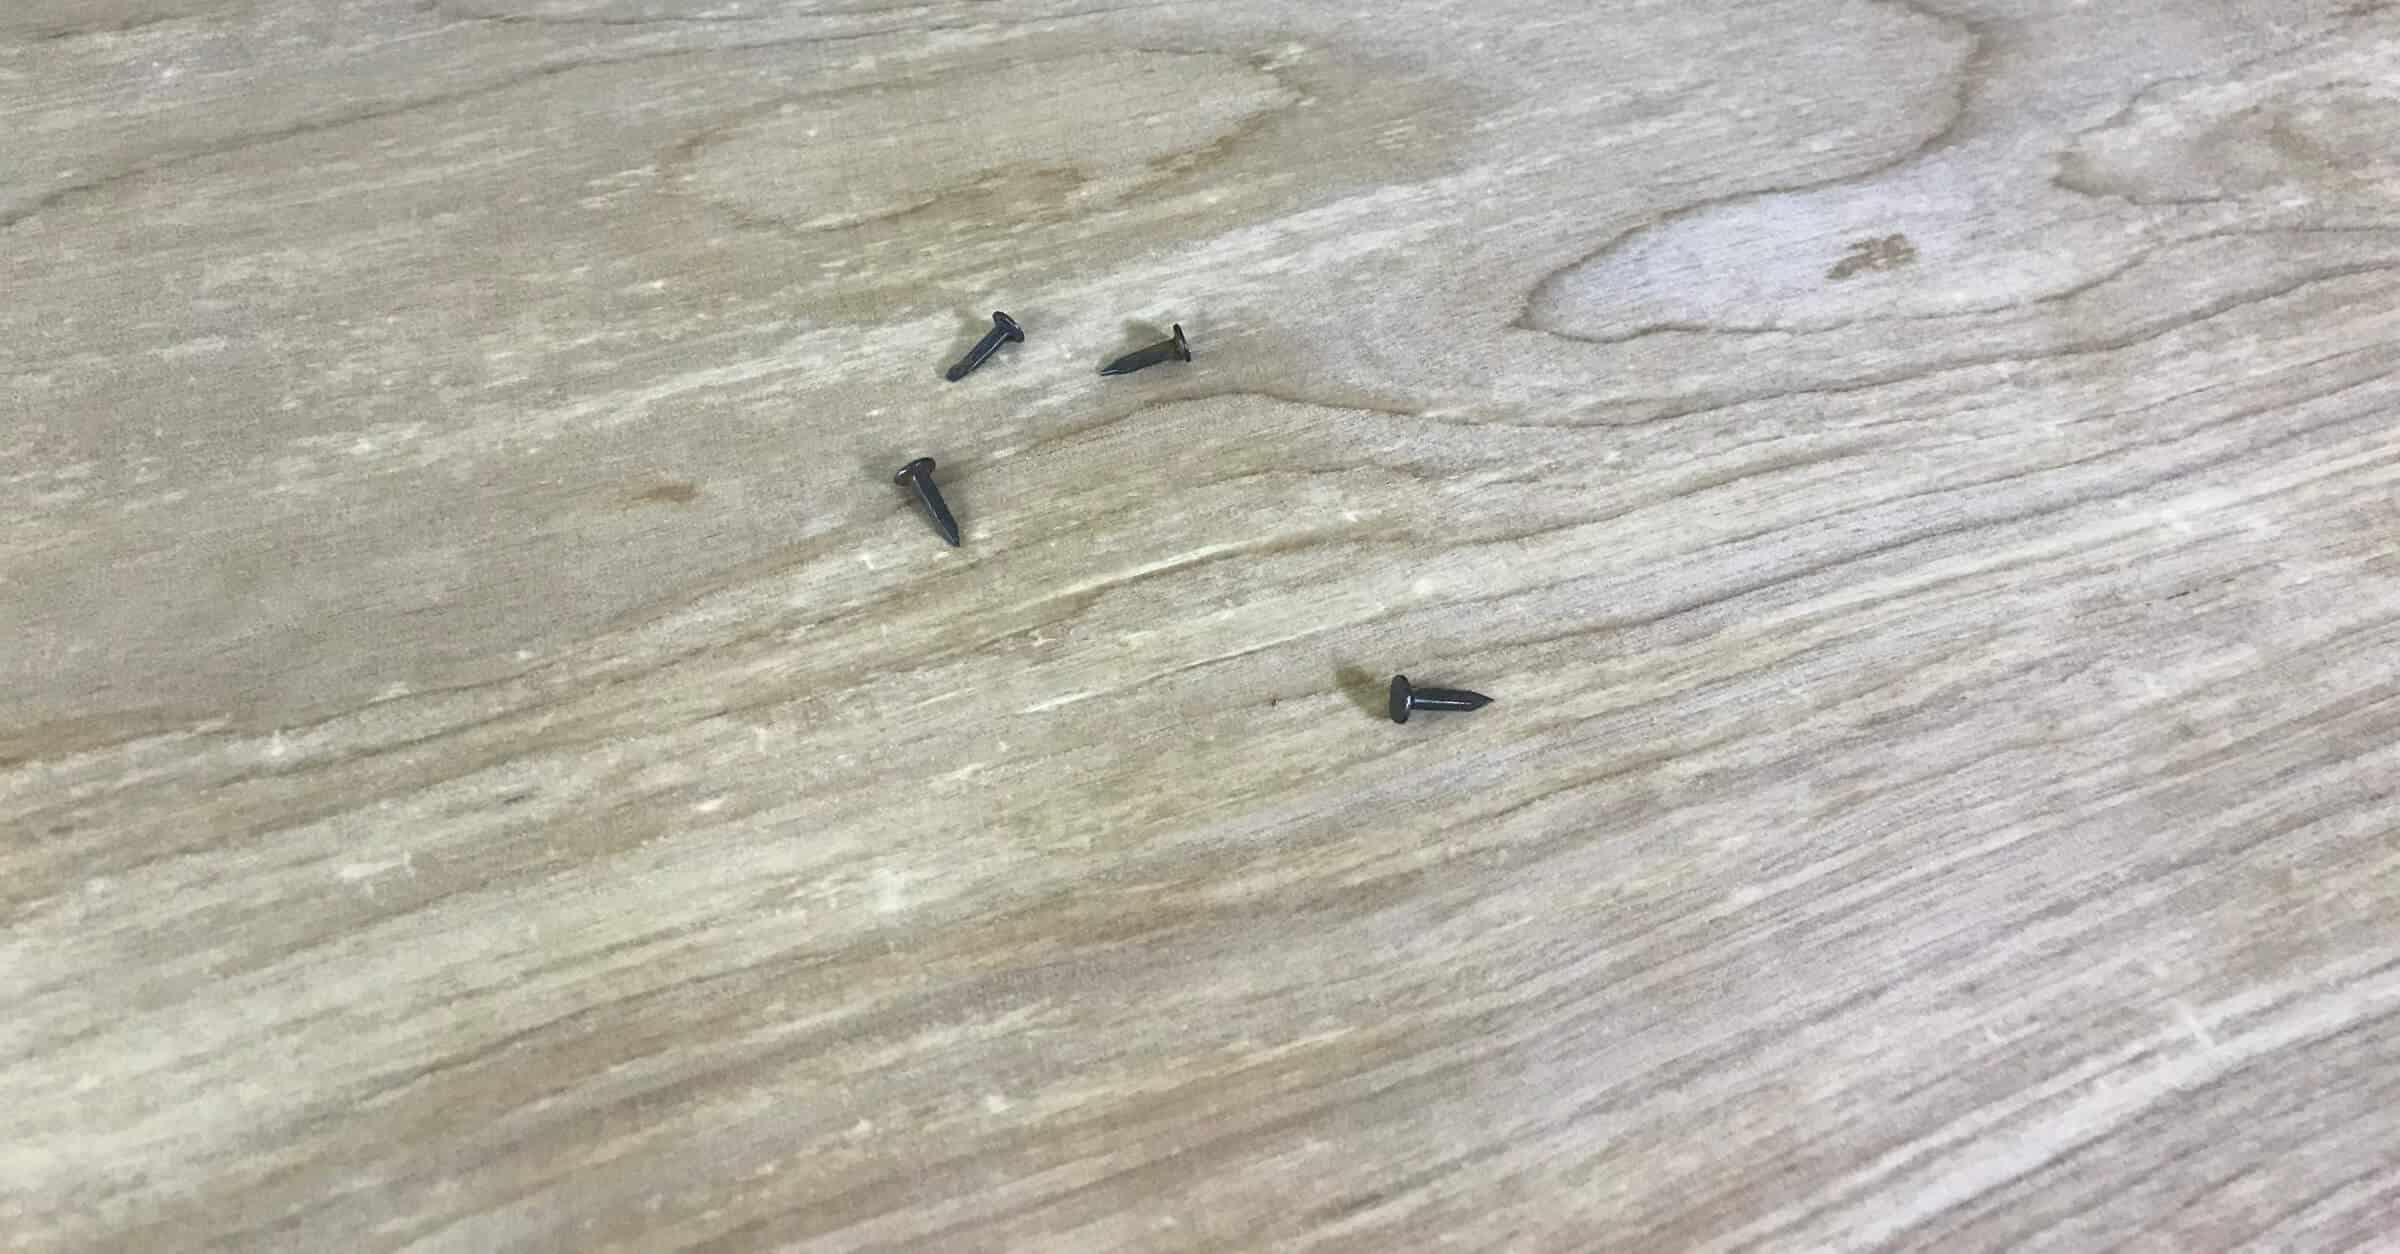
- Short Nails
- Stain
- Rags
Tools Used
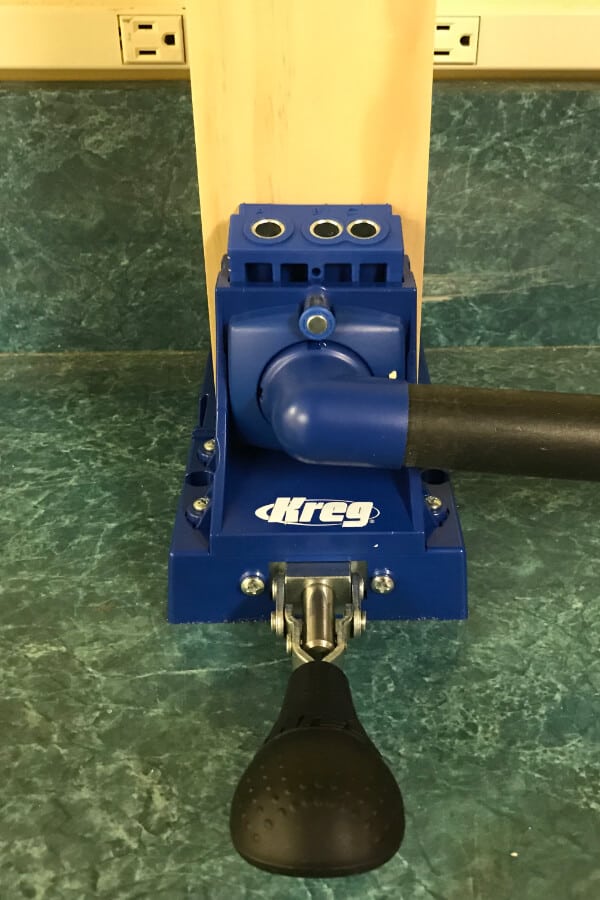
- Kreg Jig K5
- Drill
- Sander
- Miter Saw
- Nail Gun
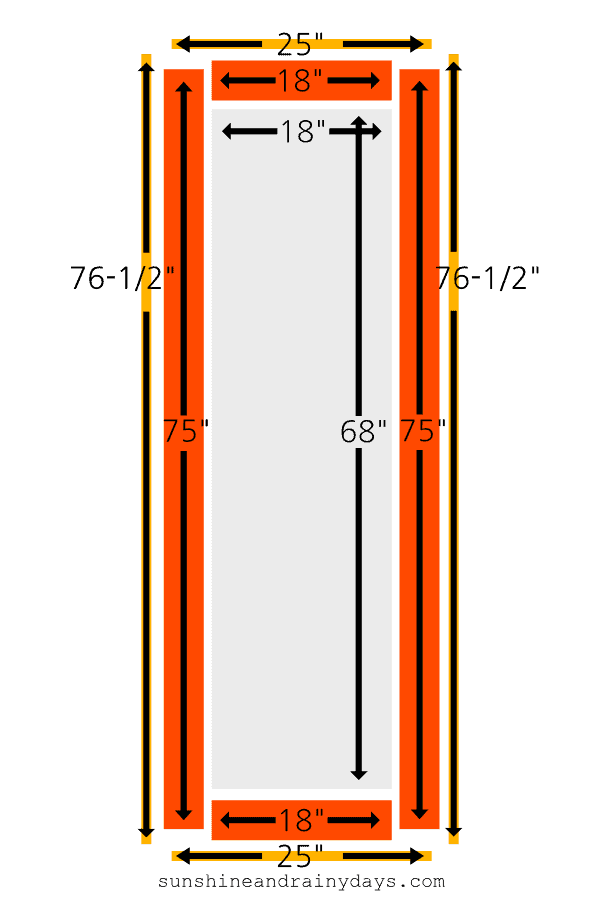
Cut List
Yellow = 1 X 2
Red = 1 x 4
How To Build A Mirror Frame
Use Kreg Jig to create two 3/4″ pocket holes in both ends of your two 18″ 1 X 4’s. You will end up with eight pocket holes between the two 18″ boards.
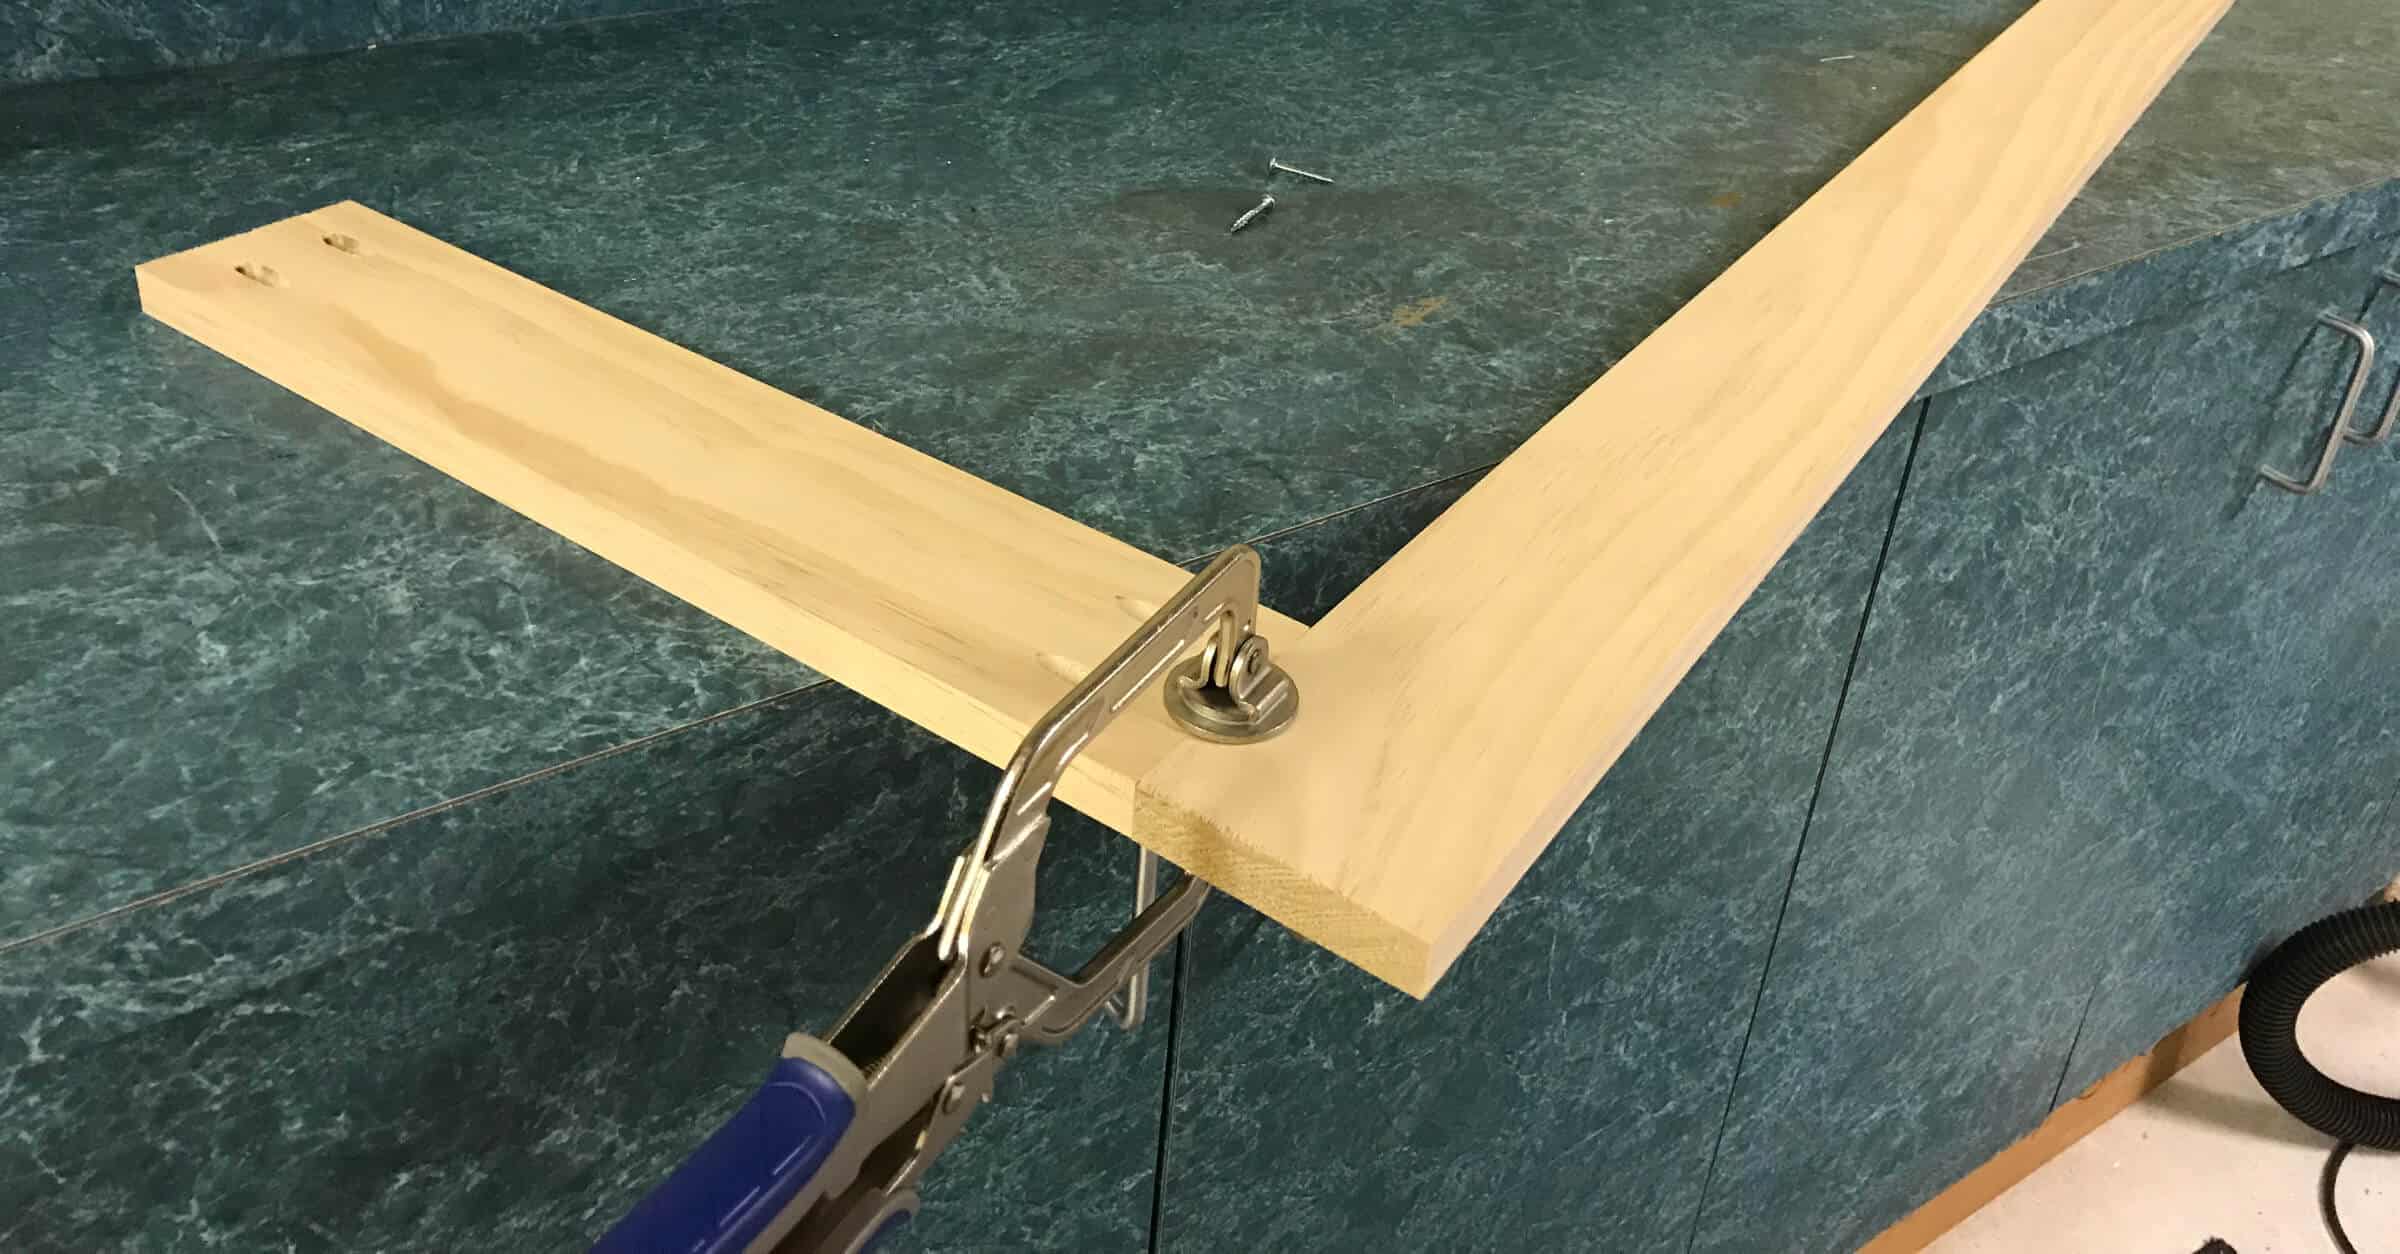
Next, use the Kreg Jig driver bit that comes with the Kreg Jig to attach 18″ pieces to 75″ pieces. You will use eight 1.25″ pocket hole screws. You may use a little wood glue at this point too. You will now have a basic frame! How cool is that?
Attach the back of your mirror by lining the edges with wood glue and then nail in place. This is the wood I used for the backing. A 1/4″ Plywood would do too.
I used tiny nails for this step so I wouldn’t damage the front of my frame.
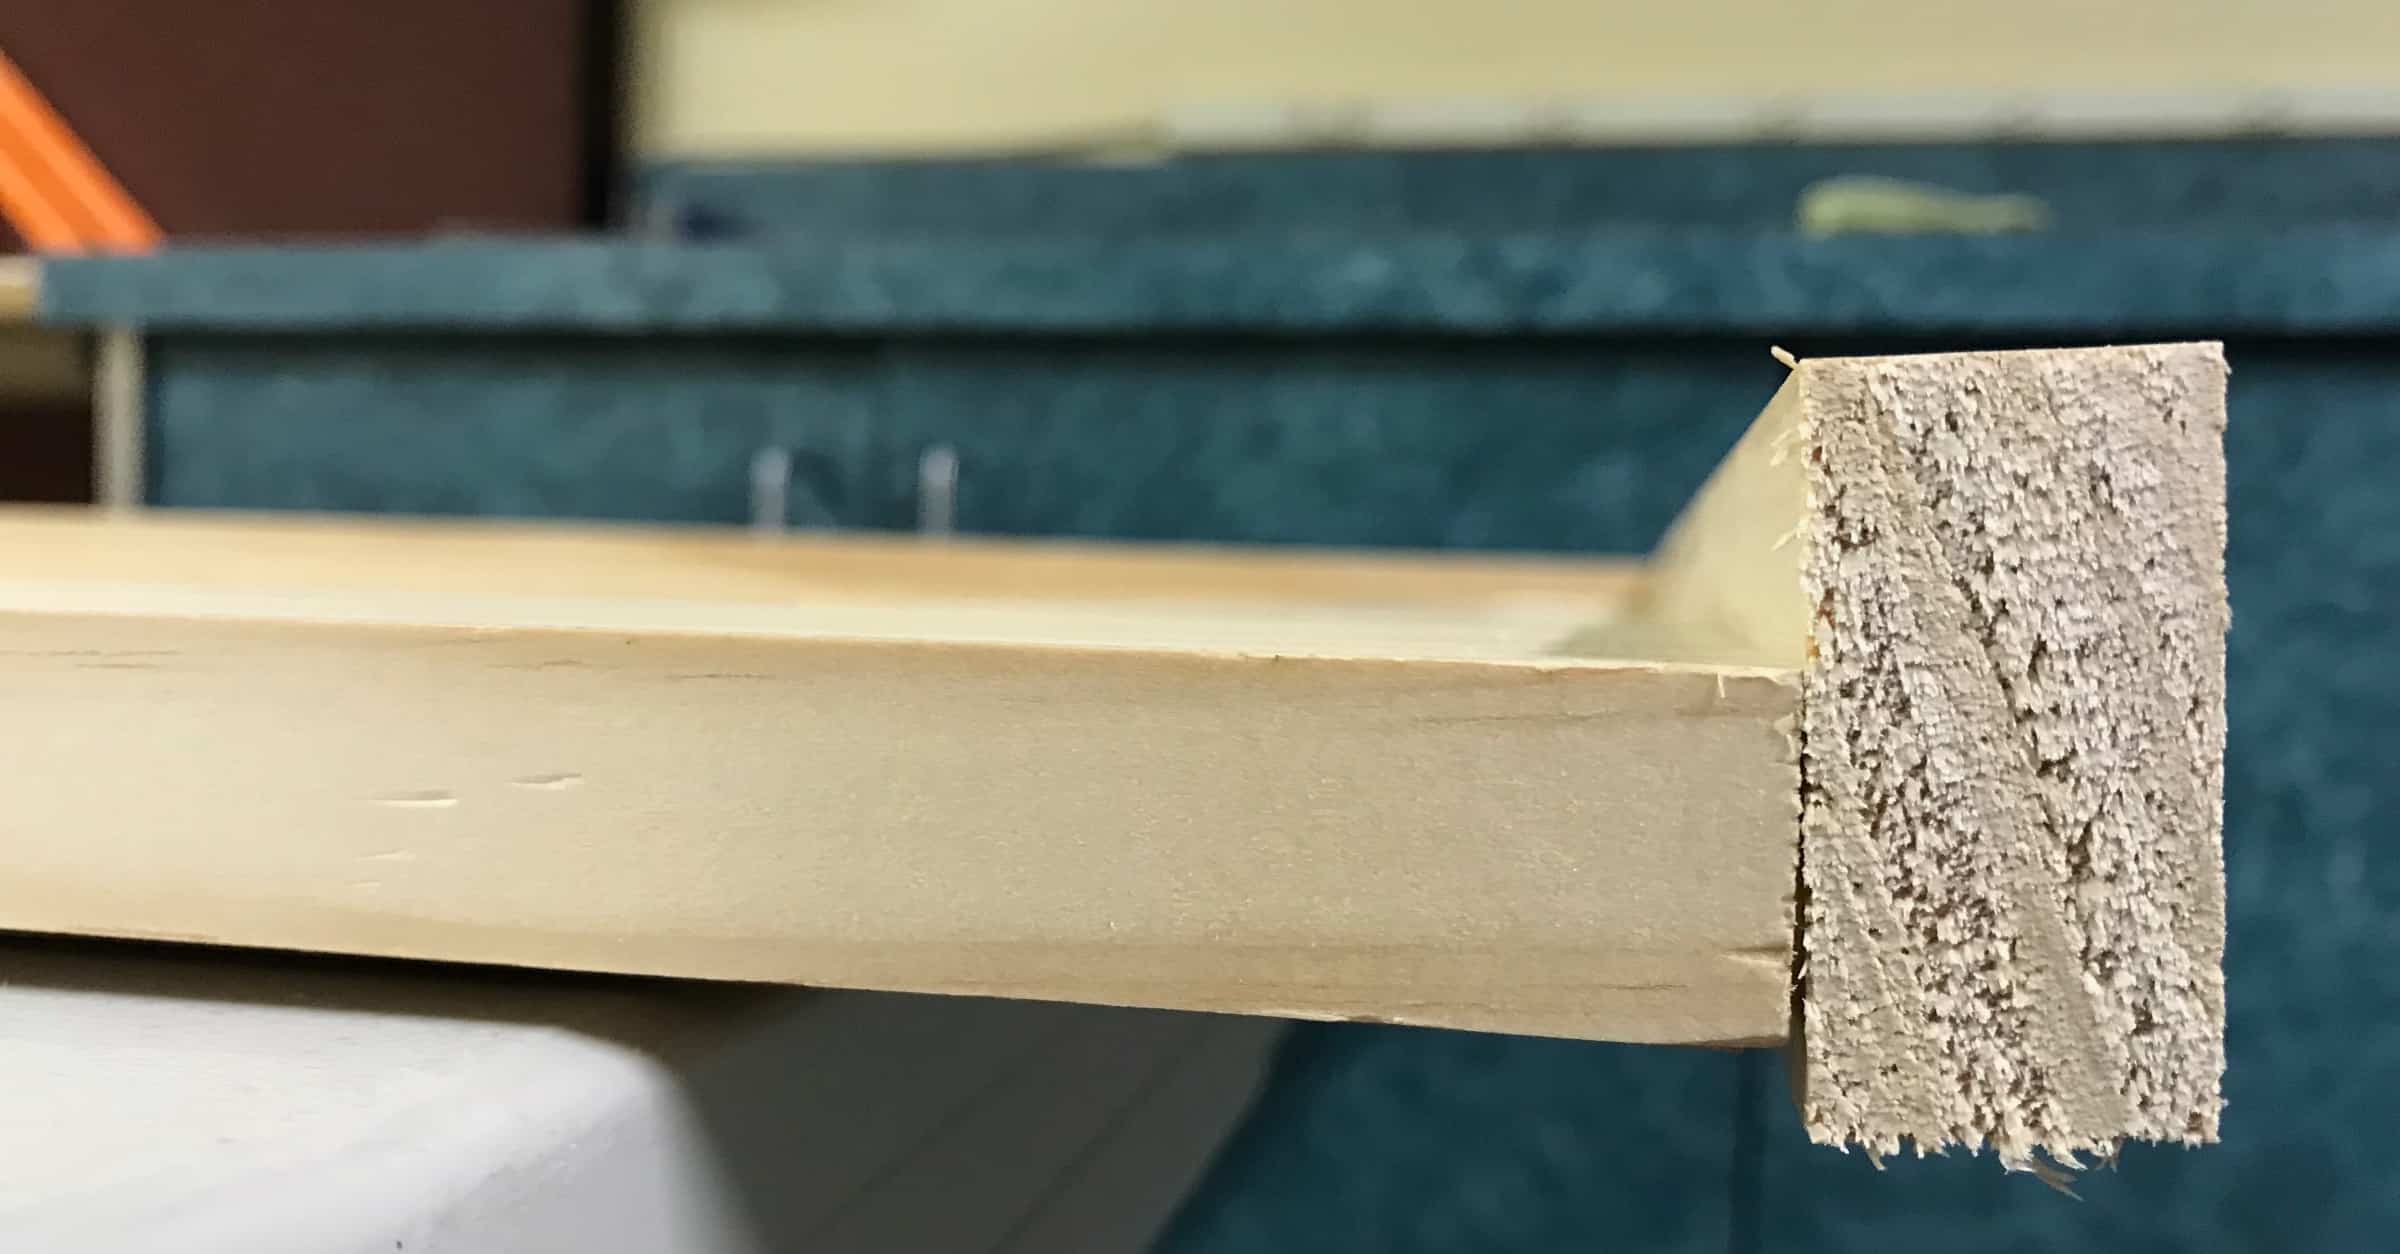
Attach 25″ 1 X 2 cut from 1 X 2 X 6 to top and bottom of frame using a nail gun. I laid the frame with back attached on a flat surface and placed the 1 X 2 flat on the surface. This way there is a slight overlap which will lay flat against the wall.
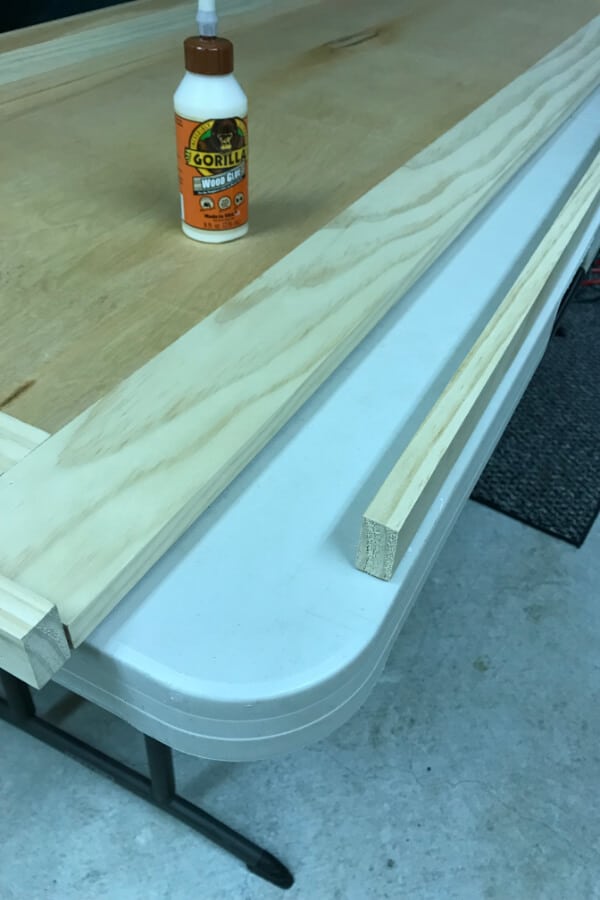
Place your 1 X 2 X 8 next to the long end of the frame and draw a pencil line where it should be cut. This will be approximately 76-1/2″ long but it’s good to measure it to the frame.
Attach the long 1 X 2 to the frame with your nail gun and repeat for the opposite side.
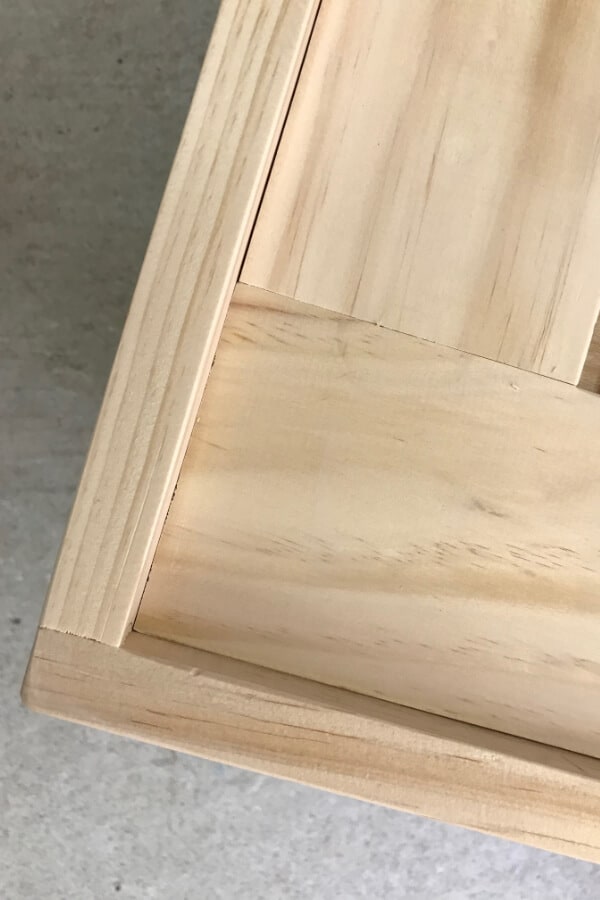
Sand the frame! You may choose to round out the corners by sanding.
Make sure your mirror fits.
After I had stained my frame, we put the mirror mastic on and tried to place the mirror. Guess what? It didn’t fit. We tried to force it in and, you guessed it, broke the mirror! I ended up sanding the inside of the frame and re-staining after frantically scooping up the glue with a putty knife.
Rough it up! I used a hammer to make the wood look a little worn and rustic.
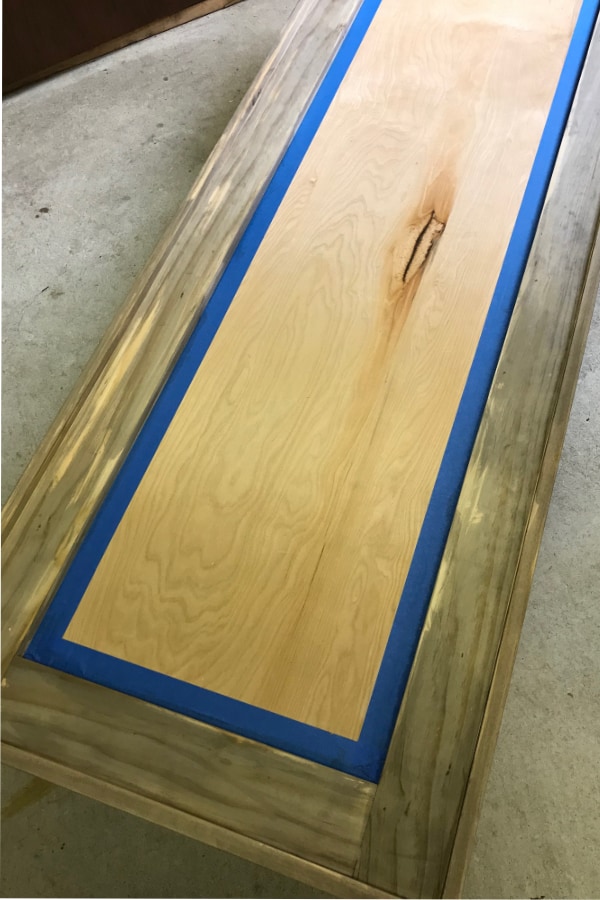
Stain the frame! I used homemade wood stain! At first, I taped off the inside because, you know, I’m just Type A like that. BUT after the second sand, I realized I was probably better off letting a little stain on the edges where the mirror would be placed in case there were any gaps.
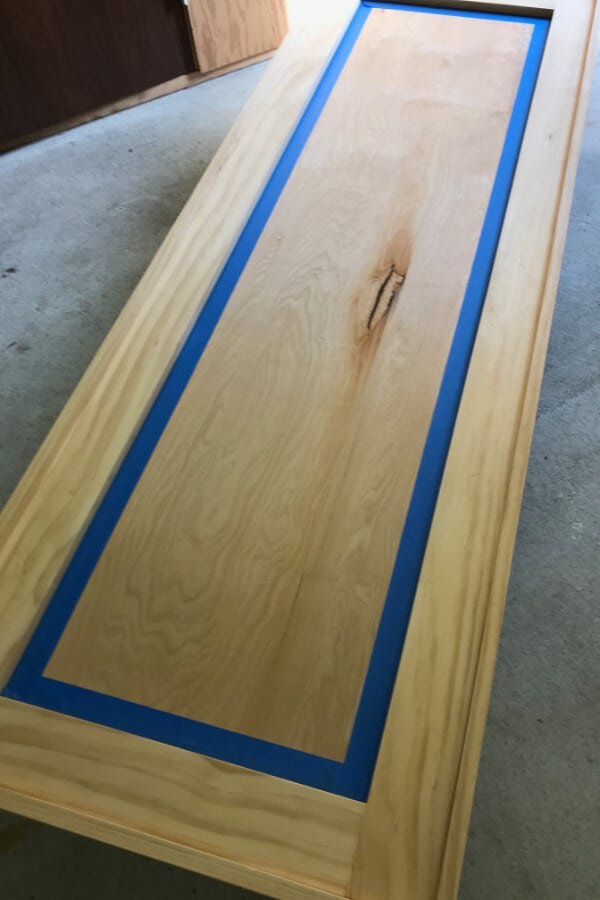
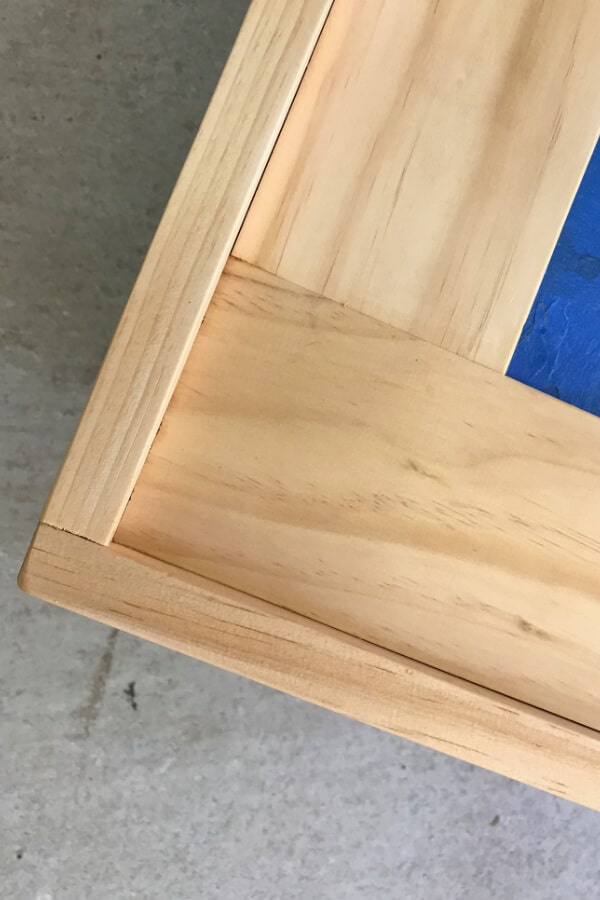
This is the raw pine.
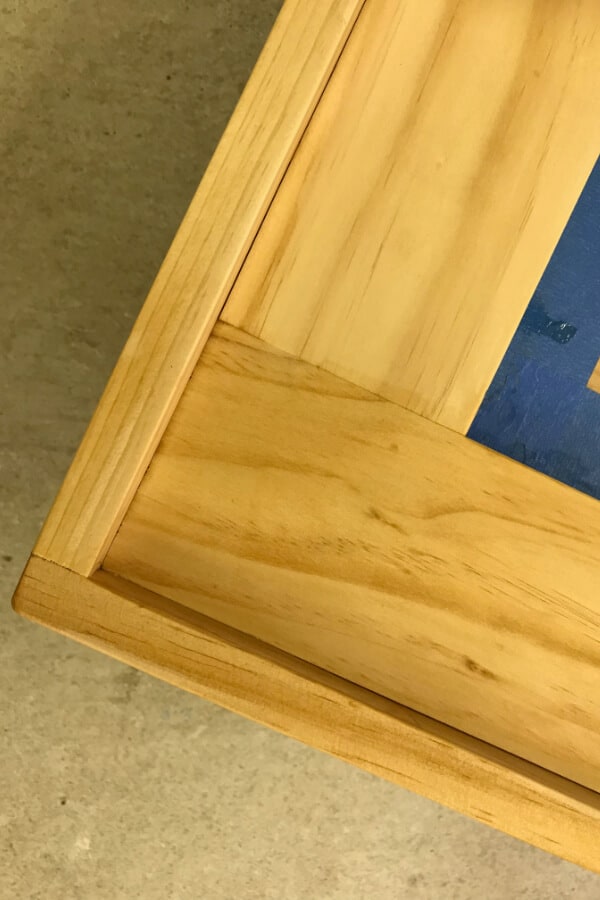
Here’s the pine with a tea stain.
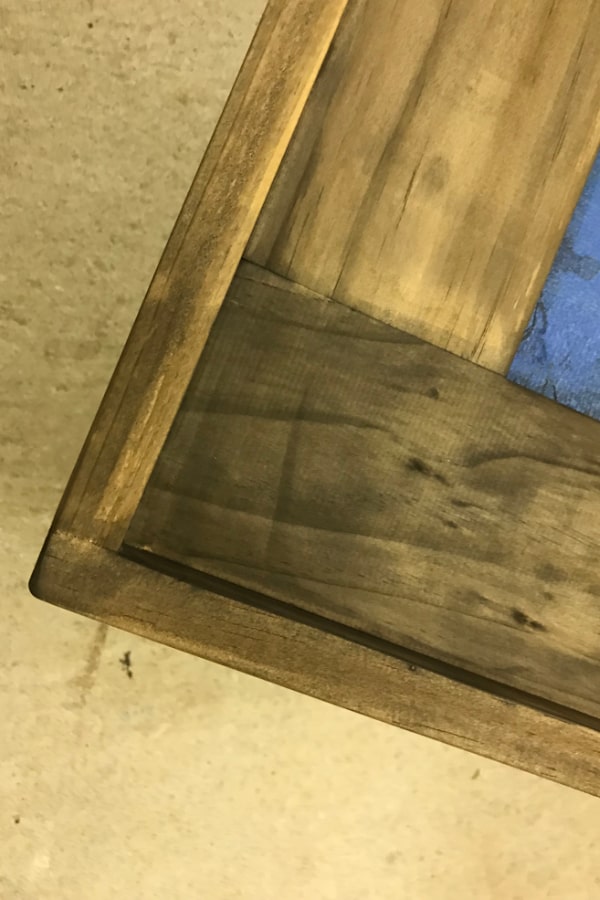
And here it is with vinegar stain. Notice the patches? This is where I didn’t get the tea stain on. I used a brush to brush on the tea stain and missed quite a few spots. If I were to do it again, I would use a rag to apply the tea stain.
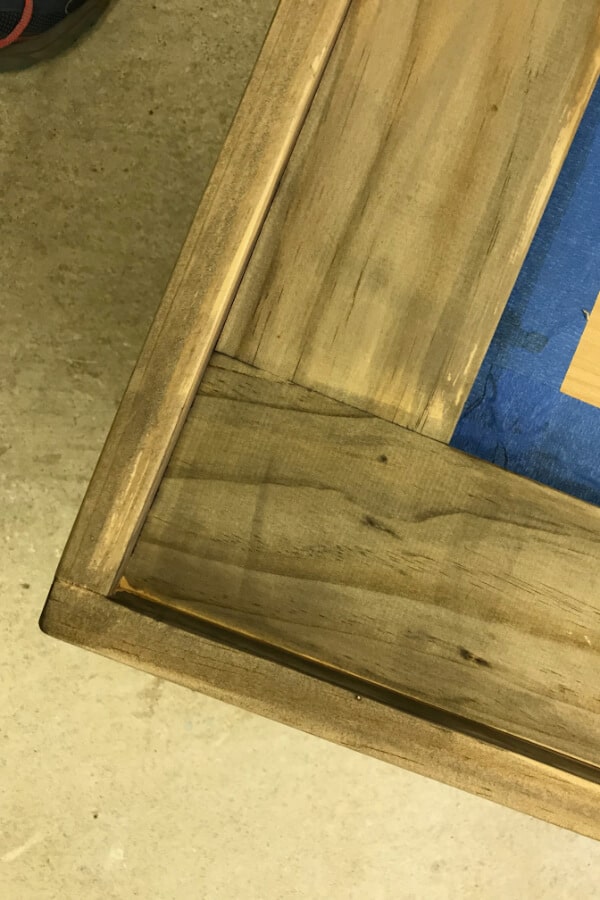
This just shows how the tea stain adds so much to the vinegar stain!
I went back over the spots with a mixture of tea stain and vinegar stain. While not perfect, it helped a lot!
Run a continuous bead of Mirror Mastic on the back of your frame where the mirror will go.
Place mirror on Mirror Mastic and press firmly. Not too firmly! Don’t break it!
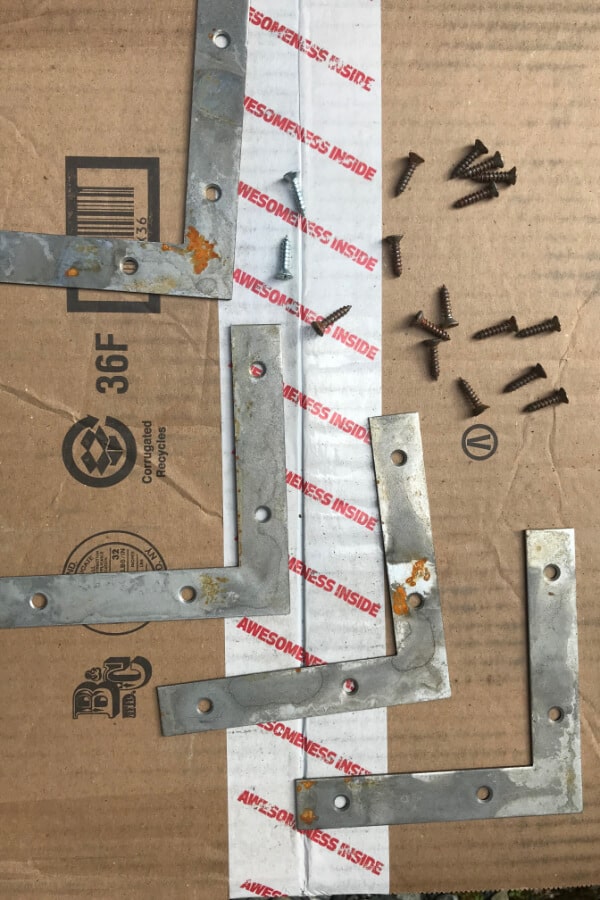
Spray corner braces and screws with Rustoleum Oil Rubbed Bronze Universal Spray Paint. I had tried a natural patina in a vinegar solution but it didn’t work out.
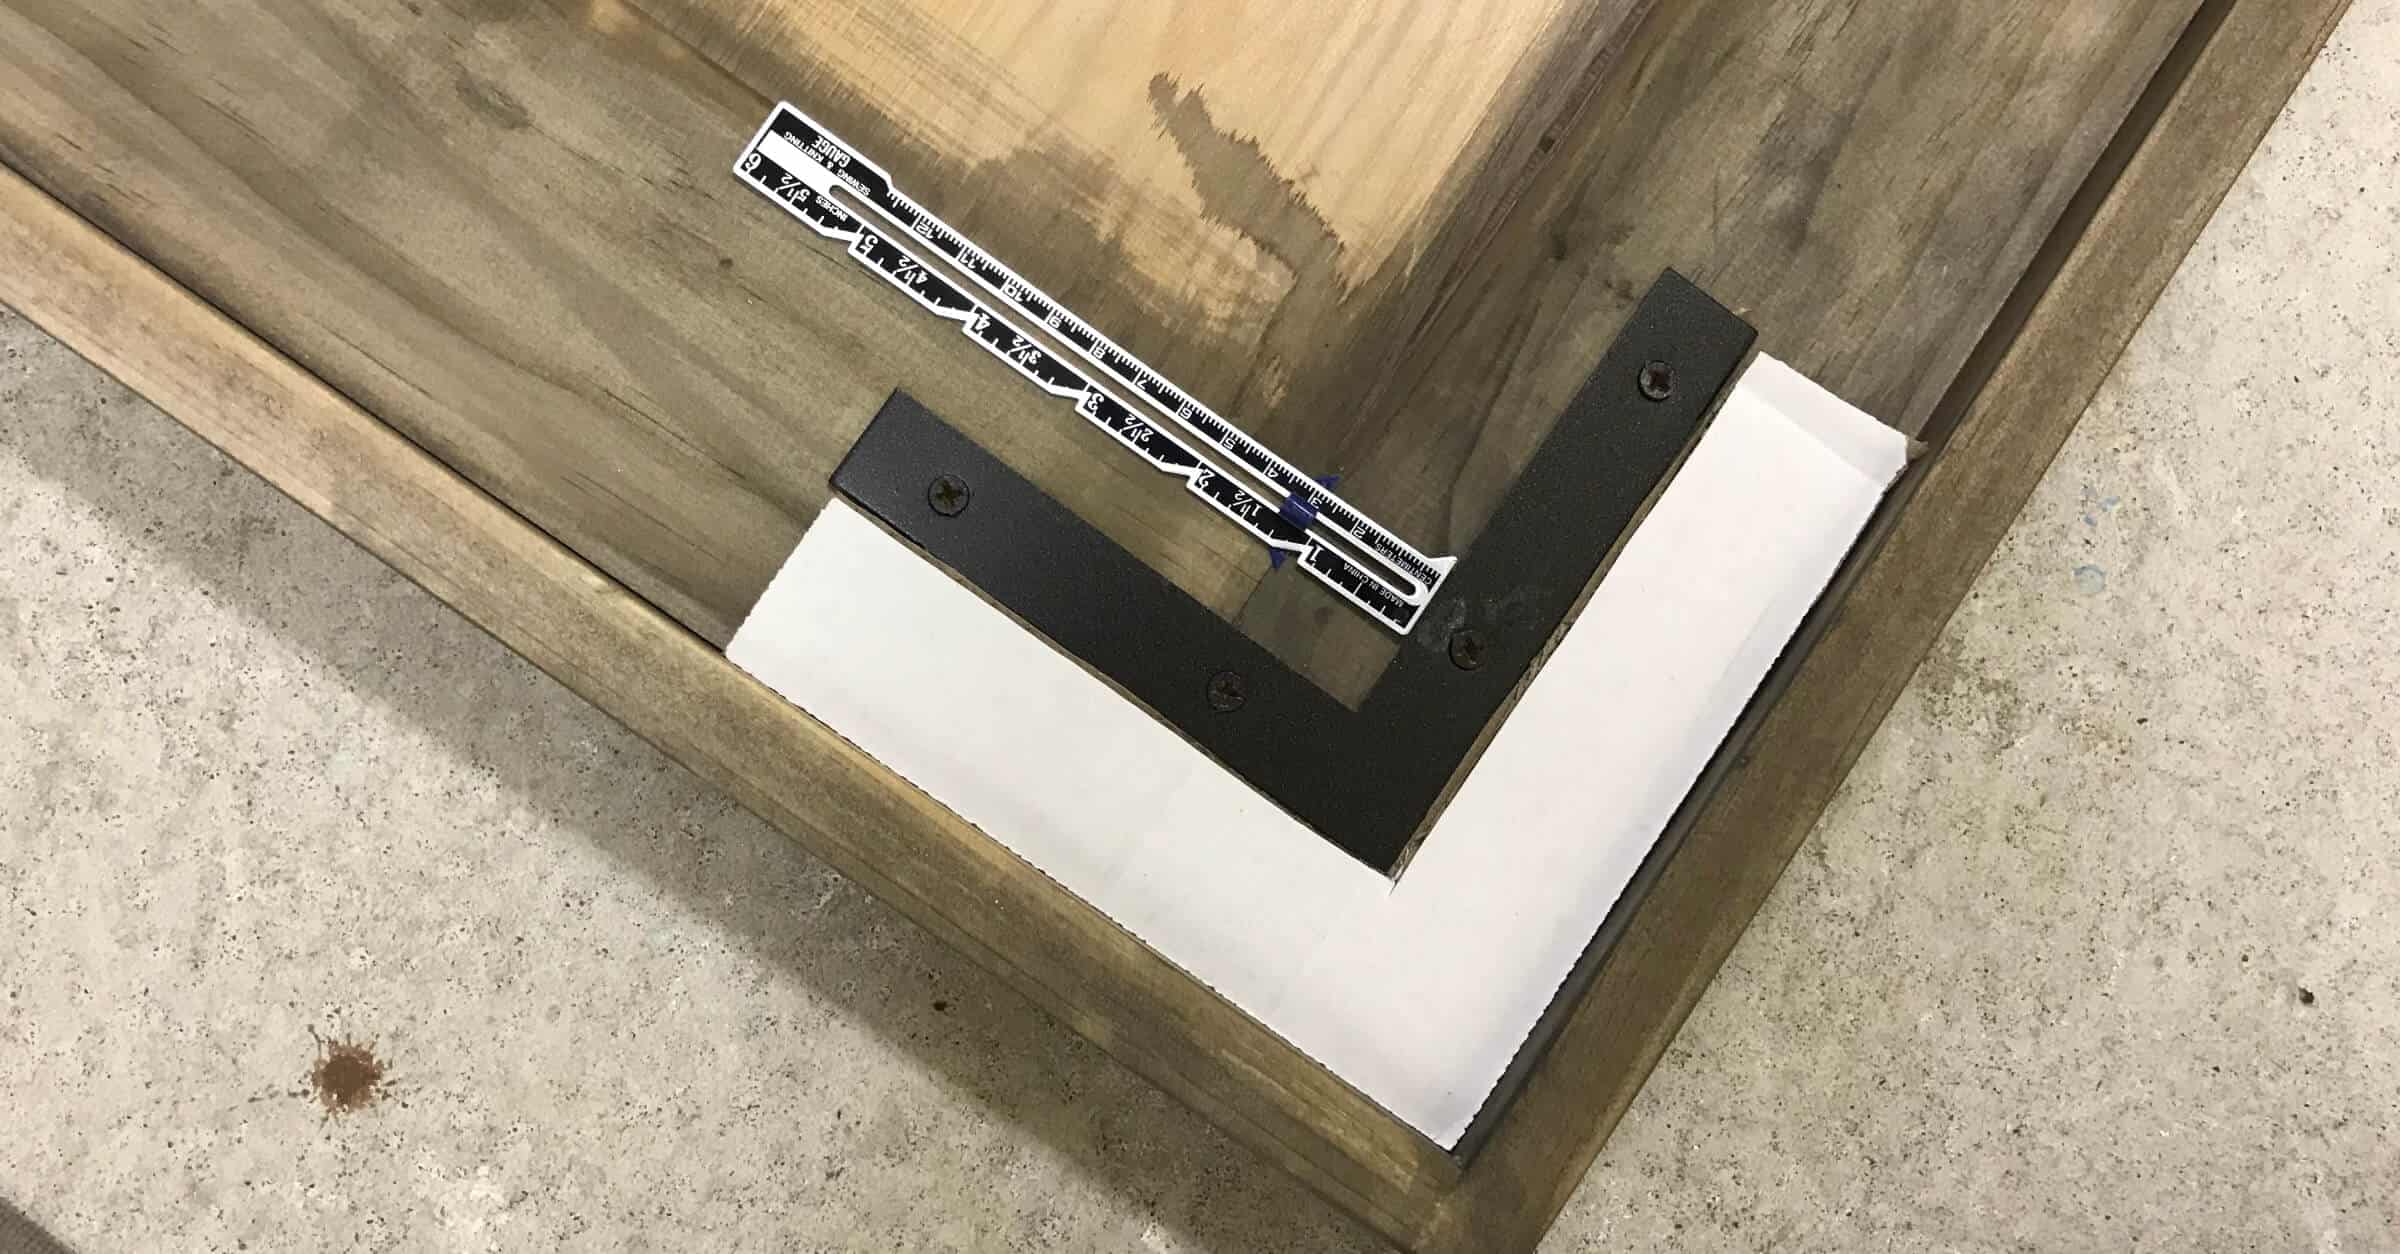
Once dry, place corner braces on each corner and screw them in. I made myself a template out of the mirror box to ensure each brace was placed evenly!
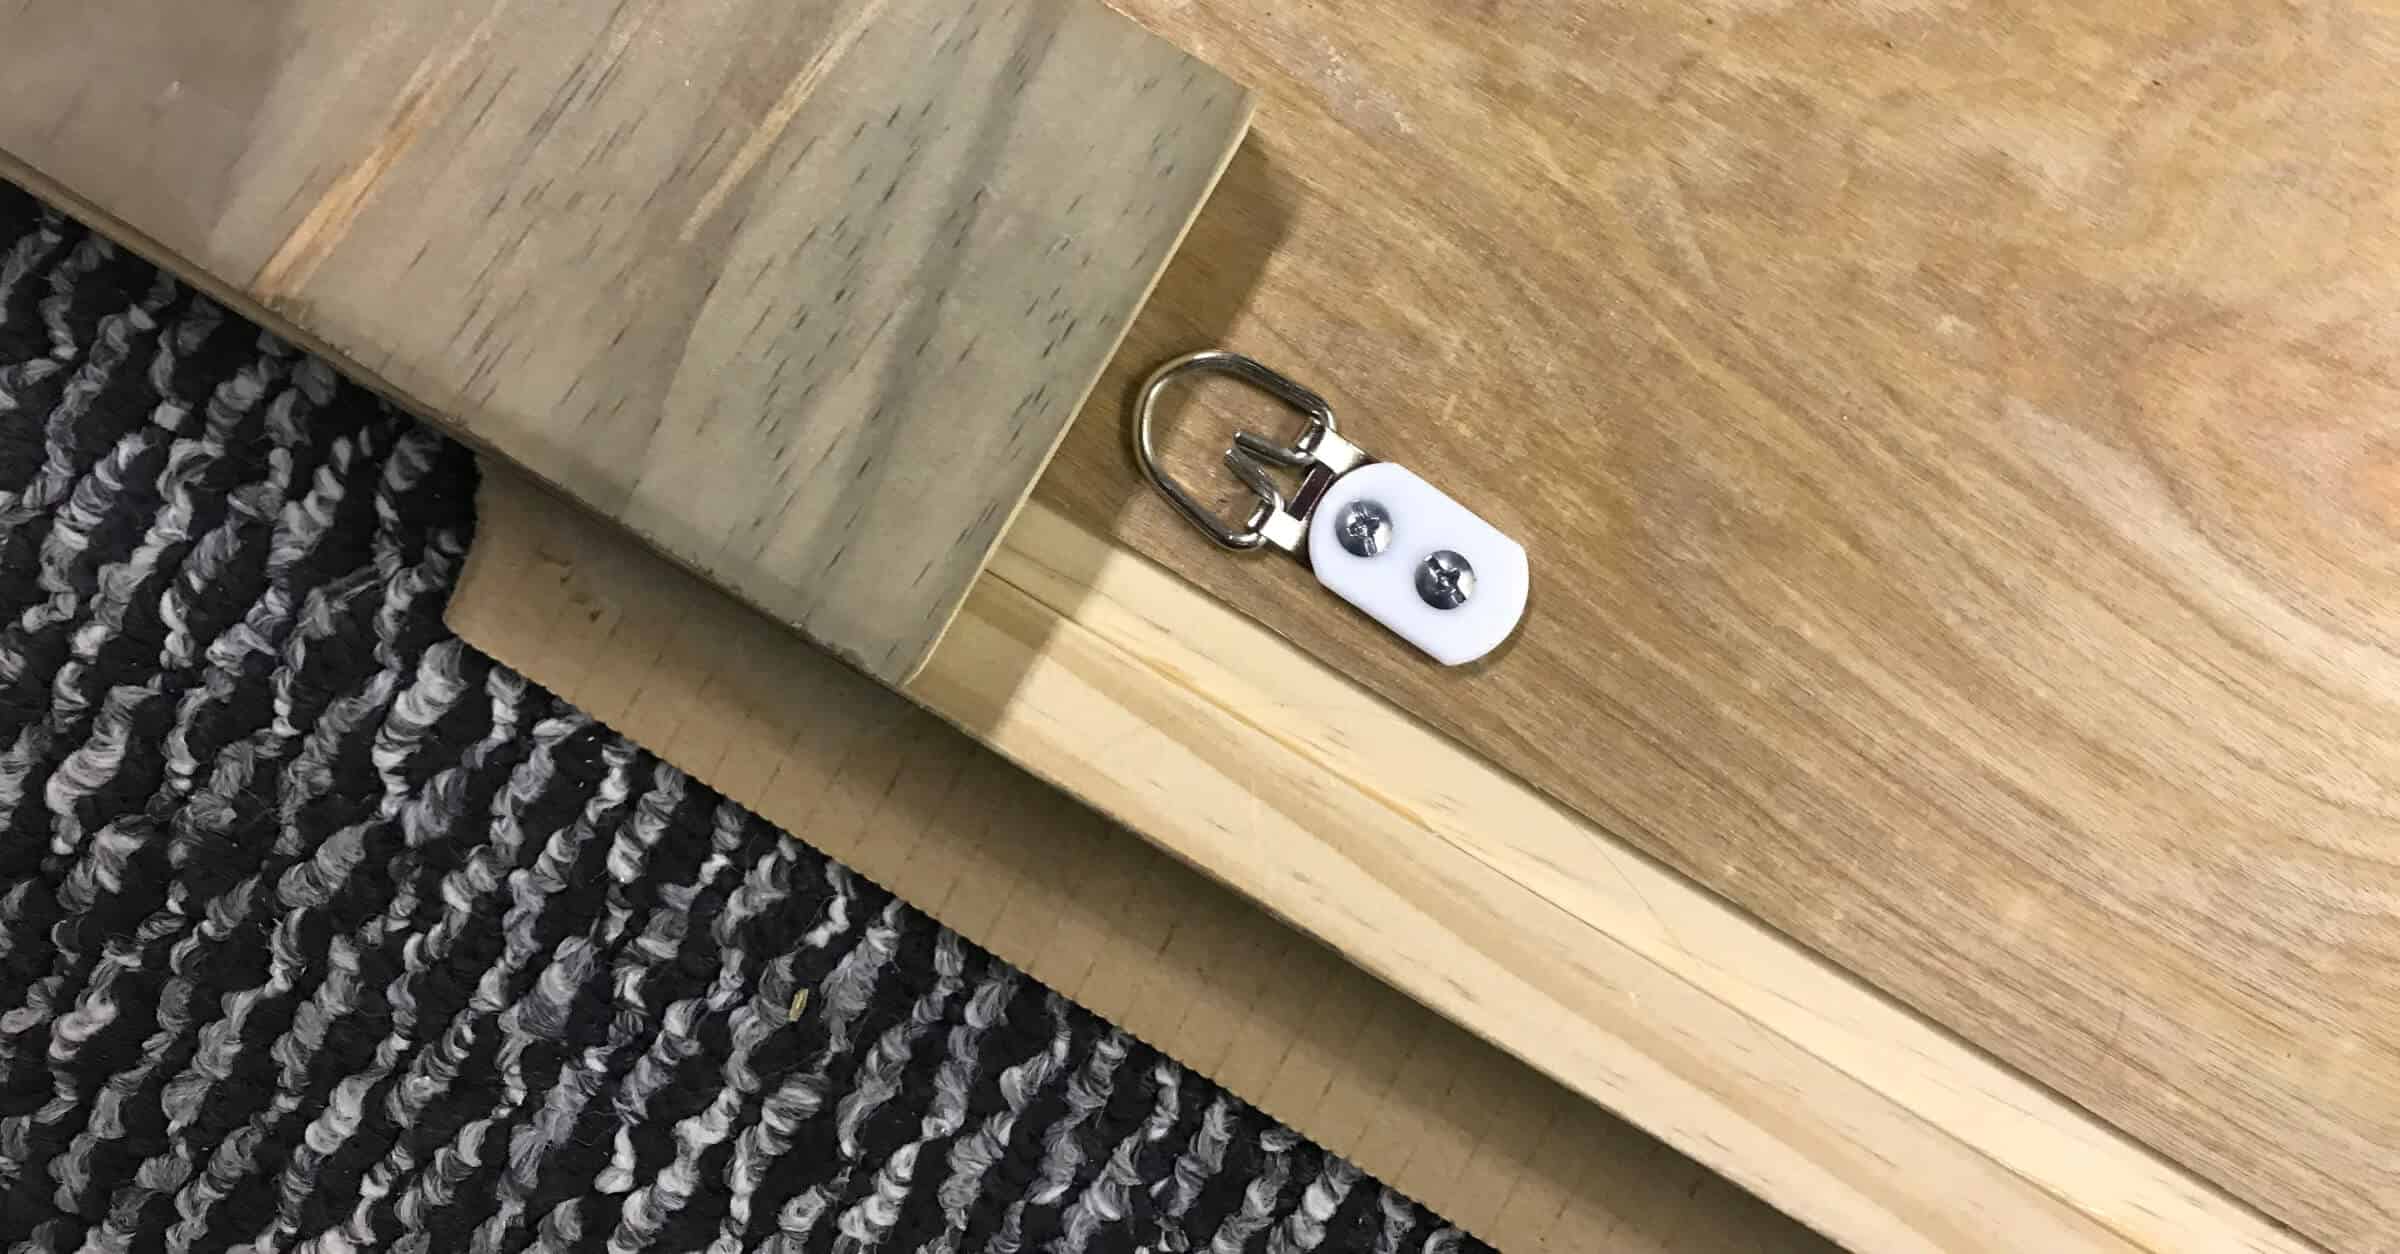
Adhere heavy duty D-Rings to the back on each side. I screwed them into the backing and 1 X 4 and attached heavy duty wire to hang from. The wire was a bit cumbersome so I would recommend drilling screws into studs or drywall anchors to hang. This mirror is HEAVY!
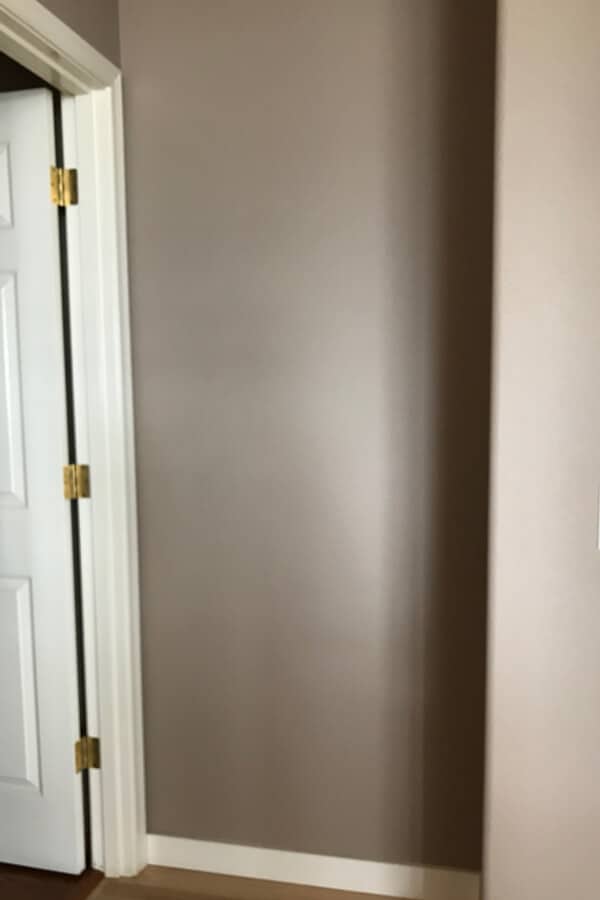
Here’s our bare, lonely wall waiting to be decorated.
And here’s our new mirror! Super rustic and fun!
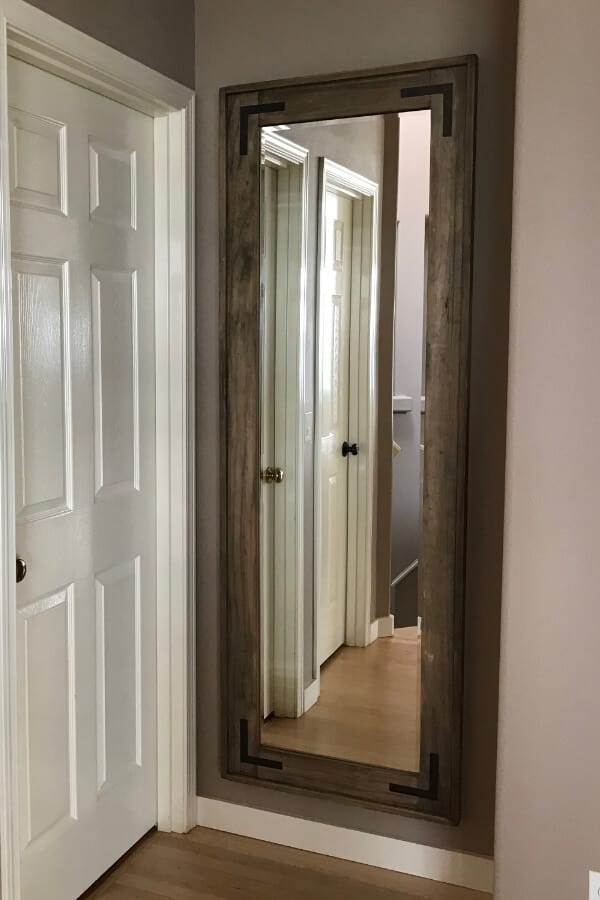
DIY’s are challenging but fun! I’m super happy I took the time to learn how to build a mirror frame. The result is just what we hoped for!
Get the homemade Wood Stain Chart here!
You will also receive weekly emails with new printables, project ideas, or musings!