How To Melt Crayons Into Shapes
Melt crayons into shapes by placing broken pieces into a silicone mold and melting the crayons in the microwave or oven! This activity allows you to use your creativity since you can use so many shapes and color combinations!
Way back when Jack and Justine were in elementary school, we used a heart-shaped silicone mold to melt crayons into heart shapes and made a little Valentine like this Valentine printable to go along with them to pass out to classmates. Fast forward to having great nieces and nephews around and I thought it would be a fun activity for them too! If you’re thinking about Valentine’s Day, you might also like this Popcorn Valentine idea.
Supplies
This post contains affiliate links. When you purchase through an affiliate link, we receive a small commission at no additional cost to you. Disclosure.
- Silicone Mold (in the shape of your choice) – In the past, we used a Heart-Shaped Silicone Mold. This time we used a Bunny-Shaped Silicone Mold for Easter.
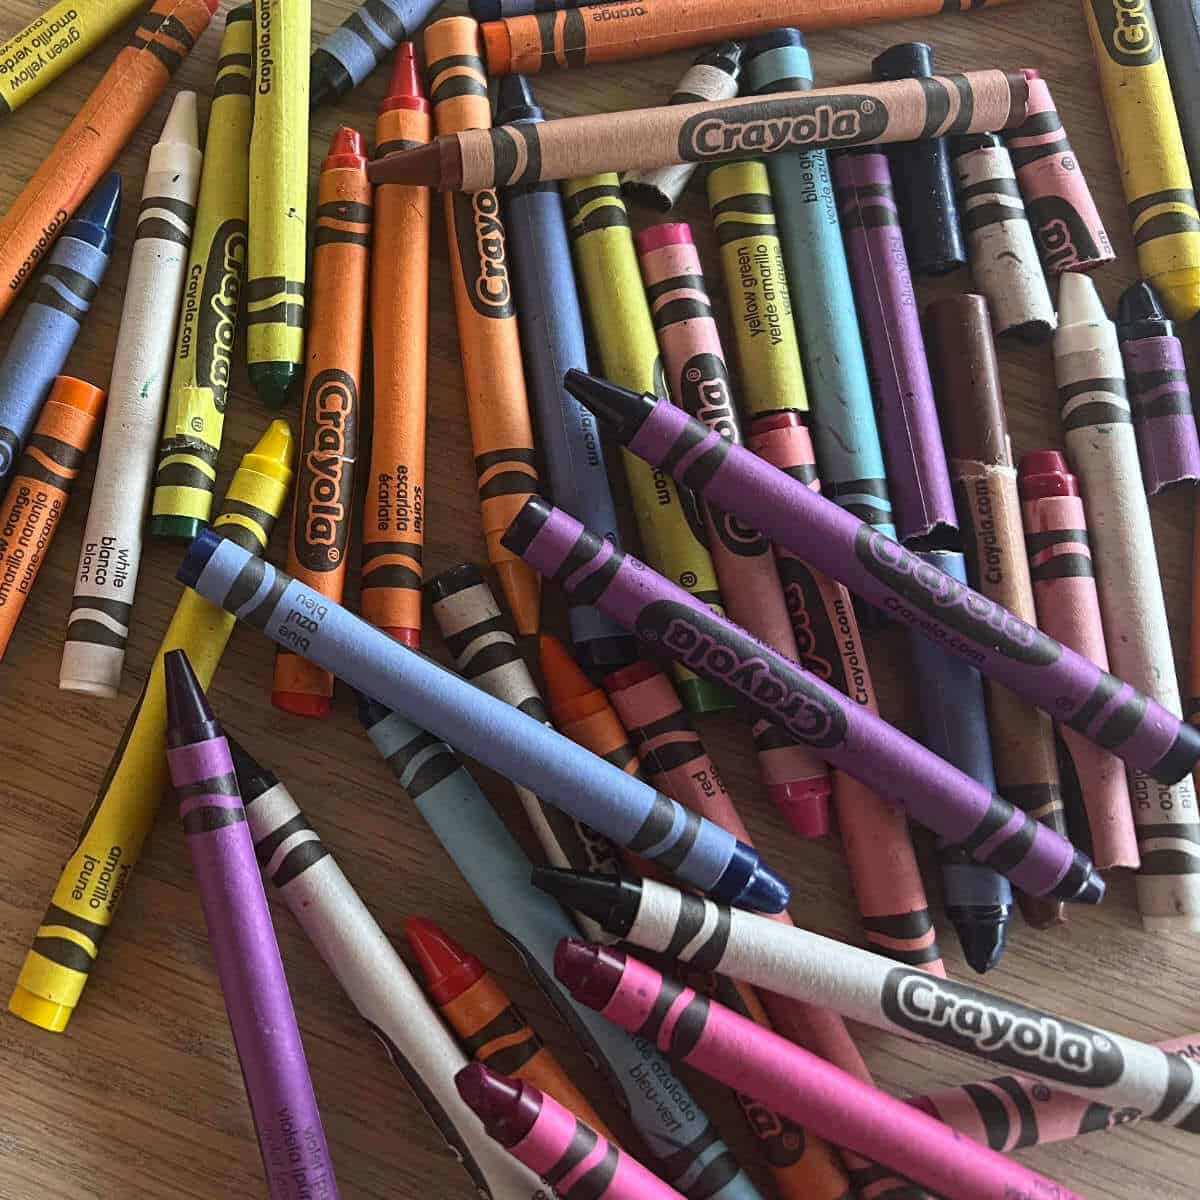
- Crayons – Crayola Crayons work best. I have tried the cheap knock-off versions and the colors all seem to melt together making one yucky color instead of keeping the colors intact. If you have old crayons this is a great way to bring new life to them!
- Box Cutter – To make cutting the paper off the crayons easier, I used a box cutter to slice through the paper lengthwise. This can take patience and you need to watch your fingers as the knife likes to slip. I suggest holding the crayon at the top and using a piece of cardboard underneath so you don’t knick your table.
- Microwave or Oven – This time around, we used the microwave to melt the crayons.
- Pot Holders
Directions
1. Cut the paper off the crayons.
I used a box cutter to cut a line down the crayons lengthwise so the paper would be easy to peel off. I almost nicked my fingers a few times doing this so be very careful. You may also want to place a piece of cardboard under the crayons as you cut them in case your blade slips.
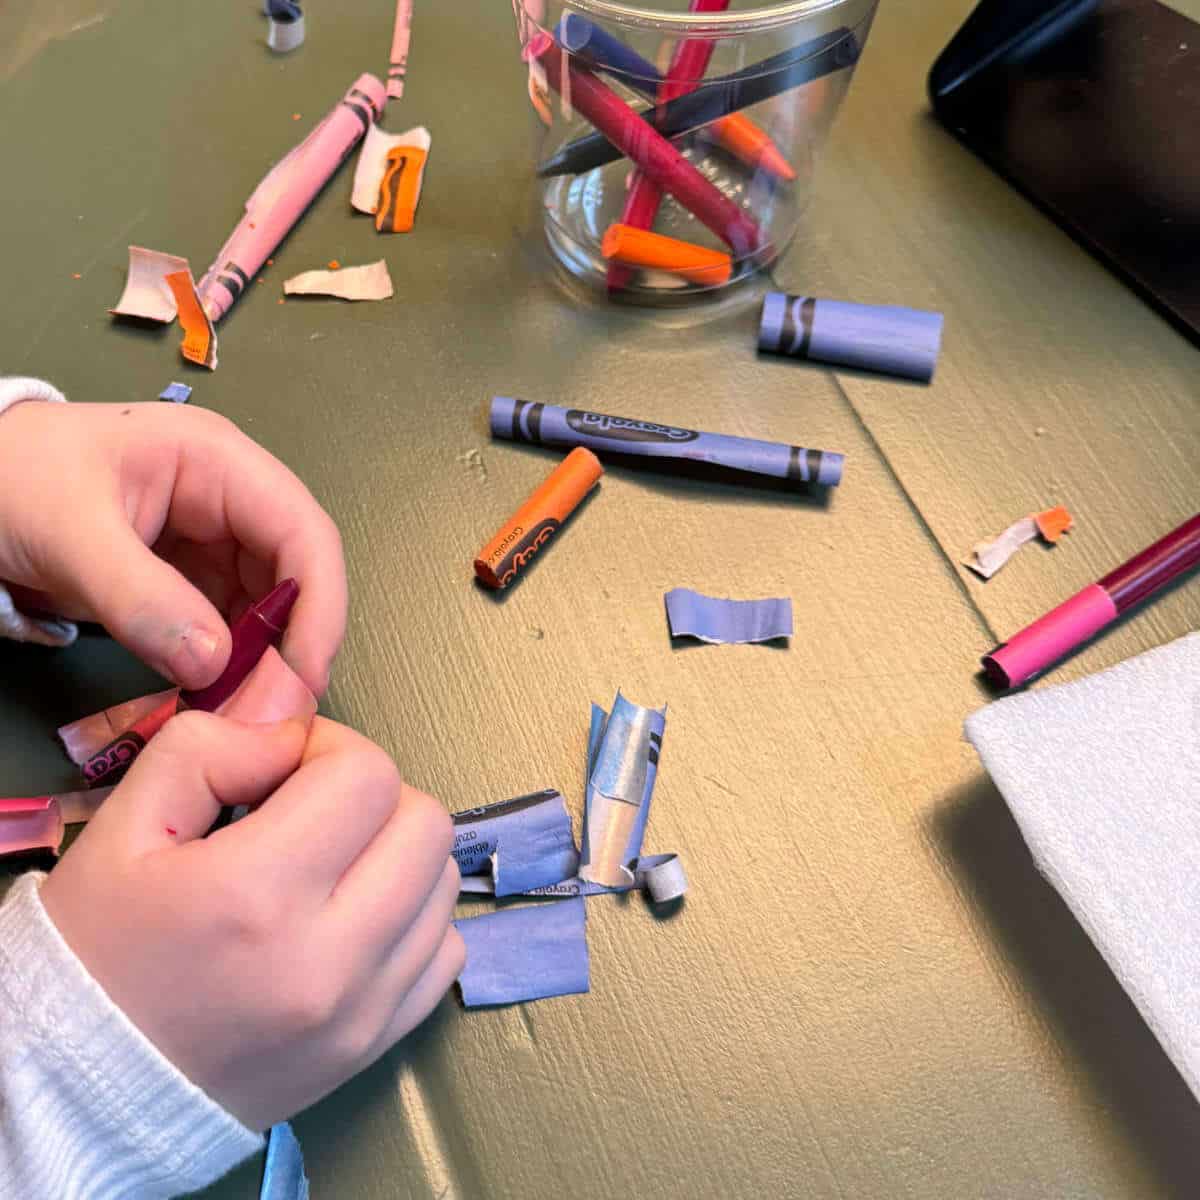
2. Remove the paper from the crayons.
Once you have cut the paper on the crayons, it is much easier to remove the paper. My little niece is just 4 years old and she was very patient in removing the paper and wanted to do it on her own!
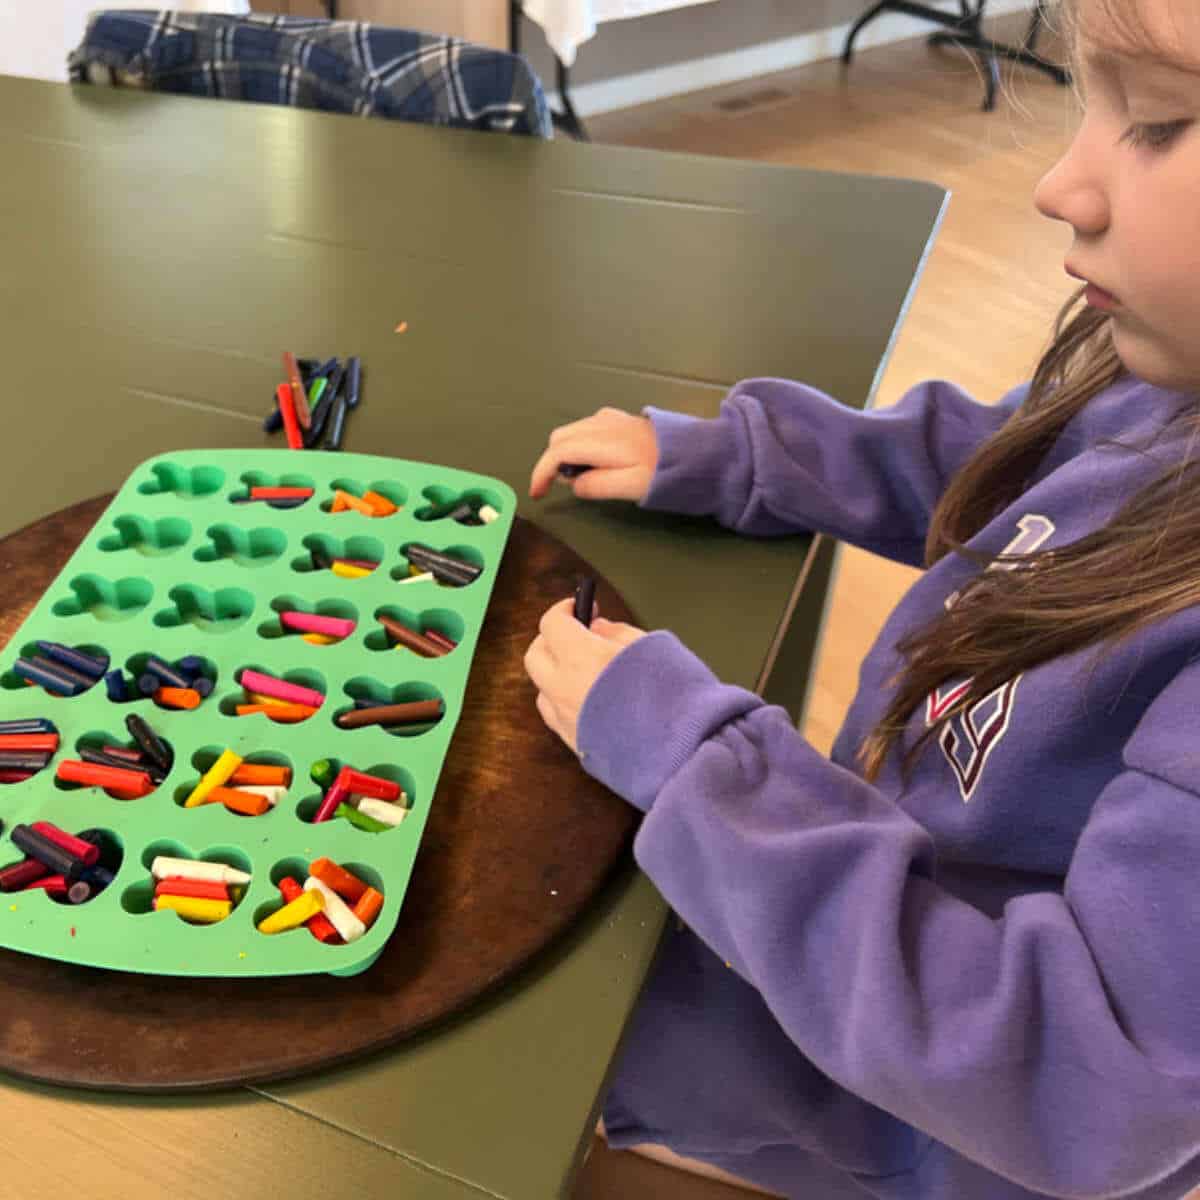
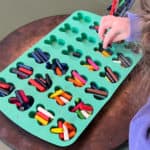
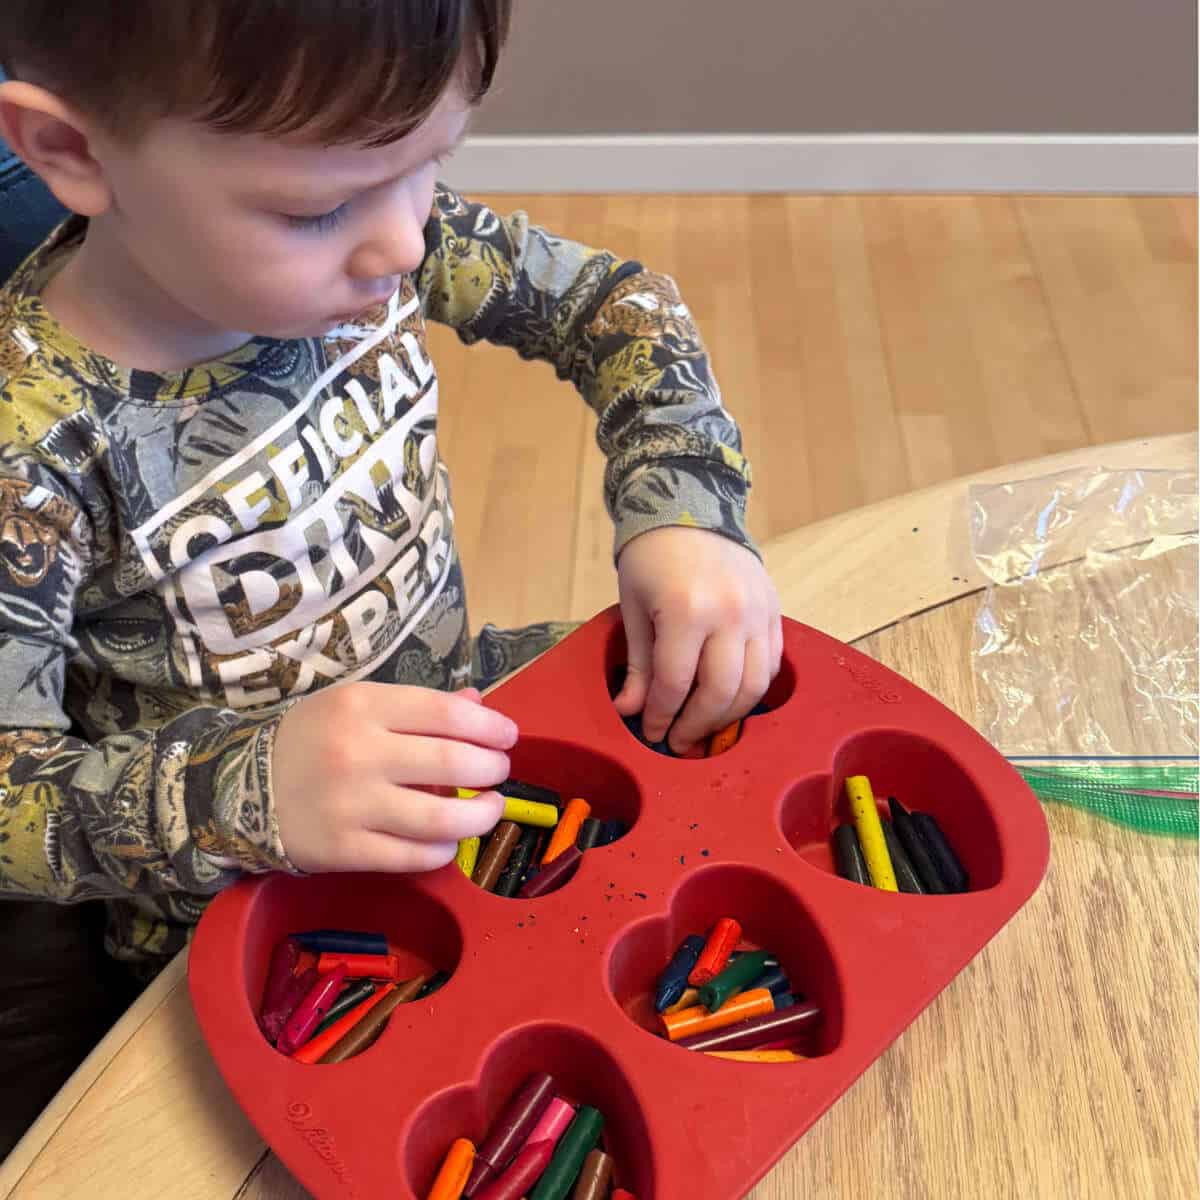
3. Break the crayons and place them in the mold.
When you are usually told not to break the crayons, this is a fun activity that permits you to break the crayons! It’s fun to place the broken pieces in the mold and come up with your very own designs!
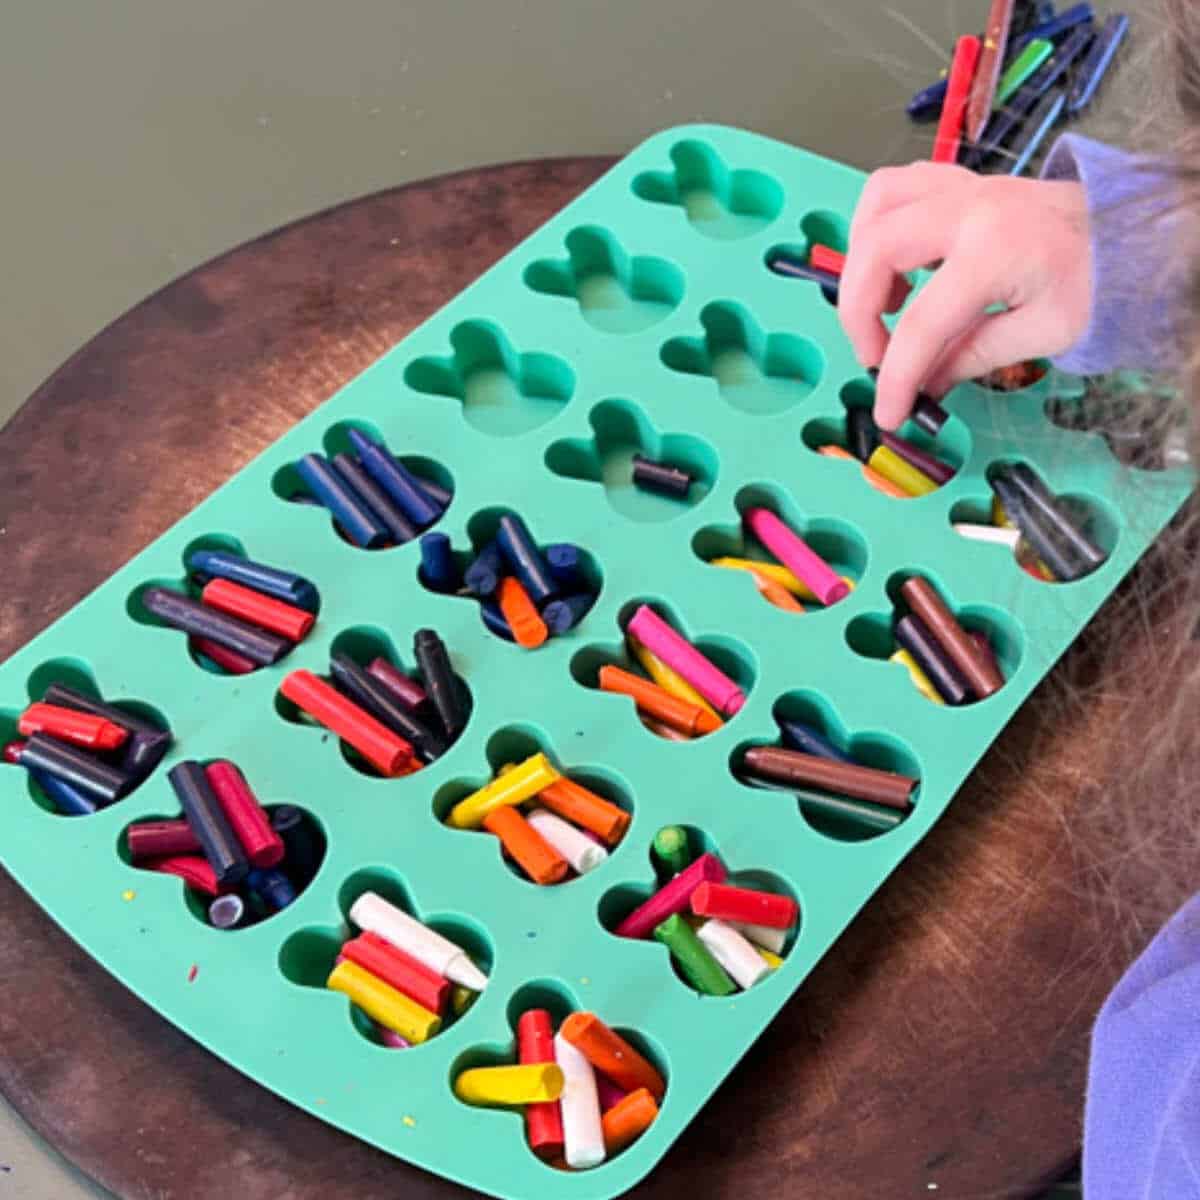
Tip: This is the time to decide if you want to make the crayons thick by over-filling the mold shapes or thinner by not using as many crayons. We chose to over-fill the mold shapes to make the bunnies thicker.
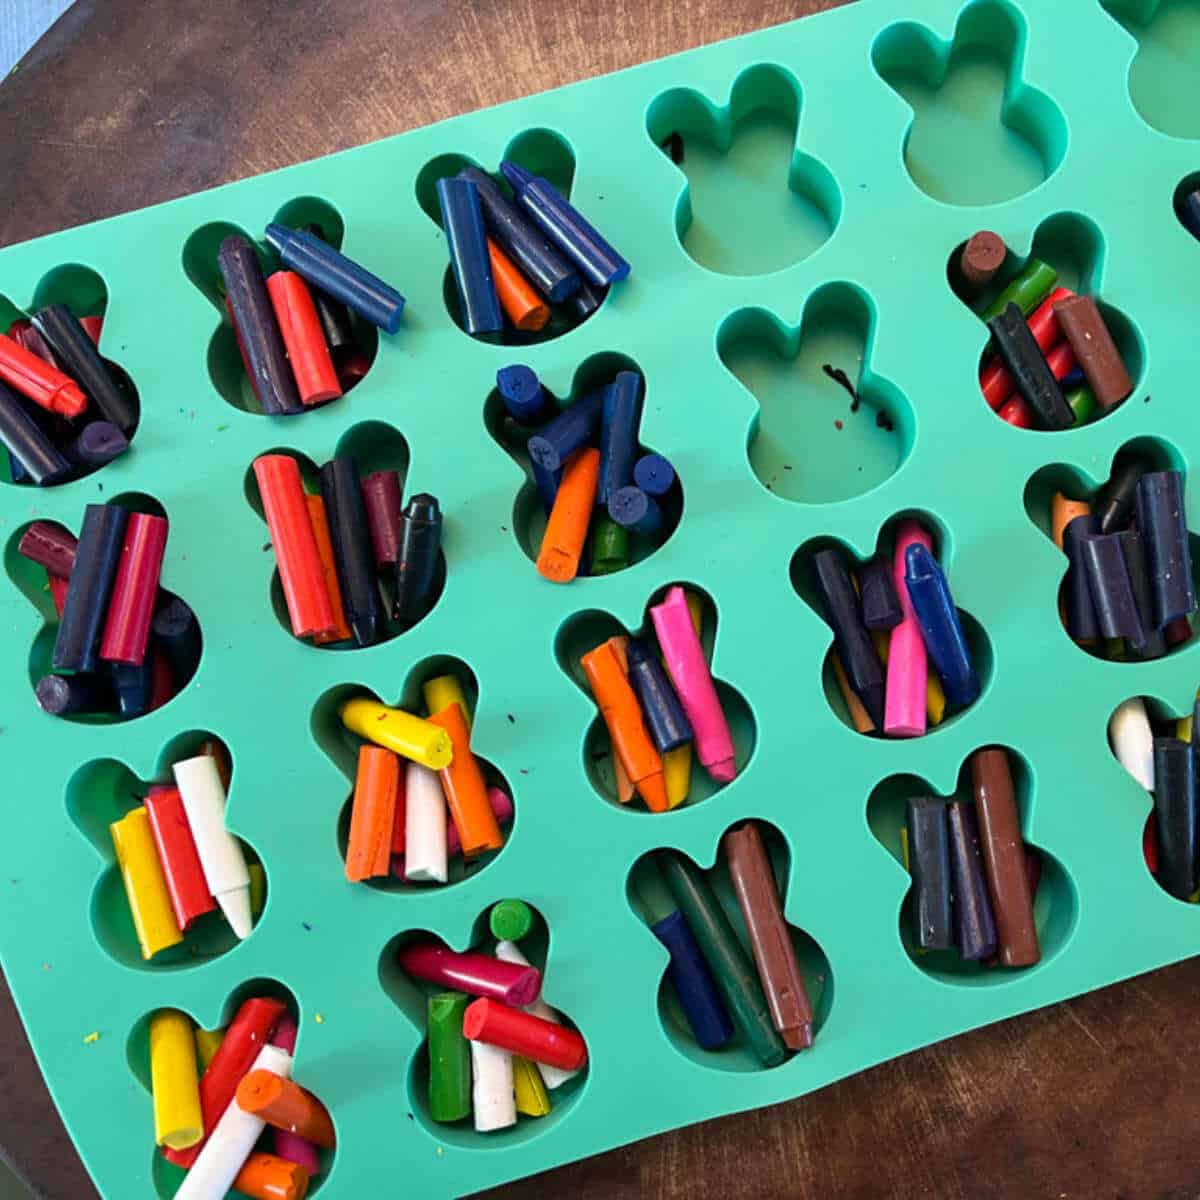
We chose to mostly do dark colors together and bright colors together. My niece took a lot of time choosing how she wanted to place the crayon pieces.
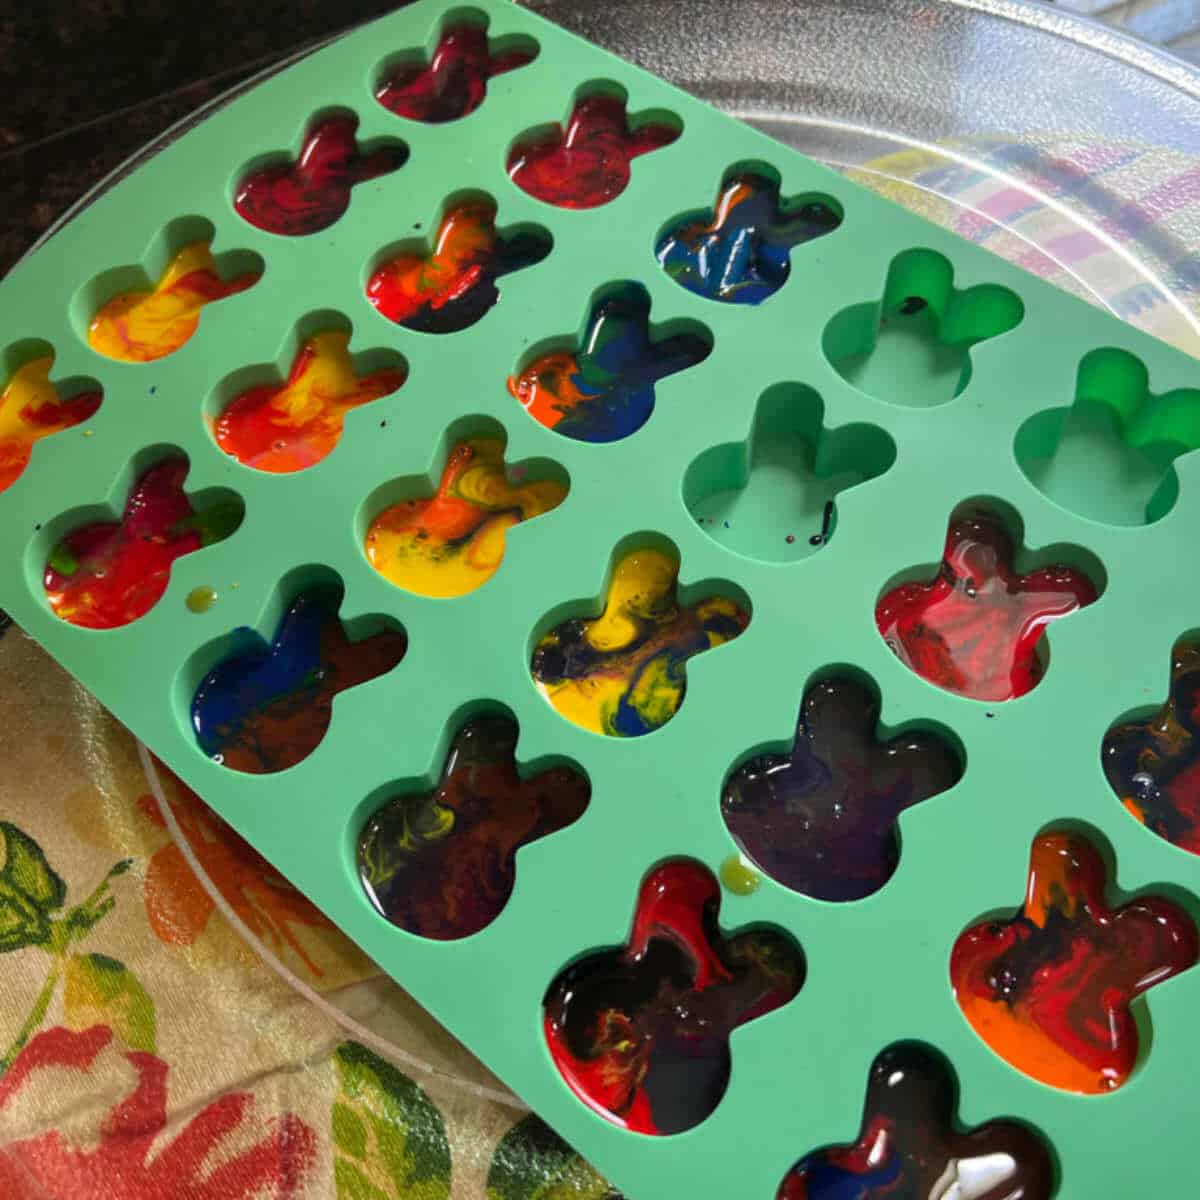
4. Melt the crayon pieces to make new shapes!
This time, we chose to use the microwave to melt the crayons in three-minute increments. We checked them at each three-minute mark and the crayons were almost done melting at a total of nine minutes. Your microwave may be different.
If you choose to use the oven, place the mold on a cookie sheet and into an oven that’s been heated to 220°. Watch the crayons carefully and pull the cookie sheet with the mold out of the oven, with pot holders, when you see they have almost thoroughly melted. This could take about 20 minutes.
Tip: The crayons will continue to melt when you take them out of the microwave. If you look closely, there were a few crayons that hadn’t melted all the way. They did melt within a few minutes of removing them from the microwave. I didn’t want to overcook them as I thought the colors might bleed more if I did.
Tip: Remove the mold from the microwave with the base plate and pot holders. It will be hot. I removed the crayon mold from the microwave on the spinning plate that usually stays in the microwave. I did this because I knew the mold would not stay flat if I took it out on its own and I wanted the mold to stay flat so the colors would stay where they are and to keep hot crayon liquid from spilling all over.

5. Let the crayons cool.
It doesn’t take long for the crayons to cool. We popped the crayons out about two hours later but they may have been ready sooner. My niece needed a little bit of help popping the crayons out of the mold but loved being a part of the process!
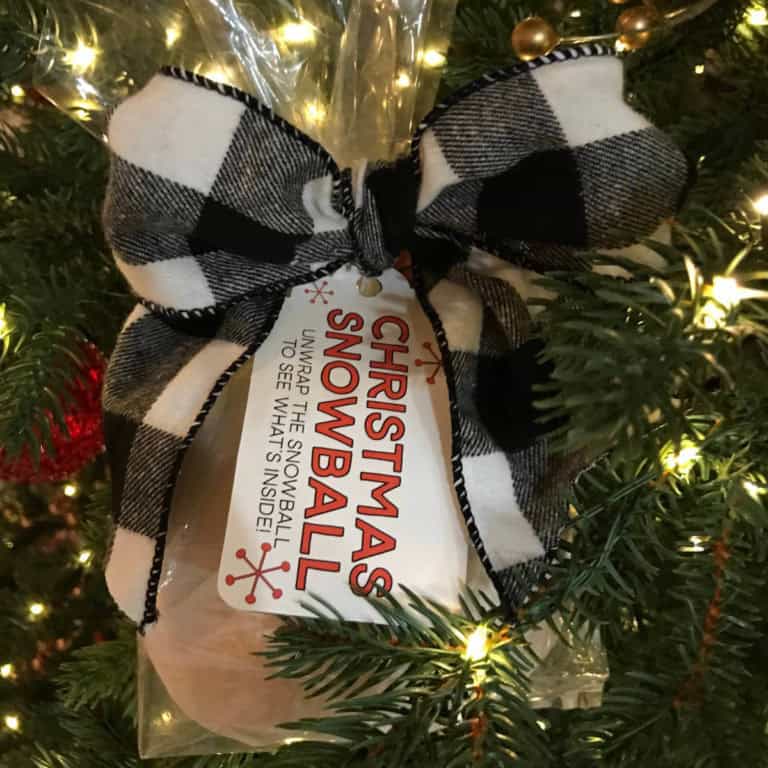
At our Christmas craft party one year, we made Christmas crayons along with Magic Reindeer Food and other Christmas Crafts For Kids. These crayons can be made for just about any occasion and they make fun gifts for holidays, party favors, classroom treats, or just a creative craft project for kids! Keep an eye on younger children to make sure they don’t try to eat the crayons.
My niece asked if she could make bunny bags to give to her teachers for Easter and she added a bunny crayon to each bag. It was a perfect gift made by her!
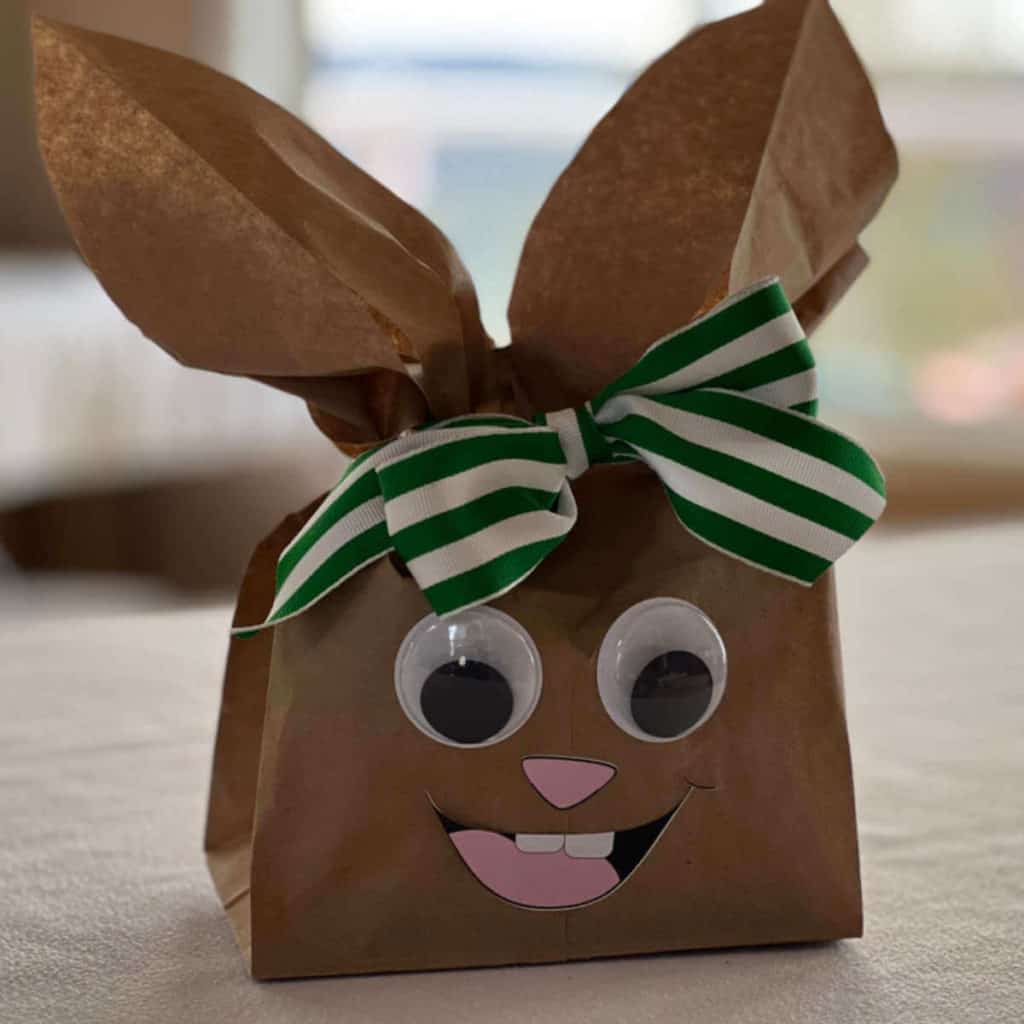
Heart Crayon Valentines
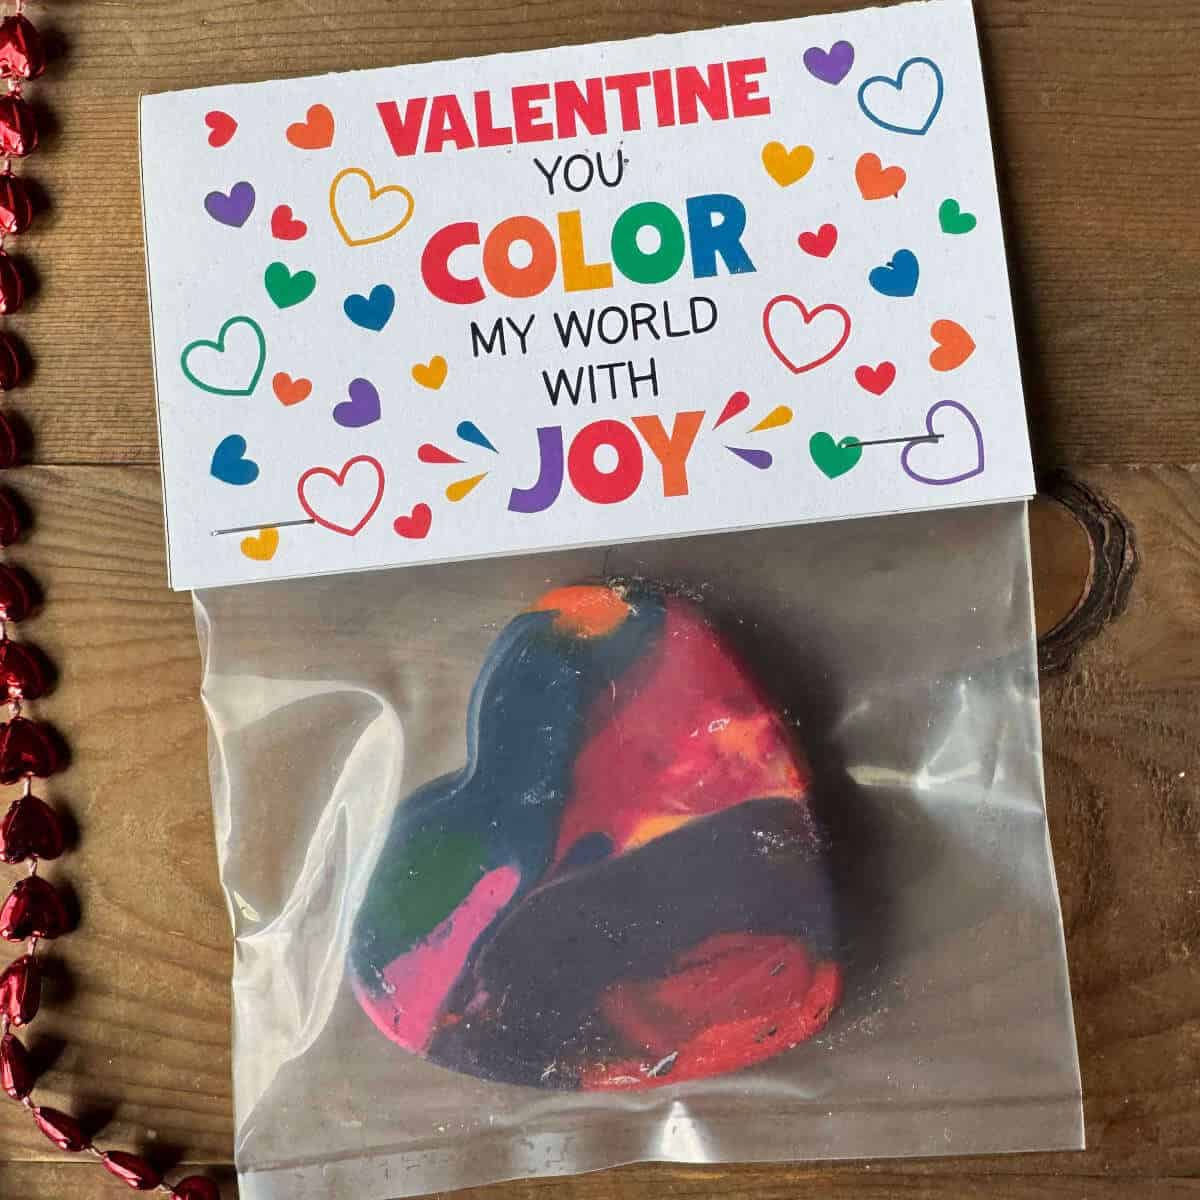
I helped my great nephew make Heart Crayon Valentines for his cousins and then created bag toppers so he would have a festive way to deliver them!
Do you want to help your kids melt crayons into heart shapes? It’s a super fun way to use up all of those old crayons and turn them into something new! They also make an excellent classroom Valentine idea so I’ve created bag toppers and tags that say, Valentine You Color My World With Joy!
For these Valentines, we used 4″ x 5″ bags and the toppers are 4.15″ x 5″ and 4.15″ x 2.5″ when folded. I made them a tiny bit wider than a 4″ bag top so they could be trimmed.
Once we had the bag toppers attached to the bags, my nephew took time to decide which heart was for which cousin, and my daughter, Justine, helped him write to and from on the back side of each bag topper. Then, the little guy added his own signature!
This 3-year-old was very proud of his creations!
These crayons are a lot of fun to make and look at! They aren’t the best for actually coloring as they are a bit cumbersome but the novelty and the steps to make them is a creative process not to be overlooked!
Frequently Asked Questions
Hi! I’m Bridget!
I create printables and DIYs to help you get organized and celebrate special occasions! It’s my mission to inspire you to get creative and find joy in every day!