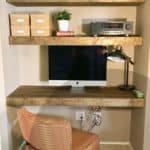
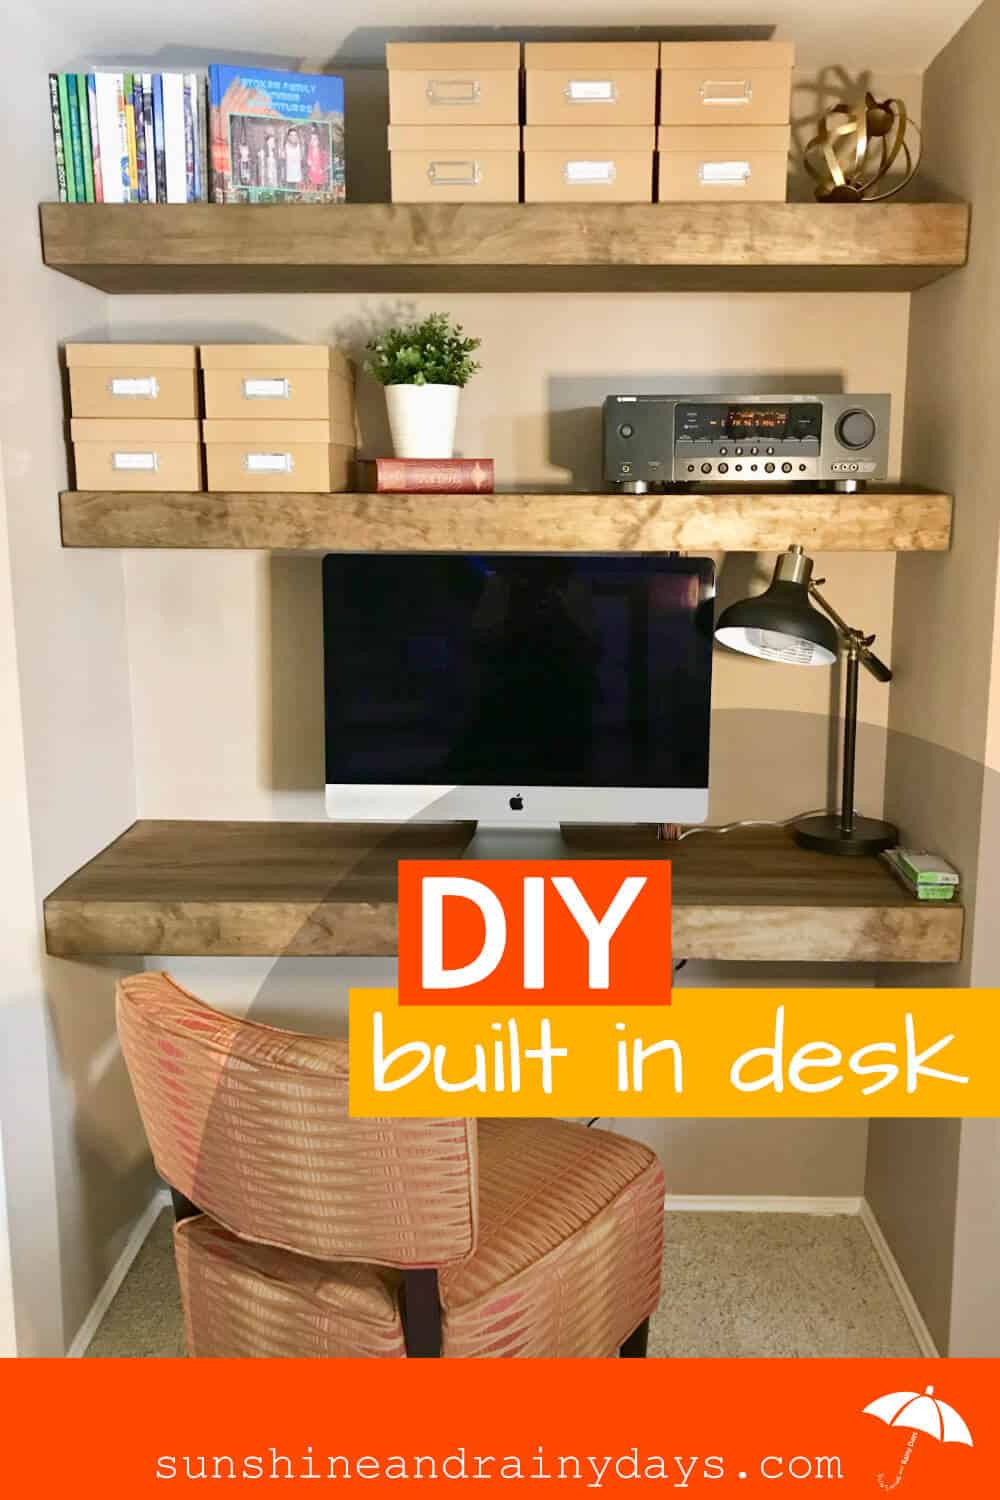
DIY Floating Built In Desk And Shelves
Do you have a nook begging for a Built In Desk?
Check out what we did in our own awkward little nook!
DIY Floating Built In Desk And Shelves
We had a nook in our daylight basement with an audio tower and ONE single piece of audio equipment. It was awkward, and never looked right, so I was ready to take action and change things up.
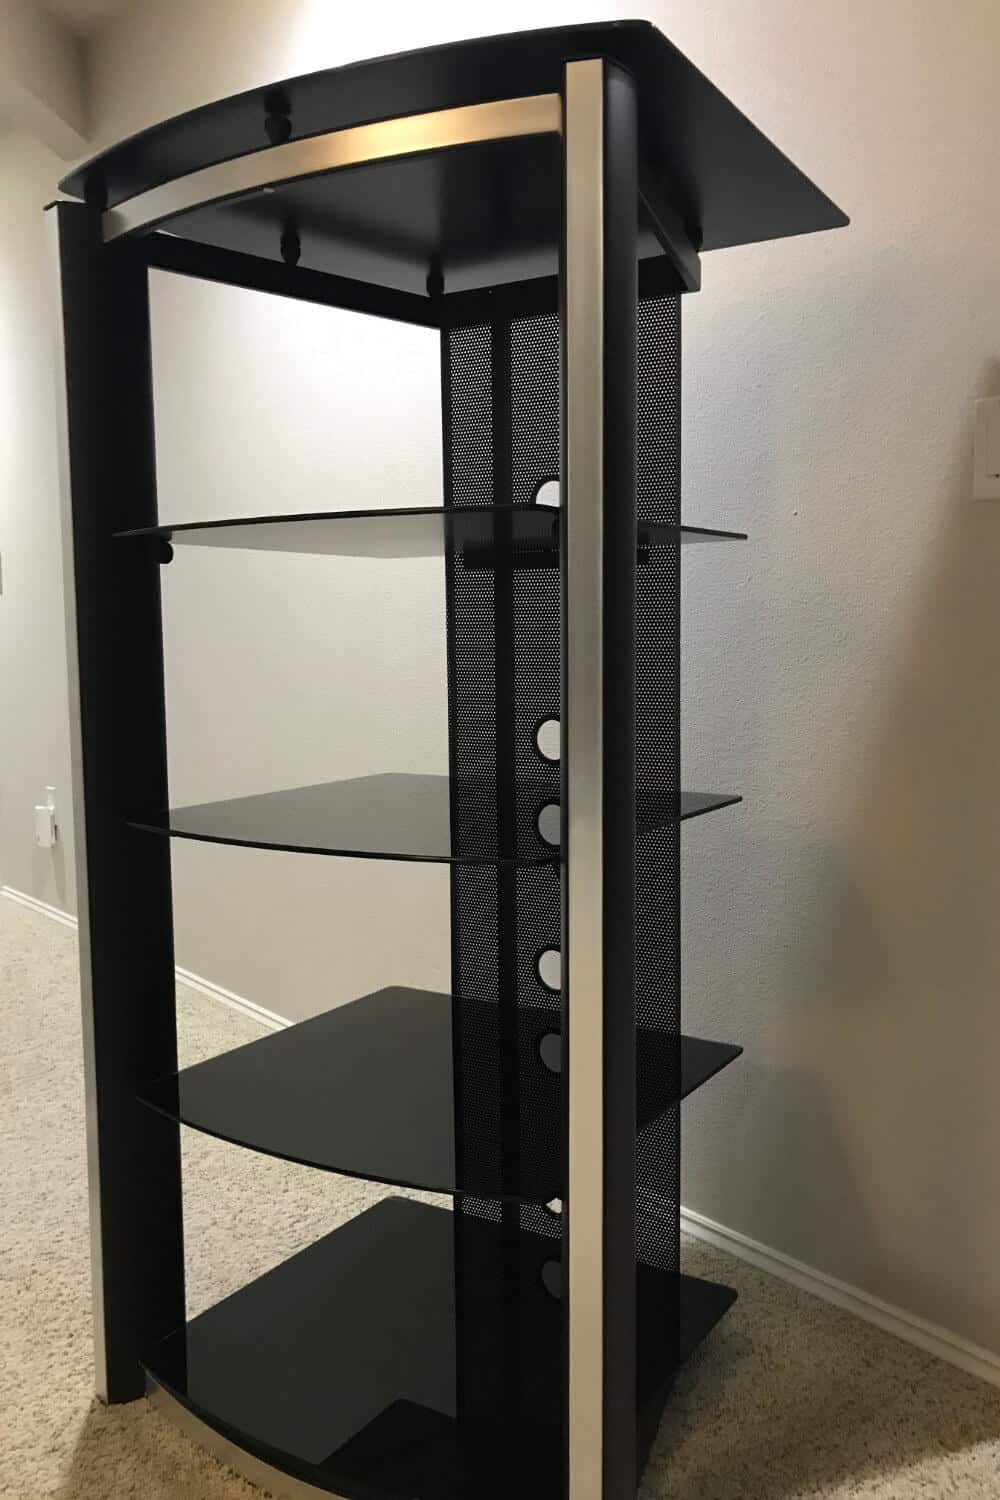
Man, in the 80’s I would’ve love this thing!
I watched numerous YouTube videos on building floating shelves and then I set to work.
This post contains affiliate links. When you purchase through an affiliate link, we receive a small commission at no additional cost to you. Disclosure.
The Lumber
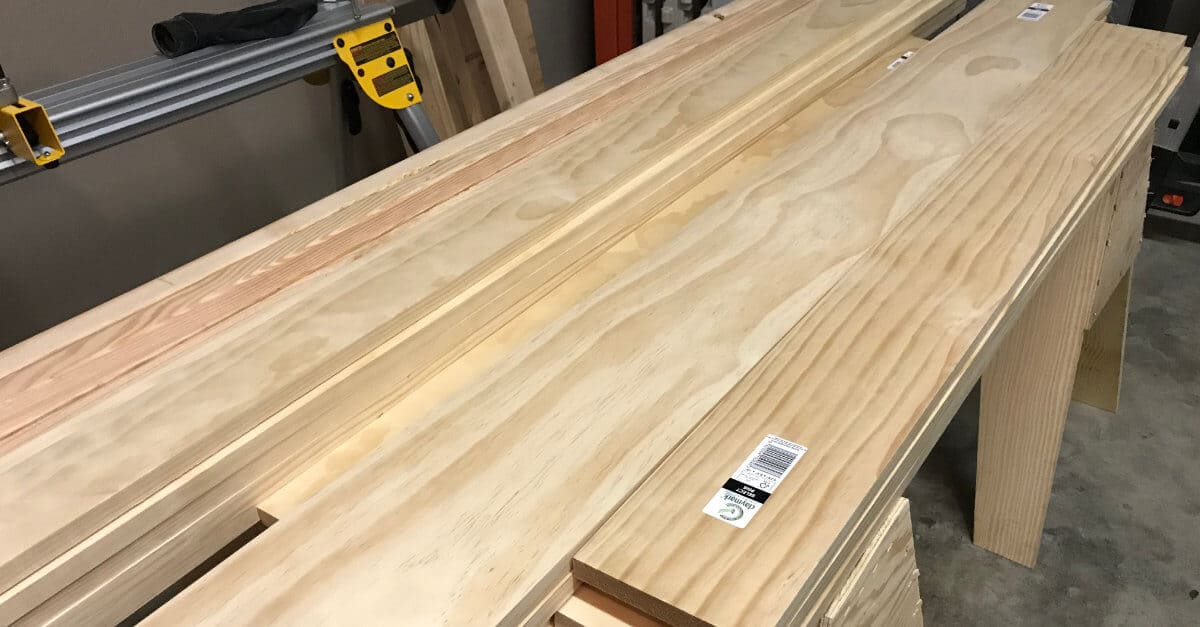
We purchased lumber at Home Depot and I cut the pieces to the length of our recessed area and waited to cut the cross brackets.
For the brackets, I used 2 x 2 rough cut lumber, as the bracket will be hidden. We had to pick through the pile to find decently straight boards though.
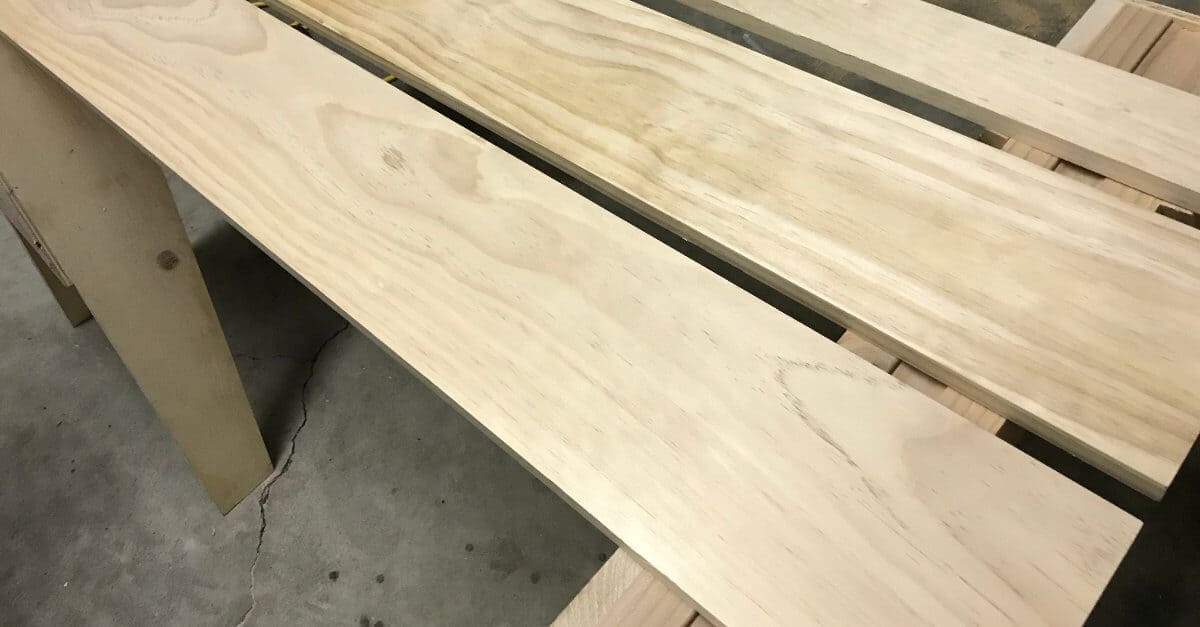
The shelves and desks were built with finished 1 x 4’s, 6’s, and 8’s. I believe they call this White Wood. It’s a nice quality, free of knots but not cheap.
Combining Shelf Boards
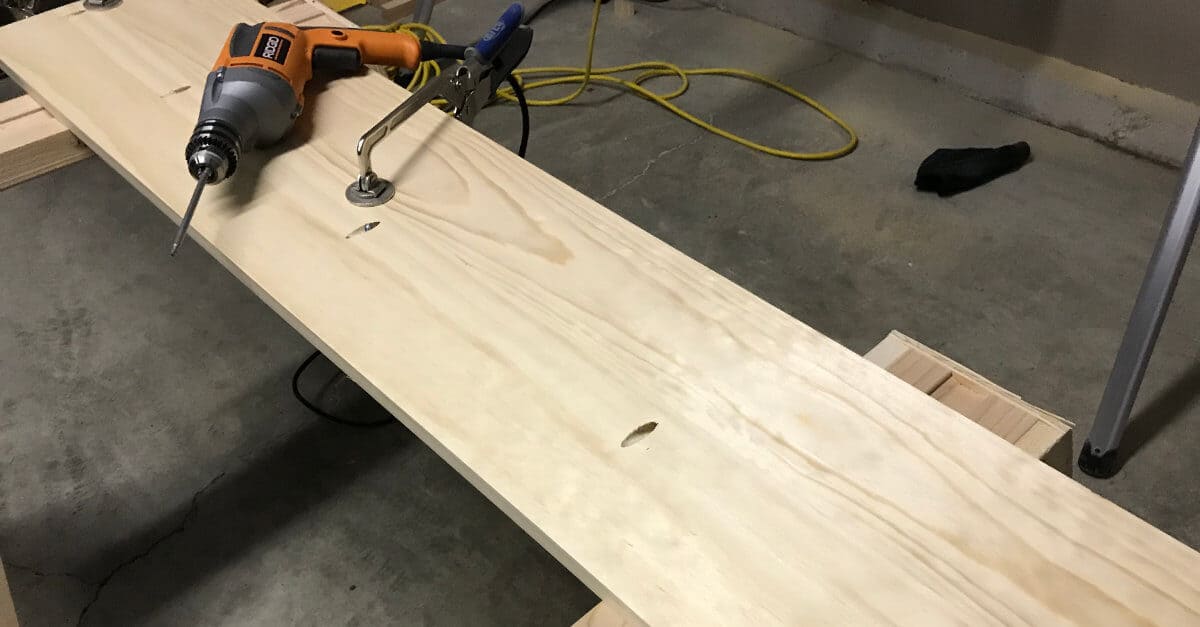
I needed to combine two 1″ x 6″ boards (which are actually 3/4″ x 5-1/2″) in order to reach the shelf depth I wanted.
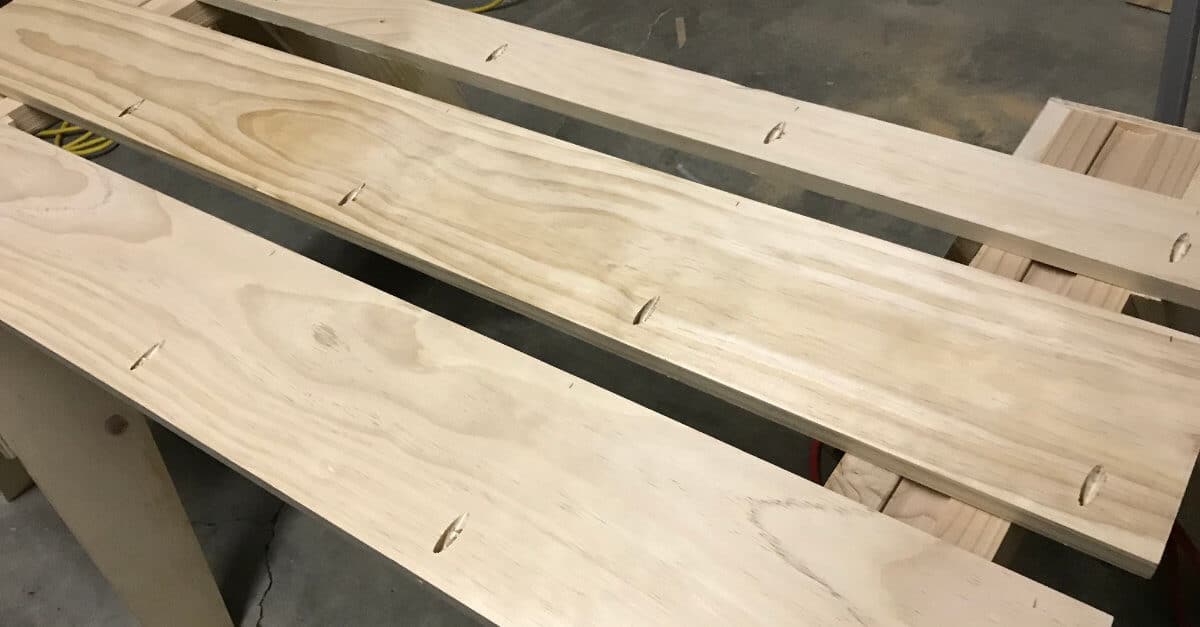
To do that, I used my Kreg Jig to create pocket holes, clamped the two boards together, and used 1-1/4″ Kreg Screws to attach them. It would have been wise to also use wood glue between the two boards but I got lazy and didn’t do that.
We needed four boards at this depth (two for each floating built in shelf) so I repeated this process three more times.
We have a few Kreg Clamps that are super helpful in flattening the two boards to create a smooth surface.
Building The Shelf Bracket
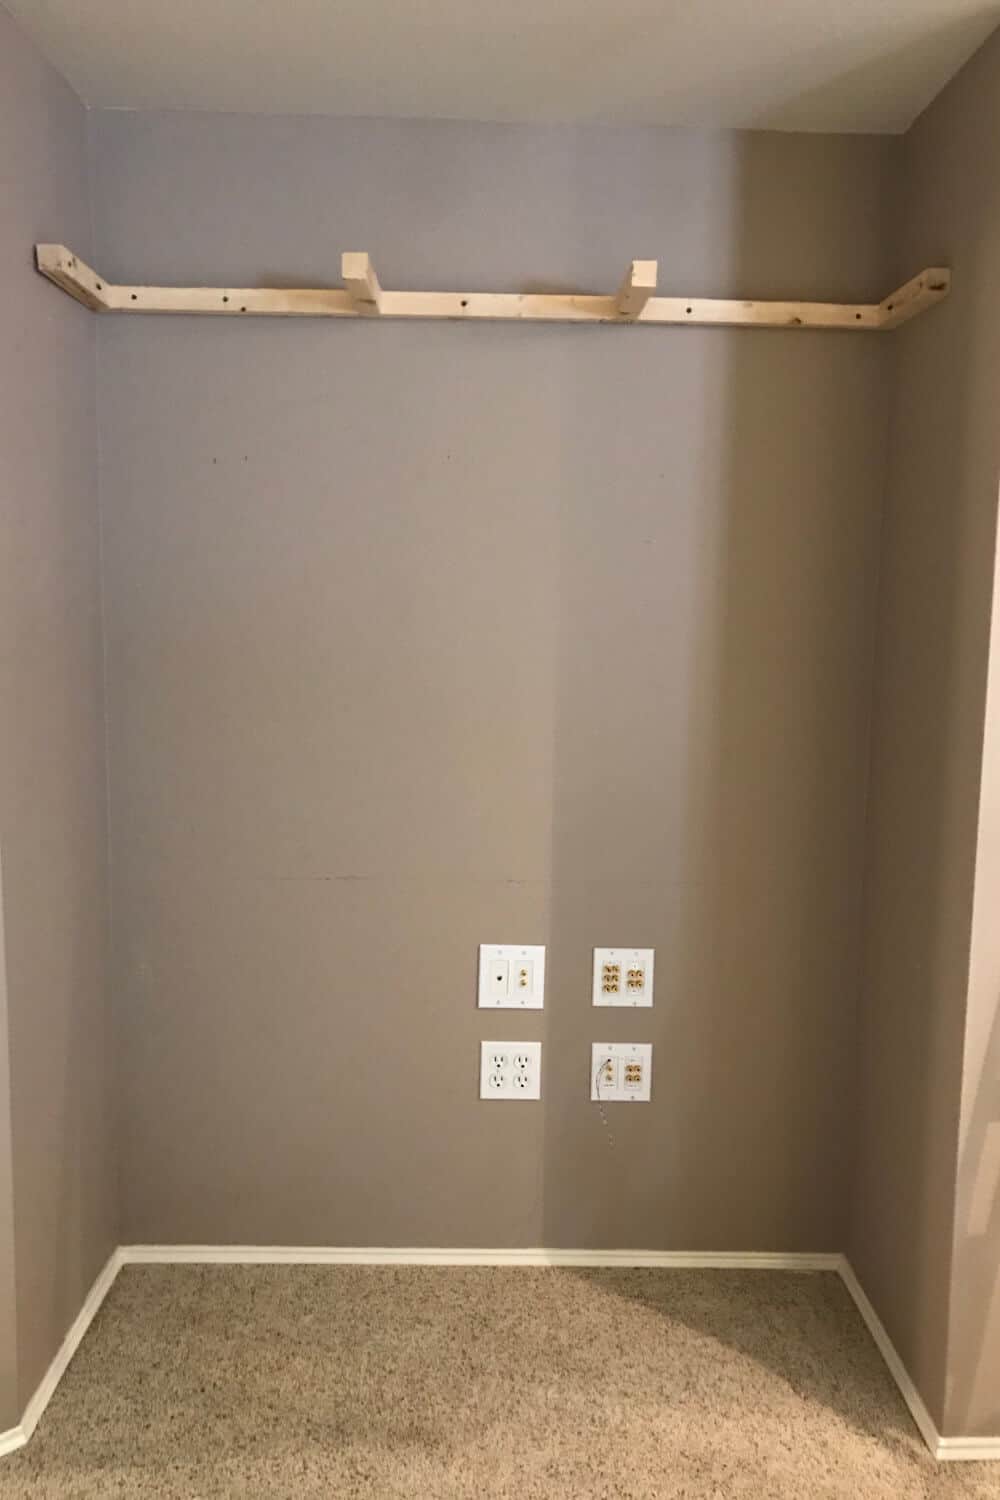
I used a stud finder to find the studs in my back wall, measured from left to right where they were, and transferred those measurements to my 2 x 2 (actually 1-1/2″ x 1-1/2″) back wall brackets before they were hung or had cross brackets attached.
Can you guess why?
I wanted to be sure I didn’t place cross brackets where the back piece should be attached to the studs. Genius!
I also drew an arrow on the 2 x 2 to show what was the top of the back wall bracket.
After marking where the studs were, I placed one of my shelf boards on my work space and laid the back bracket on top. Then, I measured how long the cross brackets should be to reach the end of the shelf.
I attached the four cross brackets with pocket holes and then attached the whole thing to the wall. As you can see in the picture, the cross bracket against the side wall on the left, wasn’t quite snug.
Most walls aren’t square and, in this case, the front opening is narrower than the back.
Lesson learned. For the next shelf bracket, I attached the two center cross brackets, attached it to the wall, and THEN attached the two end brackets. First with a pocket hole to the back bracket and then with a screw to the side wall.
Combining Desk Boards
Next, it was time to create the desk. To achieve the right depth, I used two 1 x 8’s (3/4″ x 7-1/4″) and one 1 x 4 (3/4″ x 3-1/2″).
You will need to determine the right depth for your space.
For the bottom of the desk, I drilled pocket holes in each piece. For the top of the desk, I only drilled pocket holes in the two bigger pieces. It will become clear why in just a few steps.
I combined the boards using 1-1/4″ Kreg Screws and Kreg Clamps.
It’s a pretty easy process to combine boards, just time consuming.
How To Attach The Front Trim Piece
When you combine three boards, you only need pocket holes in two of the boards. However, I chose to place pocket holes in the third board in order to attach the front trim piece. I used a Kreg Corner Clamp to line the pieces up right.
The front trim piece sits in FRONT of the top and bottom shelf pieces.
This is the back of the desk piece. Notice, it’s shaped like a U.
To attach the top piece, I created a brace to hold it up, used multiple clamps, and a nail gun. I couldn’t use pocket holes here because my drill wouldn’t fit between the two boards and I was going for the clean floating shelf look.

This is the front of the desk. The front trim piece sits in front of the top and bottom of the desk. I took this into consideration when I determined the depth of the desk.
The two shelves were assembled the same way as the desk but they had a shorter depth.
At this point, I sanded the shelves and desk with 220 sand paper.
How To Create Cord Holes
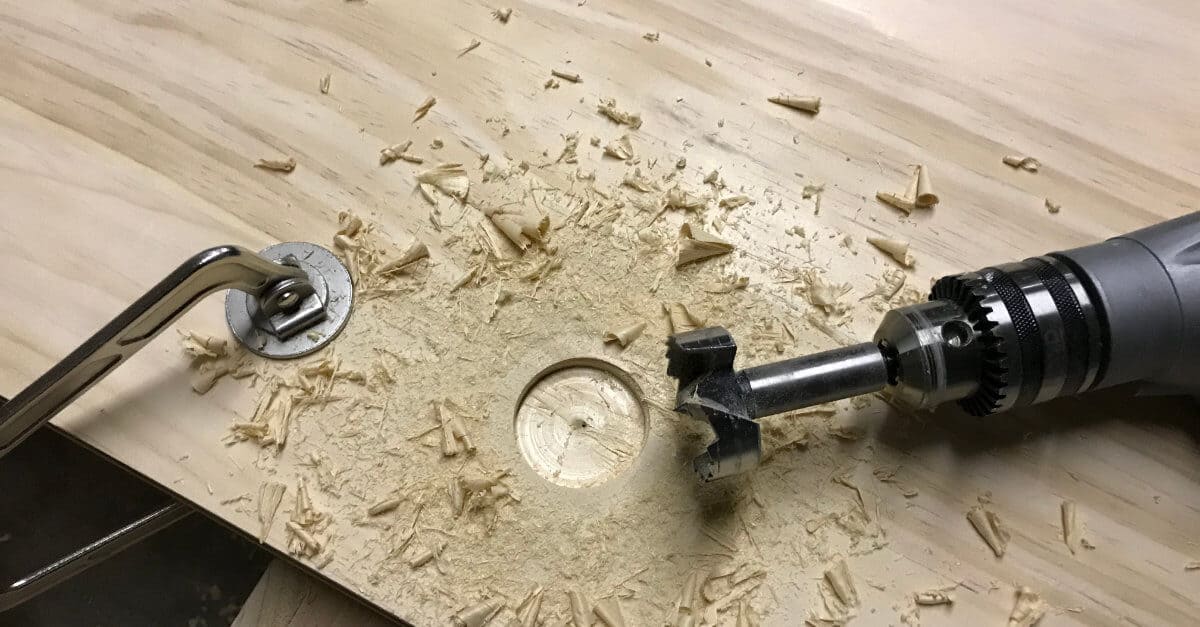
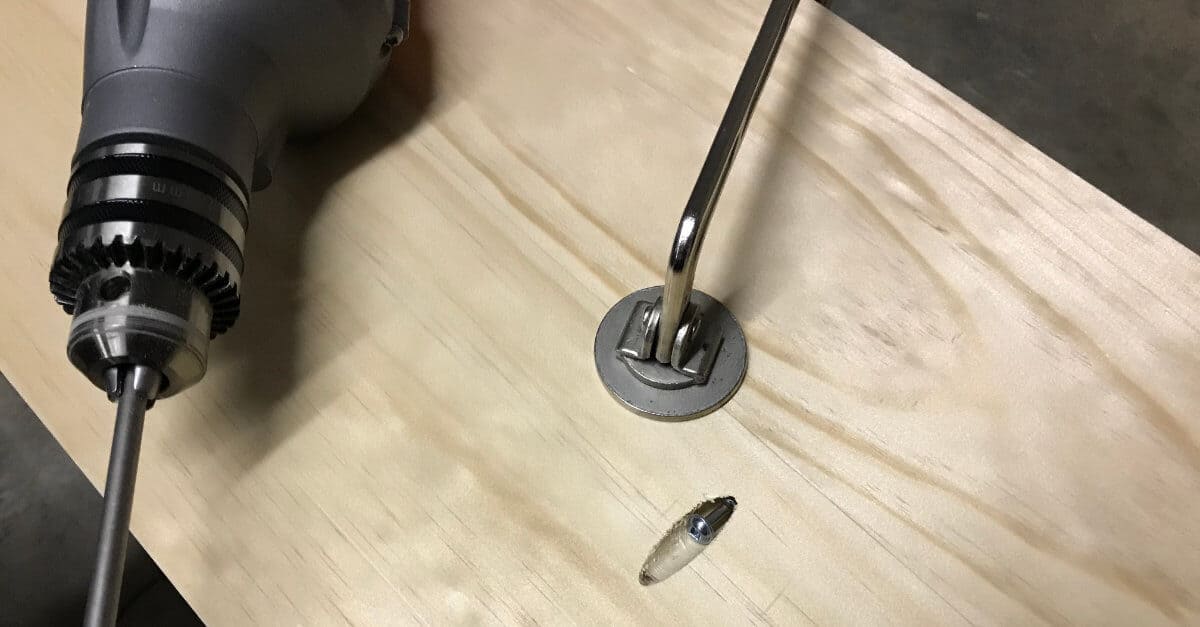
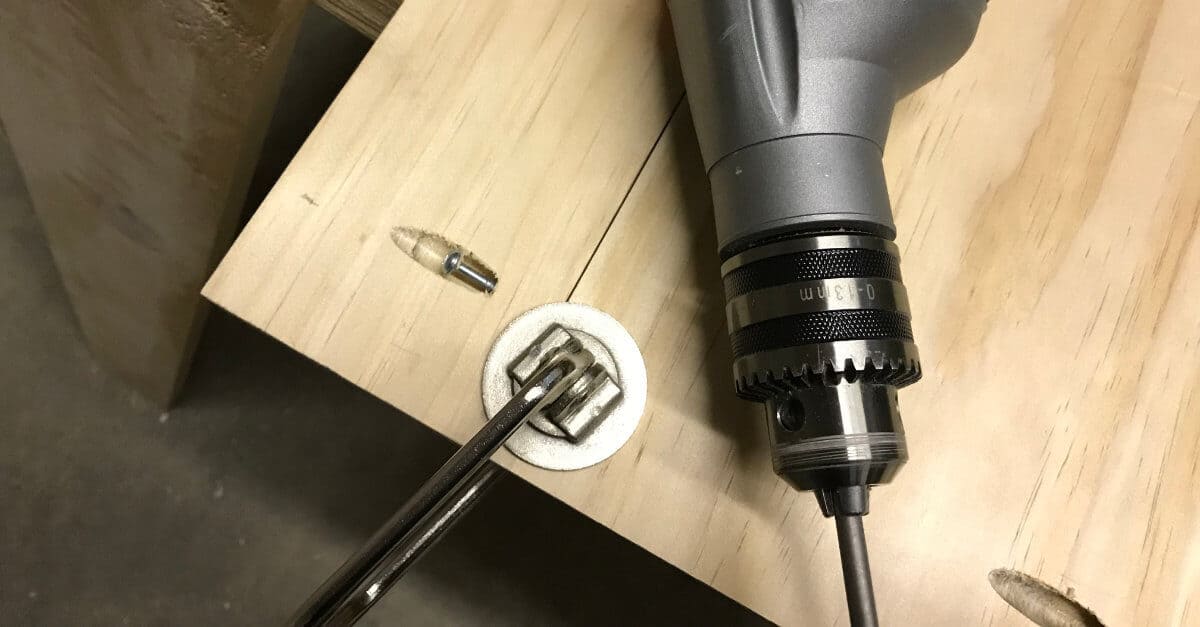
In order to thread cables through the desk top and one shelf, I used a Hole Saw to cut holes through each layer.
A Hole Saw is simply a special attachment to use with your drill.
This is the spot in the project where I wasn’t so smart.
I thought it would be a great idea to grab a piece of scrap wood and try out the Hole Saw since I’d never used one before. I held the smallish piece of wood in one hand and started drilling with the other. Are you cringing yet? The Hole Saw popped up and hit my hand that was holding the piece of wood. Yep!
Sometimes people do stupid things, and that was definitely a stupid move.
With a few stinging cuts on my hand (it could’ve been worse), I consulted YouTube for advice and, with trepidation, I went back to the garage because I needed those cord holes.
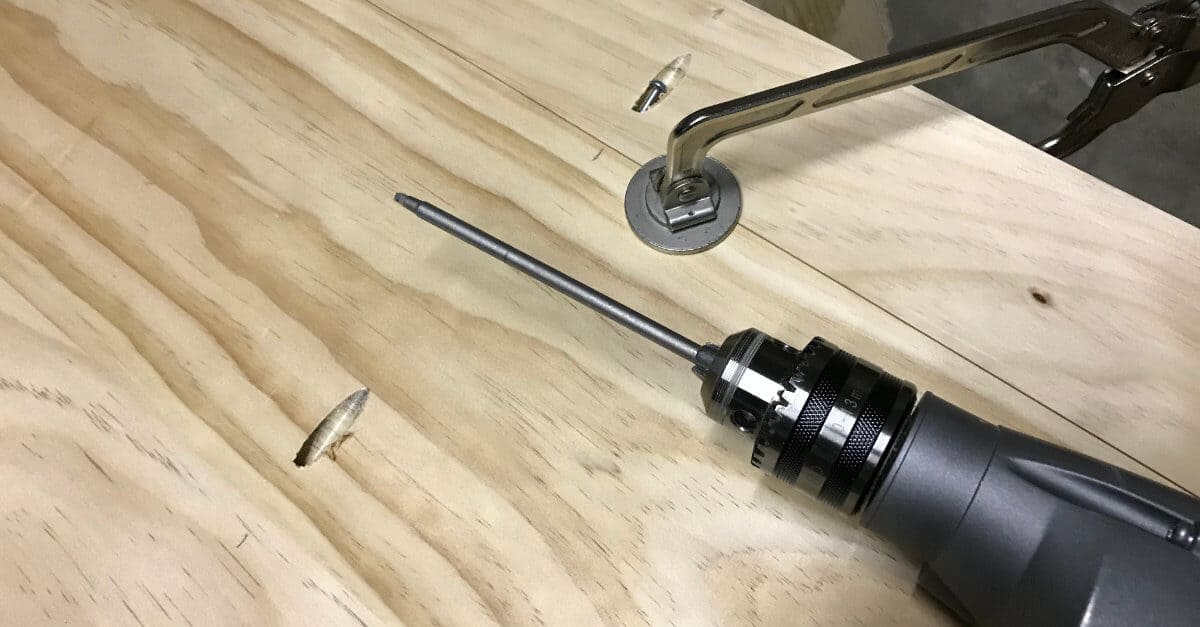
This time, I placed a piece of scrap wood under the area I needed to drill the hole, clamped everything down super tight, drilled a small starter hole with a small drill bit, and slowly … carefully cut the hole while moving the drill up and down.
I took careful measurements to make sure I drilled the hole in the same spot on the other side.
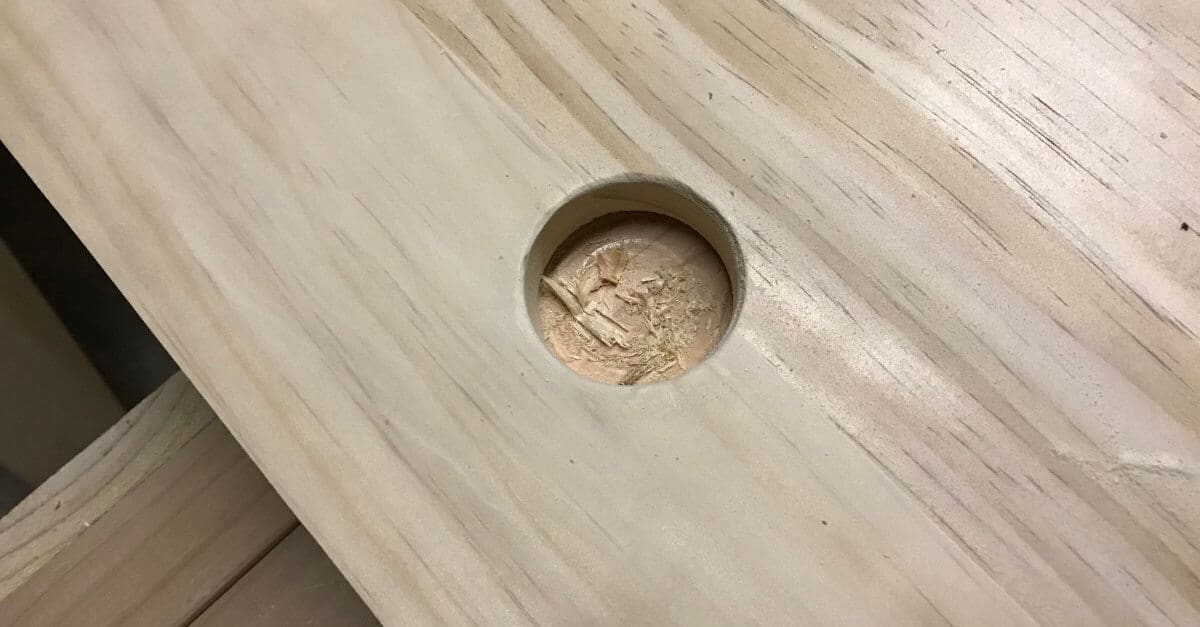
The size of your cord hole will depend on how many cords you plan to thread through it. We have a gazillion speaker wires and this 2″ hole is at maximum capacity.
How To Retrofit A Bracket That Is Narrower Than Your Floating Shelf Opening
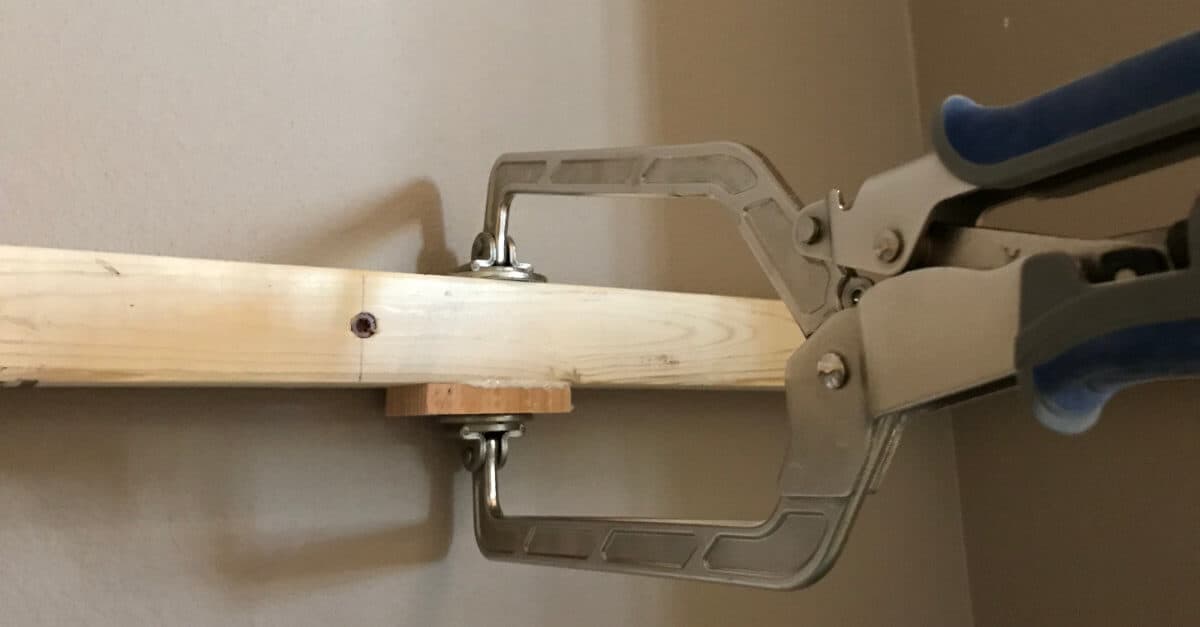
Since I don’t have a table saw to cut the front trim piece to the exact height it should be in order to fit snugly around the wall bracket, I added a few small chunks of a 2 x 3 to the frame. I used wood glue and Kreg Clamps to attach them.
These extra pieces are placed 12″ in from each side of the two shelves and desk. They will give me a place to stabilize each bottom piece with a screw.
Dry Fit The Shelves And Desk
Throughout this process, I made sure the shelves fit in the spot they were destined to go but this was the real test.
With the build pretty much done, I slid the shelves and desk on the brackets to make sure they fit right. I make it sound easy, right? It actually wasn’t too bad but because, as I mentioned earlier, walls are not square, the middle shelf was a little too snug so I sanded the end down until it fit.
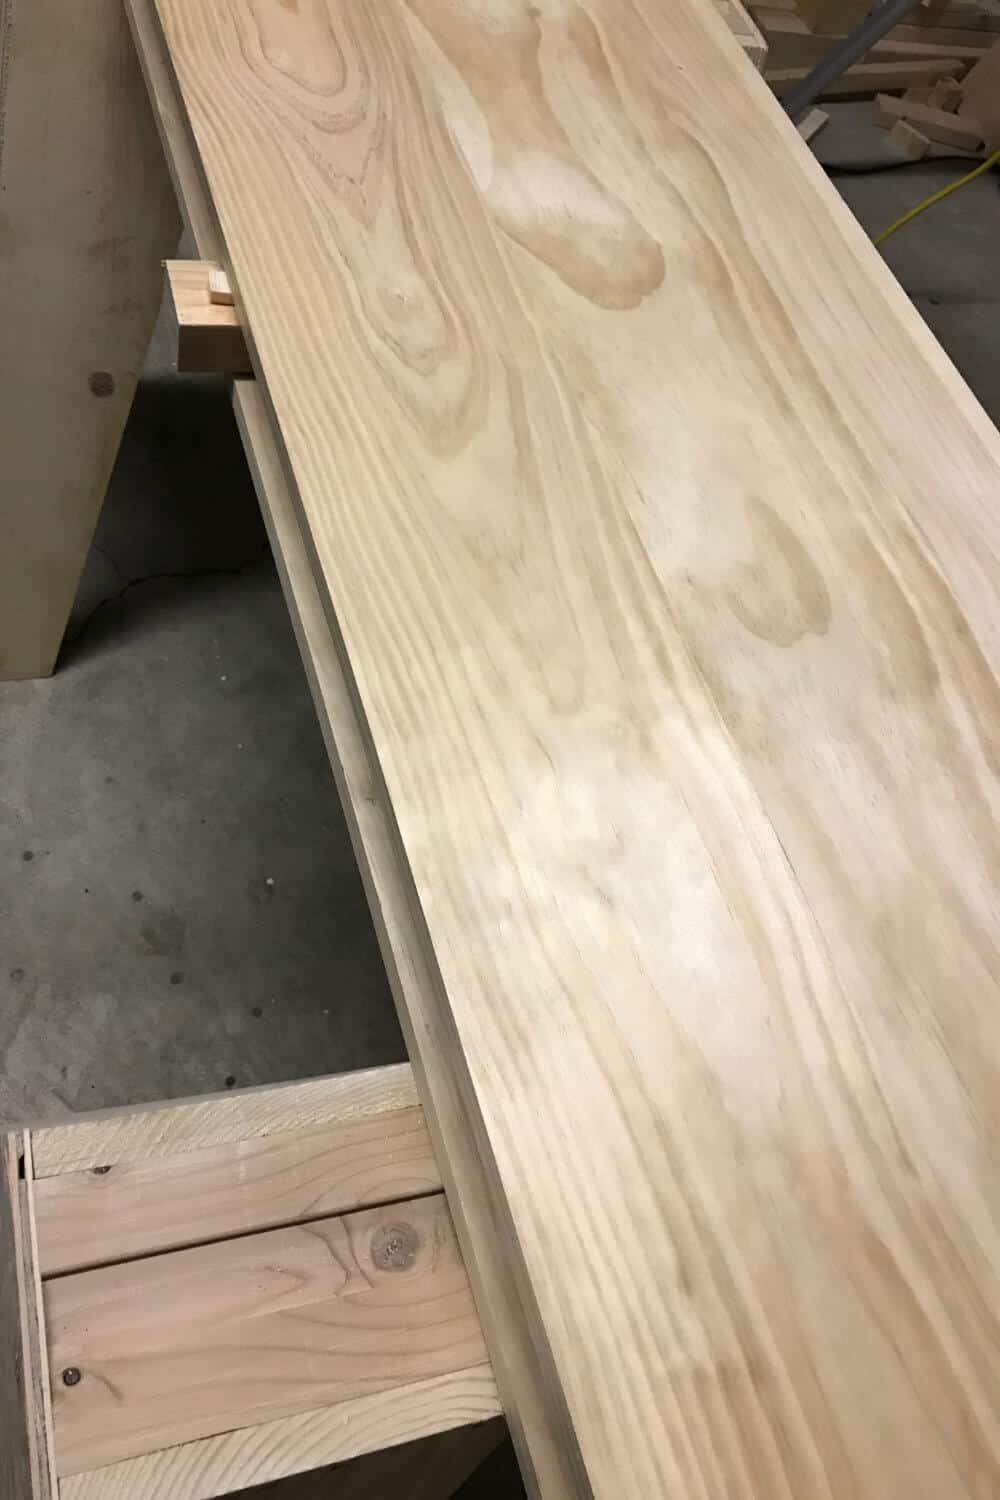
Stain The Floating Shelves And Desk
I used Homemade Stain to stain each shelf and the desk and finished it off with three coats of Polyurethane Spray. Usually, I don’t like using this toxic stuff but I did leave them in the shop for a few days to air out.
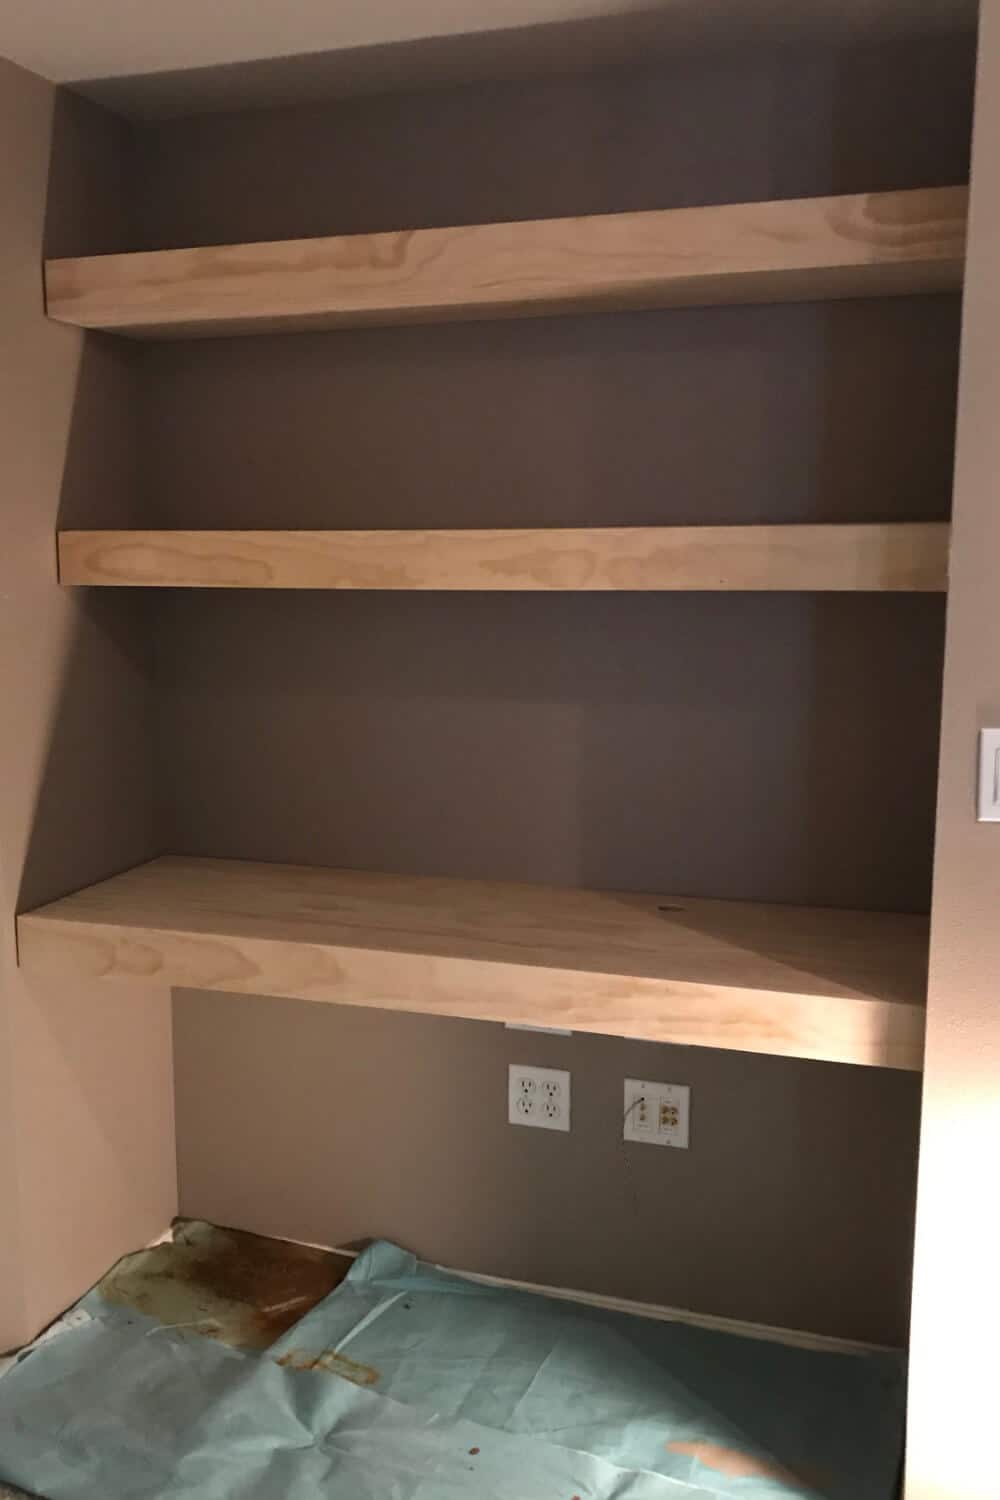
Final Installation
The final installation of the shelves and desk was pretty quick and painless.
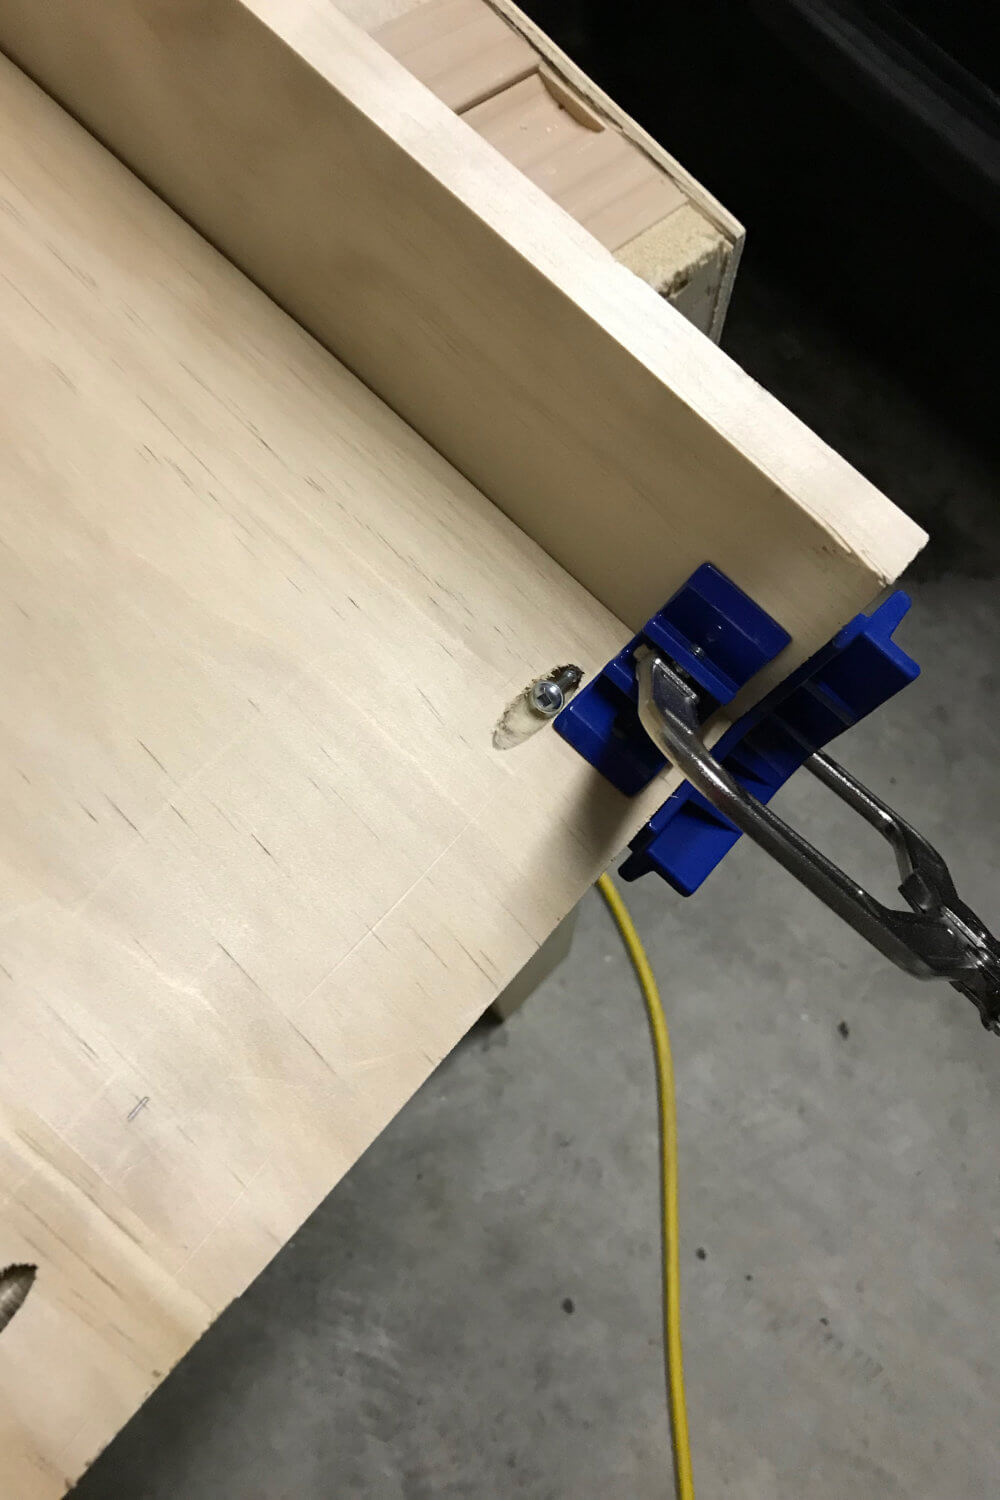
I slid each piece into place and put two screws in the bottom of each piece where I had glued the extra piece of wood.
Normally, with floating shelves, there is a piece at each end of the finished piece. This piece helps stabilize that bottom piece, however, since this is a built in, I needed to have brackets attached to the wall at each end. That leaves the bottom piece of the desk and shelves only attached from the front trim piece. Of course, that isn’t real secure so I put two screws in the back of the bottom of each shelf and the desk in order to stabilize it.
I’m super excited about this built in desk as it turned out so nice! The space, that was so awkward before, now looks like it was always meant to be.