DIY Laundry Room Shelves
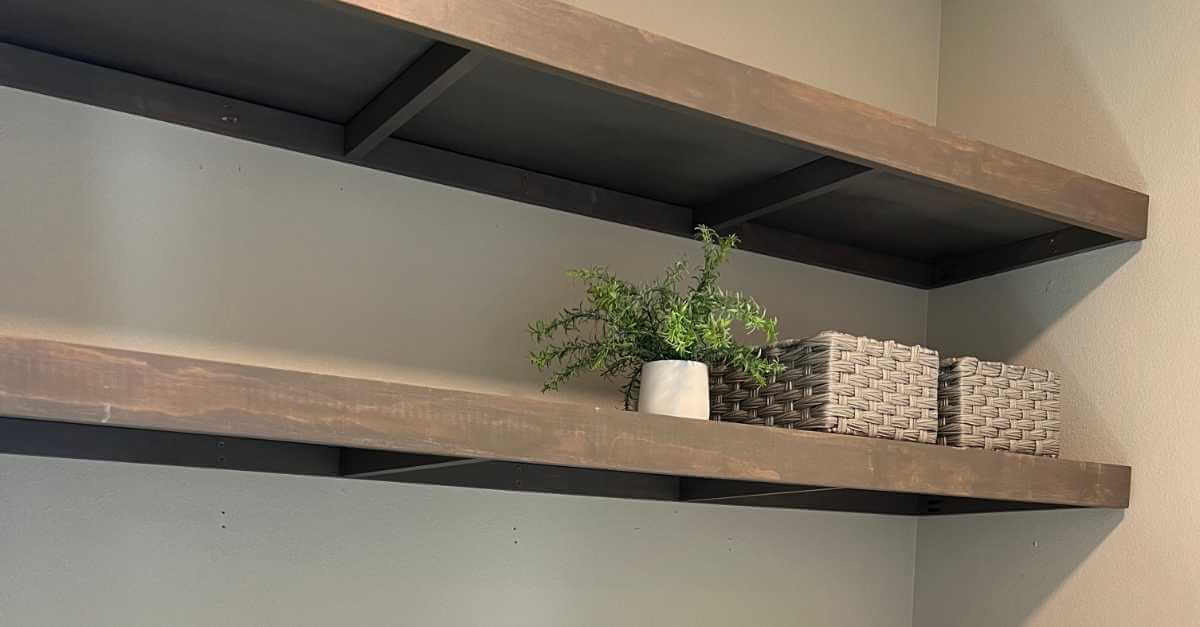
DIY Laundry Room Shelves are an inexpensive way to add vertical storage to your laundry room! These shelves were made to have a floating shelf look but without adding wood to the bottom of the shelves like I did in these DIY Floating Built In Desk And Shelves.
1) Gather Supplies
This post contains affiliate links. When you purchase through an affiliate link, we receive a small commission at no additional cost to you. Disclosure.
Before you gather supplies, be sure to measure your space so you know the length of shelves you will need. You’ll also need to determine how many shelves you’d like to install. For the shelves we put in, the length was 65″, and we put in two shelves, so that’s what this supply list is based on.
Supplies
- 2 – 1 x 16 – 6′ Unfinished Tight Knot Paint Grade Pine Board
- 3 – 1 x 2 x 8 (for brackets)
- 2 – 1 x 3 x 6 (for shelf faces)
- Wood Conditioner
- Stain – I used Varathane Briarsmoke
- Polyurethane
- 1-1/4″ Kreg Screws
- Gorilla Wood Glue
- Sand Paper – 220 Grit
- Paint Brushes
- Rags
- Deck Screws
Tools
- Miter Saw
- Drill
- Kreg Jig
- Sander
- Level
- Stud Finder
- Respirator
- Sanding Sponge
- Laser Level – optional
- Clamps
2) Cut Boards
- Cut the 2 – 1″ x 16″ boards to the lengths you need. Since I needed these shelves to be 65″, I cut two at 65″. A circular saw would work well for this, but since I don’t have one, I used my sliding miter saw and flipped the boards to cut from each side. Probably not the best way to do it, but it worked!
- Using a Miter Saw, cut 1″ x 3″ boards to the same length to use as face boards. For my two shelves, I cut two 65″ pieces.
- Cut 2, 1″ x 2″ boards to the same length to use as back braces that you’ll place on the back wall.
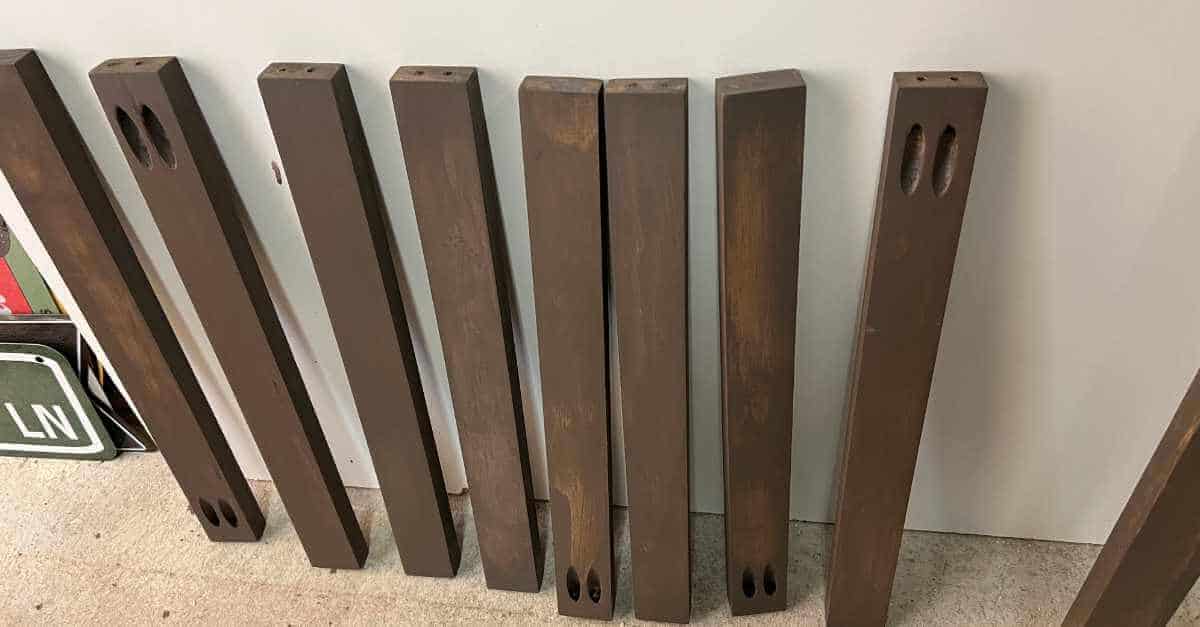
- For these two 65″ shelves, I used a total of 8 brackets. For the cut size, measure the width of your shelf and subtract the width of the back bracket. So, since the 1″ x 16″ is actually 3/4″ x 15-1/2″, I took 15-1/2″ minus 3/4″ (the width of the back bracket) for a length of 14-3/4″. I encourage you to place the back bracket on top of the shelf and take an accurate measurement.
3) Drill Pocket Holes
Drill pocket holes on the front edge of each 1″ x 16″. I drilled five pocket holes on the front edge of each 65″ shelf. I used these pocket holes to attach the face boards once they were in place.
Drill two pocket holes on one end of each cross bracket. You’ll use these pocket holes to attach the cross brackets to the back bracket. The shelf will get its strength from the back bracket that is screwed into studs.
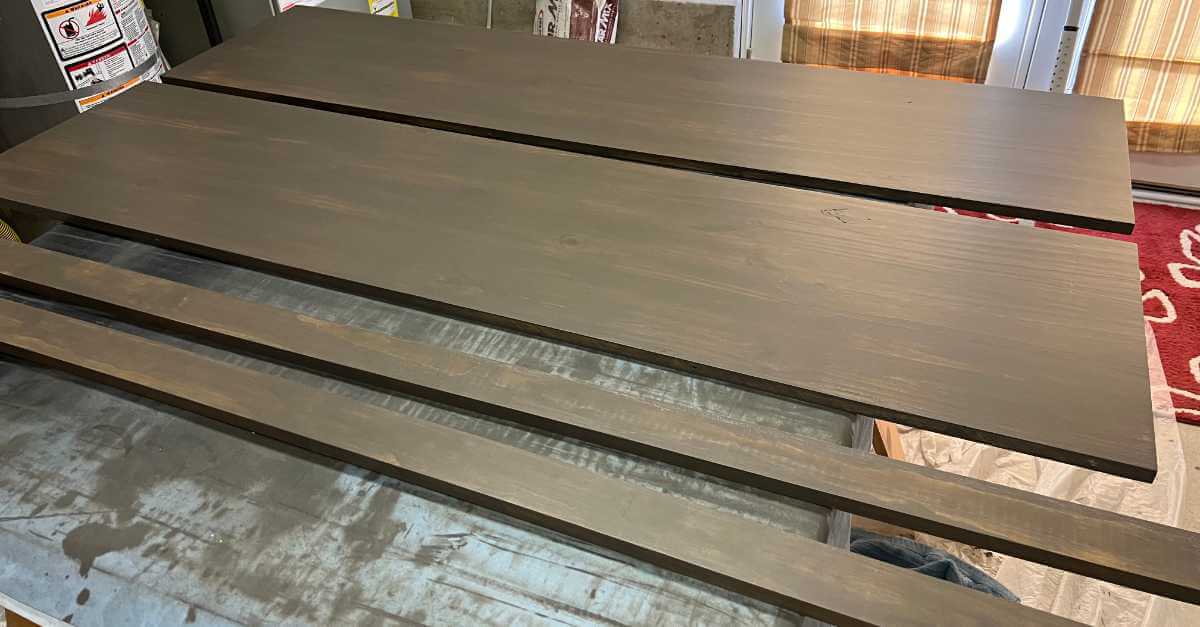
4) Sand Each Piece
With Select Pine, there isn’t a lot of sanding to do, but it’s good to give them a quick sand with 220-grit sandpaper before finishing. I chose to use select pine, so I would have less work to get a great, smooth finish.
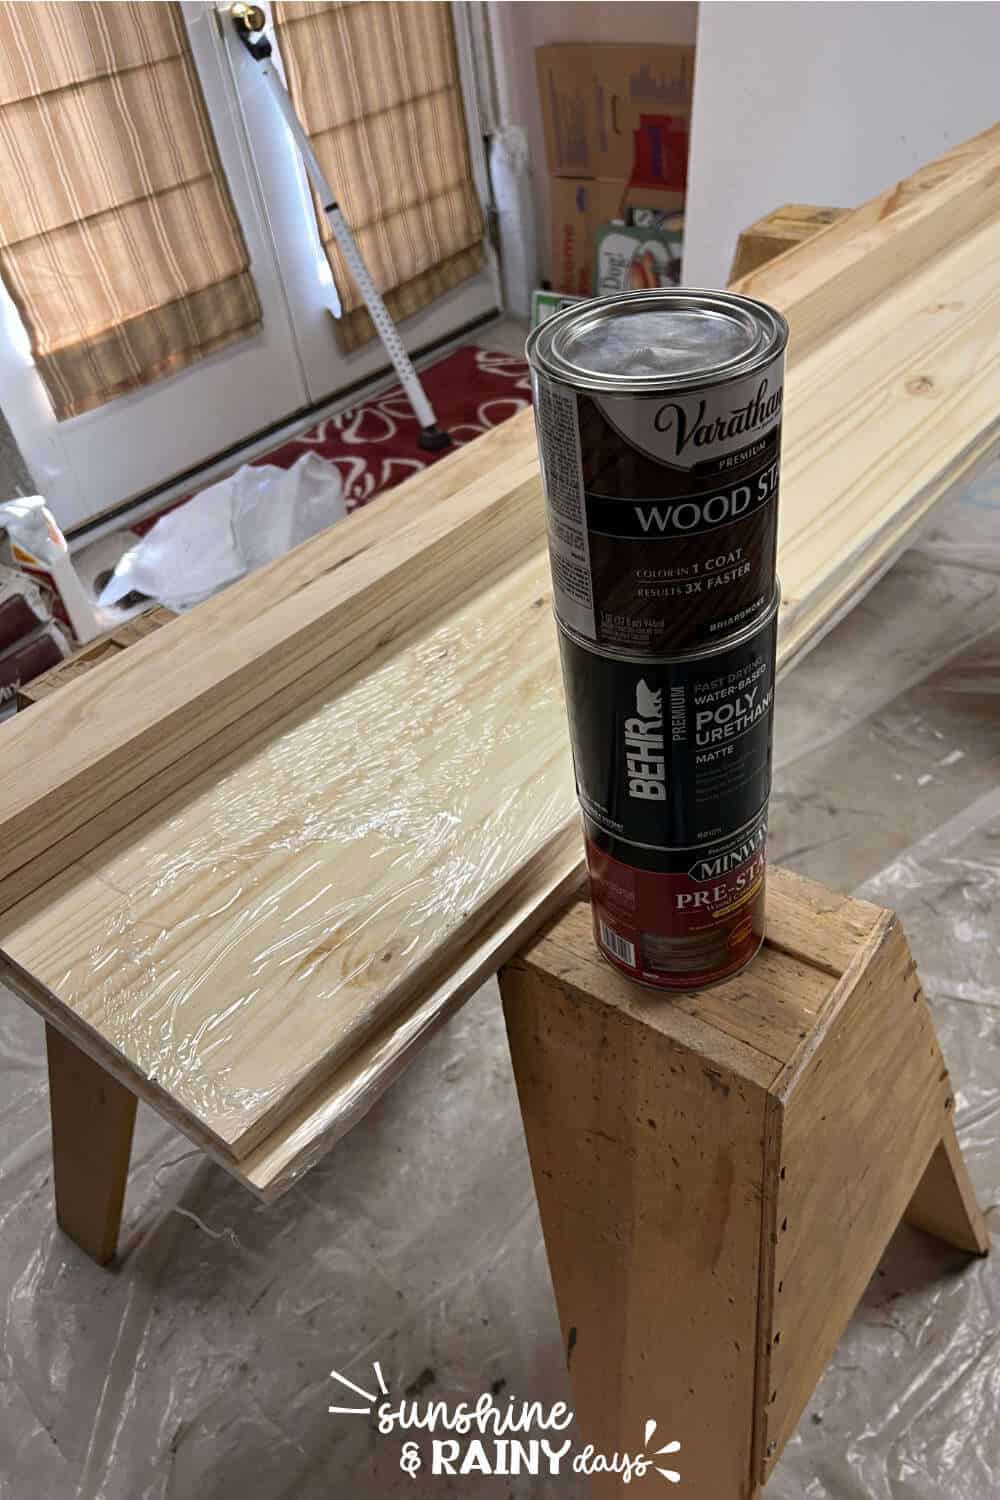
5) Apply Wood Conditioner
The wood conditioner will help keep your shelves from looking blotchy, but it smells. This is where a respirator is useful. I used a paintbrush to brush the wood conditioner on and a lint-free rag (an old T-shirt) to wipe off the excess.
6) Stain
Use a paintbrush to brush your stain on each board, then wipe the excess off with a lint-free rag. I used an old T-shirt. You may want to apply a second coat, depending on how dark you’d like your shelves to be.
7) Apply Finish
For these laundry room shelves, I used Behr’s Polyurethane in matte. I only used poly on the top of the shelves and face boards, not on the shelf brackets.
I applied the poly in even strokes and let the shelves dry for an hour before giving them a light sand with a sanding sponge. Then, I wiped them off with a damp, lint-free rag, and applied another coat of poly. I repeated this step a third time and then let the shelves sit a full 24 hours before I installed them.
8) Find Studs In The Wall
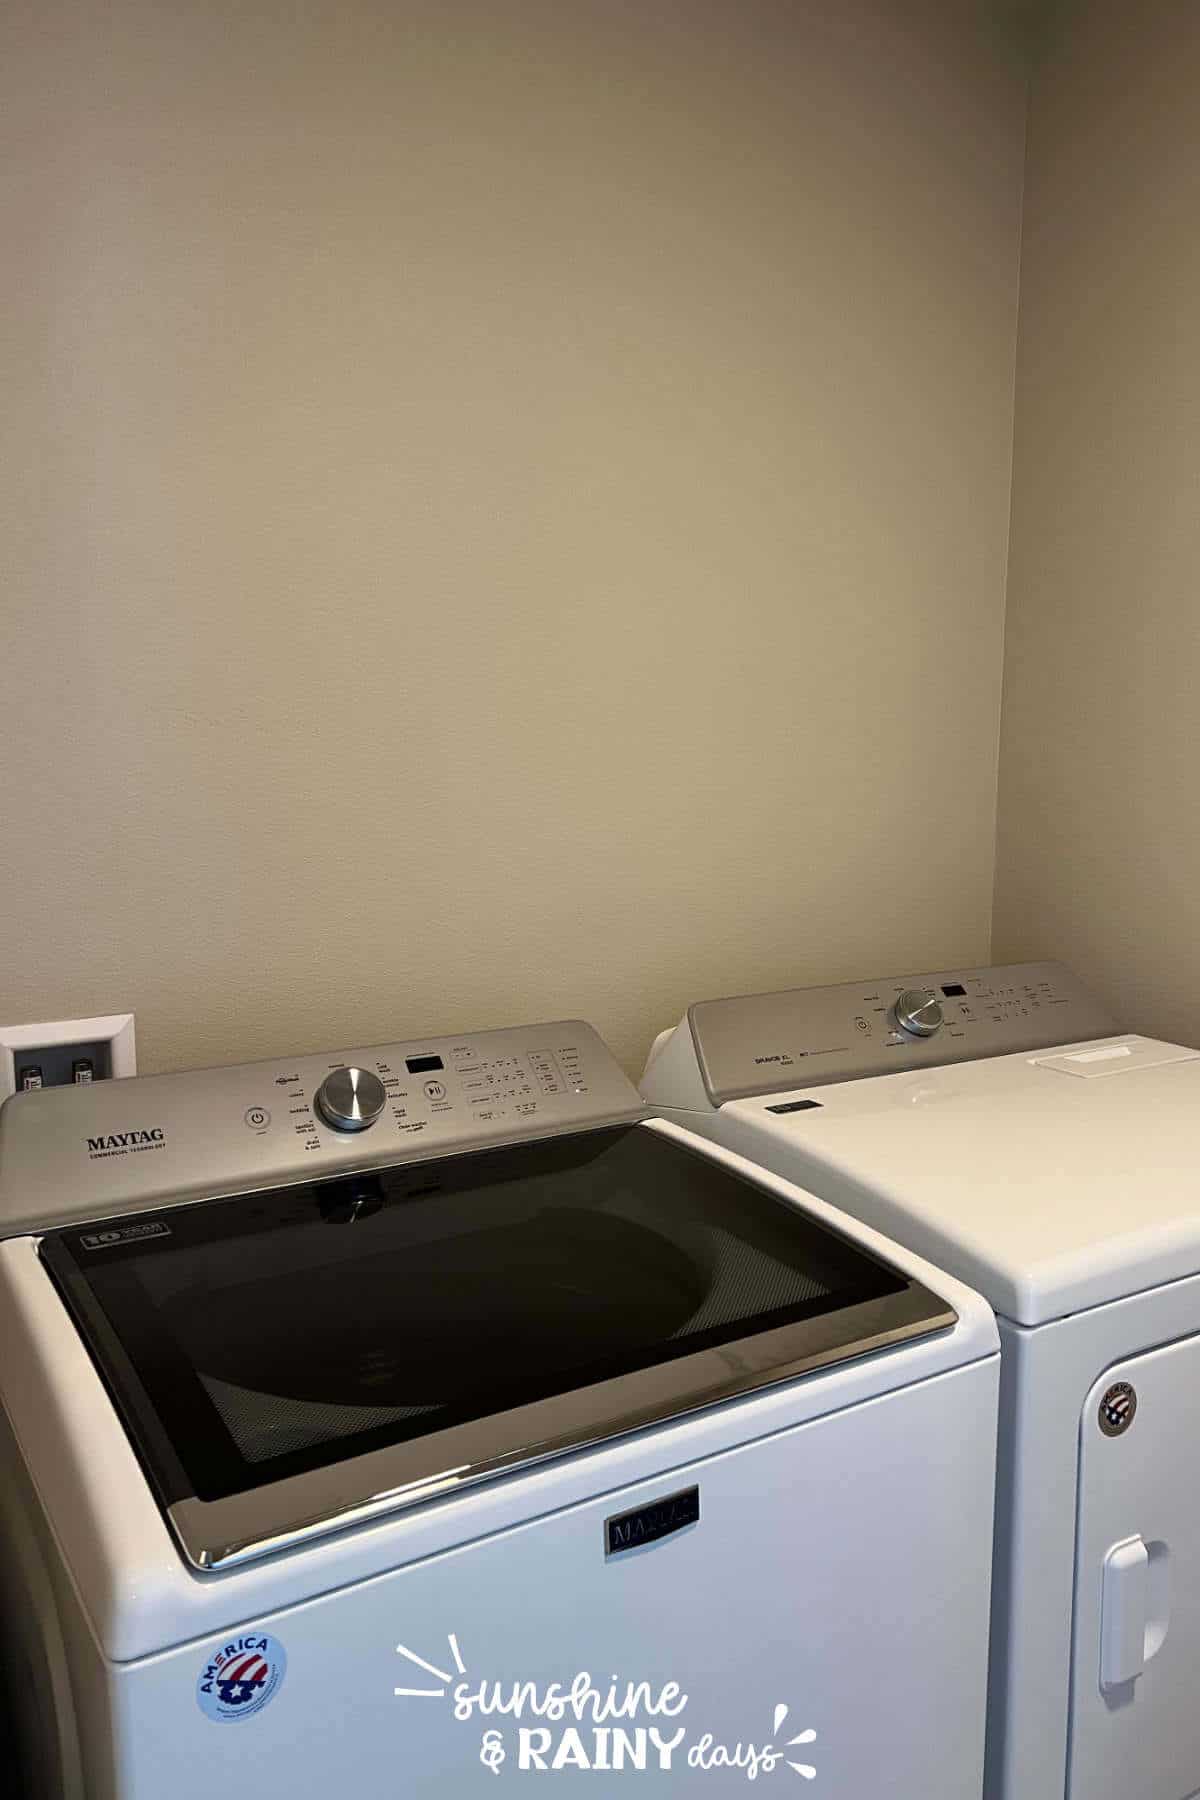
Now that all the shelf pieces were ready to install, we determined where the shelves would be placed in the laundry room and how far apart we wanted them to be. If you have a top-load washing machine, you’ll want to be sure to open the lid to make sure it will clear the bottom shelf.
Use a level to draw a straight line where the bottom of your shelf bracket will be attached to the back wall. Then, draw a short line on each side as well. You can also use a laser level instead of pencil marks.
Next, use a stud finder and mark below each line where the studs are.
9) Attach The Back Brackets
Use screws to secure the two back brackets in place, with the bottom of the bracket on your level line. Be sure to screw into the studs you have marked. I like to use self-tapping and self-sinking deck screws for this step because then I can skip pre-drilling holes to avoid splitting the wood.
If you look closely at our pictures, we made the mistake of lining the top of the back bracket on the line instead of the bottom of the bracket. In that position, the washing machine lid would not have been able to open all the way, so we moved it up, leaving a few holes in the wall. Learn from our mistakes!
10) Attach Side Brackets
After the back brackets are installed, use 1-1/4″ Kreg screws to attach the side brackets to the back brackets. If there are studs in the side walls, you can reinforce the side brackets with deck screws.
11) Attach Middle Brackets
Then, measure and evenly (or semi-evenly) place your center brackets on the back brackets using Kreg screws. On this 65″ wall, we placed the center brackets at 22″ and 44″. It’s important not to attach these brackets until the back bracket is on the wall because you don’t want them to get in the way of securing the back bracket to studs in the wall. (If you’d like to attach the center brackets first, be sure to mark on your back bracket where your studs are.) The length of your wall will determine how many brackets you need to use. In my Closet Shelves, I didn’t use any center brackets because I had good side brackets and the length didn’t require them.
Tip: We placed the center brackets with the pocket holes facing away from the door so they wouldn’t be visible as you walk into the laundry room. Depending on how your laundry room is situated, the placement of pocket holes is good to consider.
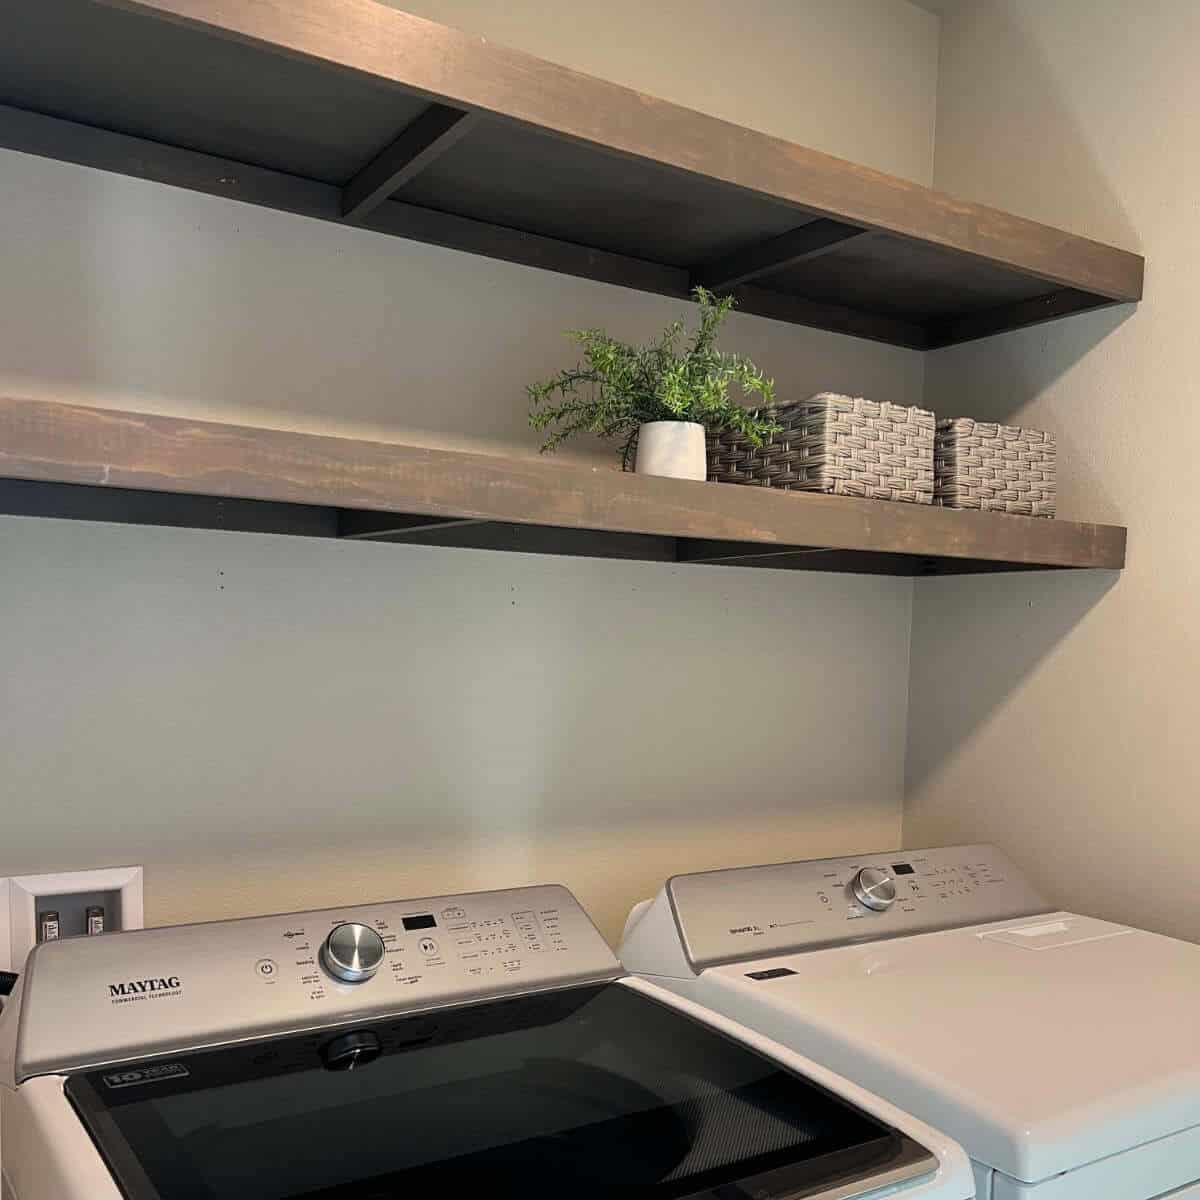
12) Place The Shelves On Brackets
Once the brackets were in place, we carefully placed one shelf on the top brackets and let it overhang a bit (meaning we placed it away from the wall a bit) so we would have room to attach the front face with clamps.
13) Attach The Front Face Board
With the shelf on the brackets, we applied wood glue to the front edge of the shelf and attached the face board to the shelf using three clamps before permanently adhering the face board with Kreg screws.
Then we repeated this process for the bottom shelf.
14) Slide Shelves Into Place
Once the front faces were adhered, we removed the clamps and slid the shelf into place!
If you’d like to make the shelves extra secure, with no chance of sliding off the bracket, you could use a screw from the back of the shelf into the back bracket.
Before

After
These DIY open-bottom floating shelves turned out beautiful and add functionality to this space that was otherwise wasted. It was also a fairly inexpensive way to add storage space.
Frequently Asked Questions

Hi! I’m Bridget!
I create printables and DIYs to help you get organized and celebrate special occasions! It’s my mission to inspire you to get creative and find joy in every day!