DIY Small Closet Ideas

Do you have a small closet space that could use a little help to make it functional? These DIY small closet ideas will make your closet pretty and useful at the same time!
Our master bedroom has two closets. One is a reach in closet and the other a small walk-in closet. When we moved into our home, I took the wire shelving out of the reach in closet, with the plan to put in wood shelving. Five years later, I finally built out the closet with real wood!
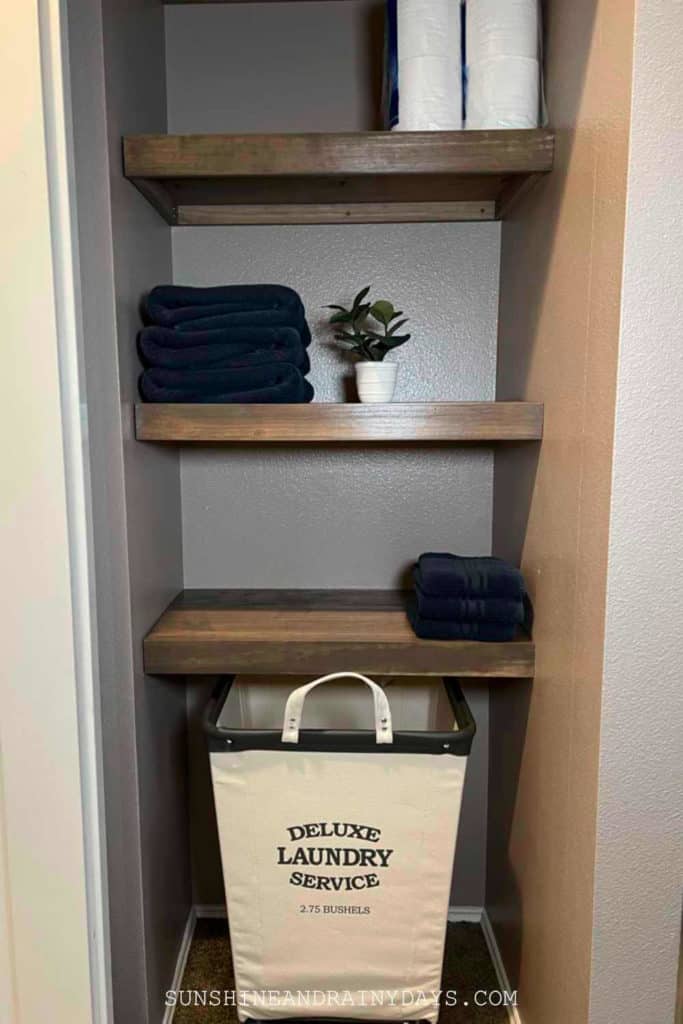
On one side of the reach in closet, I built four shelves, leaving room for the laundry basket underneath. On the other side of the closet, we put in a rod for hanging coats and shelves for shoes.
When you DIY, you have the opportunity to make your closet work just the way you need it to!
Many people have built wood shelving to put right over their wire shelving. This is a great option if you rent and can’t change things up.

Materials Used To Build Closet Shelves
This post contains affiliate links. When you purchase through an affiliate link, we receive a small commission at no additional cost to you. Disclosure.
- 1″ x 8″ Select Pine – for shelving
- 1″ x 3″ Select Pine – for shelf facing
- 1″ x 2″ Select Pine – for brackets
- 1-1/4″ Kreg Screws
- Gorilla Wood Glue
- Sand Paper – 220 Grit
- Wood Conditioner
- Stain – I used Varathane Briarsmoke
- Paint Brushes
- Wipe On Poly
- Rags
- Deck Screws
- Metal Pole Sockets – If you plan to add a closet rod
- Metal Pole – If you plan to add a closet rod
Tools Used For A DIY Small Closet System
- Miter Saw
- Drill
- Table Saw – optional
- Kreg Jig
- Sander
- Kreg Clamps
- Nail Gun
- Level
- Stud Finder
- Respirator
- Sanding Sponge
- Pipe Cutter
Steps To Build Small Closet Shelves
1. Cut Boards
Cut 1″ x 8″ select pine at the width of your closet. You will want two boards, for each shelf. Our closet is 28″ wide. For one side of our closet, we wanted four shelves so we cut eight pieces at 28″ and joined two pieces together, for each shelf, giving them a 14-1/2″ depth (the 1″ x 8″ boards we purchased were actually 3/4″ x 7-1/4″). By the time we add the face boards, the depth will be 15-1/2″.
Using a Miter Saw, cut 1″ x 3″ select pine, at the width of your closet, to use as face boards. For four shelves, I cut four 28″ pieces.
Cut 1″ x 2″ select pine, at the width of your closet, to place at the back of the closet for a back bracket and eight 12″ pieces for the side brackets. (Instead of using 1″ x 2″ for this part, I used my table saw to cut a 1″ x 8″ into 1-1/2″ strips.)
You may be able to have your boards cut at the big box stores, where you purchase wood.
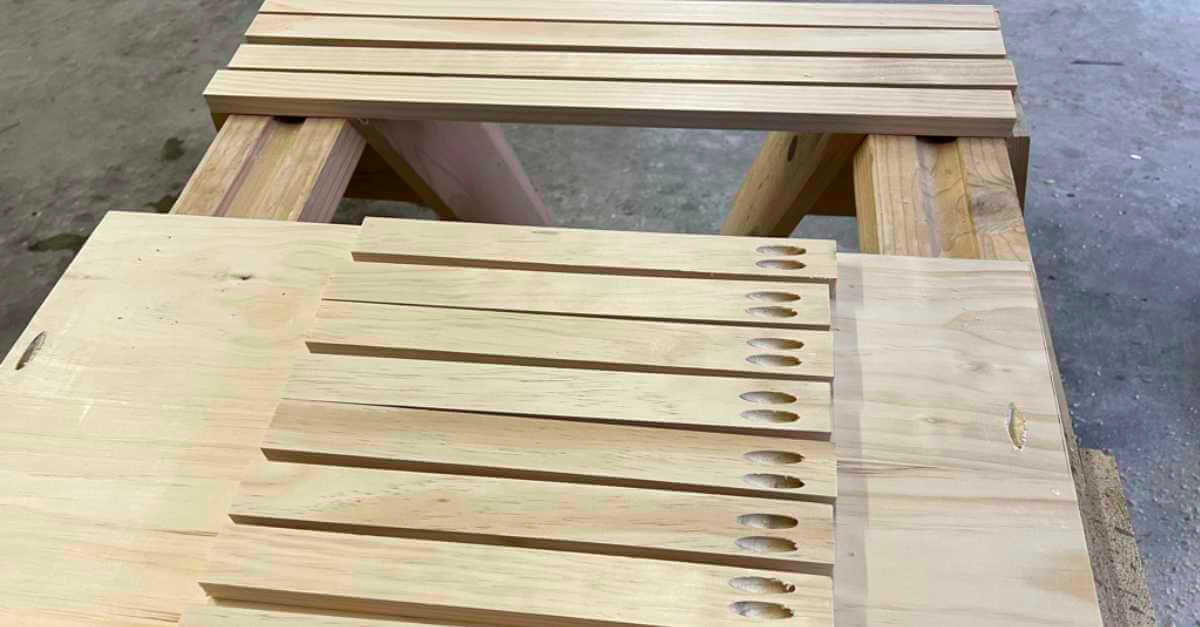
2. Drill Pocket Holes
Drill pocket holes on ONE board for each shelf. I drilled three pocket holes to attach the shelf pieces together.
Drill two pocket holes on one end of each side bracket. If you have studs you can attach your side brackets to, this step may not be necessary. I chose to build my shelves more like a floating shelf, without the bottom. This way, the strength of the shelf comes from the back brackets that are screwed into studs.
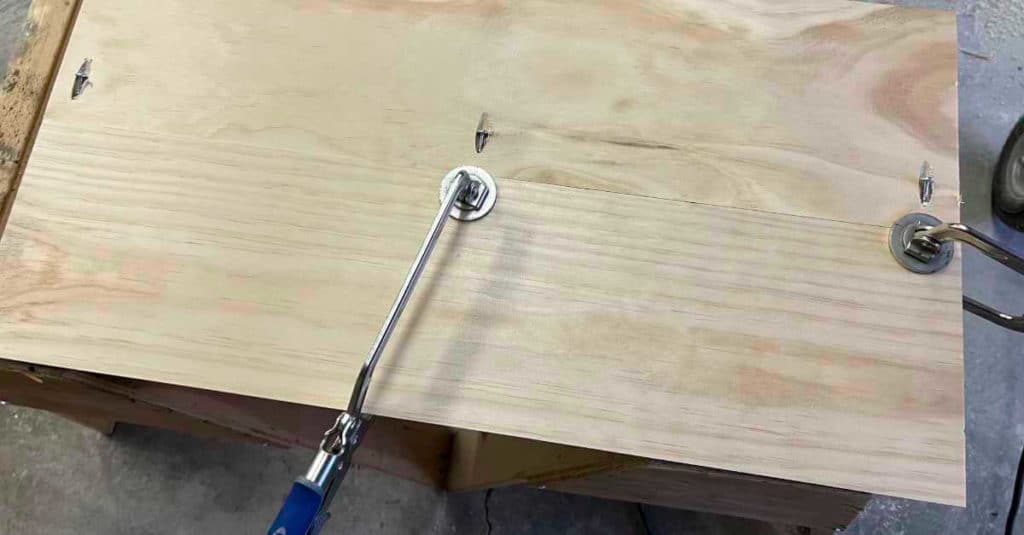
3. Create Shelf Tops
Using 1-1/4″ pocket hole screws and Kreg clamps, attach your shelf top boards together. I have found if you place a Kreg clamp on the seam where you are drilling a screw in, the boards stay nicely aligned.
4. Sand All Boards
With Select Pine, there isn’t a lot of sanding to do but it’s good to give them a quick sand with 220 grit sandpaper, before finishing. I chose to use select pine so I would have less work to get a great, smooth finish.
5. Use Wood Conditioner On Your Closet Pieces
I’ve skipped this step, in the past, and it shows. Wood conditioner will help keep your finished stained piece from looking blotchy but it definitely smells. This is where a respirator is useful.
I used a paintbrush, to brush the wood conditioner on, and a lint free rag (old t-shirt) to wipe off the excess.
Tips: I had read to brush the wood conditioner on in a cross direction to the grain and then wipe it in the direction of the grain. This didn’t work out so good for me. After staining, you could see where I had brushed across the grain. I also waited a few days, after applying the wood conditioner, to stain. That wasn’t a good idea either. On the next set of shelving (for the other side of the closet), I brushed the wood conditioner with the grain and stained the shelves an hour after applying the wood conditioner. The shelves looked much better with this way of doing it.
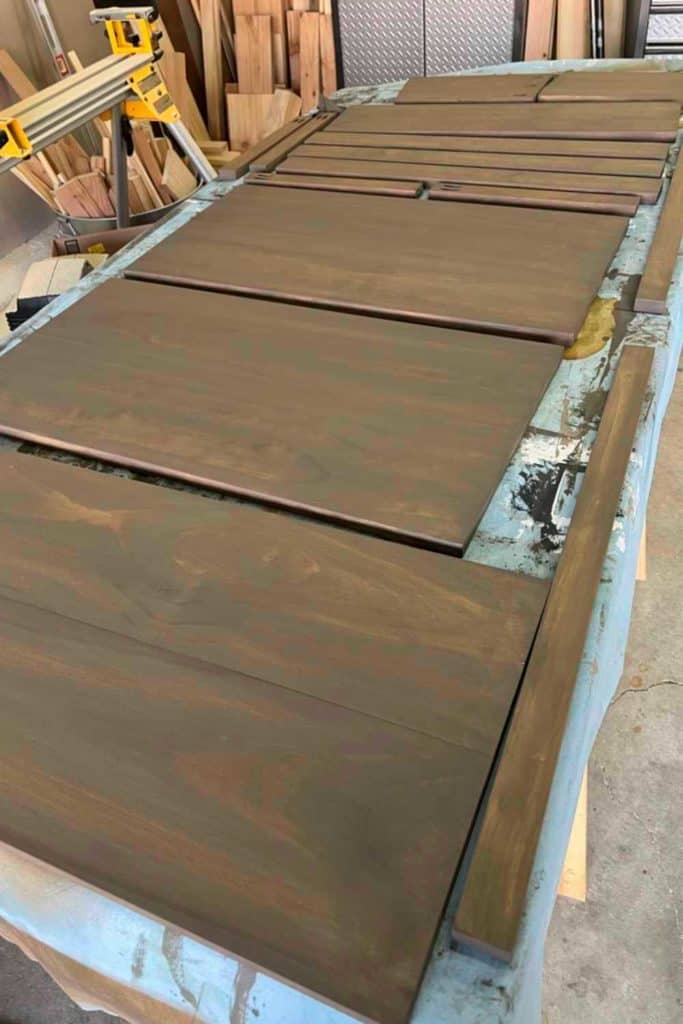
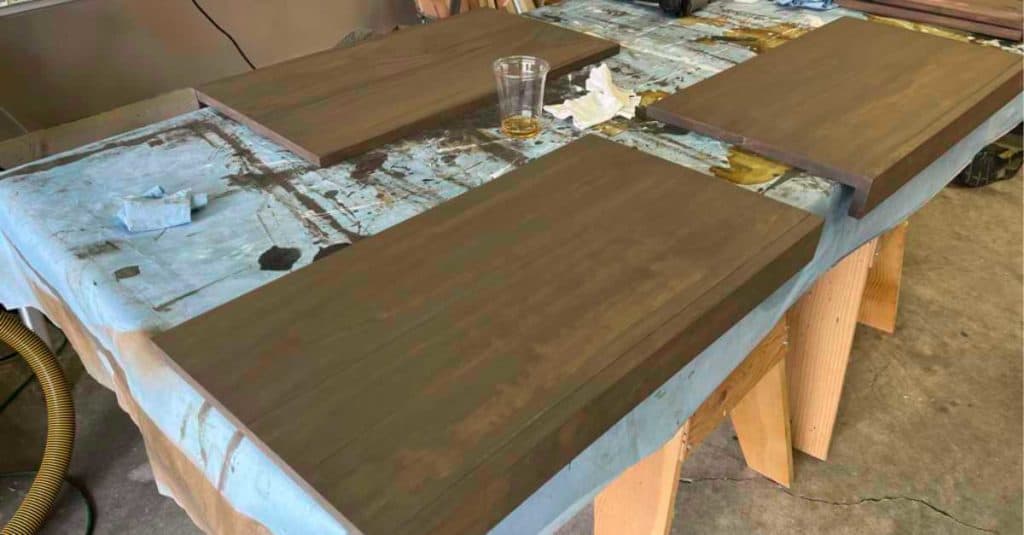
6. Stain Each Board
Use a paintbrush to brush your stain on each board, then wipe the excess off with a lint free rag. I used an old t-shirt.
7. Glue Face Boards to Shelves
Place a bead of wood glue down the front edge of your shelf and spread with a putty knife. Place your Face Board on the edge of the shelf front and clamp. Use a rag to wipe off excess glue that seeps through.
Face boards give your shelves a nice, chunky look that makes them seem like floating shelves.
8. Nail Face Boards
Use a Nail Gun to secure the face boards in place.
I found it best to attach the face boards after staining because, if you don’t, stain doesn’t take well to glue that has seeped through and your finish won’t be quite as nice.
9. Place A Finish On Your Shelves
Wipe On Poly is easy to apply, once your shelves and face boards are attached. I only used Wipe On Poly on the top of the shelves and face board fronts, not on the shelf brackets.
What worked for me was applying the Wipe On Poly with an old t-shirt, with the grain, in even strokes. I then let the shelves dry for two hours before giving them a light sand with a sanding sponge, wiping them off with a damp lint free rag, and then applied another coat of Wipe On Poly. I repeated this step a third time and then let the shelves sit a full 24 hours before I installed them in the closet.
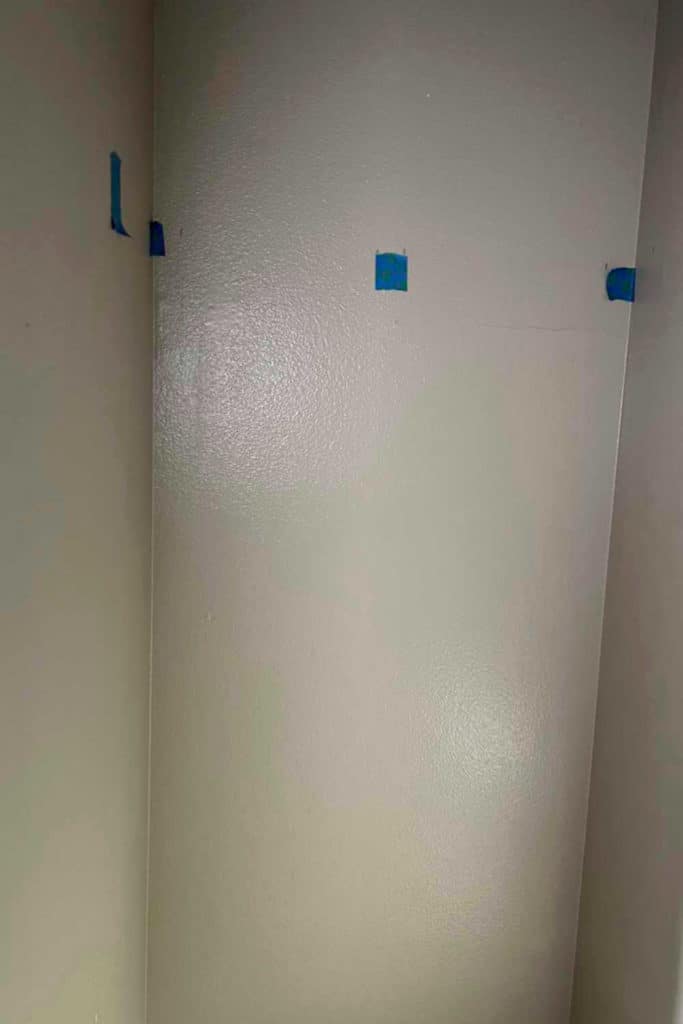
10. Mark The Closet Walls
While the finish dries on your shelves, mark where you want shelves to be placed in your closet and use a level to draw a straight line where the bottom of your shelf bracket will be attached to the back wall. Then, draw a short line on each side of the closet as well. I used a laser level to do this.
11. Find Studs
Use a stud finder and mark below each line where the studs are. I like to put a blue tape, where the studs are.
12. Secure Brackets
Use screws to secure brackets in place, being sure to screw into the studs you have marked. I like to use self-tapping, self-sinking deck screws, for this step.
After the back brackets are installed, use 1-1/4″ Kreg screws to attach your side brackets to the back brackets. If you have studs, in your side walls, you can reinforce the side brackets with deck screws. (For longer closet walls, you may want to install center brackets like I did in these DIY Laundry Room Shelves.)
13. Install Shelves
Once the finish is dry on your shelves, place your shelves on the brackets.
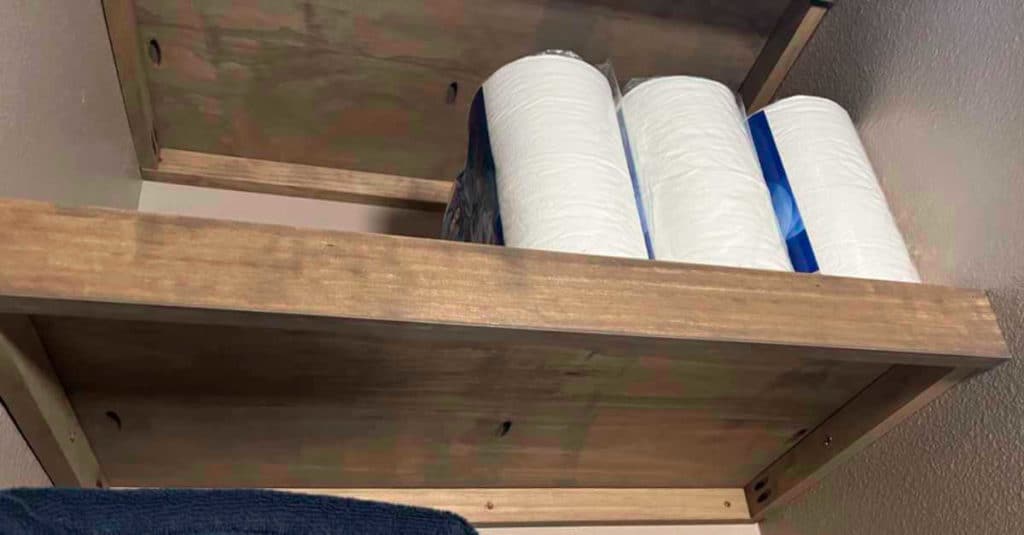
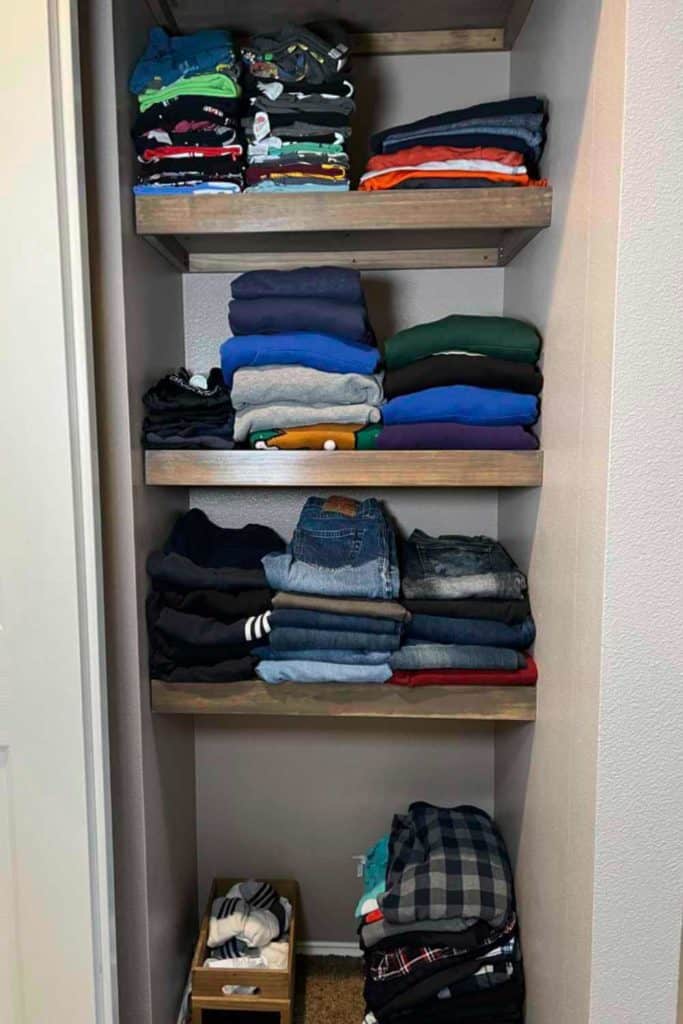
I staged these beautiful DIY shelves for the picture on the left but, in reality, we are remodeling our daylight basement and needed a spot for our son to keep his clothes during the remodel. Once the remodel is done, this closet will be the home of towels, toilet paper, laundry, and more!
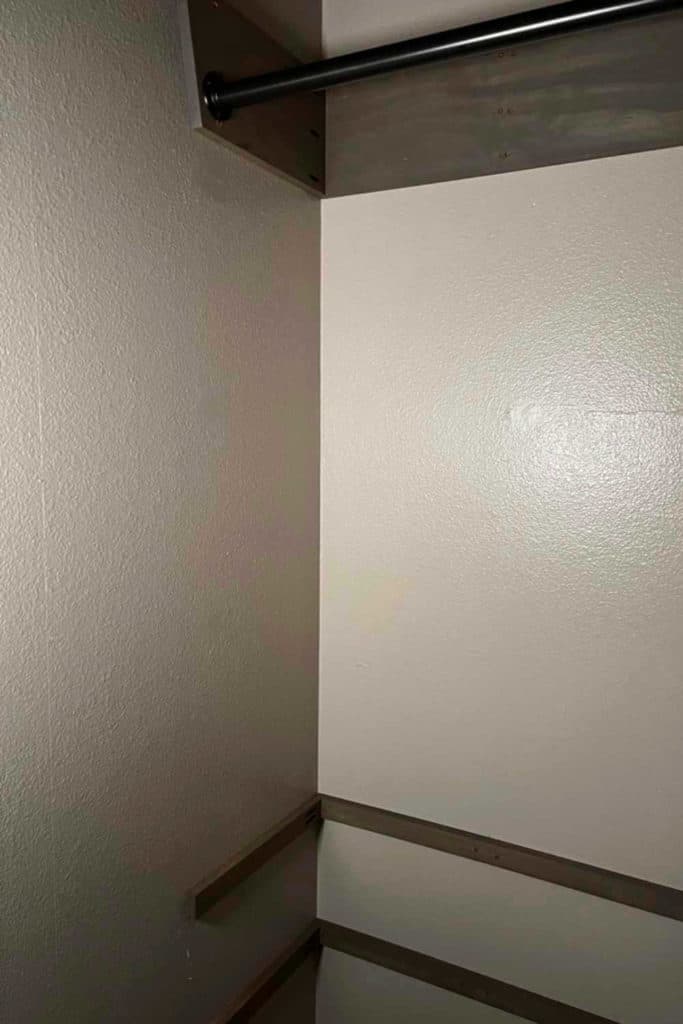
How To Install Closet Rod And Shelf
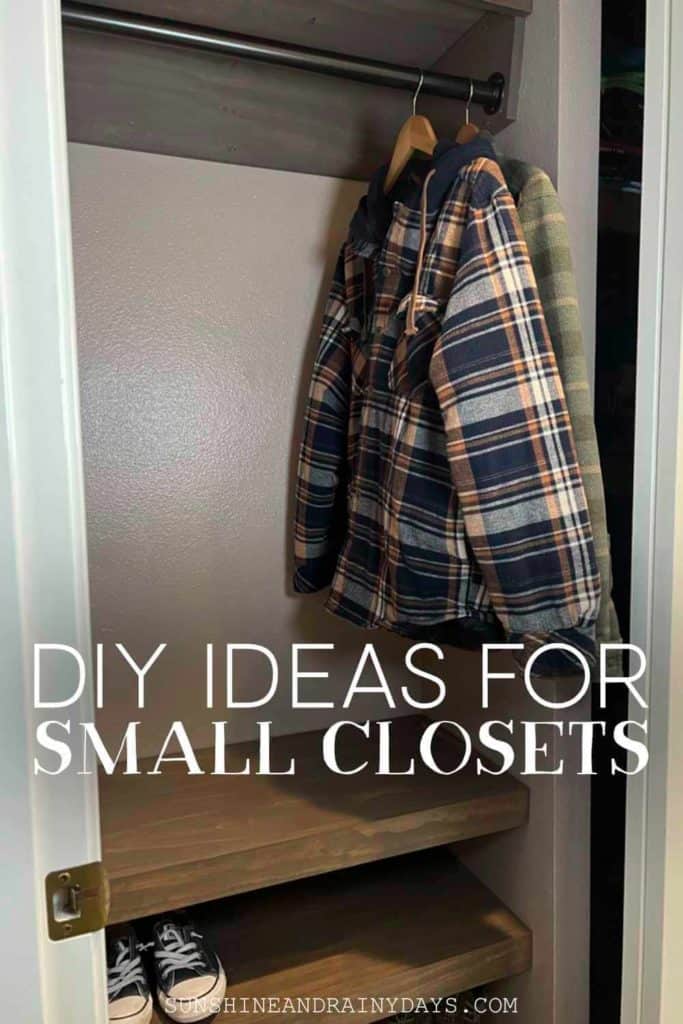
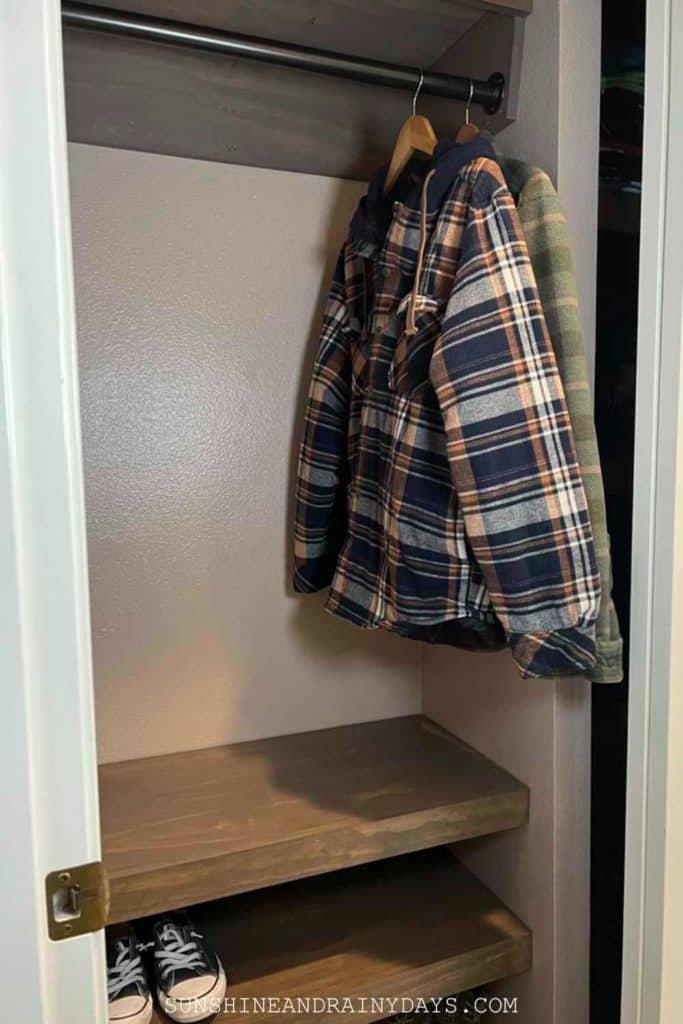
On the other side of this reach in closet, we decided to put in a closet rod and shelves. This will be an excellent spot for hanging coats and storing shoes!
These shelves were built the same as the ones above with the exception of the size of the back and side brackets.
The brackets under the shelf, with the closet rod, are 1″ x 8″. This is so I could attach metal pole sockets, right on the bracket, for extra strength.
- With your shelf, upside down on a work surface (this shelf should be at least 14-1/2″ deep), align your face board in front of the shelf and the back bracket on top of the back of the shelf.
- Measure the distance between the back bracket and the face board and cut a 1″ x 8″ to that length.
- Do a dry fit to make sure it fits, where it needs to go.
- Cut another side bracket for the other side.
- Cut three pocket holes, on one end of each side bracket so you can attach them to the back bracket.
- With this set up, laying upside down, mark the side brackets just above the face boards.
- Move your miter saw to 10° and cut your side brackets from the bottom to the mark you made. This gives your brackets a more finished look.
- Do a quick sand with 220 grit sandpaper on all pieces.
- Condition the wood with wood conditioner.
- Within 30-60 minutes, stain your pieces.
- When stain is dry, attach the face board to the shelf using wood glue and a nail gun. (Pocket holes would work, too!)
- Apply three coats of Wipe On Poly, lightly sanding with a sanding sponge after each layer dries.
- Adhere the back bracket to the wall, using a level and deck screws. Be sure to screw into studs as this is the backbone of your closet rod system.
- Attach the side brackets using 1-1/4″ pocket hole screws.
- Drill deck screws through the side brackets, into studs on the side walls, for extra strength.
- Attach your metal pole sockets 11-1/2″ center, from the back bracket.
- Cut your metal pole to the length between the metal pole sockets, using a pipe cutter, and place in the sockets.
- Place the shelf on top of the brackets.
This is what this reach in closet looks like. It’s like two small closets in one reach in closet because it has a wall between the two sides.
The sweet thing about these DIY small closet ideas is that you can configure the shelves and closet rods, right where you need them, they are made of real wood, and they look great, too!