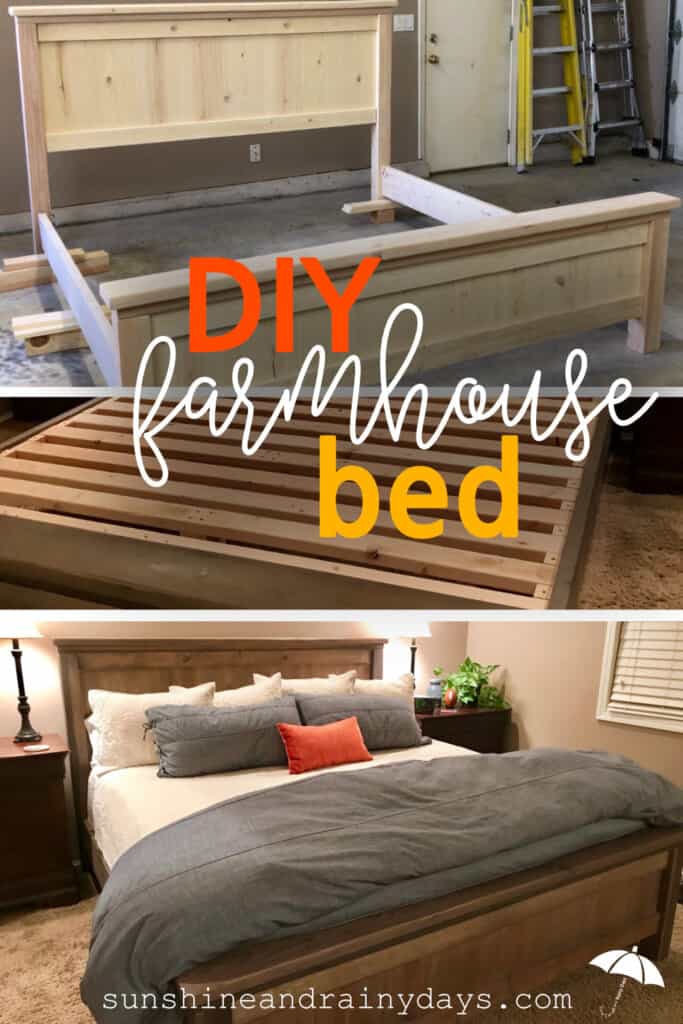
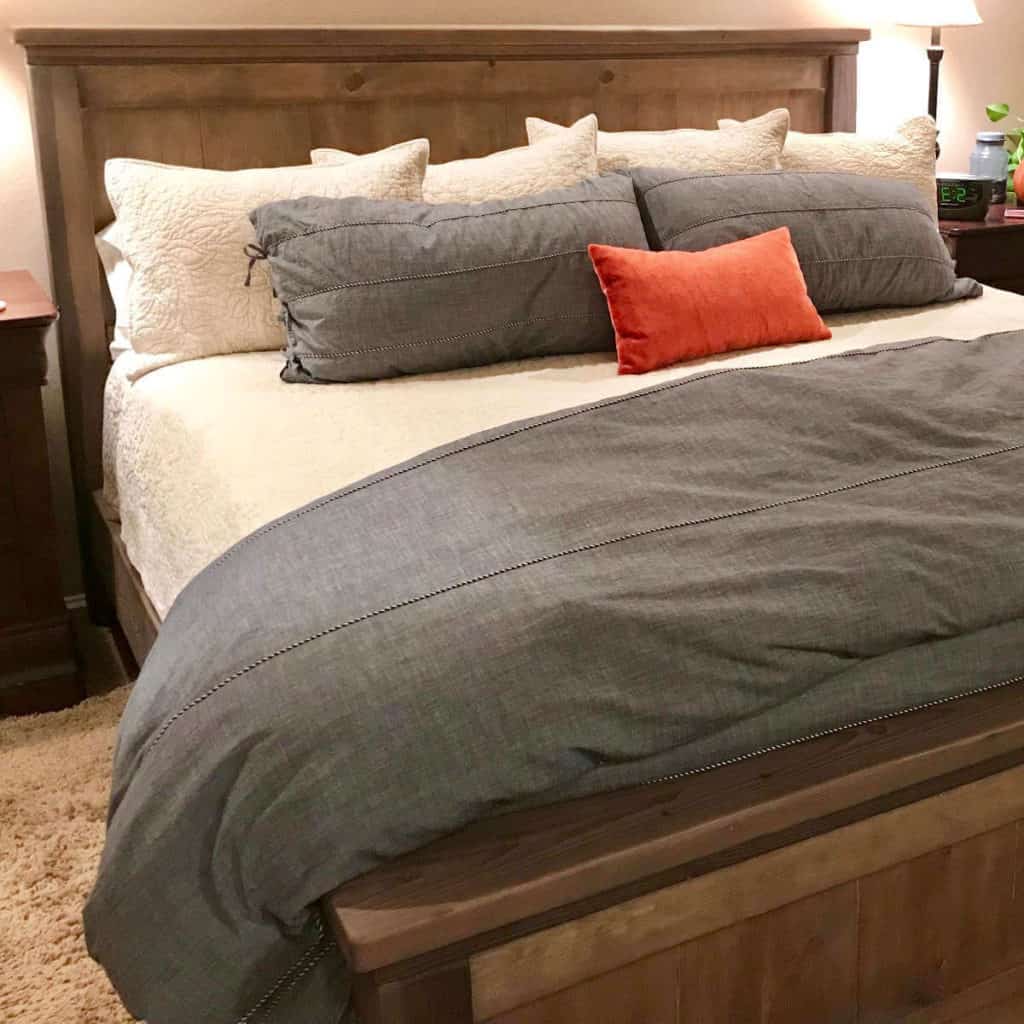
DIY King Size Farmhouse Bed

This King Size Farmhouse Bed turned out better than I could’ve imagined! It did take a lot of patience, time, and even left a few bruises but, a few months out, I think I would do it all over again!
A few years ago, we sold our house and temporarily moved into an apartment. In the process, we downsized A LOT! We didn’t want to move anything that wasn’t necessary since we would be moving it twice. We moved from a 1969 square foot home to a 1200 square foot apartment before moving to a 3600 square foot house. Needless to say, we didn’t have much to put into our new home.
We had sold our son’s bed and just kept the twin-size mattress, knowing our growing boy would need a bigger bed soon anyway. A year into our new, bigger home, we decided it was high time to get this boy off the floor. We decided to give him our queen-size bed as we had been wanting a King Size Farmhouse Bed.
We purchased a Naturepedic mattress, which we slept on, on the floor until we found the bed plans we liked. It was only about a month with the mattress on the floor!
We chose the Farmhouse King Bed Plans by Ana White and I read everything I could about it. This would be the biggest project I’d ever done. Through reading comments, I found the DIY Farmhouse Bed – King Version by Ed Hart. He had a few modifications I liked so I bought his plan.
Then, I set to work!
DIY King Size Farmhouse Bed
This post contains affiliate links. When you purchase through an affiliate link, we receive a small commission at no additional cost to you. Disclosure.
I won’t rehash all the nitty gritty details since they are already found in the plans above. I will show you the changes I made to the King Size Farmhouse Bed plans to make it work for us!
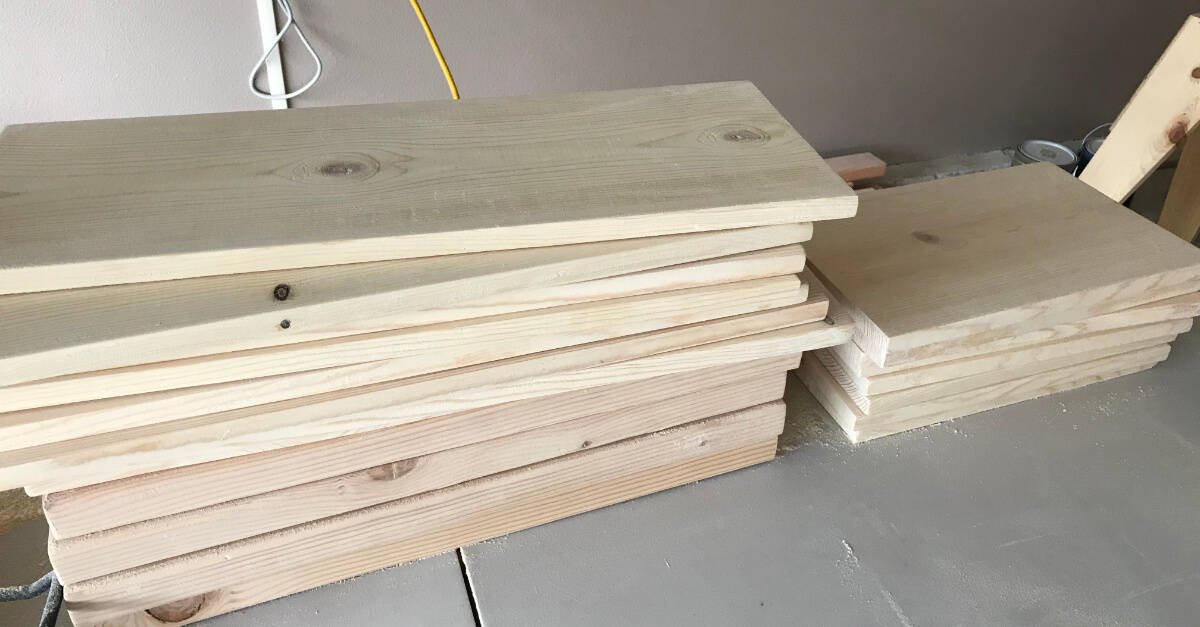
The Lumber
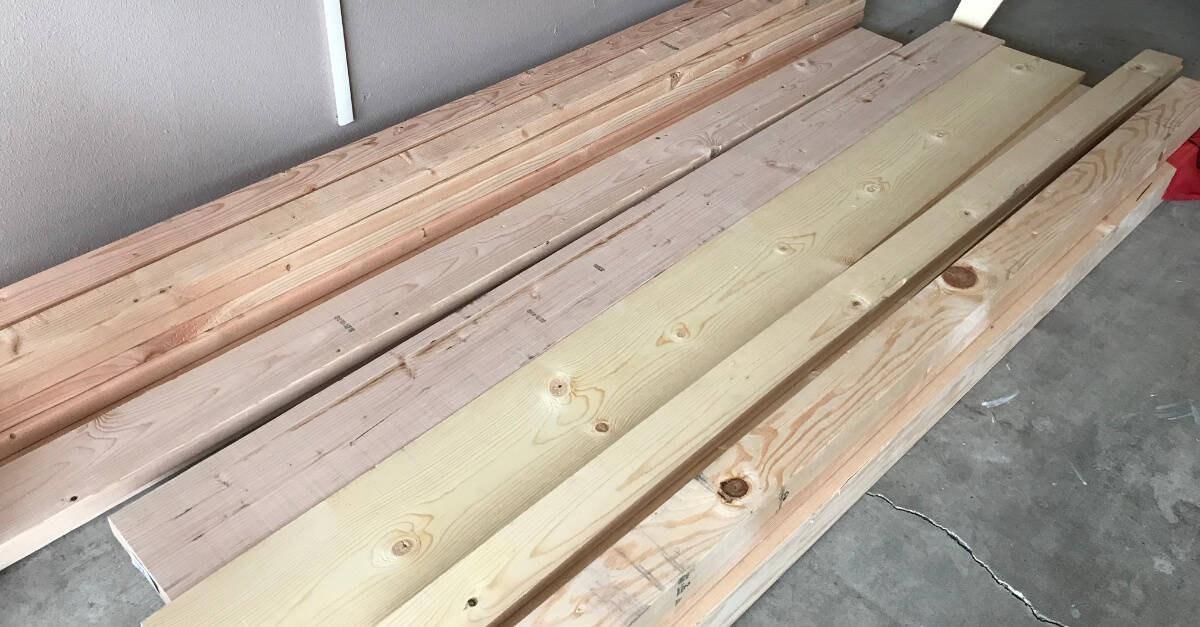
We purchased lumber at Home Depot. We tried our best to choose the best boards available and make sure the boards were straight.
My Set Up
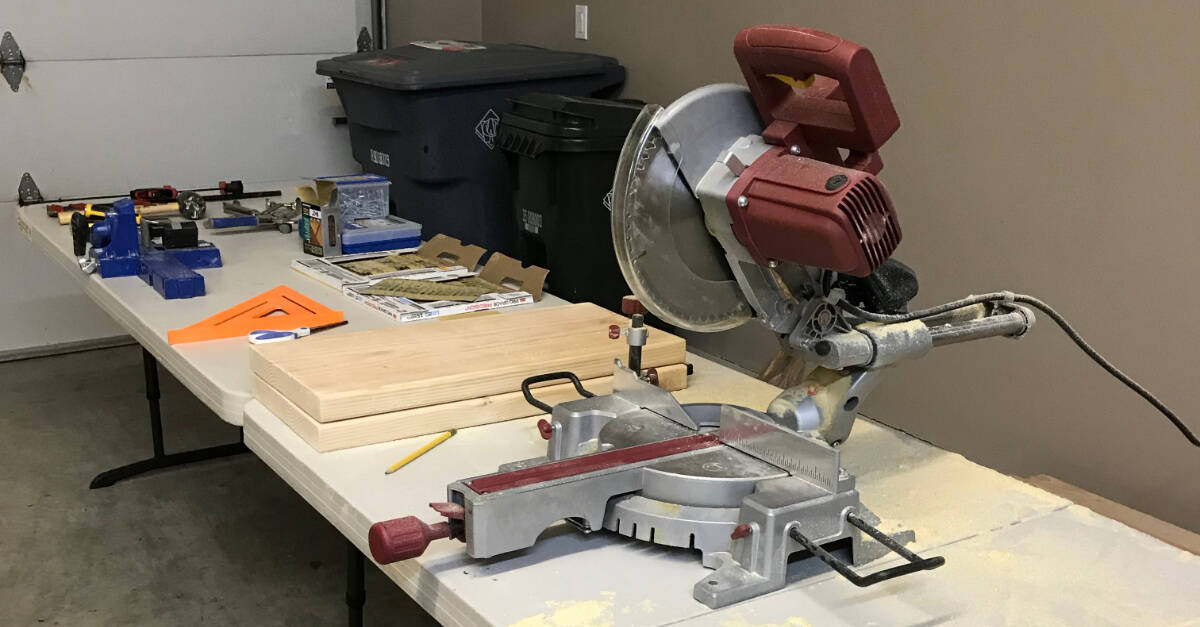
I borrowed a sliding miter saw from my dad! I had everything else, including the K5 Kreg Jig!
Like my set up?
This goes to show that you don’t need a big fancy shop to make cool stuff out of wood!
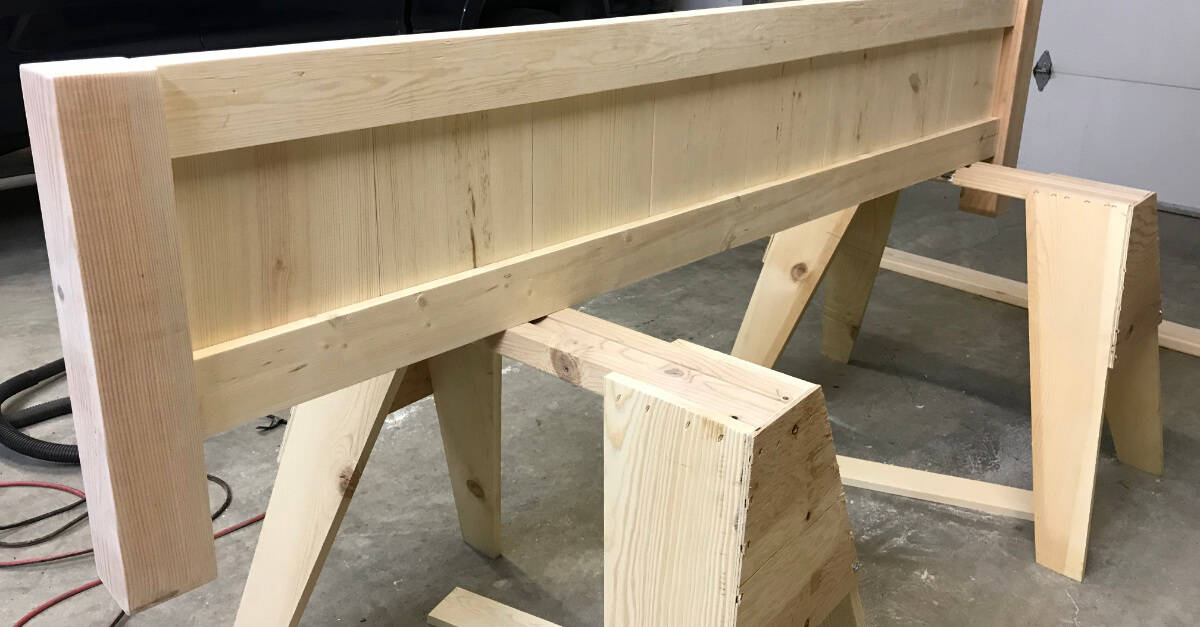
Prepping The Headboard Panel Pieces
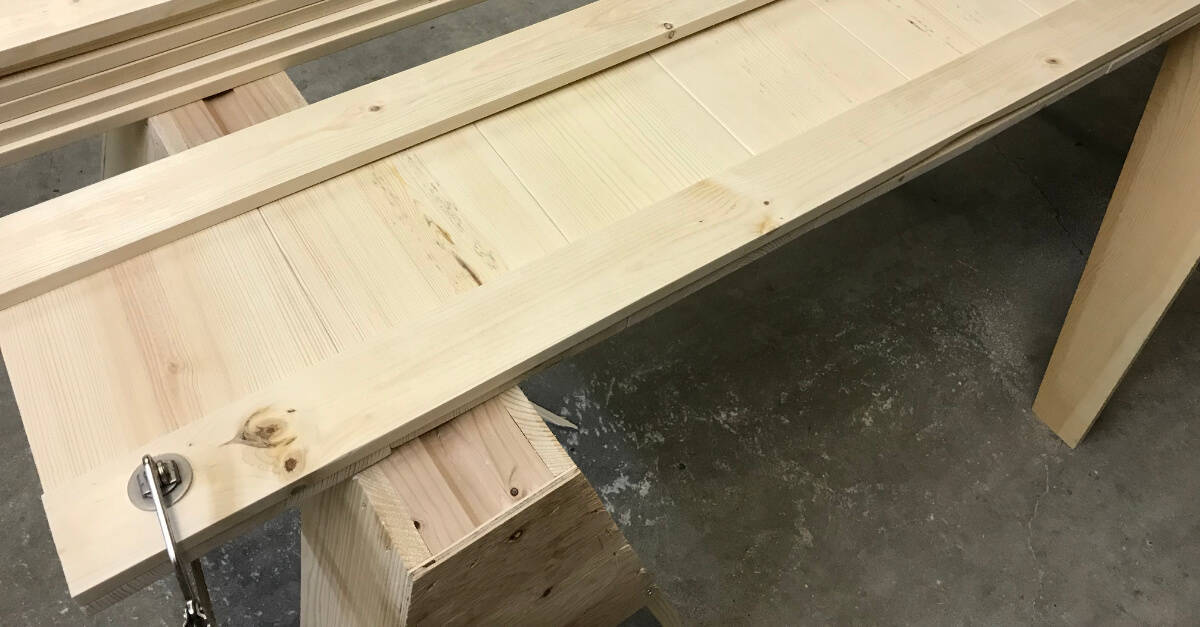
First, I cut the boards for the headboard and footboard panels.
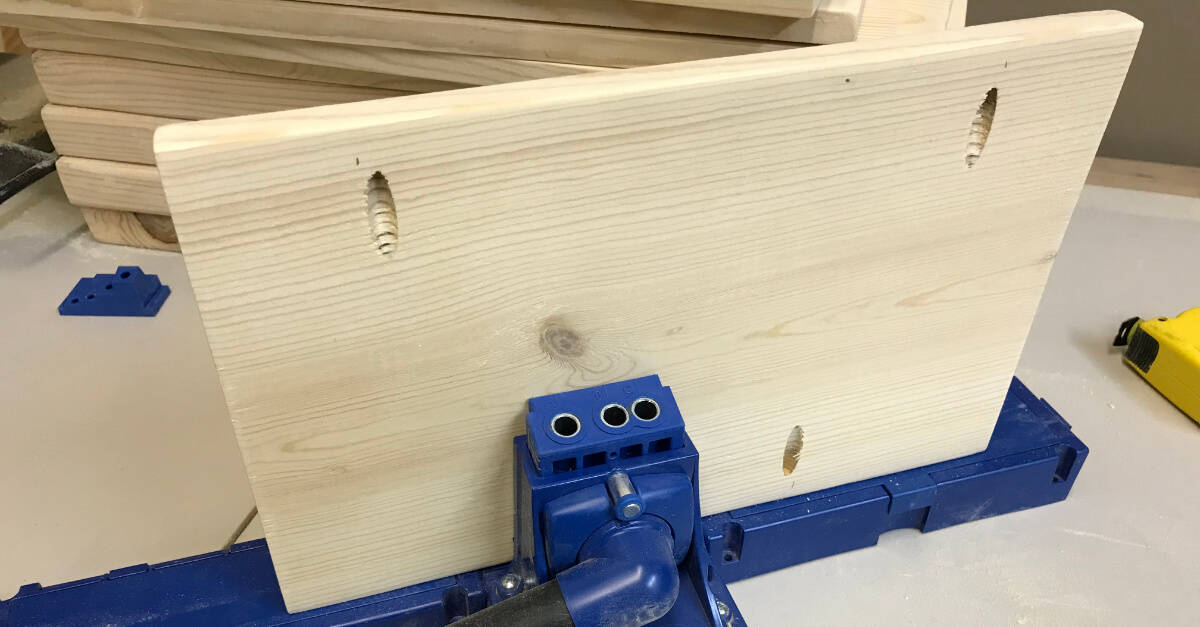
Next, I drilled pocket holes into the panel pieces. Two per footboard piece and three on each headboard piece. I made sure the top and bottom pocket holes on both the headboard and footboard, would be covered by the trim pieces.
I also drilled two pocket holes on each end piece of the footboard slat, to connect to the 4 x 4’s. Then, three pocket holes on each end piece of the headboard to connect to the 4 x 4’s. These pocket holes would be exposed after the trim pieces were attached so I could actually use them.
Assembling The Headboard And Footboard
This is not the full directions for the Farmhouse Bed headboard and footboard but rather the tweaks I made to the plans mentioned above! Those guys are the true professionals!
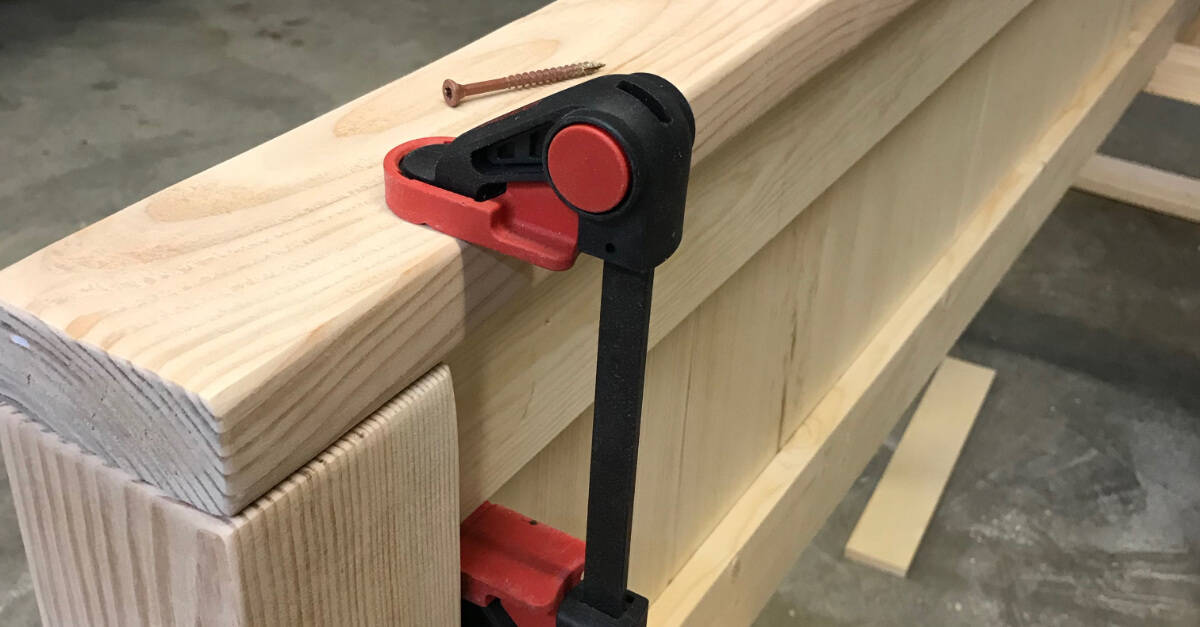
One by one, I used my Kreg Jig clamps to attach the headboard and footboard slats with pocket hole screws.
My next step was to attach the trim pieces to the headboard and footboard. I sandwiched the panel between two trim pieces, clamped them, and used Deck Plus ceramic deck screws (from Lowe’s) to attach all three layers.
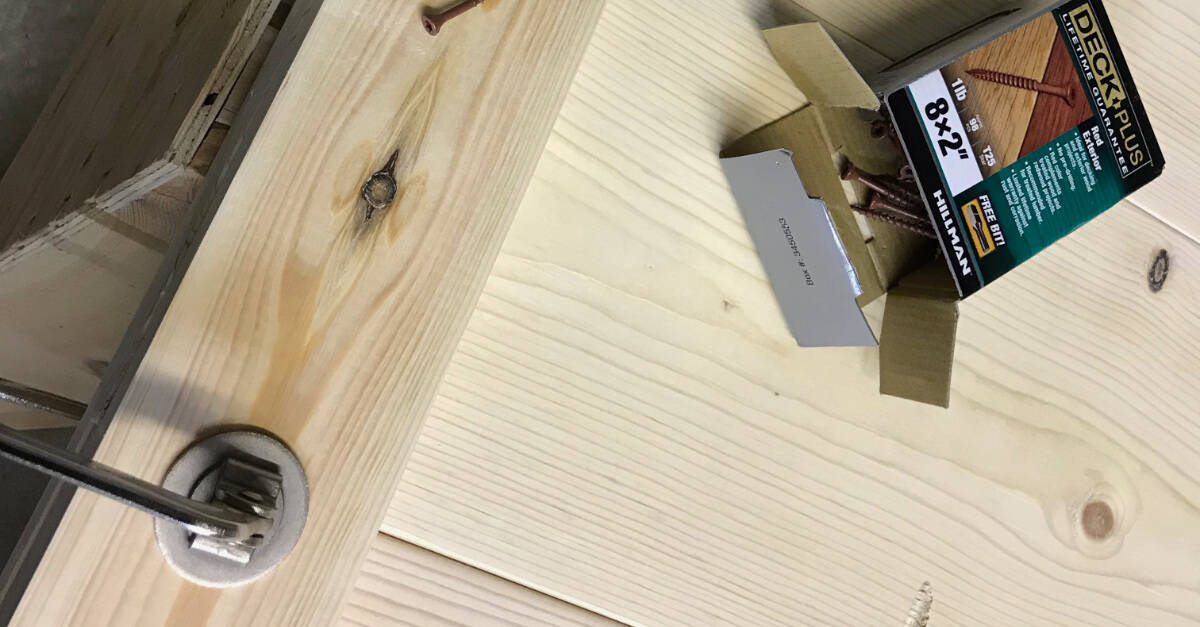
I’m a big fan of Deck Plus deck screws as they are super easy to use. I probably used too many but I chose not to use wood glue for this project and my Naturepedic mattress is super heavy.
The deck screws were drilled through the inside of the footboard, since the mattress would hide them, and the back of the headboard.
DON’T DO THIS!
I got excited and didn’t read my directions before the next step and put the 2 x 4 trim piece on before I attached the 4 x 4’s. Oops!
I took the 2 x 4 trim off the top and attached the 4 x 4’s to the footboard using the pocket holes I had created in an earlier step. A scrap piece of 1 x 4 was used under the panel to get the 4 x 4 placed in the right spot.
THEN, it was time to add the 2 x 4 trim!
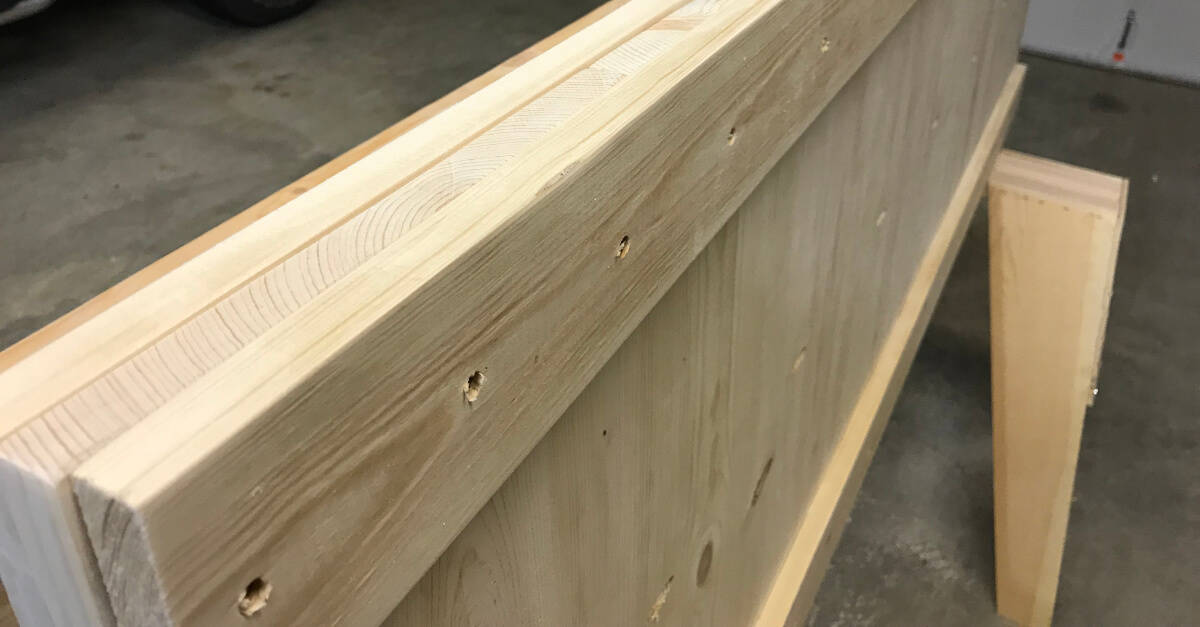
Once again, I used deck screws to attach the 2 x 4 trim to the top of the footboard and headboard, being careful to drill them in the center of the panel.
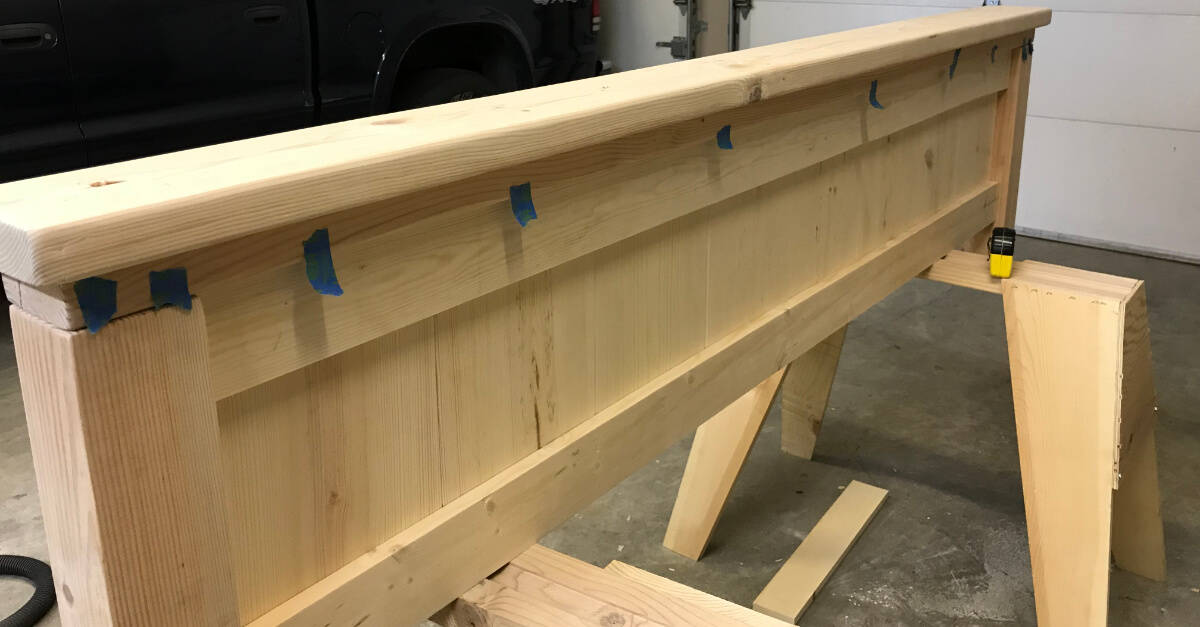
Blue tape marked the spots where the deck screws were screwed in the 2 x 4 trim. That way, we would be sure to screw in different spots for the final top piece of trim on both the headboard and footboard.
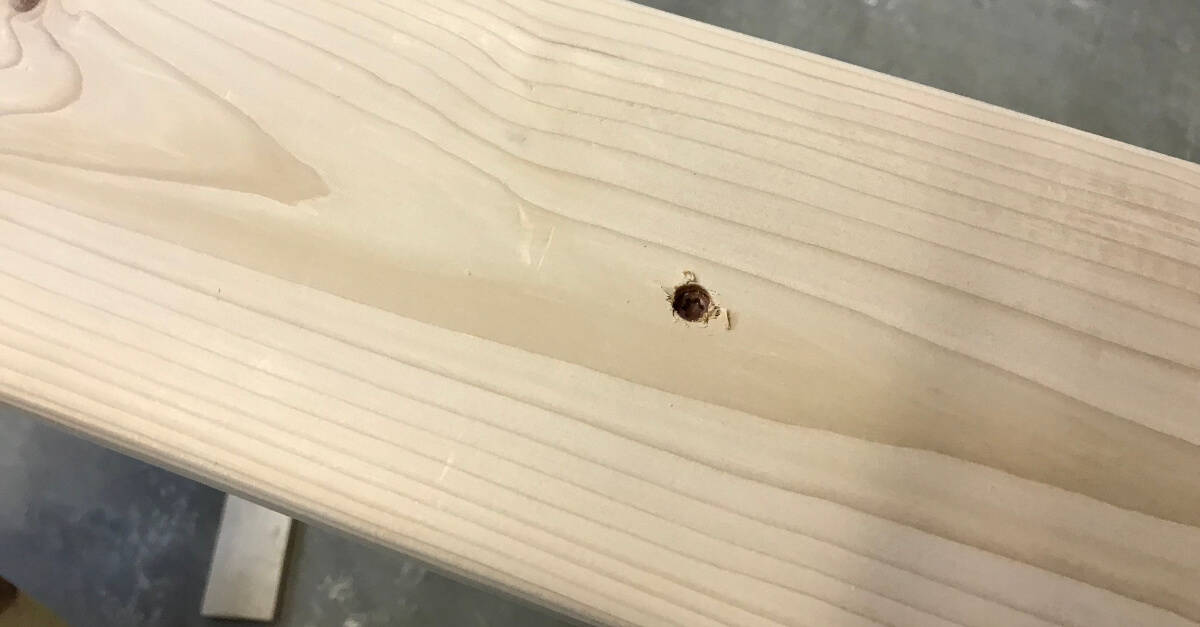
That’s what the deck screw looks like, counter sunk into the top piece of trim.
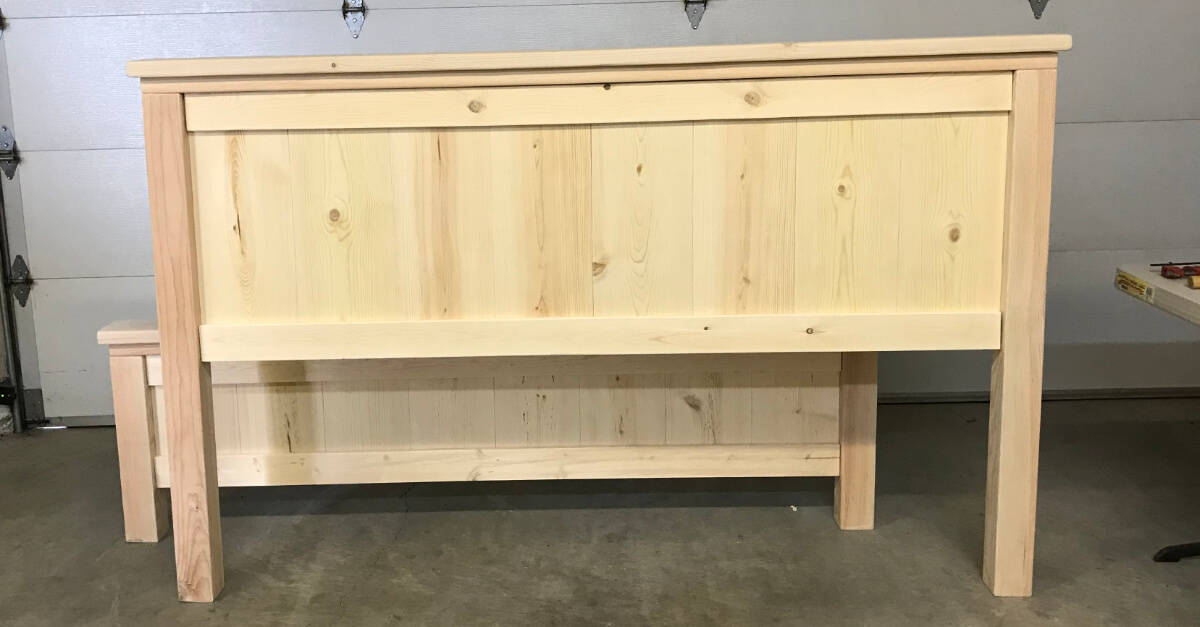
There were quite a few steps to complete the headboard and footboard but, I have to say, it was the easiest part of this project!
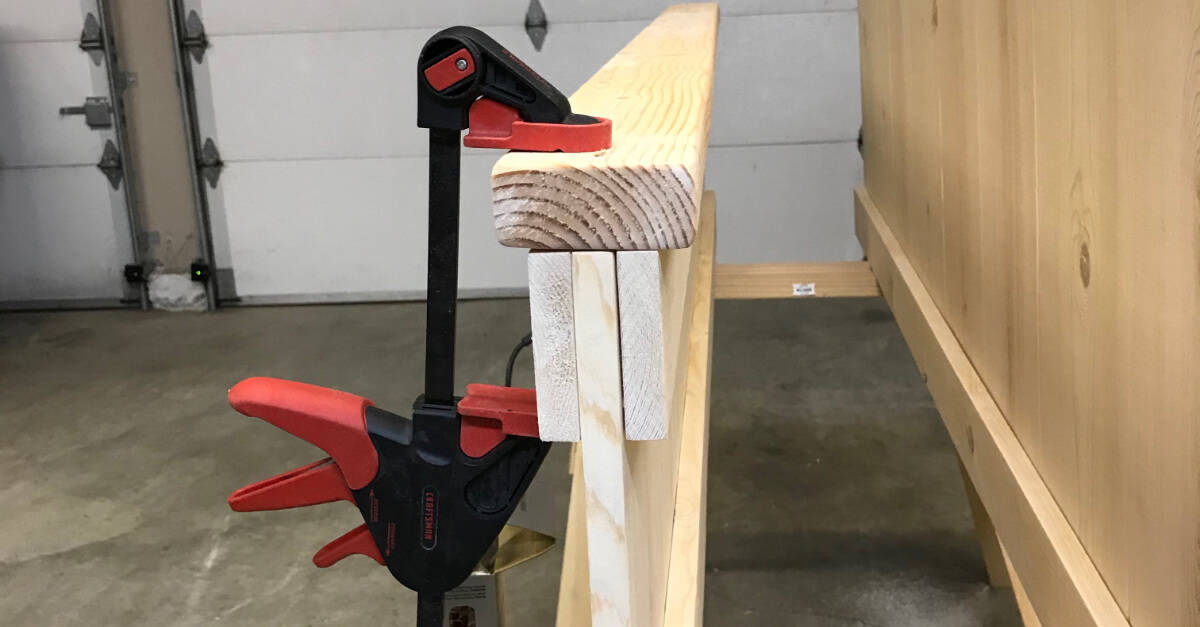
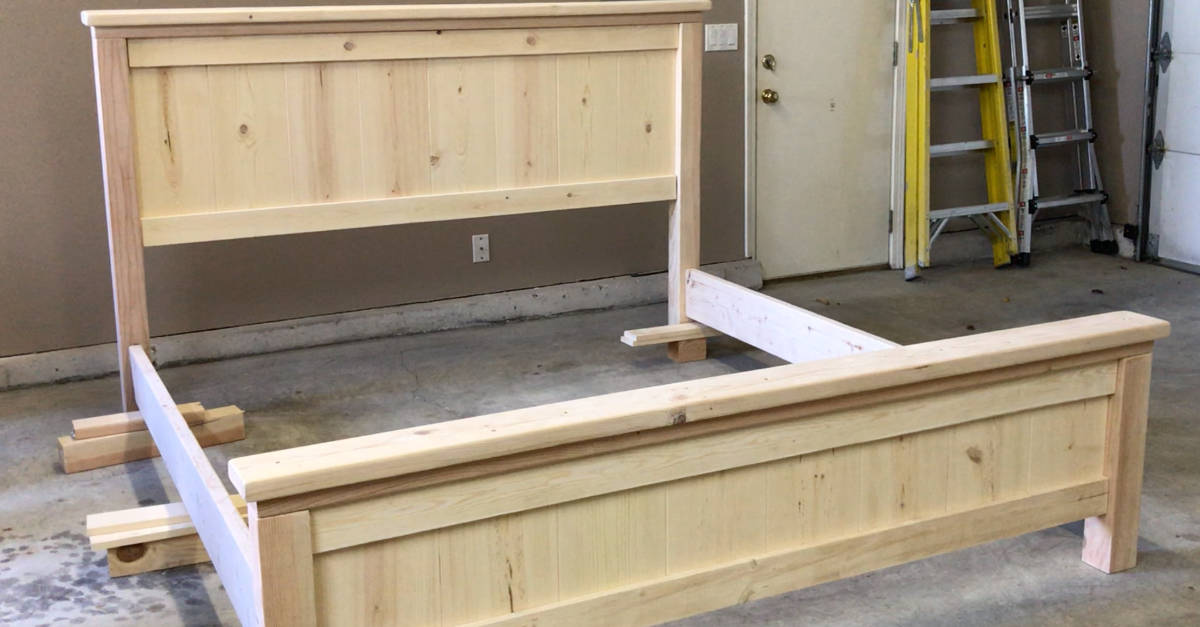
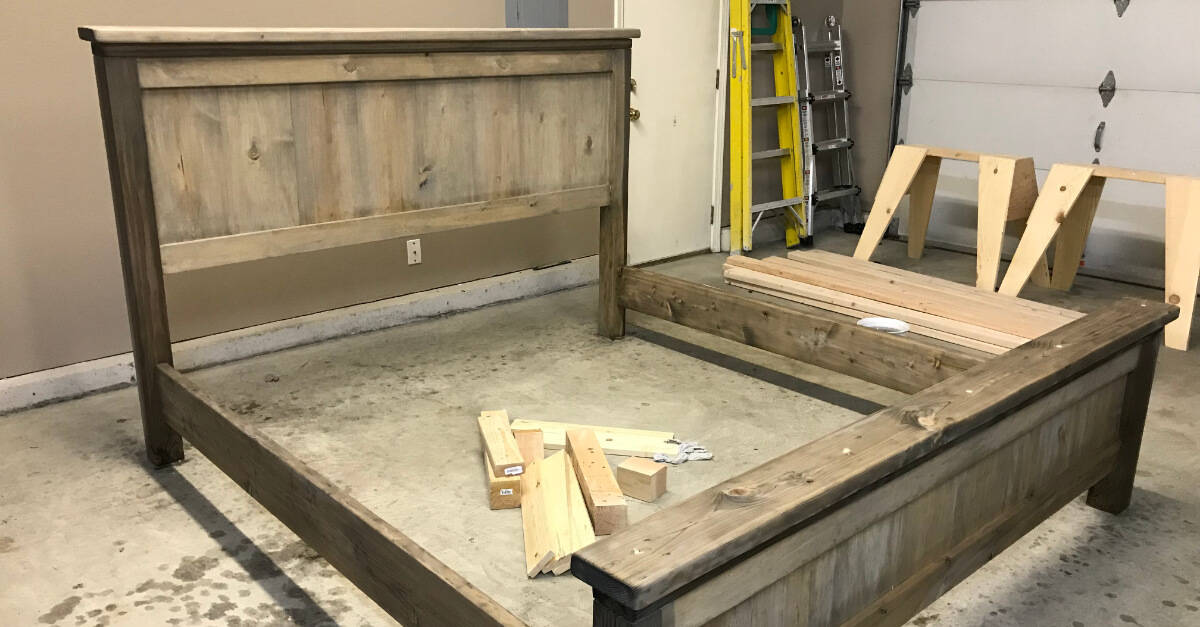
Attaching The Bed Rails
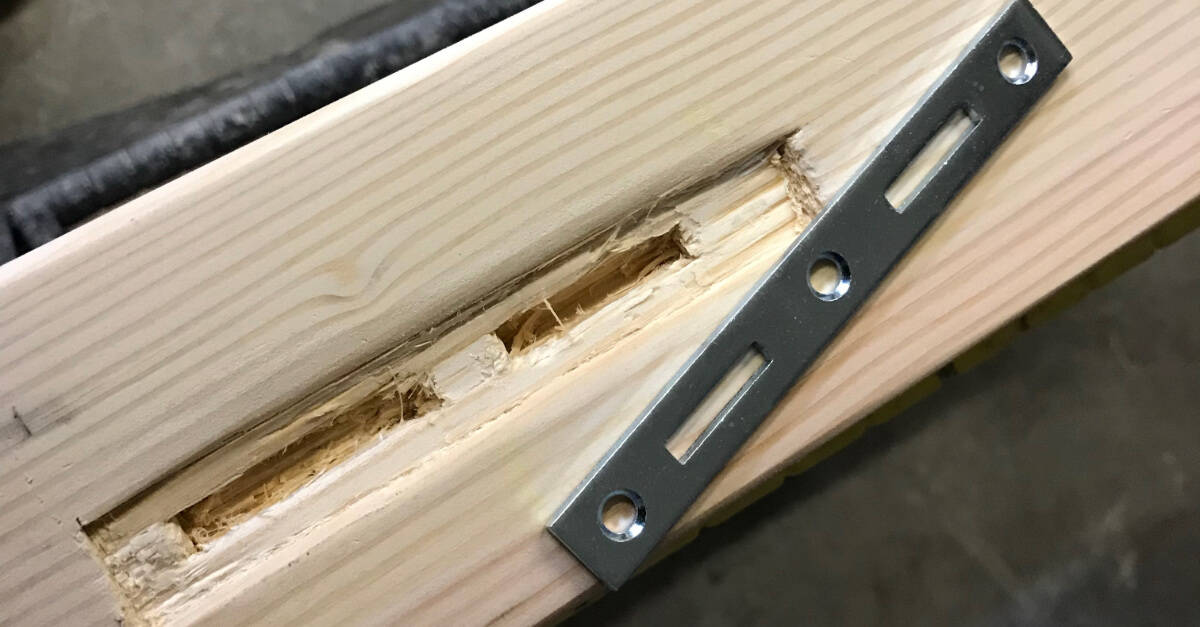
Here’s the hard part. Mortising the 4 x 4’s and bed rails for the bed rail hooks. It wasn’t too difficult to mortise the 4 x 4’s but the bed rails were a challenge, as I was chiseling against the grain of the wood.
I didn’t mortise to a precise depth and the bed rail boards were not perfectly straight so I had my husband help me with this part. He got it to work after some adjustments.
The headboard may have fallen on my leg in the process. Ahem. It left a huge bruise that required a lot of icing and time to heal. At that point, I may have wanted to throw the whole thing in the burn pile … not really, we don’t have a burn pile.
We did want to be able to take this bed apart in the future so it was important to us to have some kind of hook system. I’m just not sure this was the right one. It is the hook system Ed Hart used in his plan. If I remember correctly, Ana White shows using pocket holes, which means you would need to assemble the bed inside the house.
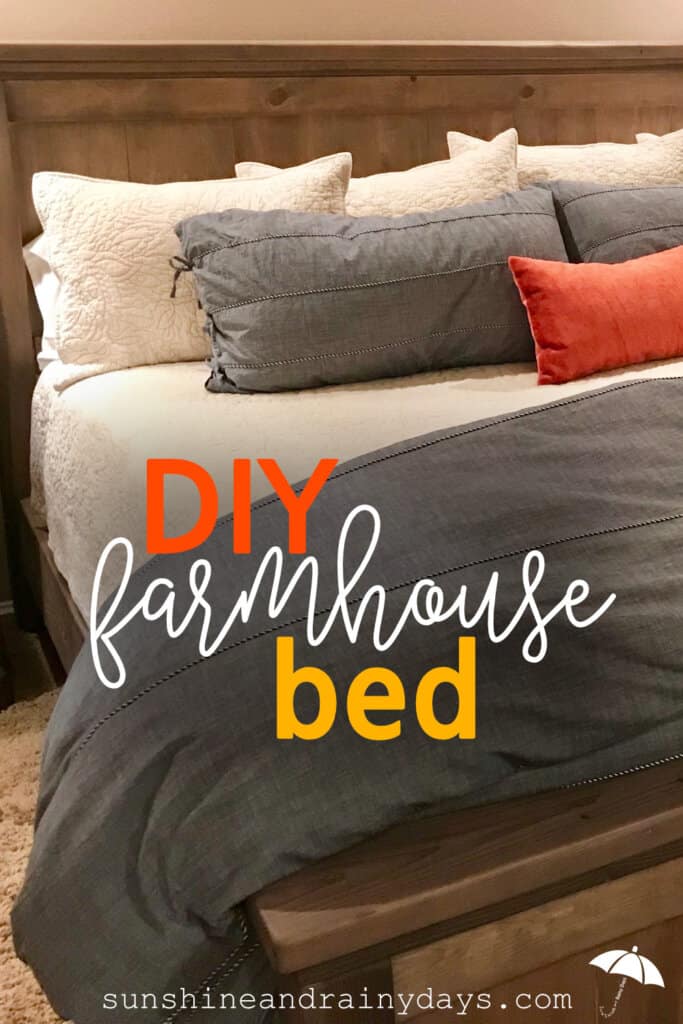
Staining The Farmhouse Bed
Once the bed frame was together, I was able to stain it! I used my homemade stain of tea and then steel wool soaked in white vinegar for 24 hours.
You can read more about it here:
How To Make Wood Stain With Common Household Products
Some spots, depending on the type of wood, needed additional coats of tea stain to even it out.
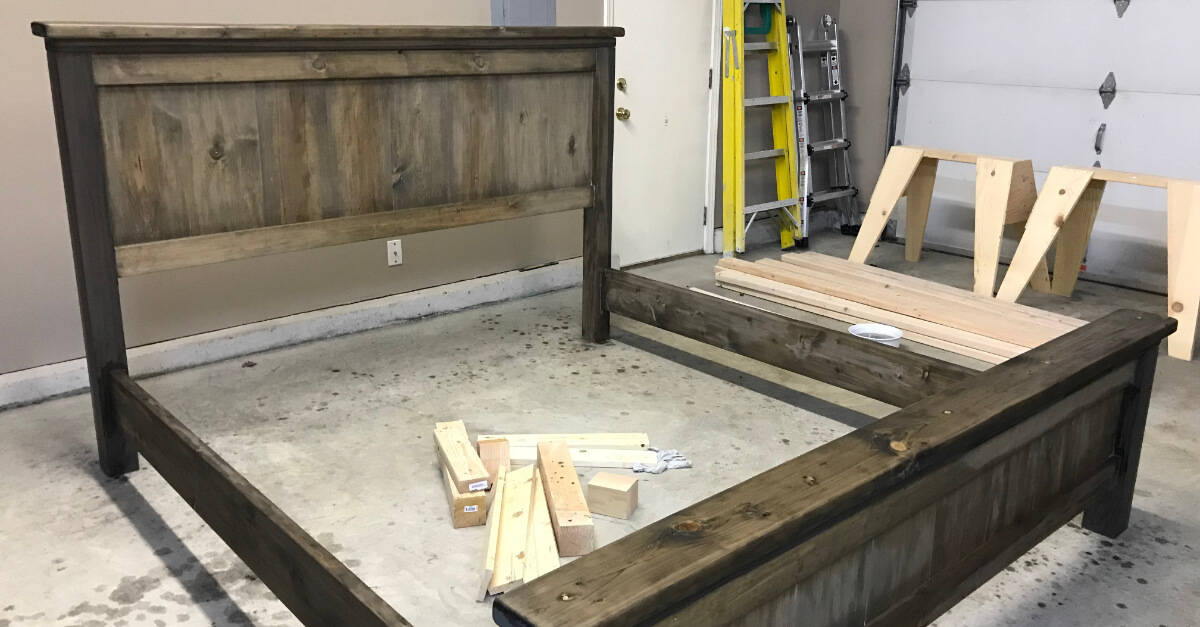
It’s perfectly rustic!
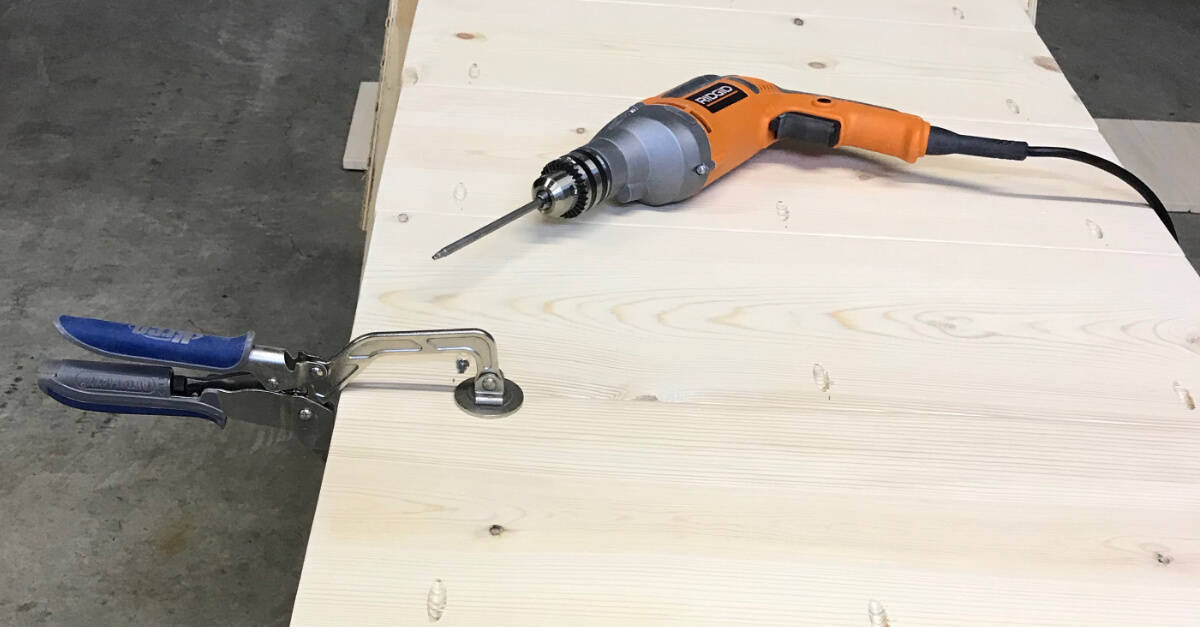
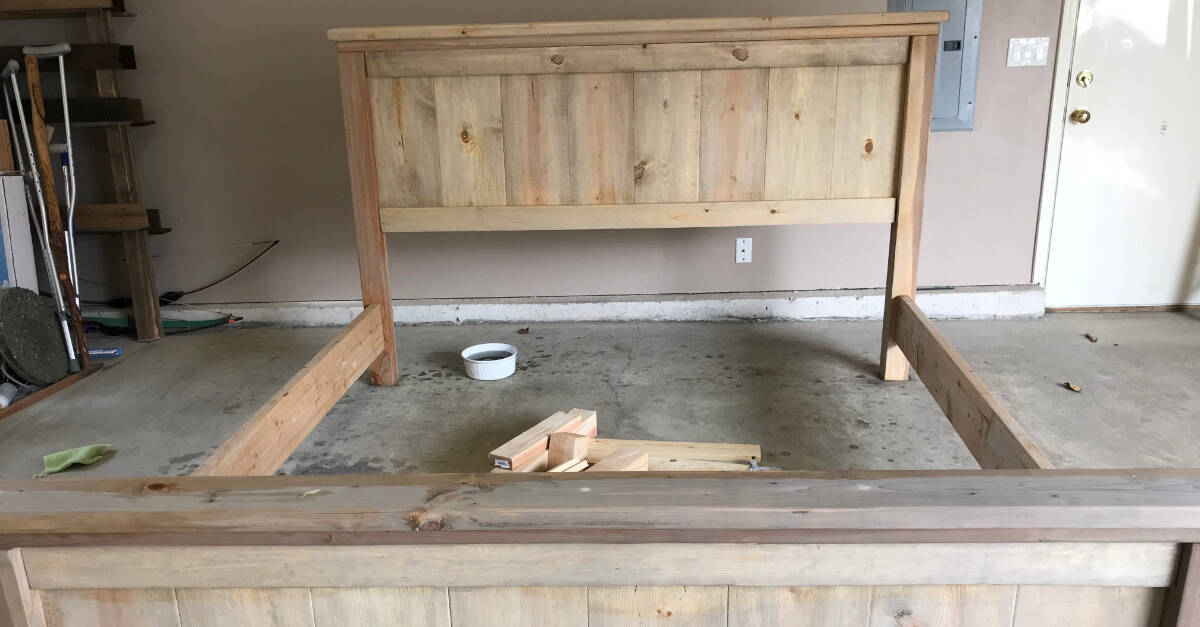
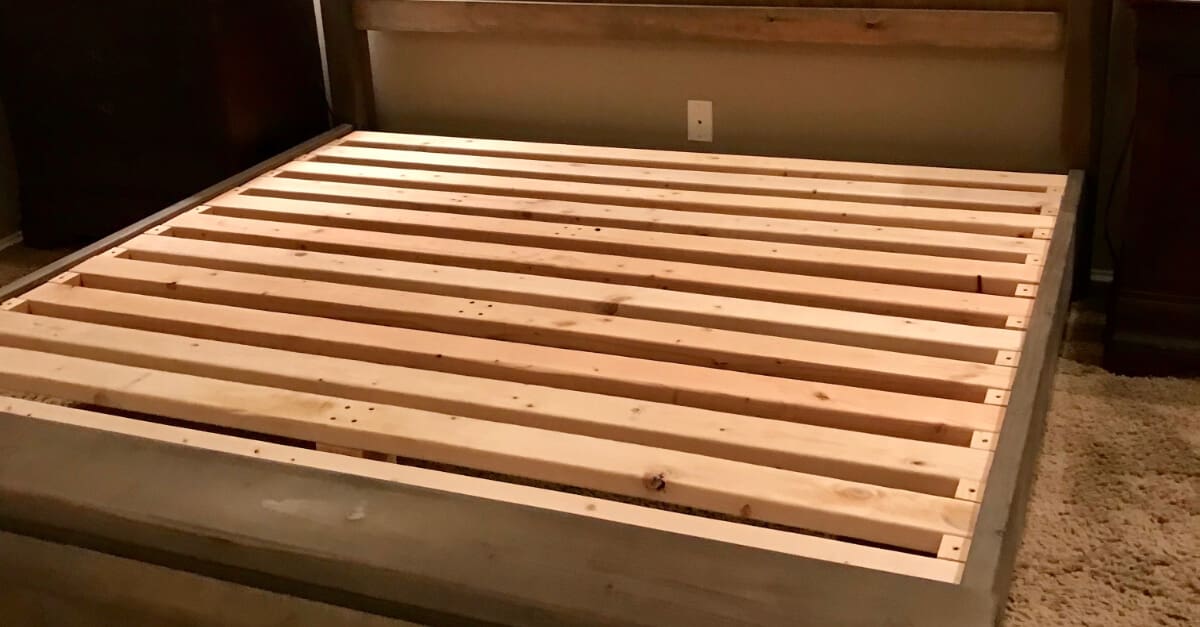
Attaching Bed Slat Rails
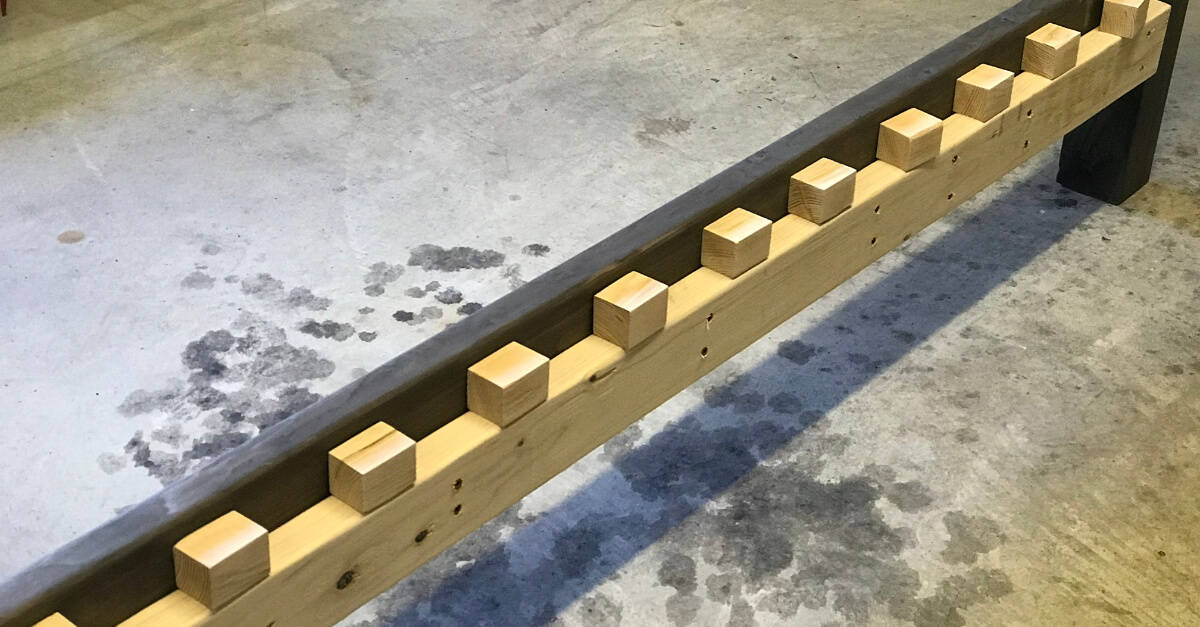
We have a Naturepedic mattress but no box spring so we adjusted the height of the slat board rails to make it more of a platform bed.
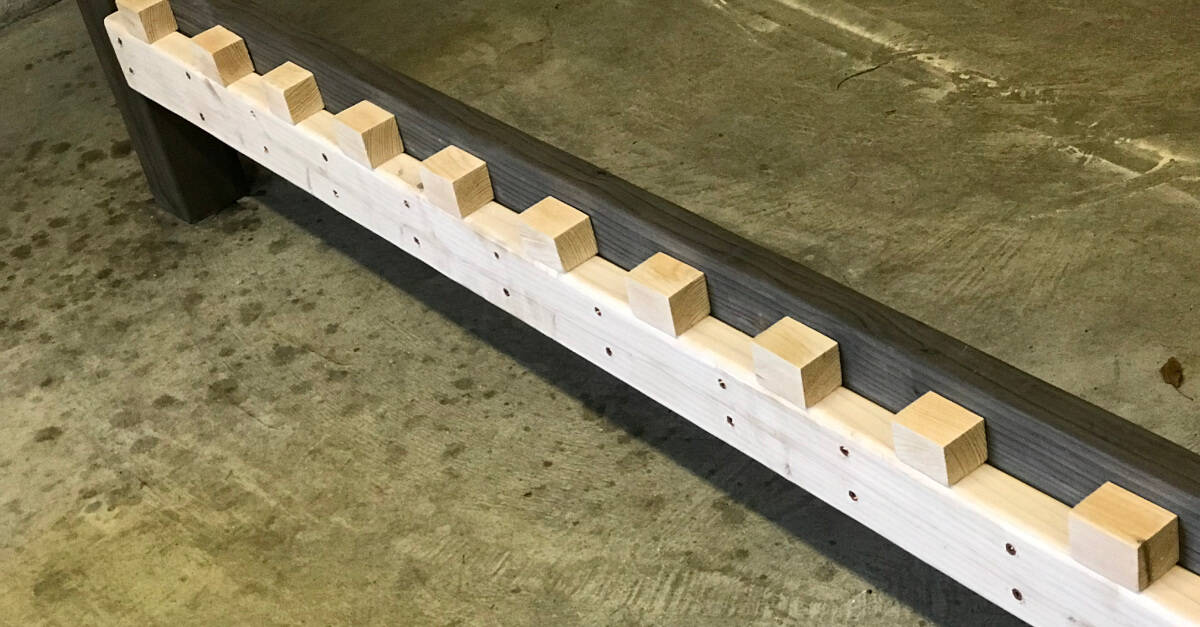
I used deck screws to attach the slat board rail. The blocks hold the slat boards in place. Each block was pre-drilled, to avoid splitting, and attached with a deck screw.
Ed Hart’s directions show notching out the 2 x 4 slat board rail for the slat boards to fit into. I didn’t have the right saw to do that and recently helped my niece move and saw her bed was done this way! It did take some work but is an excellent solution!
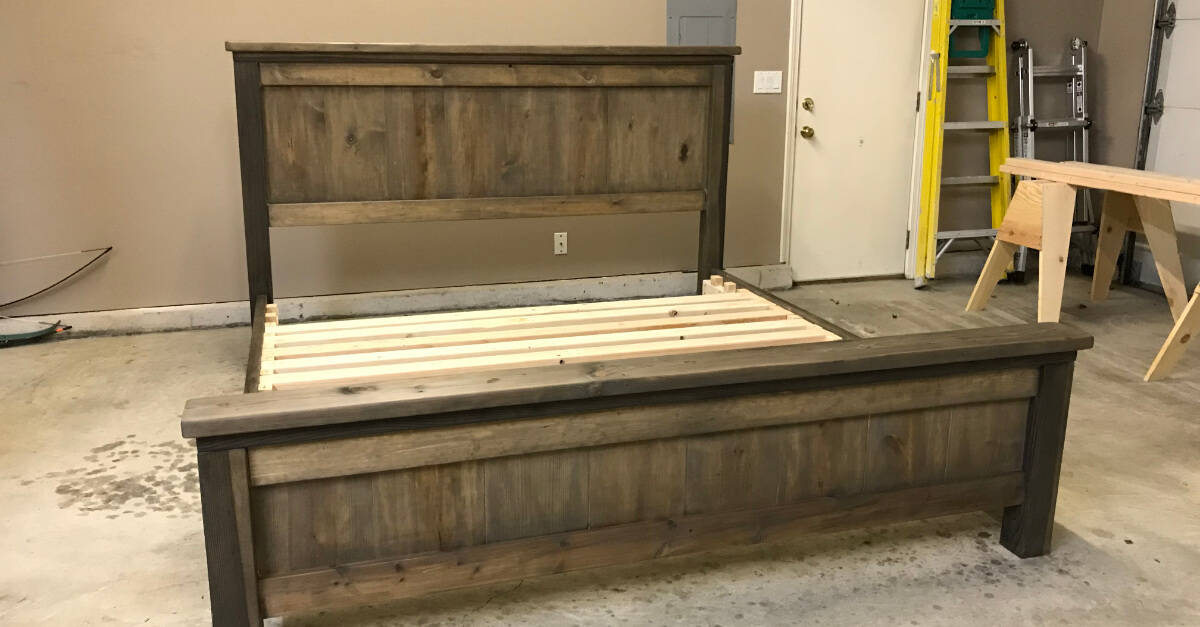
We have so many slats on our bed because we have a Naturepedic mattress and it requires bed slats to be no more than two inches apart. The Naturepedic mattress is super heavy, yet it needs to breathe so a plywood platform was not an option. Plus, mattresses can get mildewy when they can’t breathe. We found that out after having my son’s mattress on the floor for a year.
Reinforcements
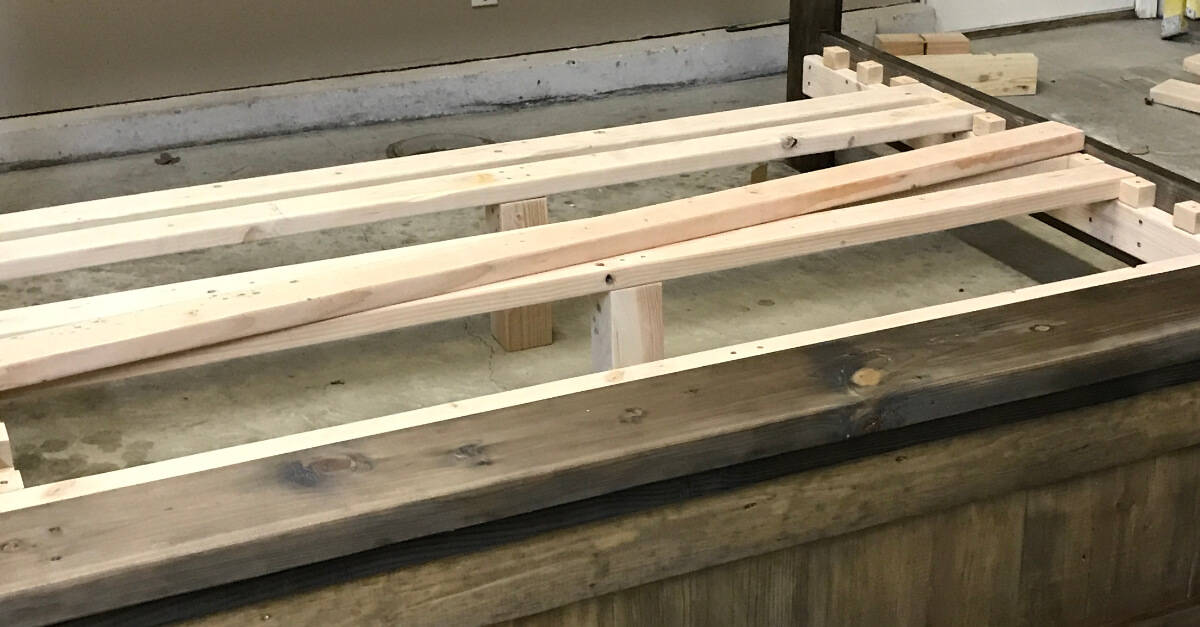
For extra reinforcements, I placed 4 x 4’s under the center of three of the bed slats with, none other than, deck screws! There could be a better way to reinforce but this has worked for us! The bed still stands, after a few months at least!
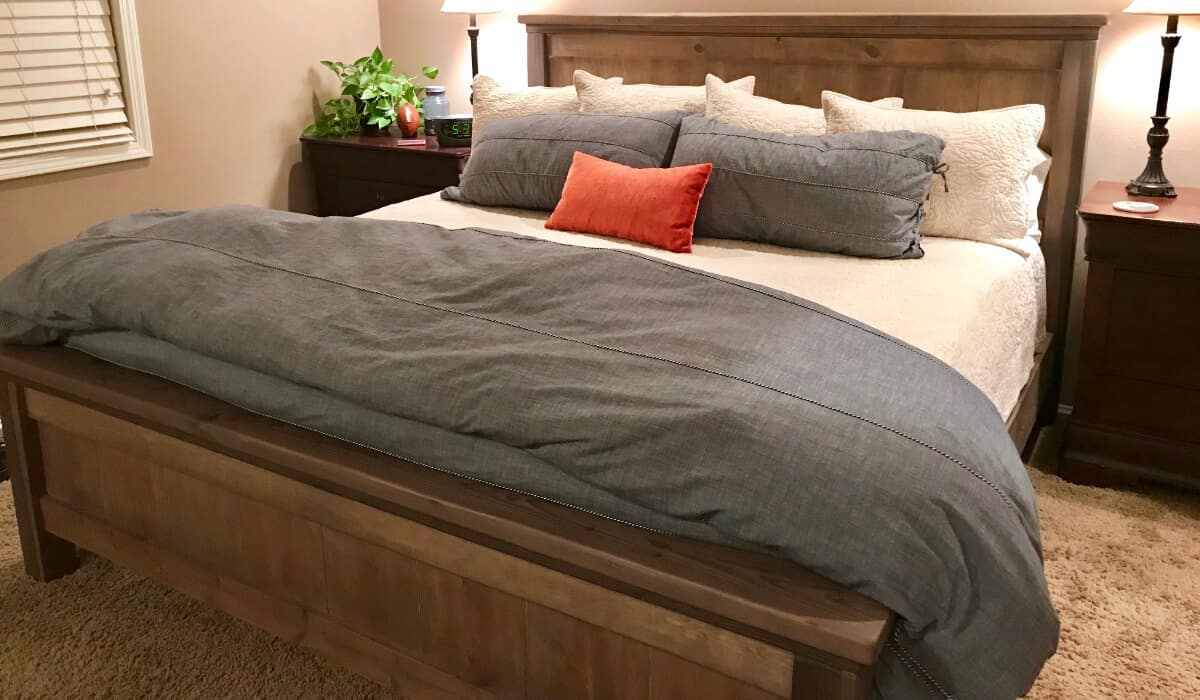
The Fully Assembled King Size Farmhouse Bed
The King Size Farmhouse Bed is in the house! Woot!
Seriously! This mattress is so heavy, it took three of us struggling to get it on the bed.
I gotta say, I haven’t found a bed I like better! It might be because I spent my own blood, sweat, and tears on it. OR … it’s probably because I know how it was made and there are no stinky toxic smells!
I’m just glad it didn’t end up in the burn pile … that we don’t have!
This project took a good few months to complete since I worked on it for a few hours here and there on weekends. If you have more time to devote, I’m sure you could get it done much faster!
If you would prefer to BUY a Farmhouse Bed, I found this Farmhouse Bed that is similar!
We love this King Size Farmhouse Bed and I hope to build matching nightstands … after I build a kitchen table!