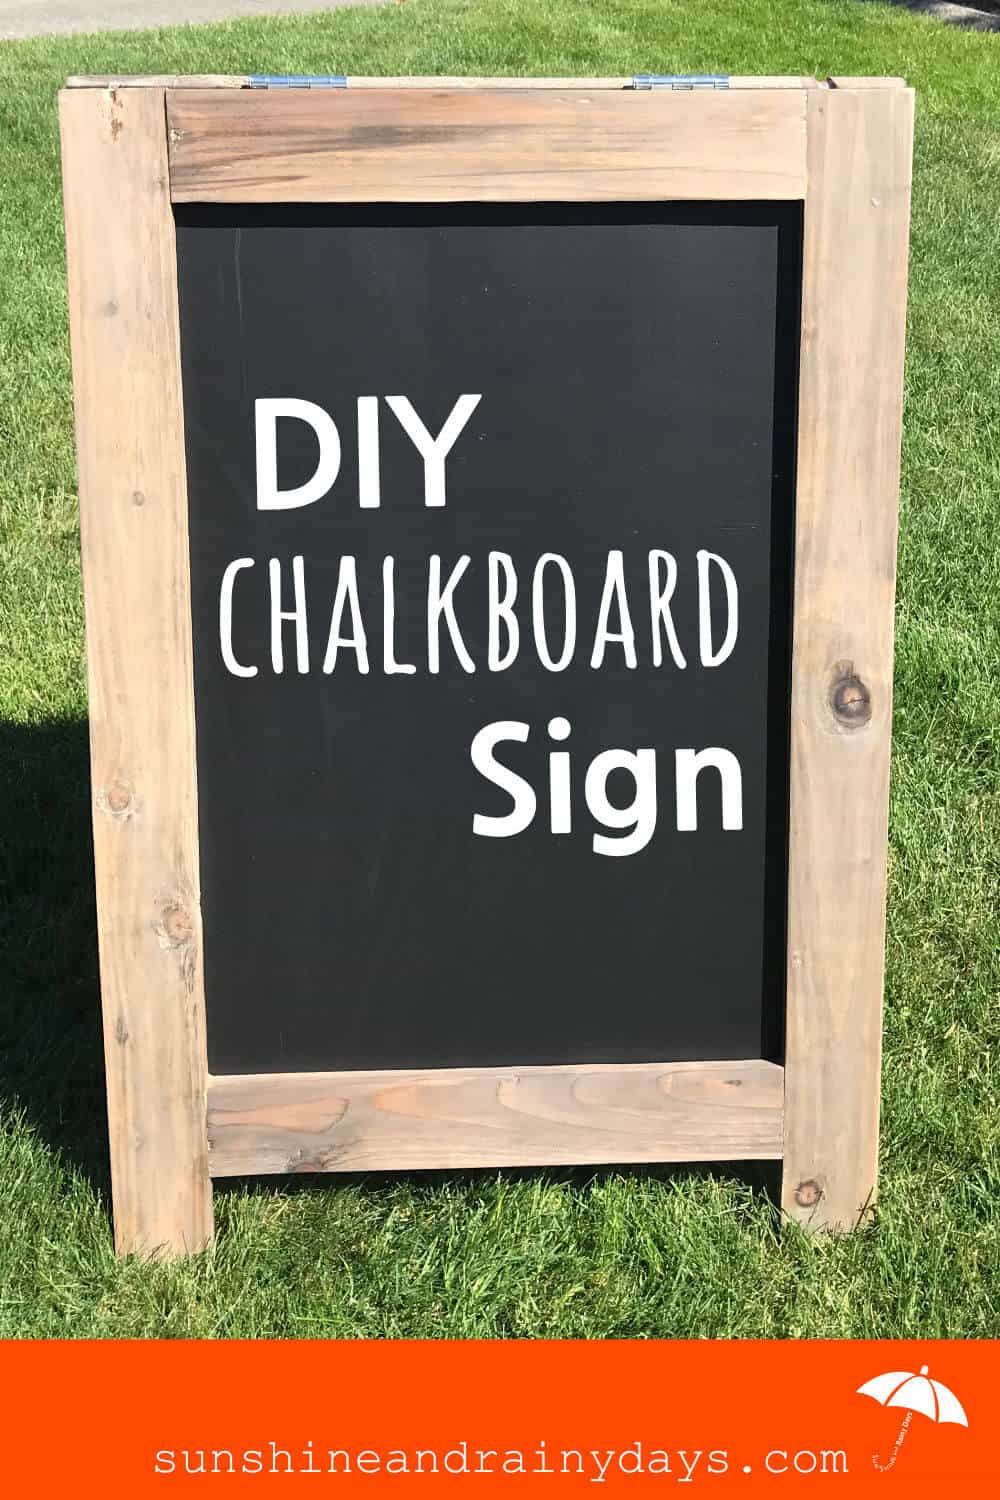
How To Build A DIY Chalkboard Sign
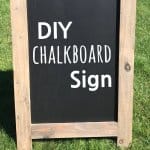
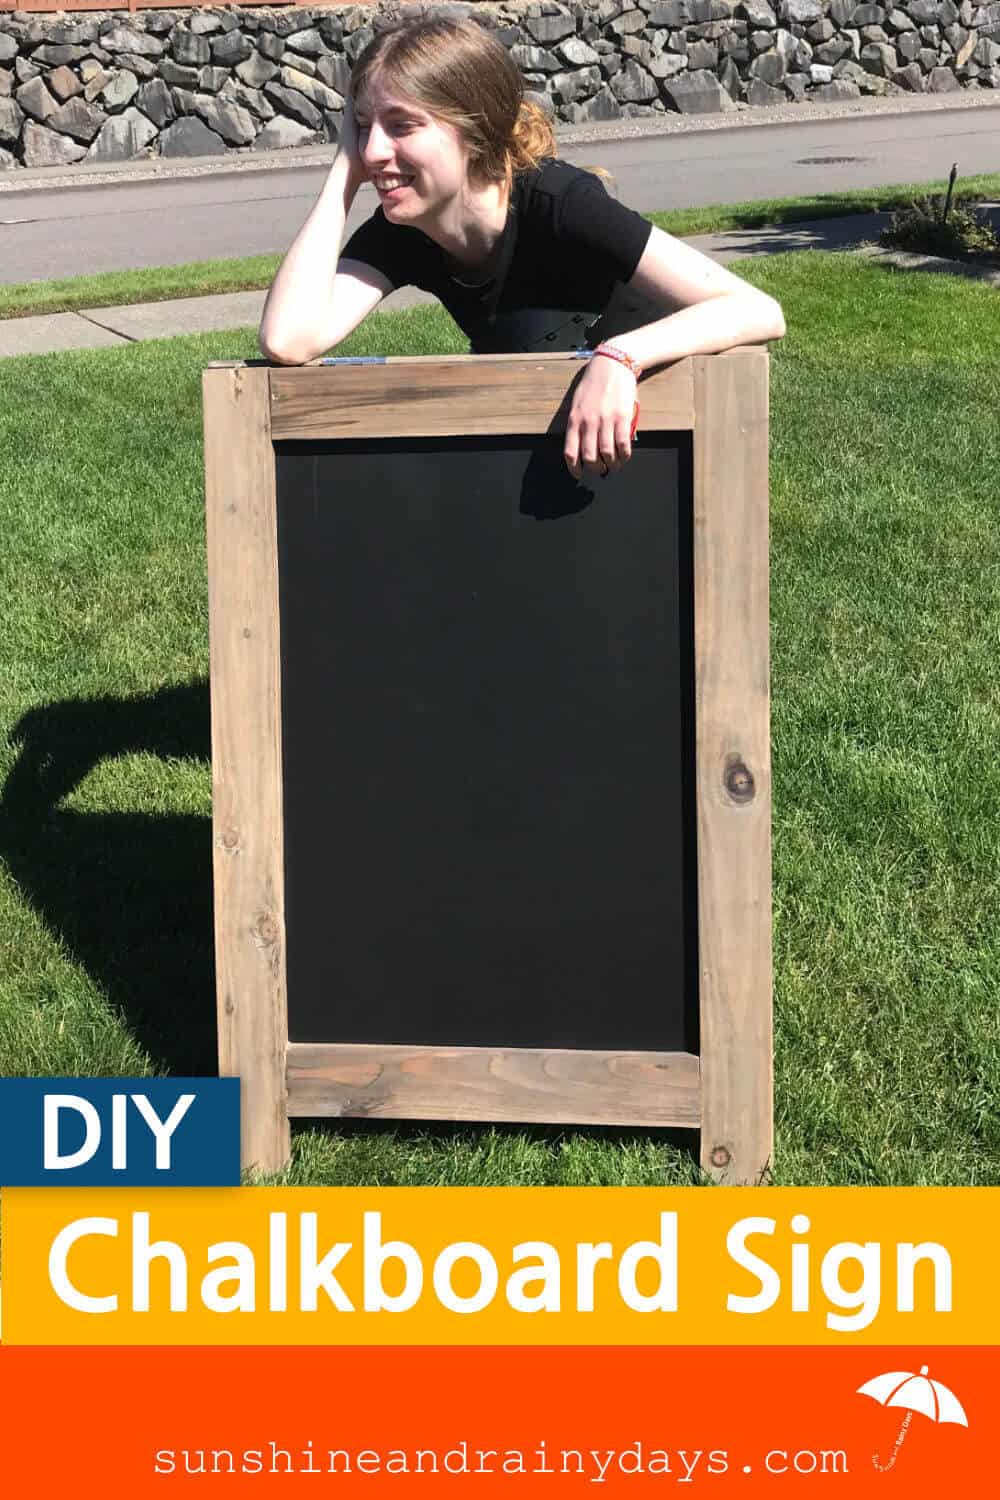
Chalkboard Signs are good to have around … especially if you host a lot of parties! This DIY Chalkboard Sign was easy to build and it looks awesome!
How To Build A DIY Chalkboard Sign
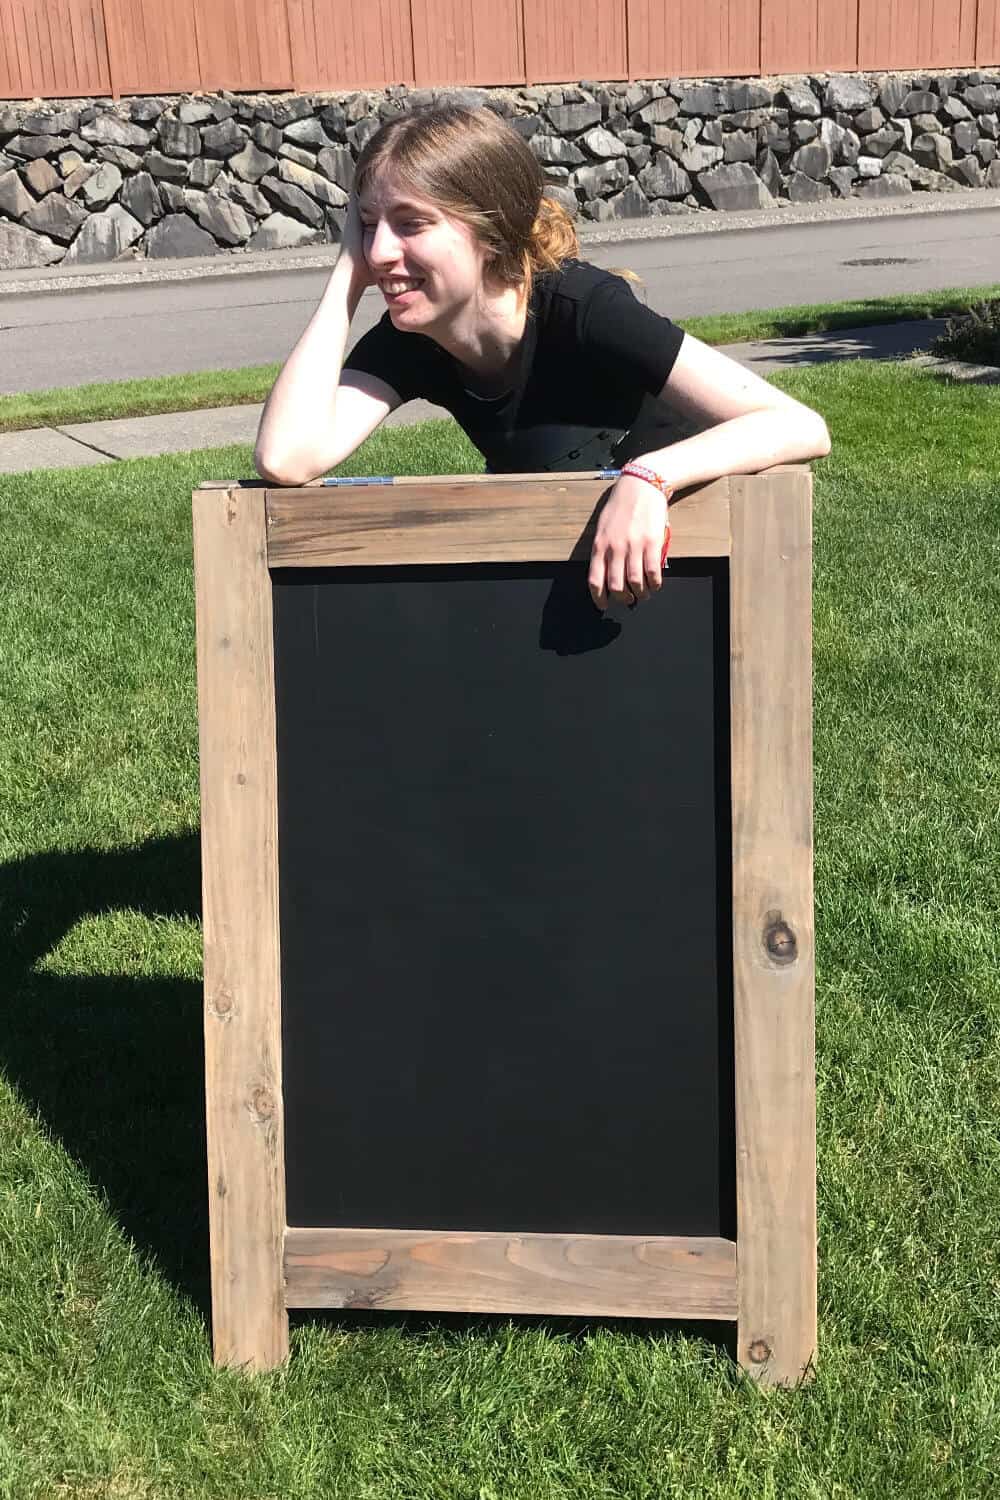
My daughter is home for the summer before she heads out to study abroad next fall. She is quite the creative girl and wanted to build something!
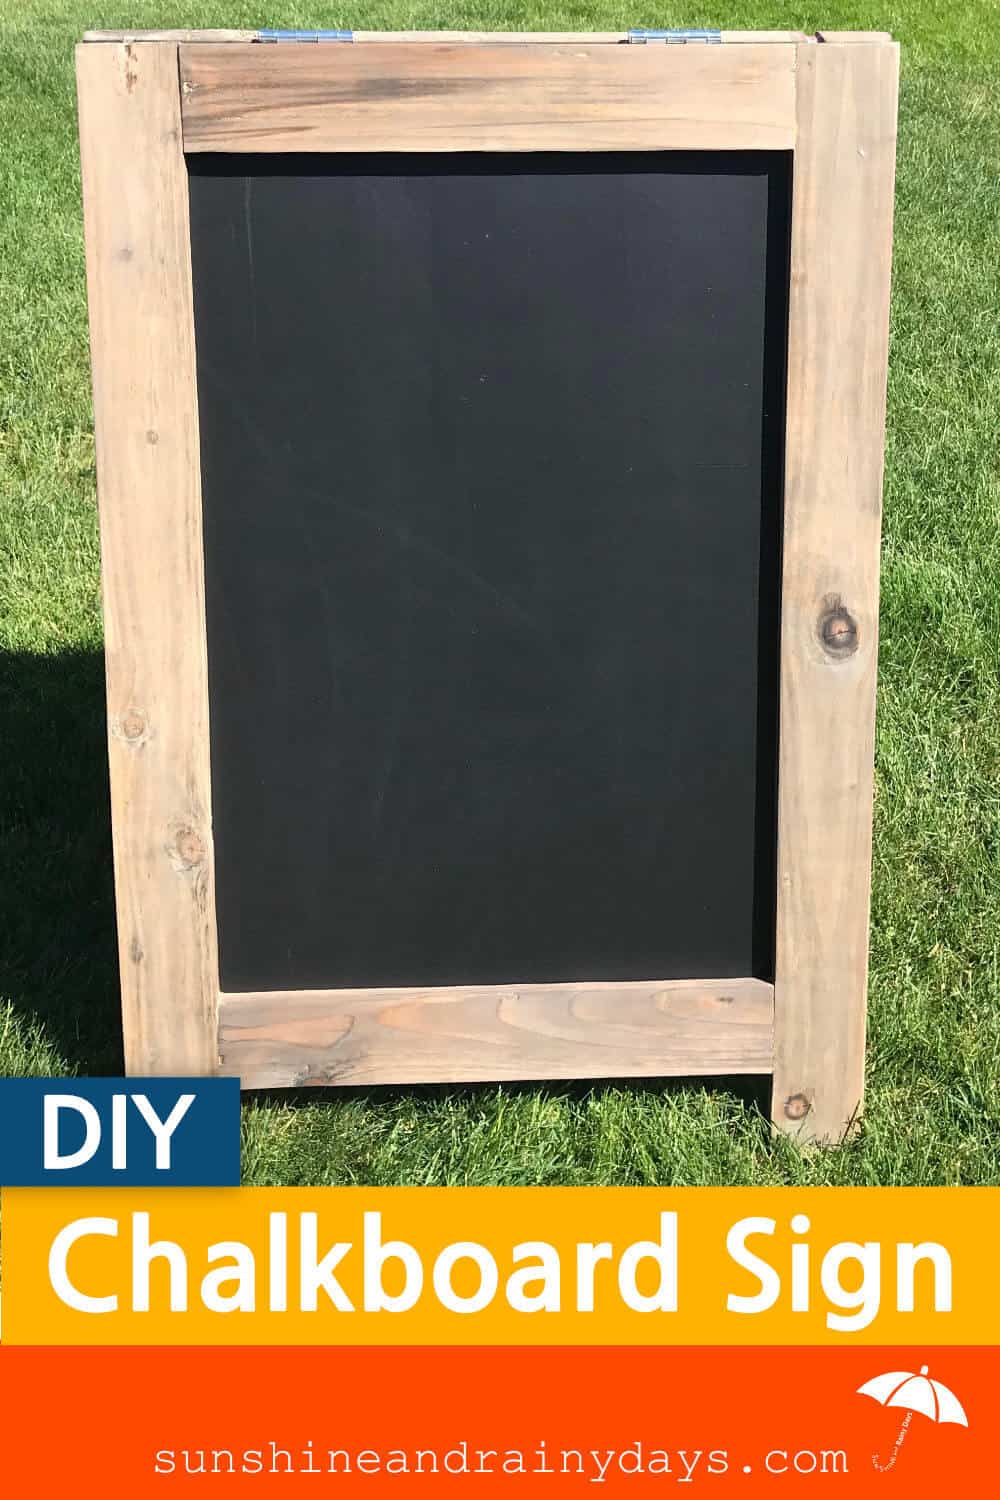
We had Utility Plywood left over from making DIY Garage Sale Signs so she decided to try her hand at a Chalkboard A-Board Sign!
This post contains affiliate links. When you purchase through an affiliate link, we receive a small commission at no additional cost to you. Disclosure.
Supplies Used:
1 x 4 x 8 (3) – Here’s the deal: We used 1 x 4’s because they had been gifted to us by a friend! You will need 3, 8′ boards.
Cuts:
- 4 @ 40″
- 4 @ 20″
Utility Plywood 2.7mm 4′ X 8′ – Hardware stores will cut this for you!
Cuts:
I had them cut 4 boards with the dimensions of 35″ x 24″ (enough for two signs) and had a little left over for future projects! You will only need two 35″ x 24″ boards for one sign.
Hinges (2) – Just be sure the screws, that come with the hinges, are the right length for the 1 x 4 boards.
1-1/4″ Pocket Hole Screws (16) – We used 1 x 4’s so 1-1/4″ pocket hole screws were right for us.
Short Nails – Short enough so they don’t poke through the front side of your frame.
Homemade Wood Stain or Stain of your choice
Chalkboard Paint
Chalk
Tools Used:
- Miter Saw
- K5 Kreg Jig
- Kreg Clamps
- Drill
How To Build An A-Board Sign
Justine started with making her cuts on the 1 x 4 boards, as outlined above.
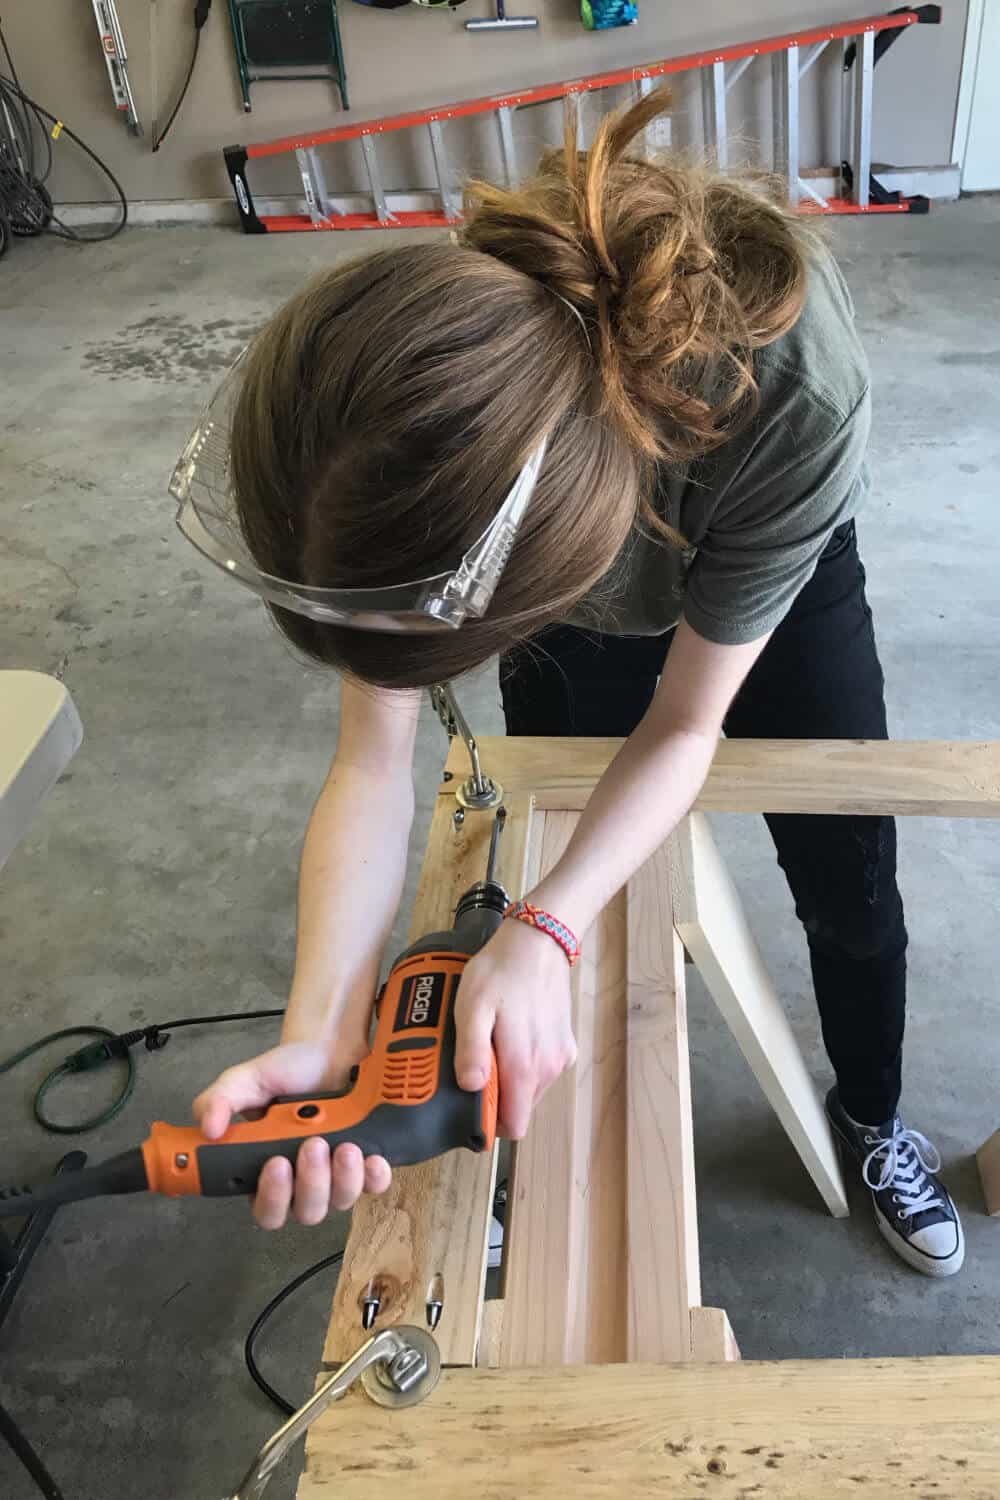
Next, she drilled two pocket holes into each end of all four 20″ boards.
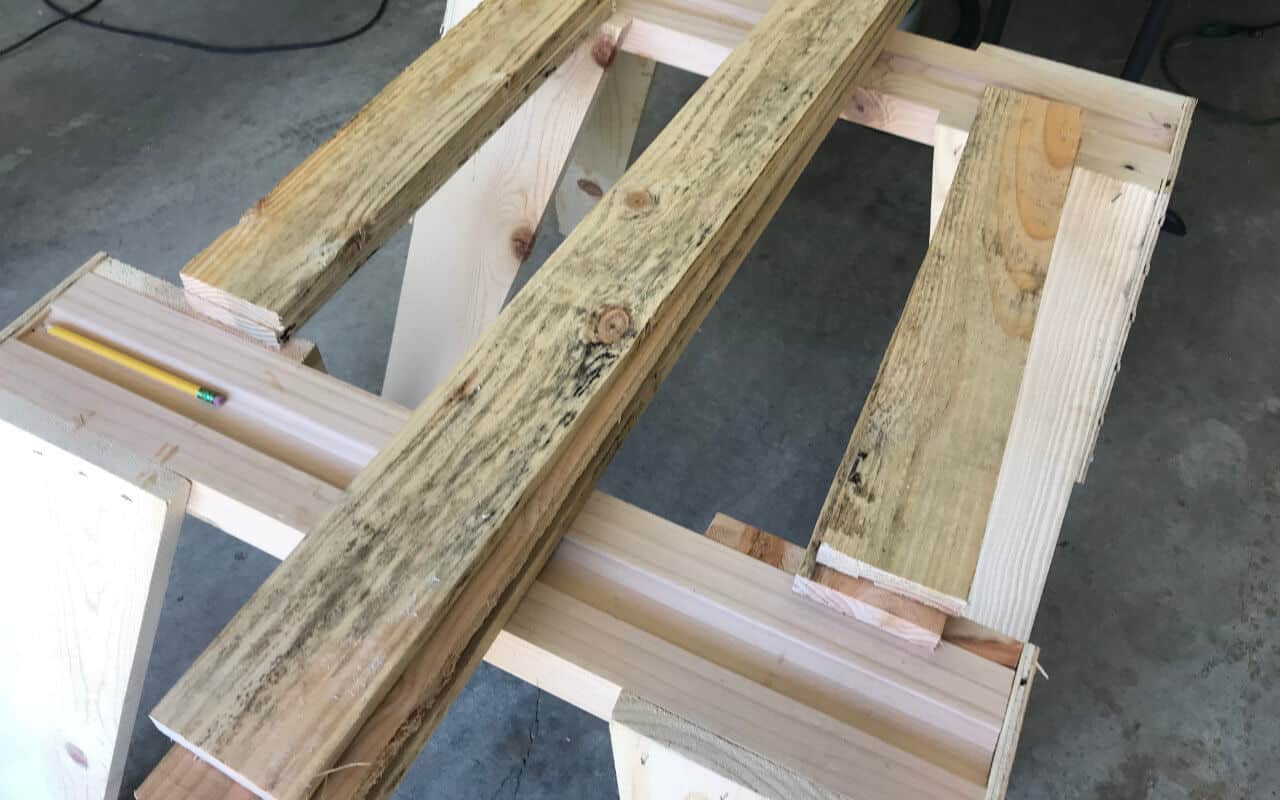
Then, she spread wood glue on each end of one 20″ board and used clamps to attach the top of the frame to the sides (40″ boards).
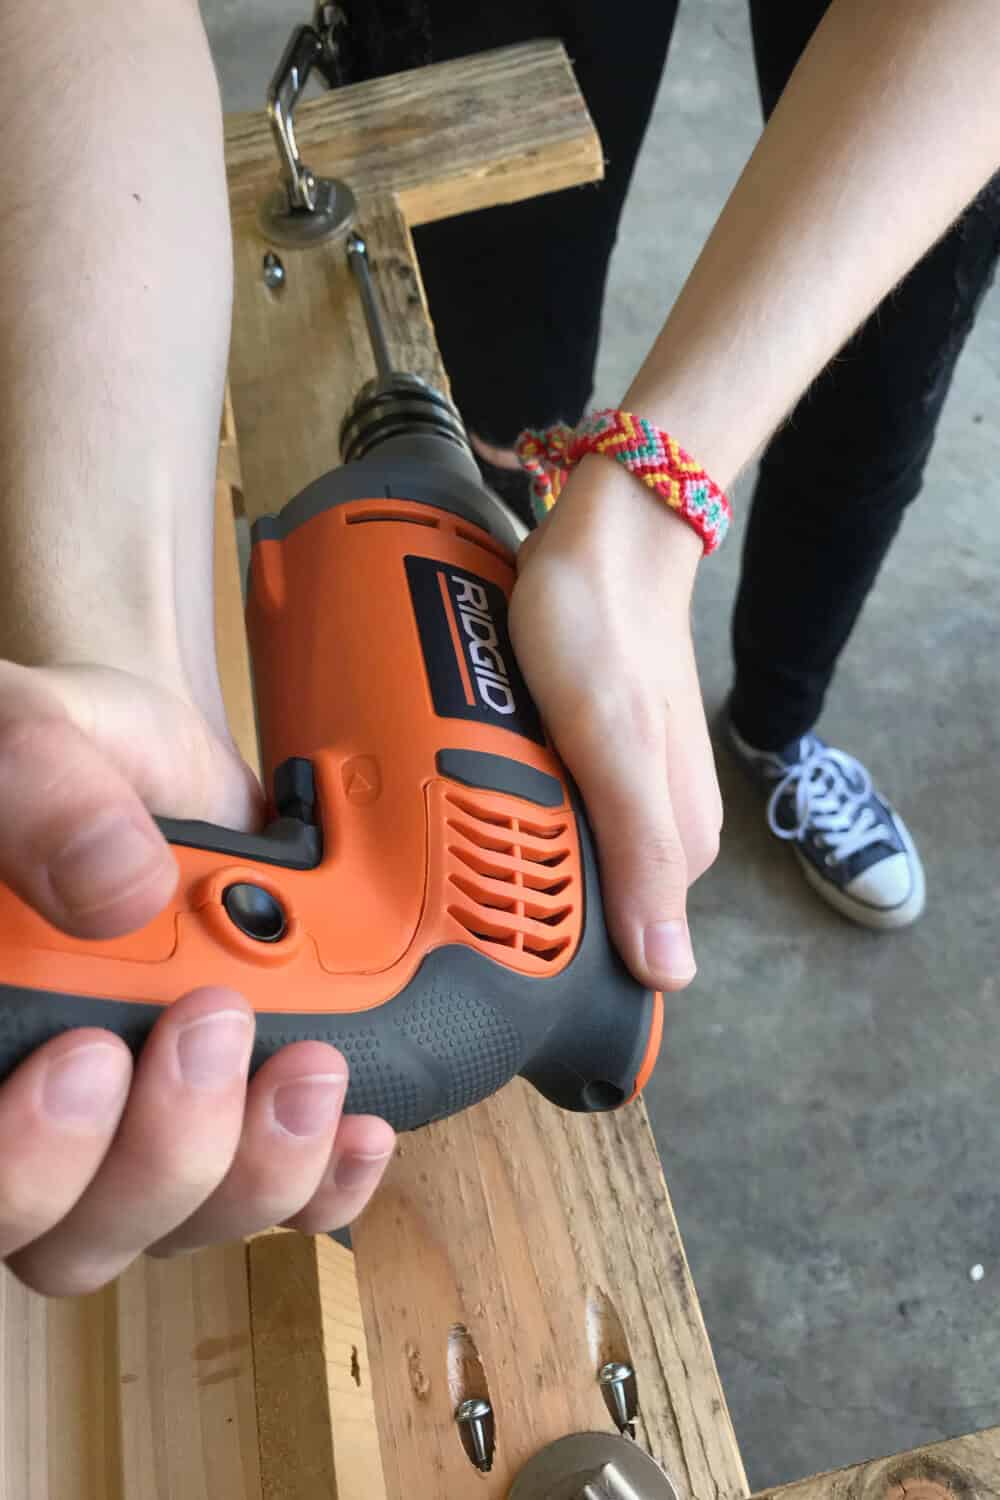
She used 1-1/4″ pocket hole screws to attach the pieces together.
Justine measured down 34.5″ from the top and marked the side pieces. She then lined up the top of the bottom frame piece with the marks and attached using wood glue, clamps, and pocket hole screws.
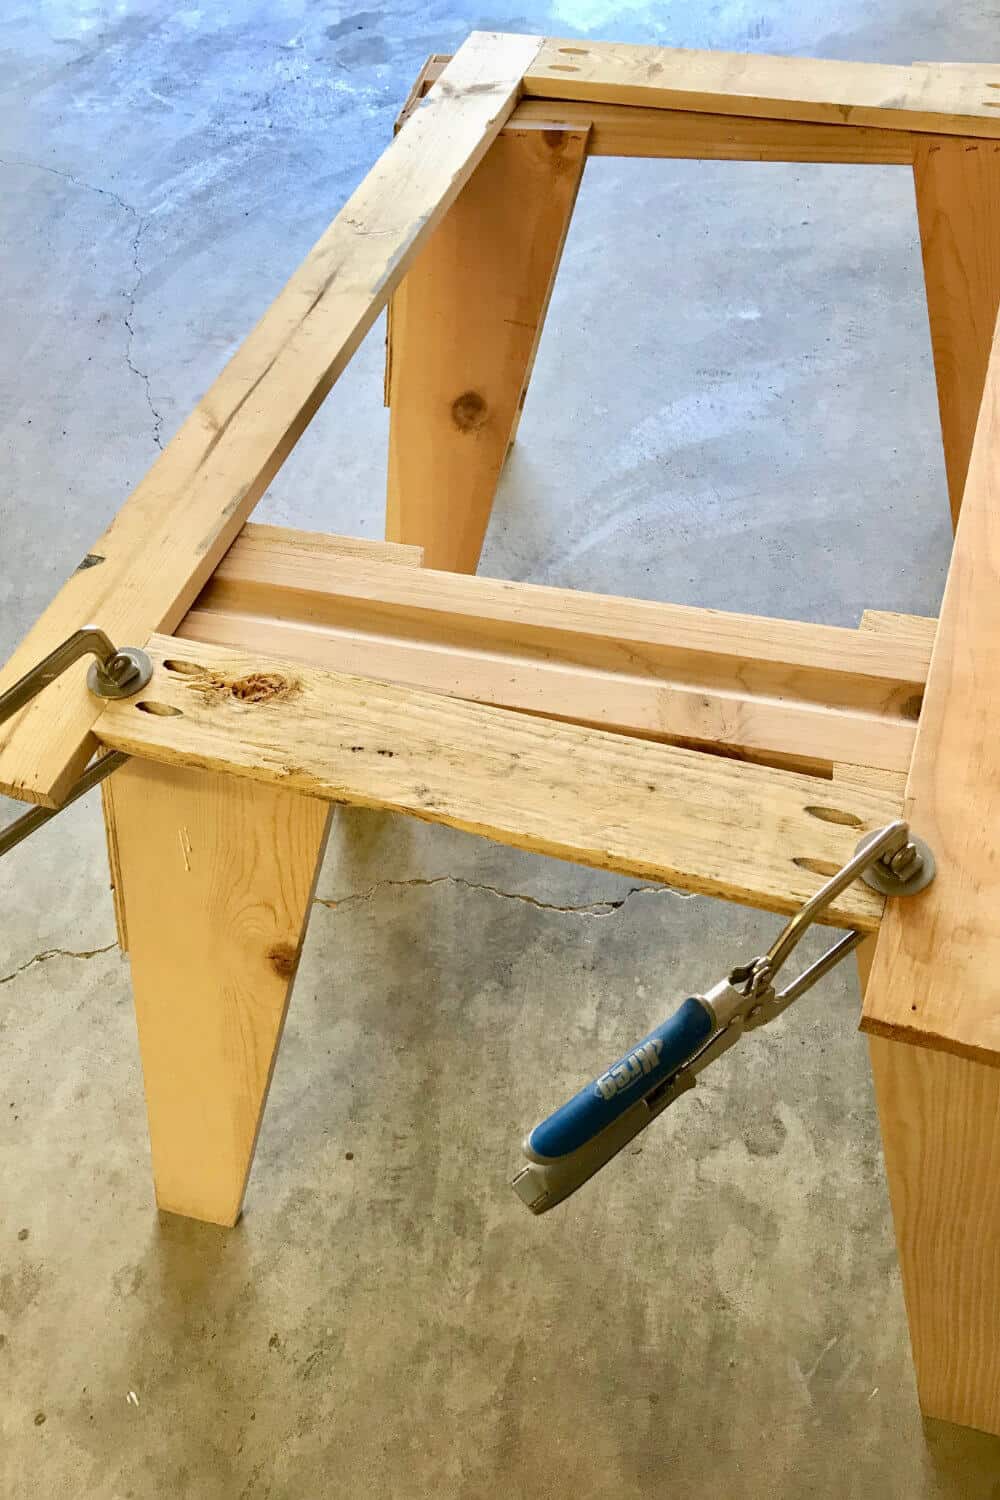
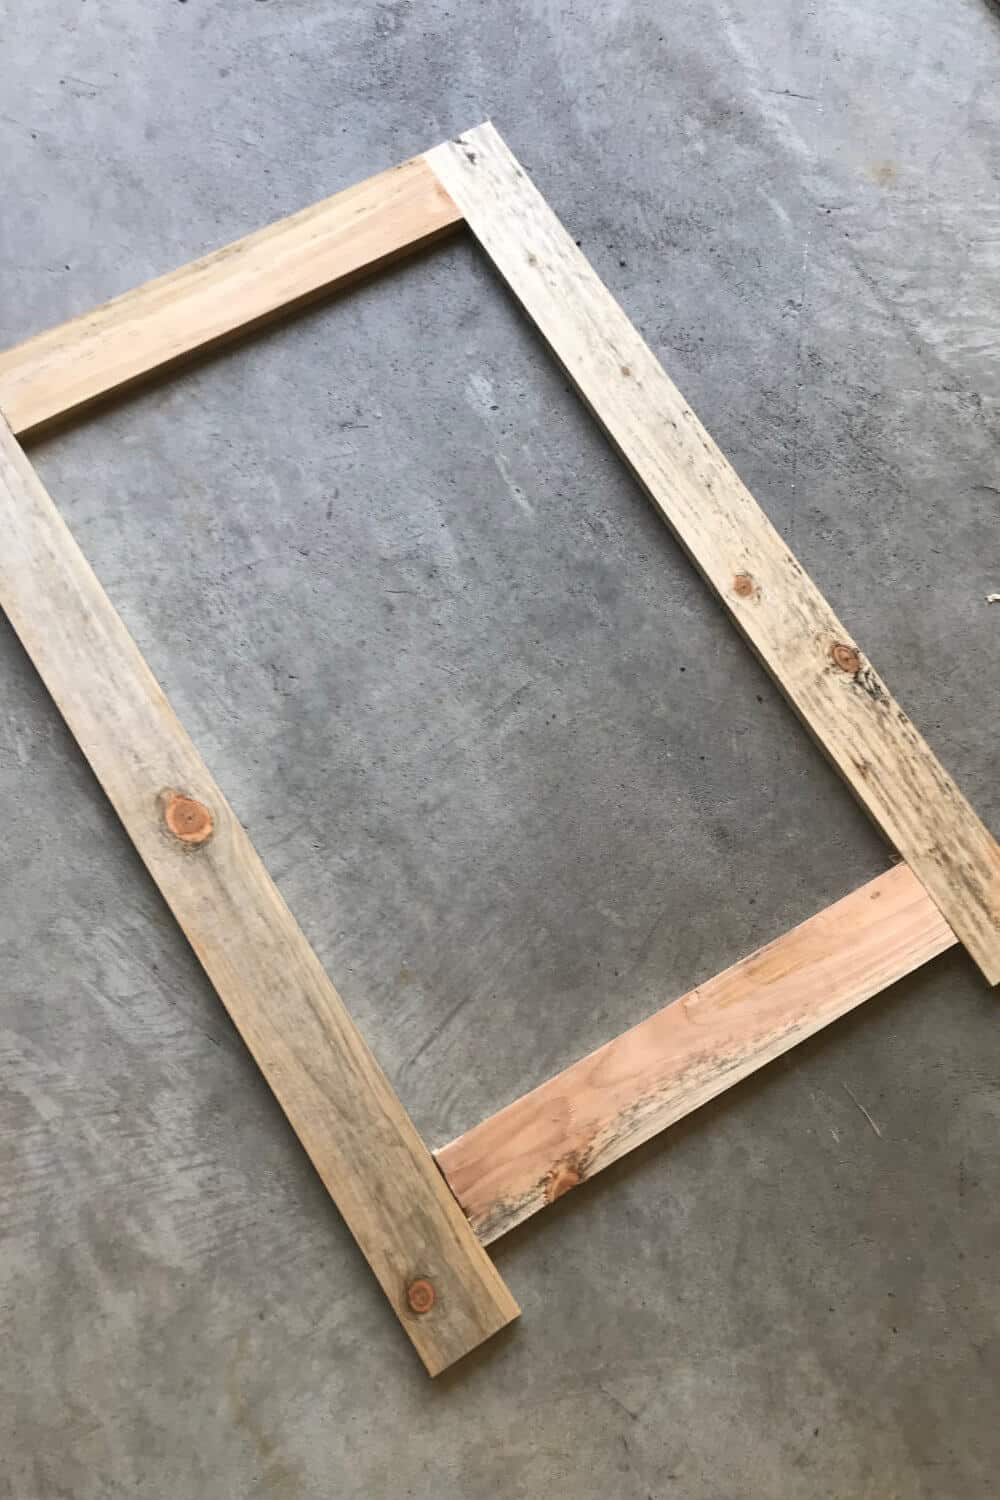
She then repeated this process for the second side of the a-board sign.
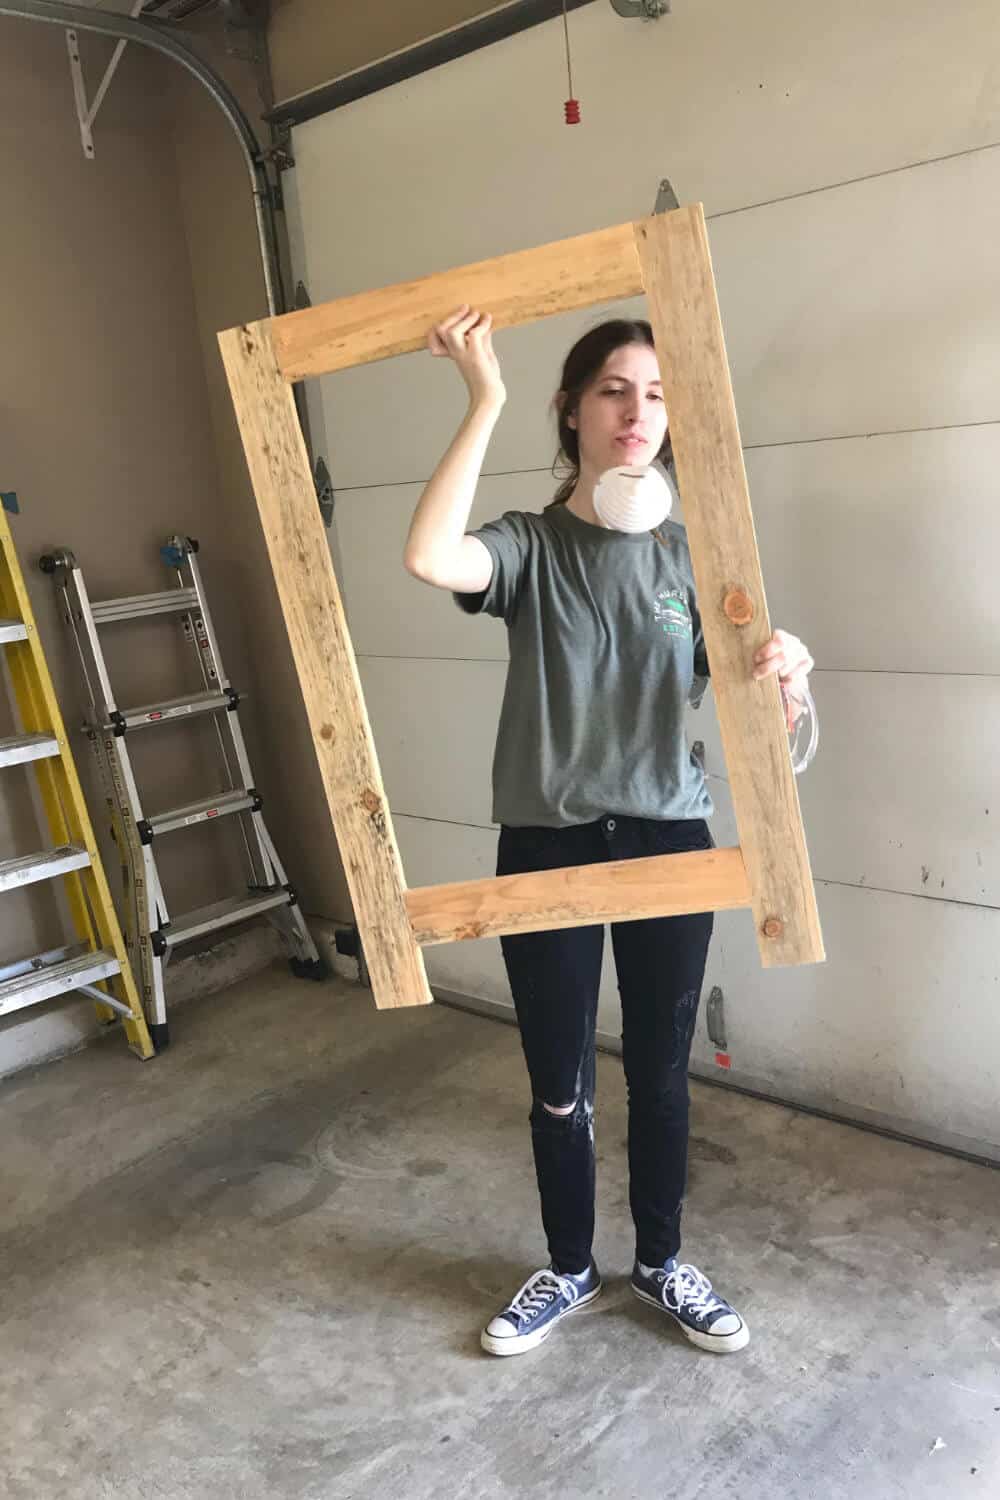
After assembling both Chalkboard Frames, Justine gave them a good sand and used Homemade Wood Stain on them, once the dust had settled.
She also used this time to put a coat of primer on each piece of utility plywood.
Once the primer was dry, she applied three coats of chalkboard paint, letting each coat dry in between.
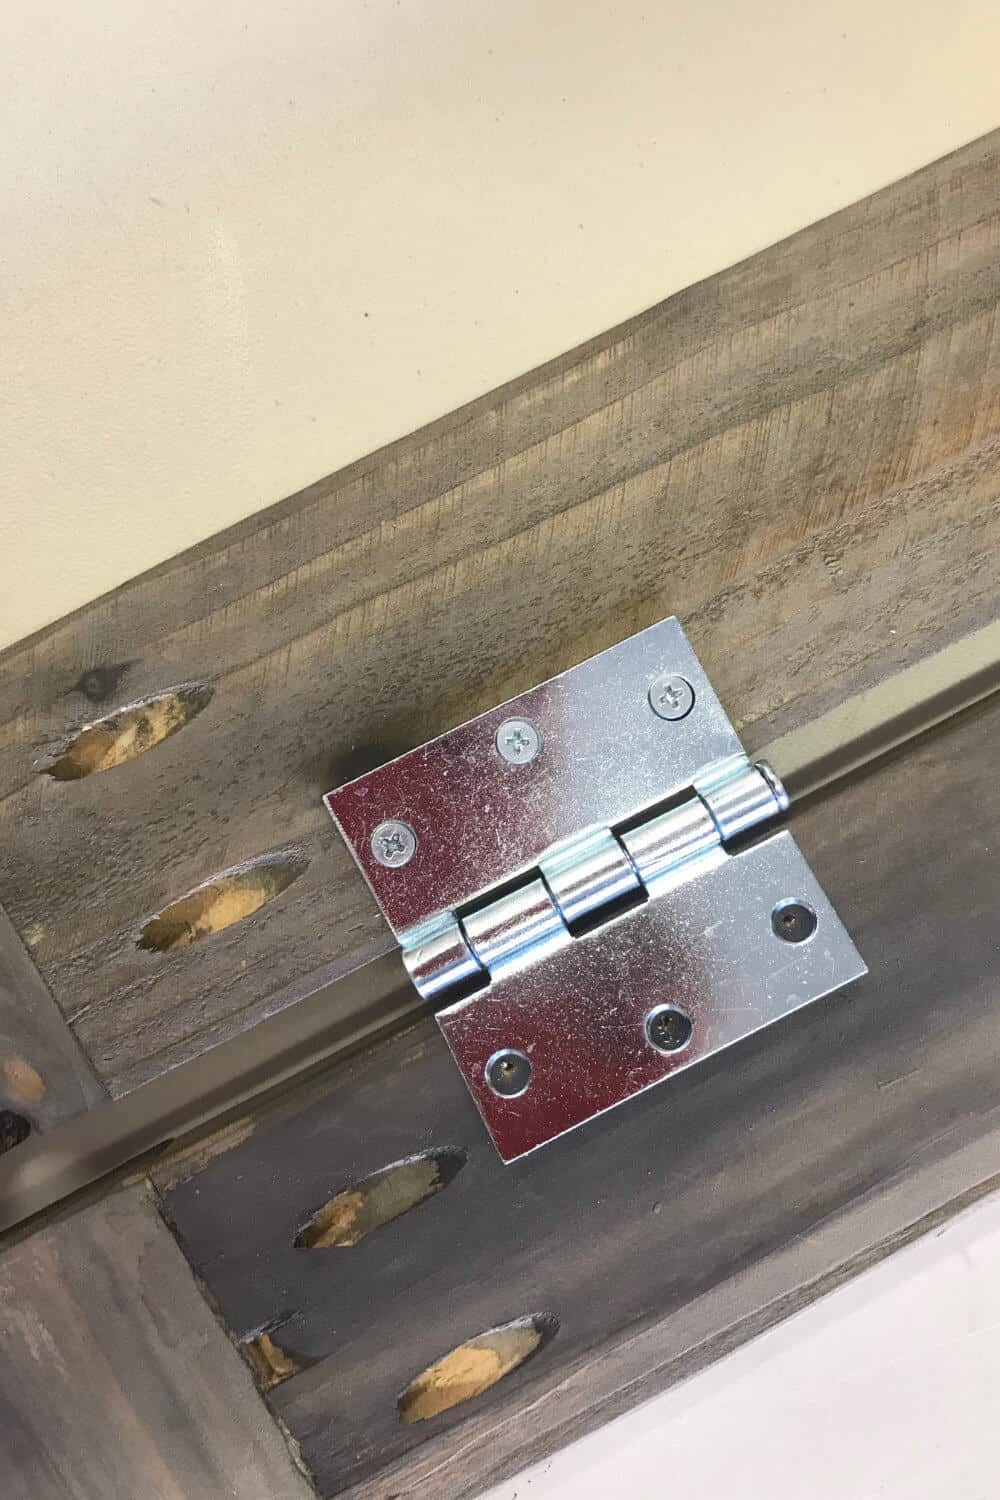
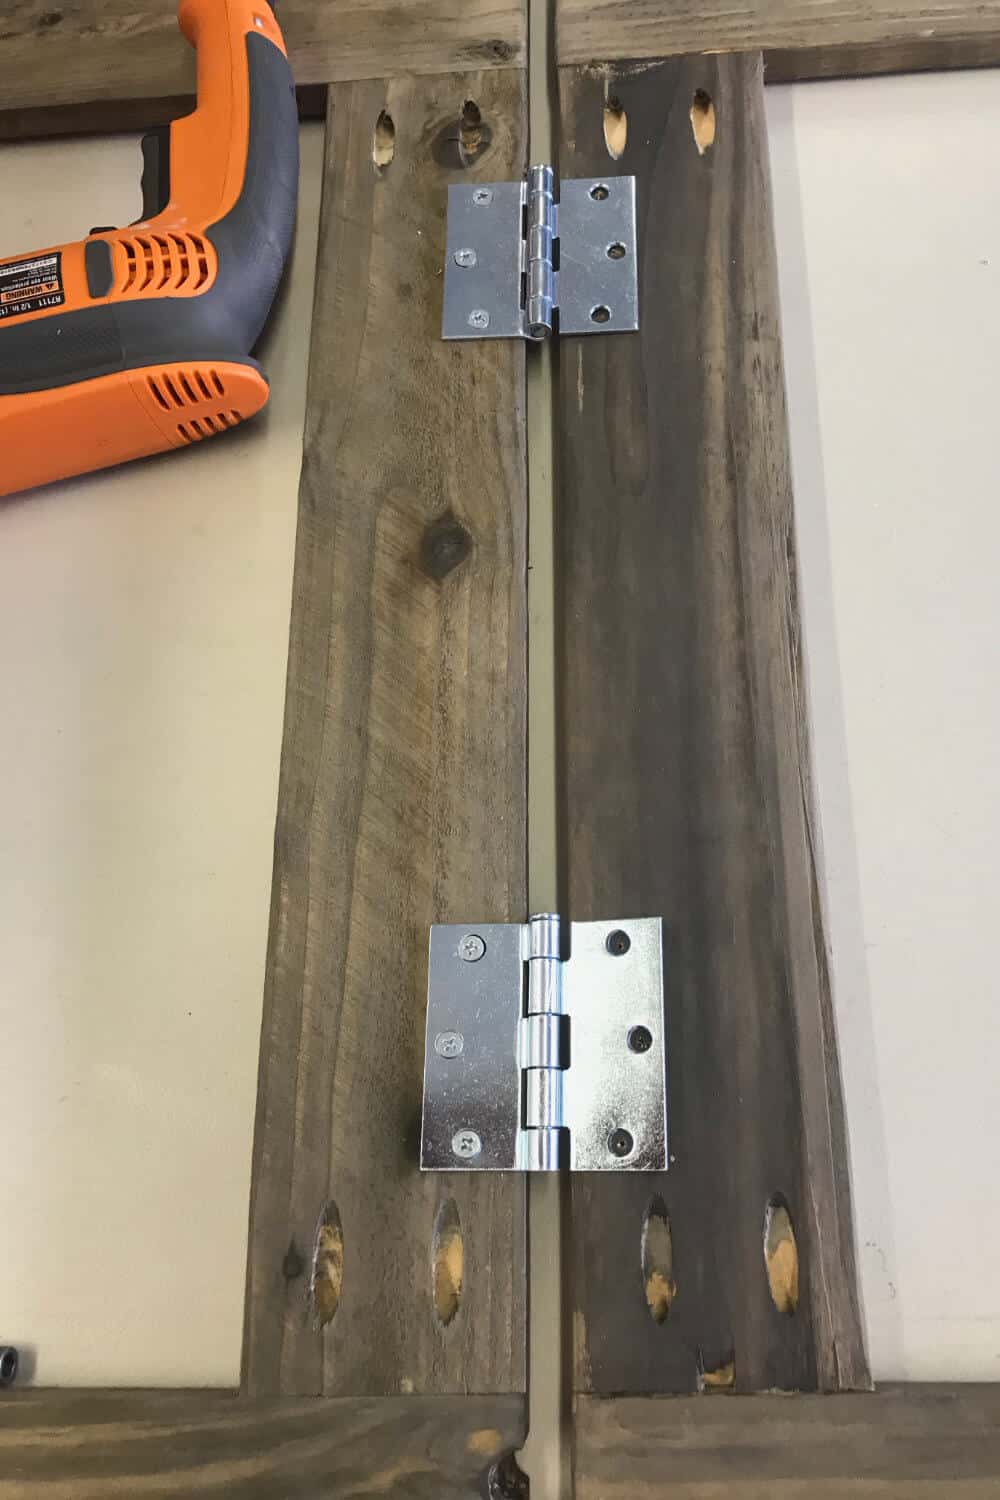
While waiting for paint to dry, Justine placed the chalkboard frames face down, top to top, and attached two hinges.
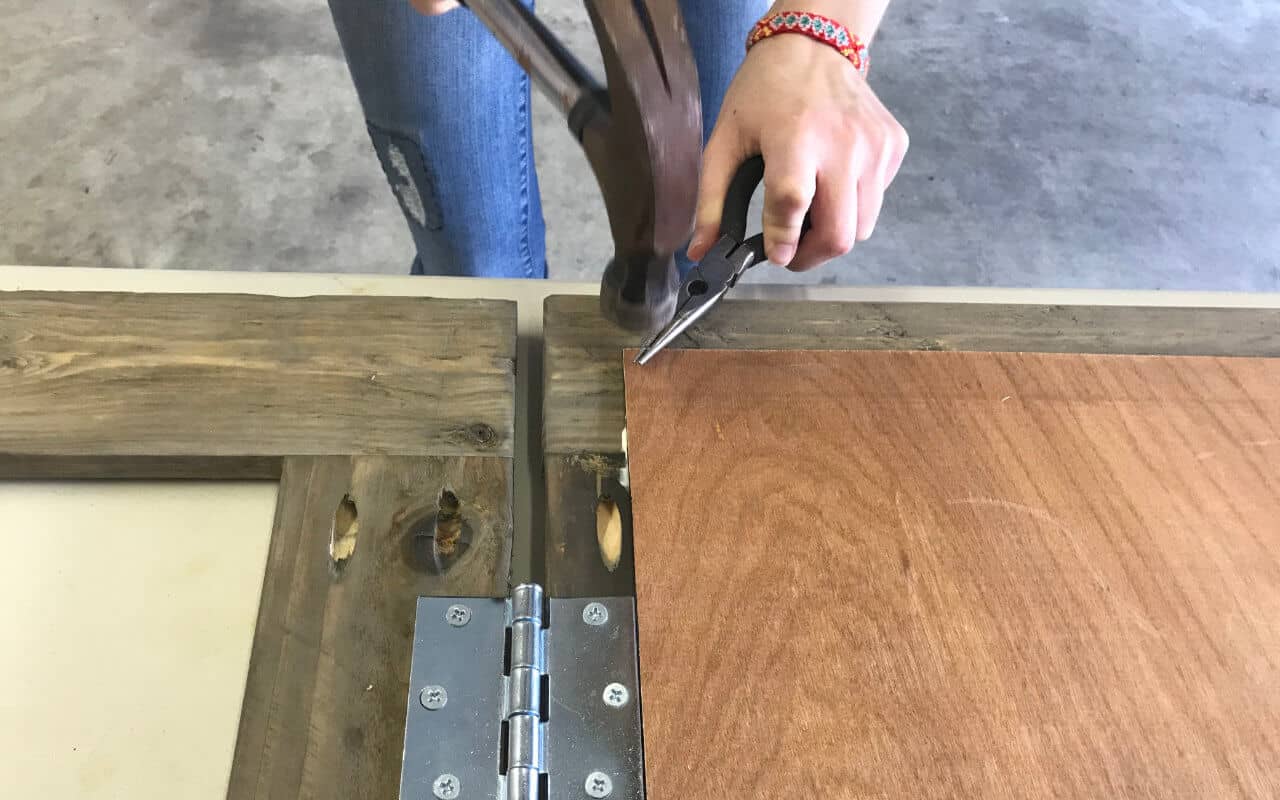
When the chalkboard paint was dry, she put a bead of wood glue around the inside edges of one of the frames and placed the 35″ x 24″ Utility Plywood on top, face down.
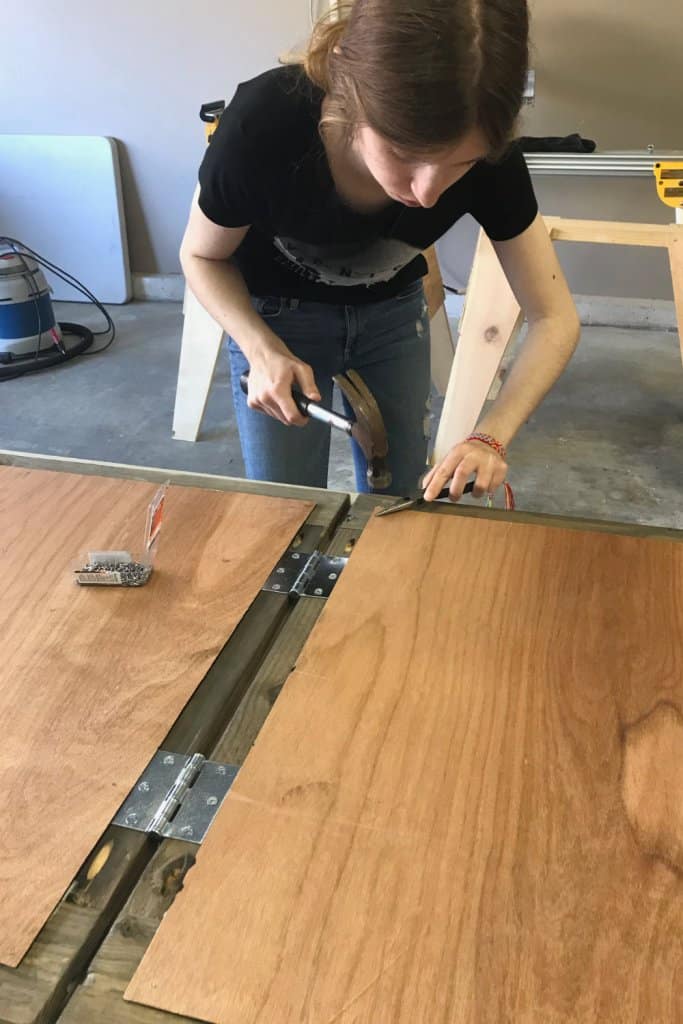
Justine used short nails to tack the chalkboard in place.
She then repeated the process for the second side.
This DIY Chalkboard turned out amazing! I’m super proud of Justine and her first build!