4th of July 4 X 4 Firecrackers
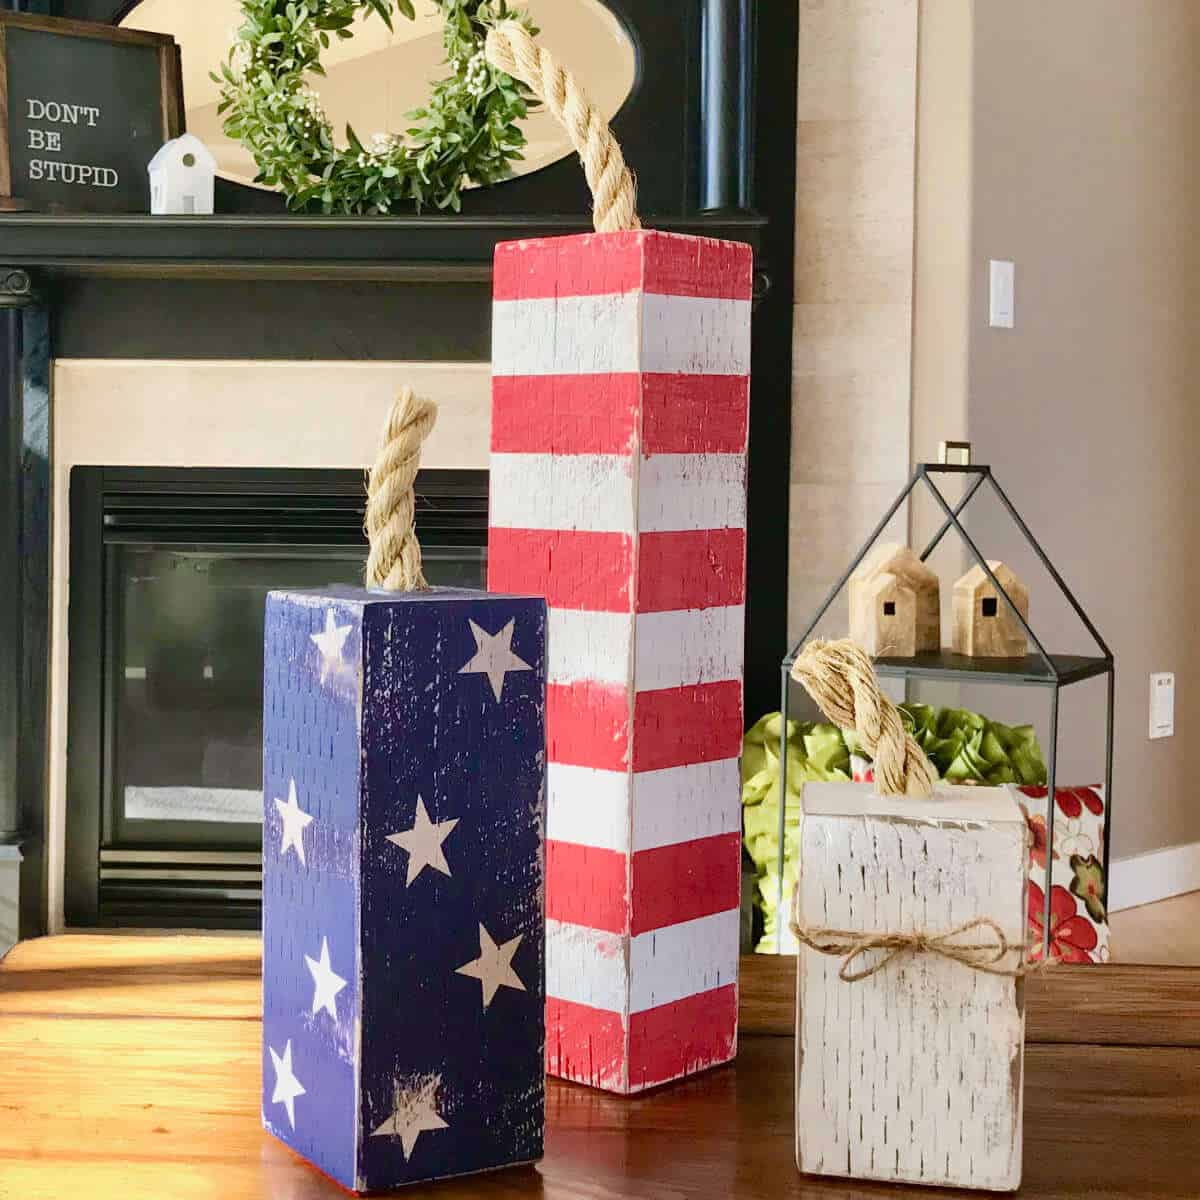
Are you ready to be festive this 4th of July? We’ve got an easy 4X4 Wood Crafts DIY to help you show your patriotism! The 4th of July 4 X 4 Firecrackers are fun to make and are the perfect decoration to help you celebrate!
4 X 4 Firecracker Supplies
This post contains affiliate links. When you purchase through an affiliate link, we receive a small commission at no additional cost to you. Disclosure.
- 4 X 4 – A standard untreated 4X4 fence post. The normal 4 X 4 from hardware stores are actually 3-1/2 X 3-1/2 and they work well.
- Sand Paper – I used 120-grit
- White Paint – I used Behr Marquee Semi-Gloss in Ultra Pure White because it’s what I had on hand.
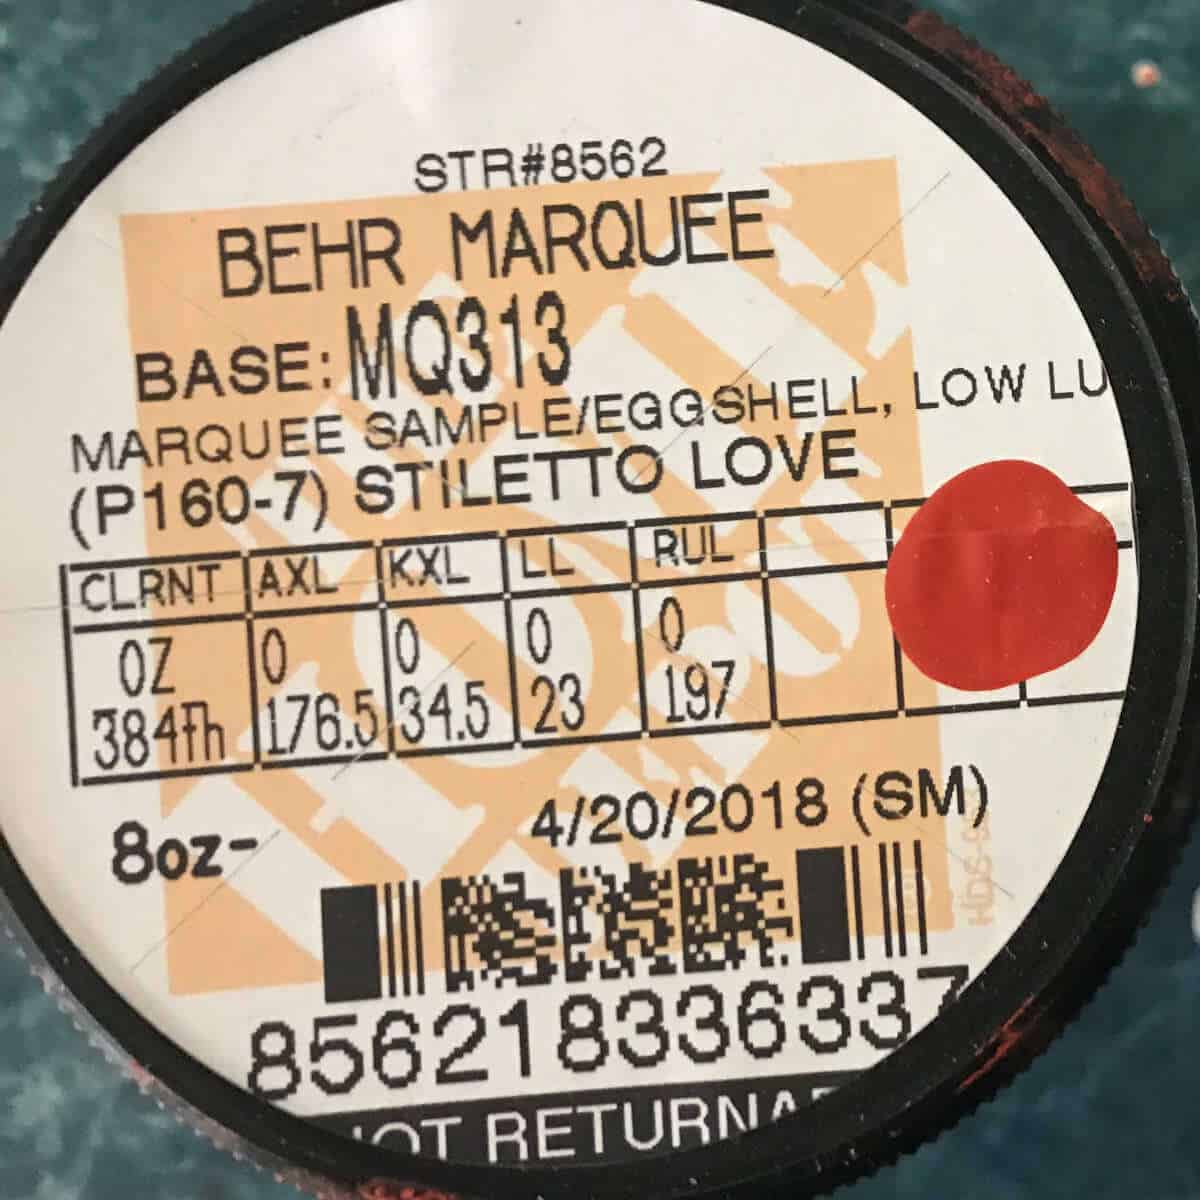
- Red Paint – I used Behr Marquee Color Sample paint in Stiletto Love.
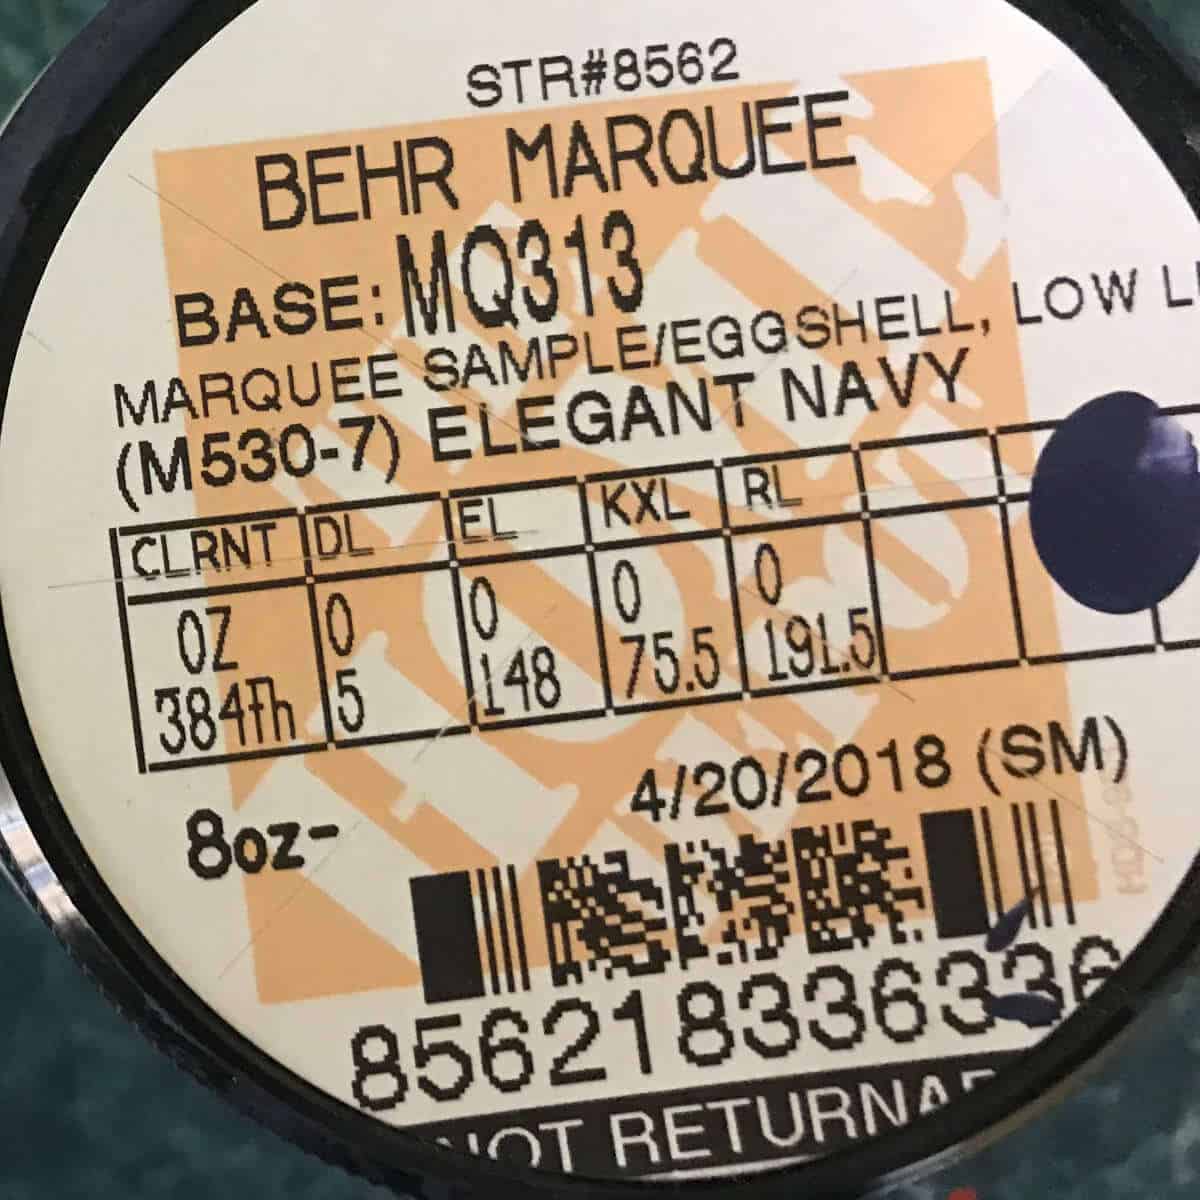
- Blue Paint – I used Behr Marquee Color Sample paint in Elegant Navy.
- Foam Roller
- Mini Roller Paint Tray
- Foam Brush
- Painter’s Tape
- Star Stickers – I used Contact Paper and my Silhouette to cut stars. If you don’t have a cutting machine, you could use my pattern below to cut your own out of contact paper or consider a Star Punch.
- Homemade Wood Stain (optional)
- Jute
- 3/4″ Rope – One foot will do.
- Felt – I used a red 9 x 12 felt sheet found in the craft section of Walmart.
Tools Used To Make Wood Firecrackers
- Chop Saw
- Sander
- Glue Gun
If you’re crafting with kids for the 4th, check out this 4th of July Sensory Bottle to add a little sparkly excitement and festive fun, or learn How To Make A Star From Paint Sticks!
How To Make DIY 4 X 4 Firecrackers
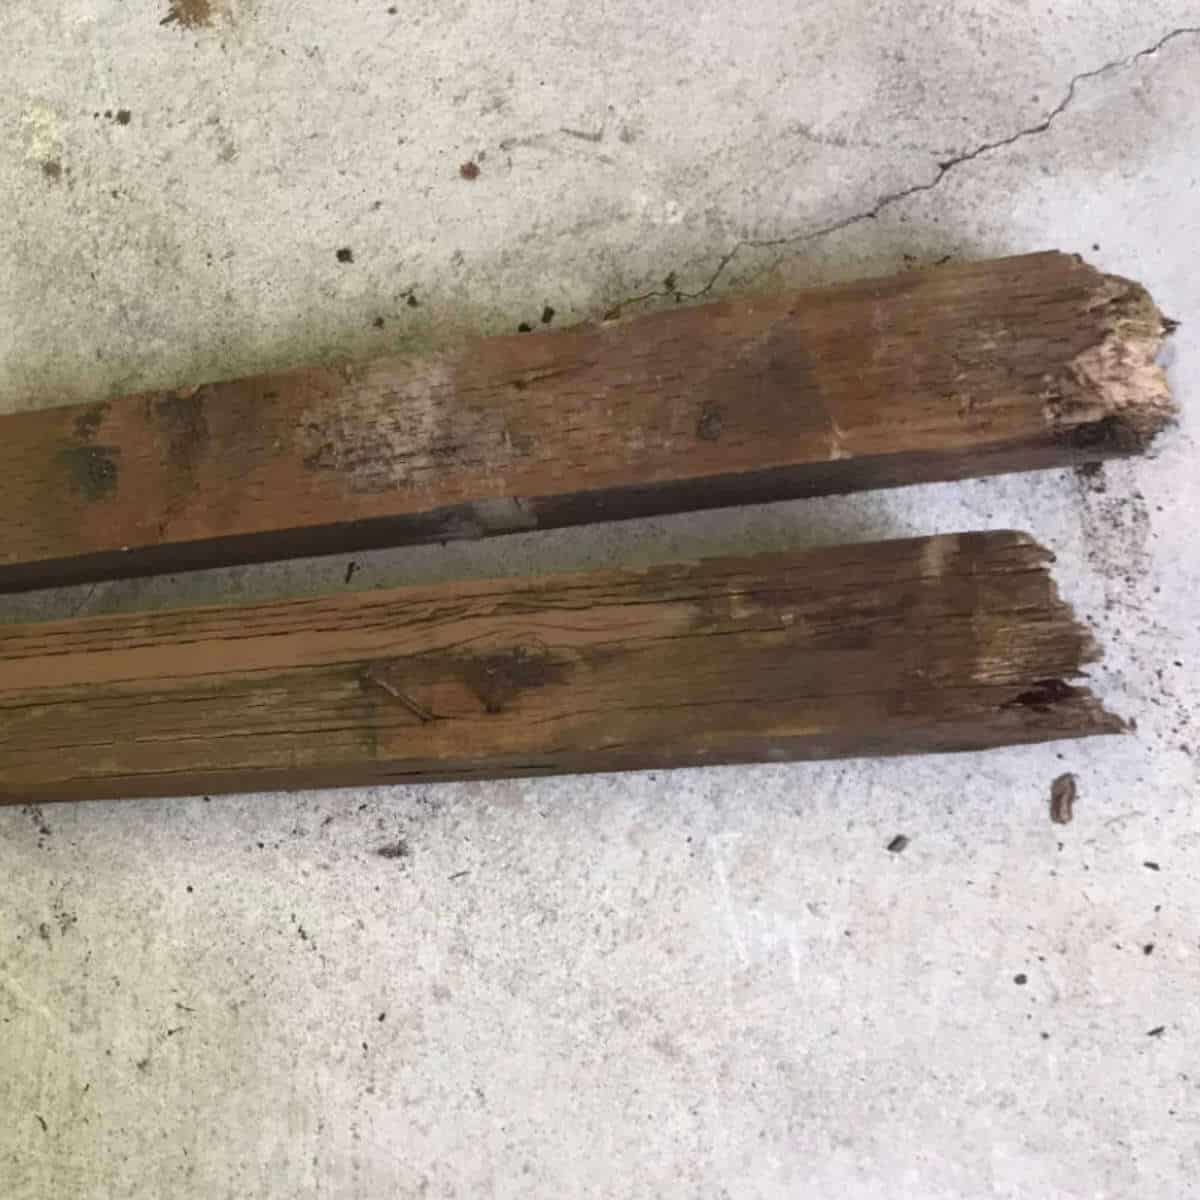
I happened to have an excess of 4 X 4’s because we recently had our fence replaced, but you can also use new 4 x 4’s from a hardware store. There are a lot of things you can make with 4 X 4’s, like a 4 X 4 snowman, so you can use the leftover wood for more projects!
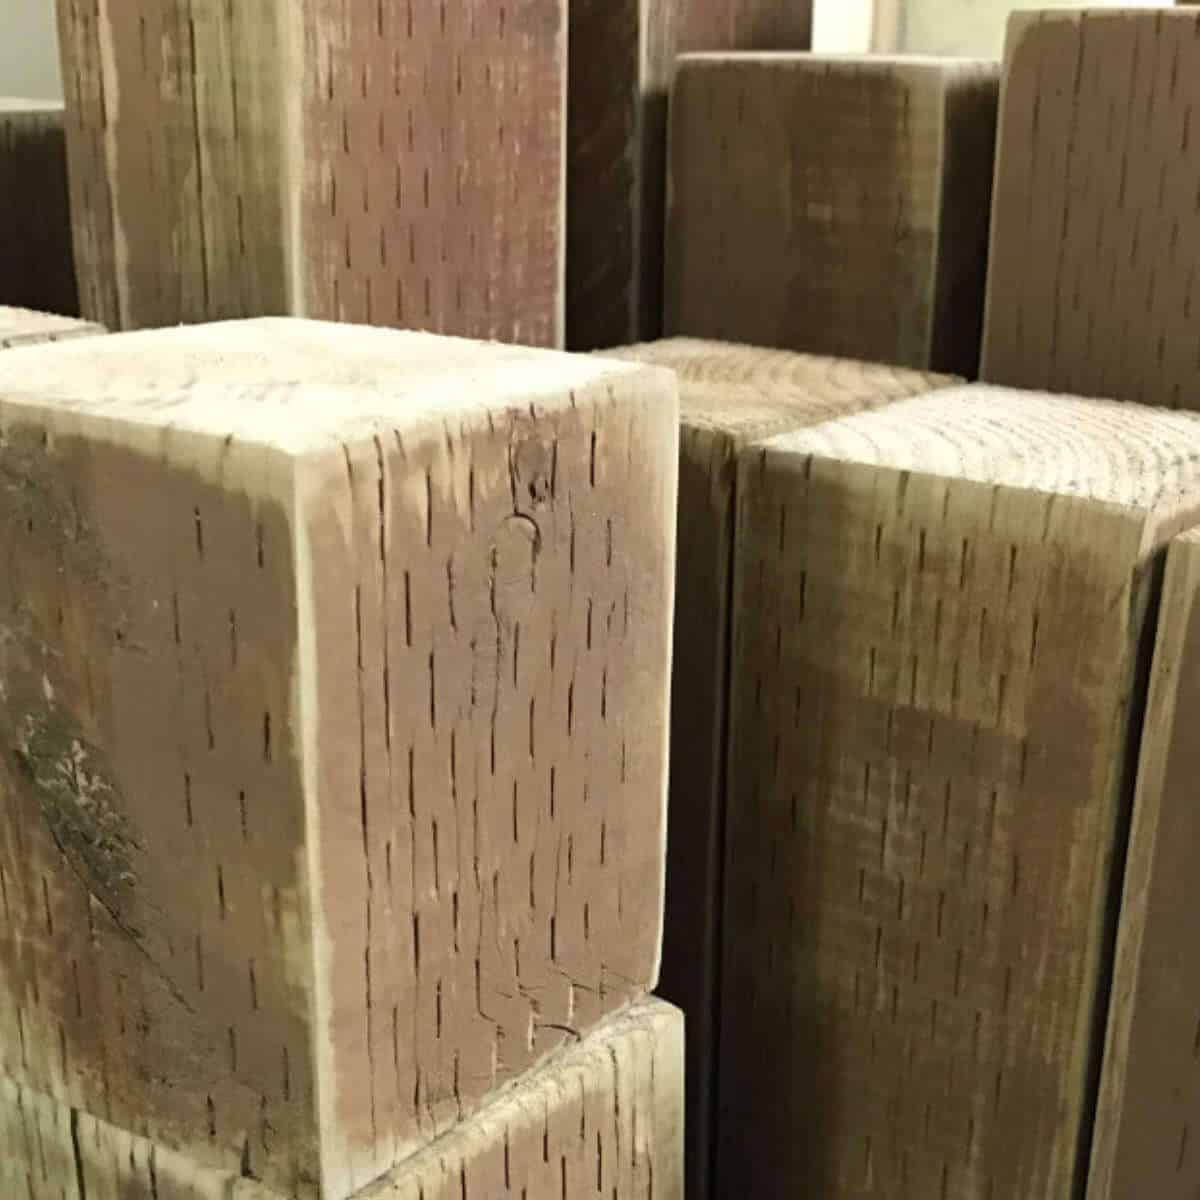
Step 1: Cut your 4 X 4 into your desired lengths. I didn’t measure mine, but these firecrackers are between 5 and 16 inches. Later, I made a taller set for our front porch.
Step 2: Sand your 4 X 4 firecracker blocks.
Step 3: After sanding, wipe the blocks down with a damp rag to remove any sand particles.
Step 4: Paint each Firecracker white.
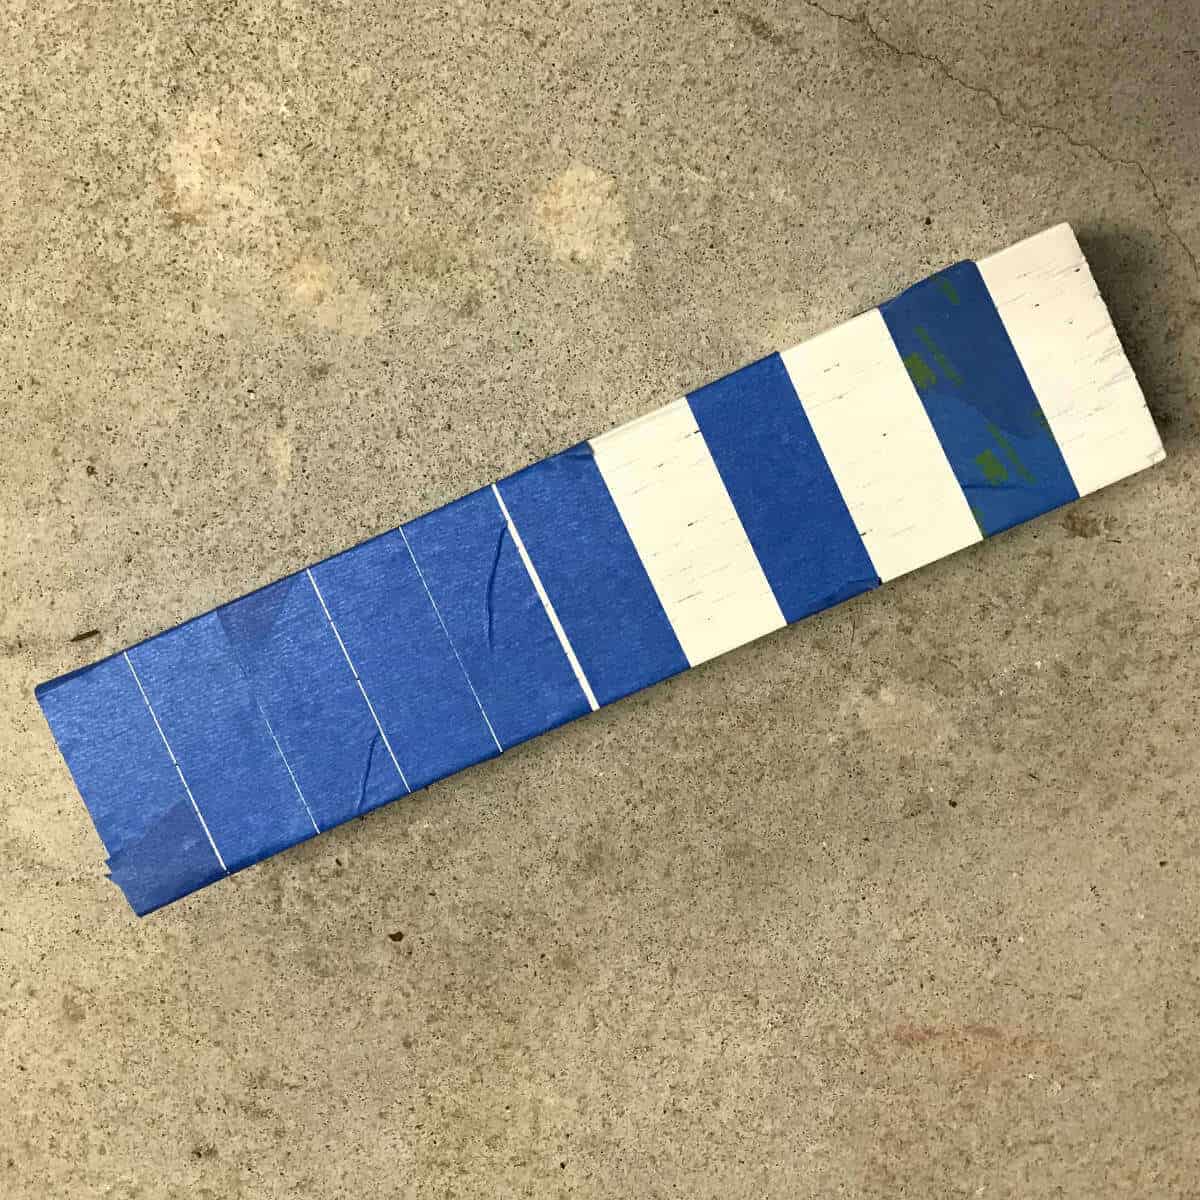
Step 5: Once the white paint is dry, use painter’s tape to tape around your tallest Firecracker. I adhered painter’s tape around the whole thing to make sure my spacing was right. Then I removed the tape where I wanted to paint red stripes.
Step 6: Adhere stars to the medium-sized Firecracker. There’s no particular way this should be done. Put the stars on however you like!
Step 7: After you’ve applied tape for the stripes and sticker stars, repaint the blocks with white paint to make a seal over your stars and stripes. This will prevent the red and blue paint from bleeding through as much. Here’s a tutorial on how to paint perfect cut lines.
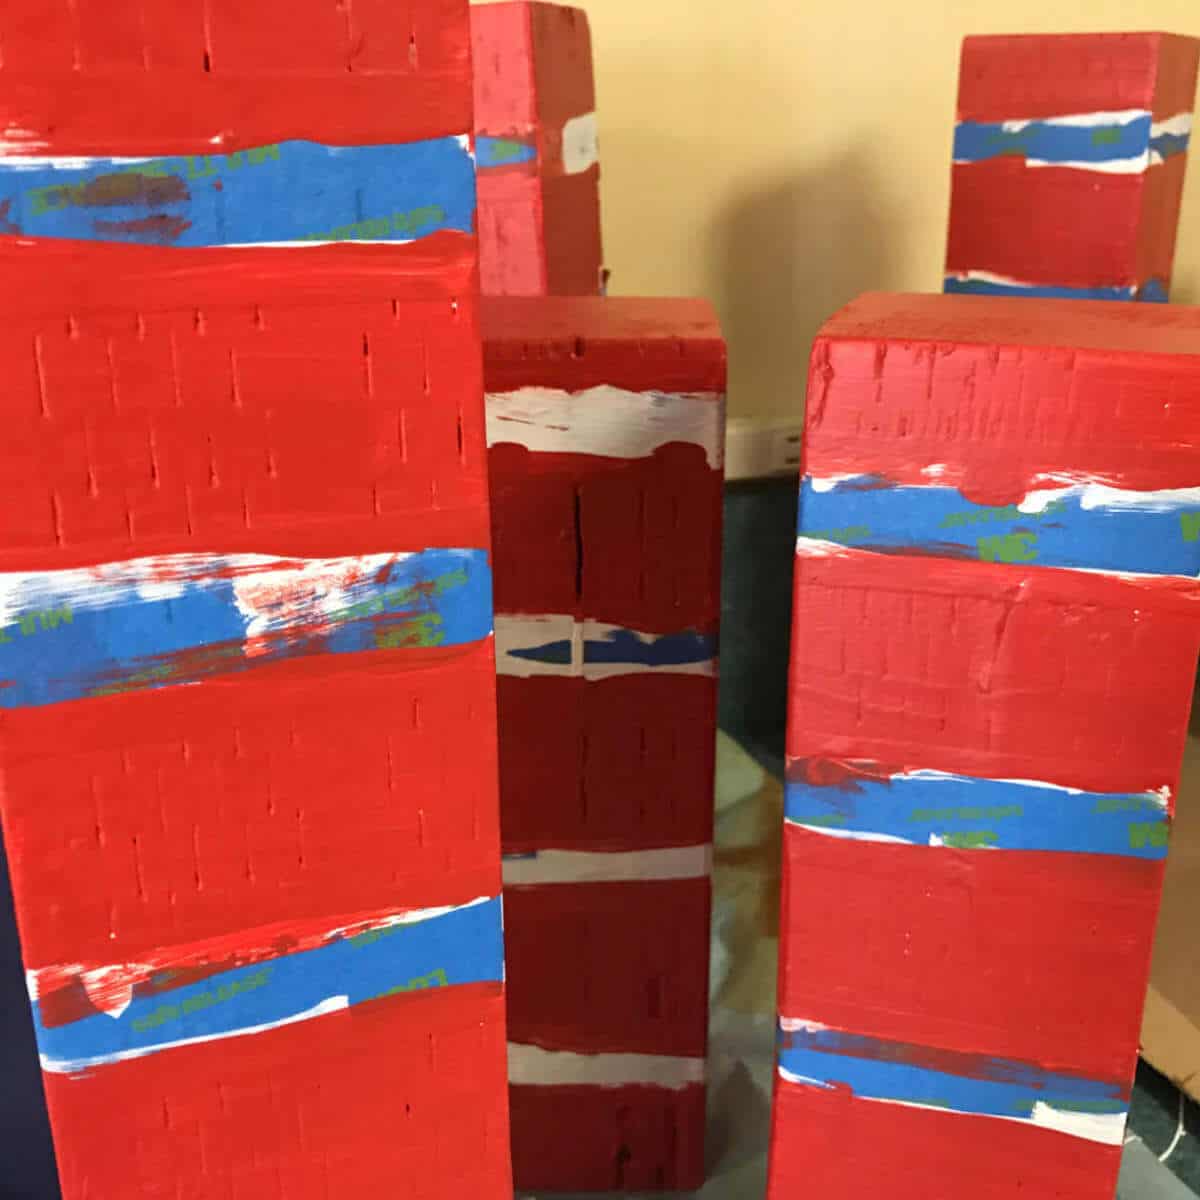
Step 8: Once the sealing coat is dry, paint red stripes and blue over the stars. I used a foam brush for the stripes and a foam roller for the blue. I felt the foam roller did a better job. I ended up doing two coats of red and one coat of blue.
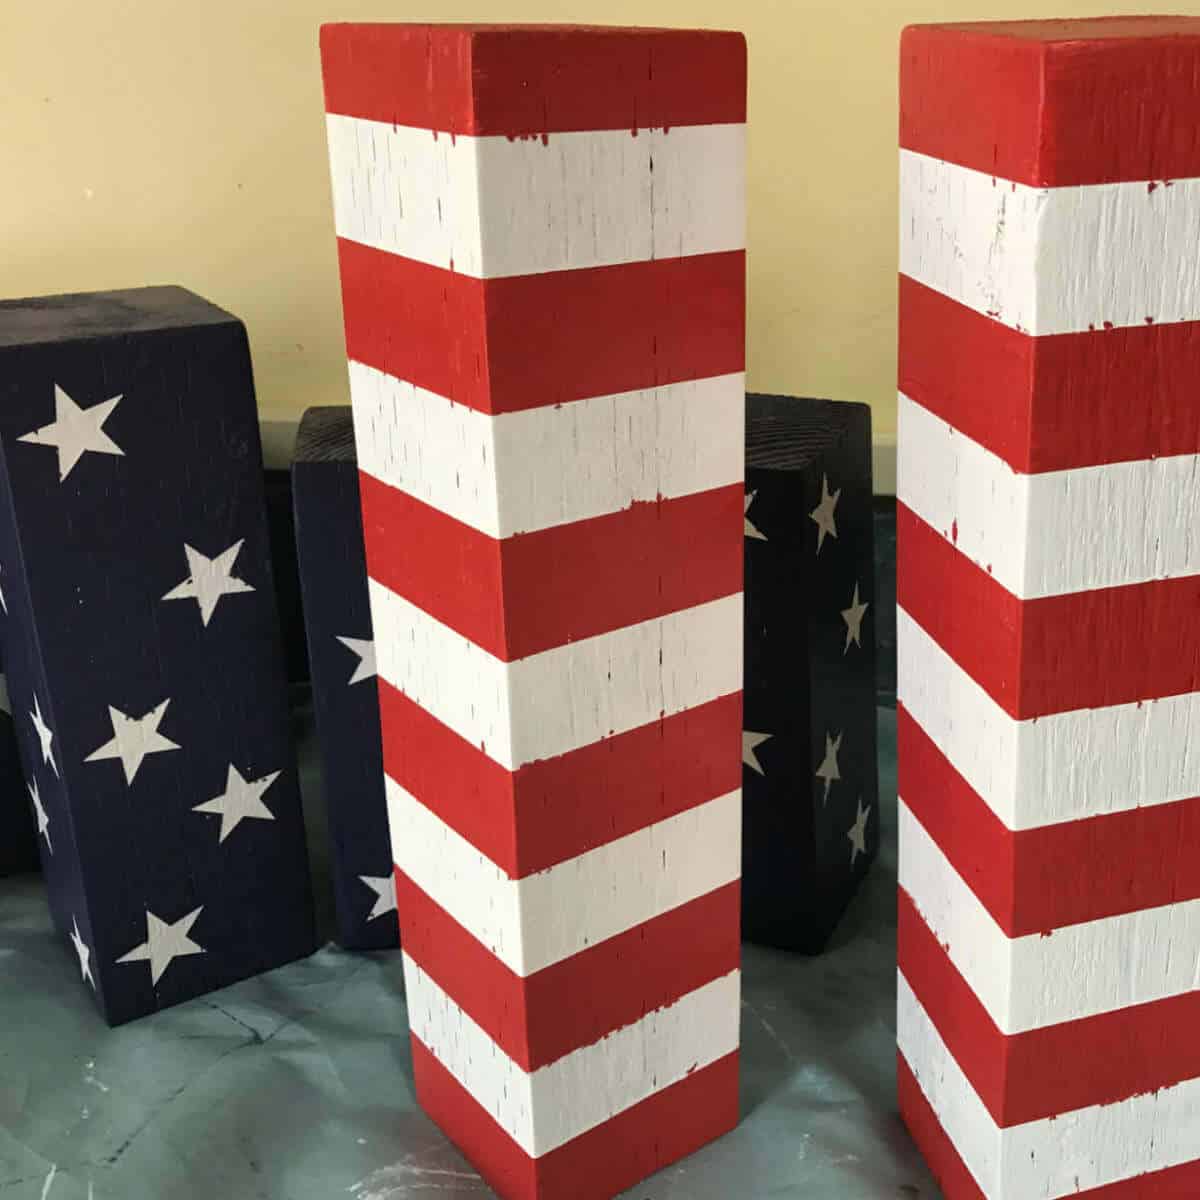
Step 9: When your paint is dry, remove the tape and stars. It can be a bit tricky to remove the contact paper stars. I used tweezers to remove them.
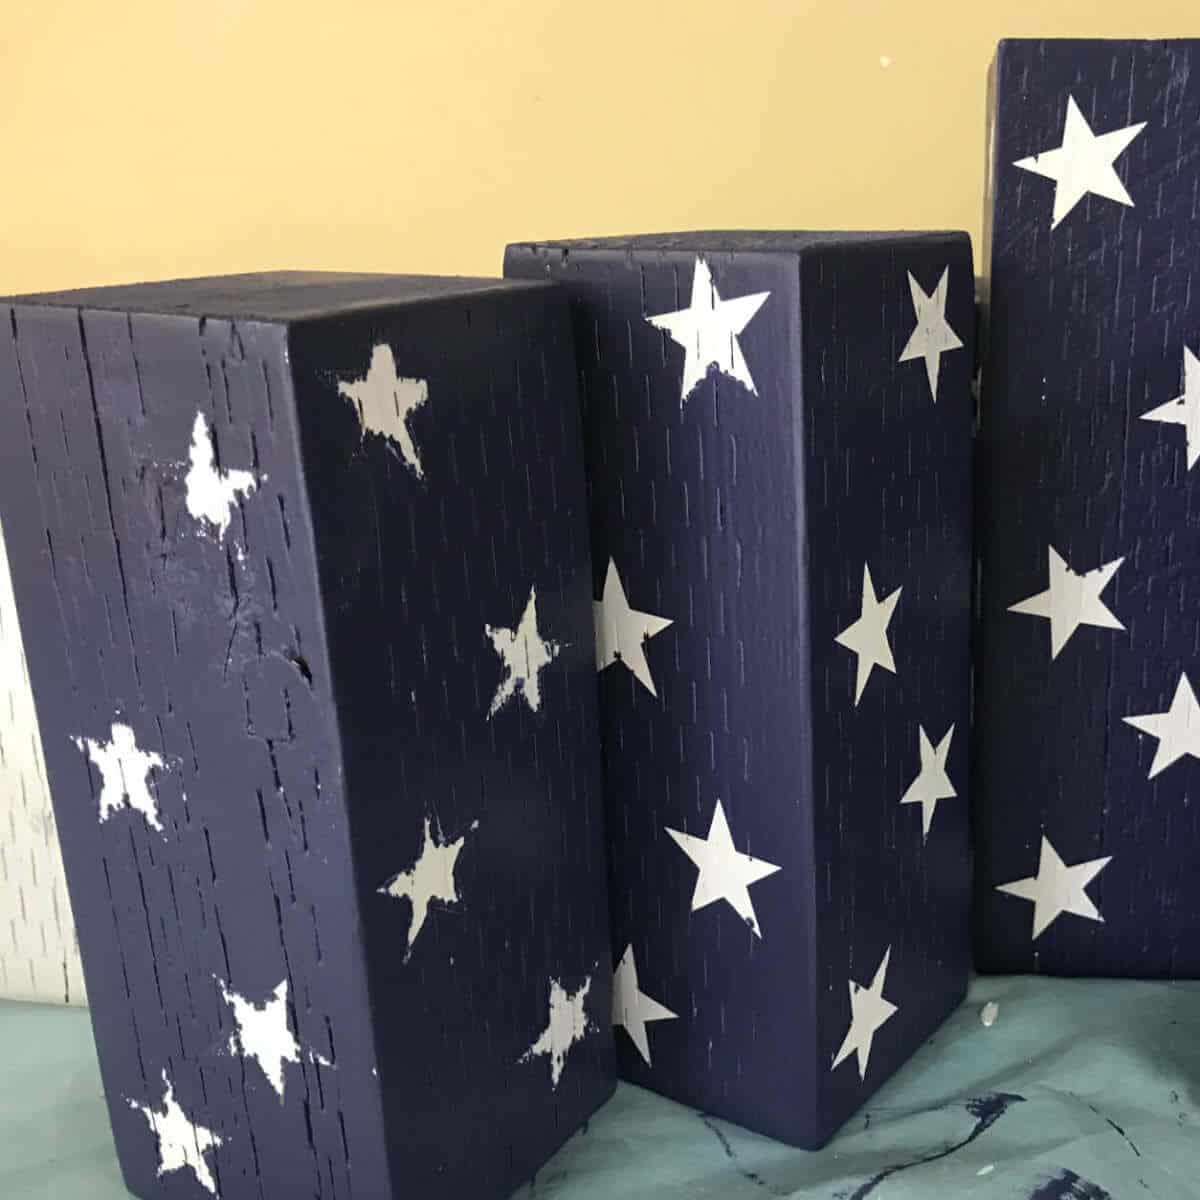
Check out the Firecracker on the left in the picture above. Somehow, I missed sealing with white paint on that one, and the bleed-through was pretty bad. There is still bleed-through on the others, but not nearly as bad. It’s probably impossible to completely avoid bleed-through, using old wood like this, but it’s nothing a little sanding won’t fix!
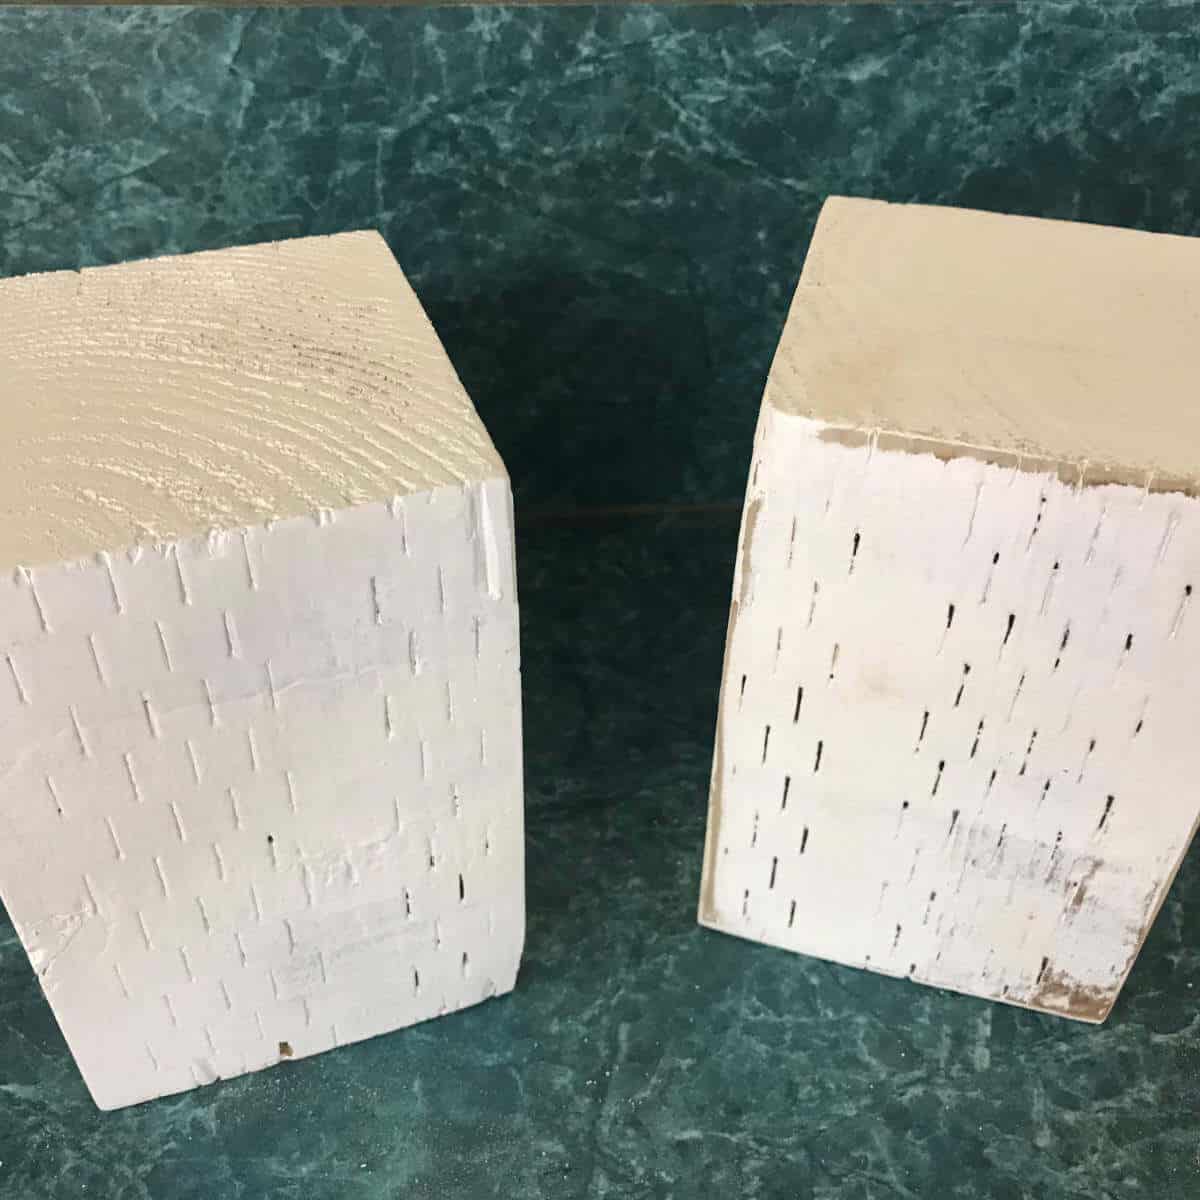
Step 10: Give all of your firecrackers a final sand for a rustic look. The final sand will help to disguise any imperfections or paint bleeds. In the picture below, check out the final sand on the block on the right compared to the block not sanded on the left.
Step 11: Wipe down the firecrackers with a damp cloth to remove any sand.

Step 12: To give the firecrackers a bit of a vintage look, I rubbed homemade wood stain on them. This step is optional!
Step 13: Cut red felt into 3-1/4″ squares (if your 4 X 4 is actually 3-1/2″ X 3-1/2″) and adhere to the bottom of Firecrackers with a glue gun. This step is beneficial if you will be using your firecrackers as tabletop decorations. If you plan to put them on your front porch, you can skip this step.
Step 14: Tie jute around your smallest Firecracker.
Step 15: Finally, cut a rope into desired lengths. I used about 5″ for the tallest Firecracker and approximately 4″ and 3″ for the smaller two firecrackers. I found new garden shears worked great to cut the rope!
Step 16: Adhere the rope to the top of each firecracker using your glue gun.
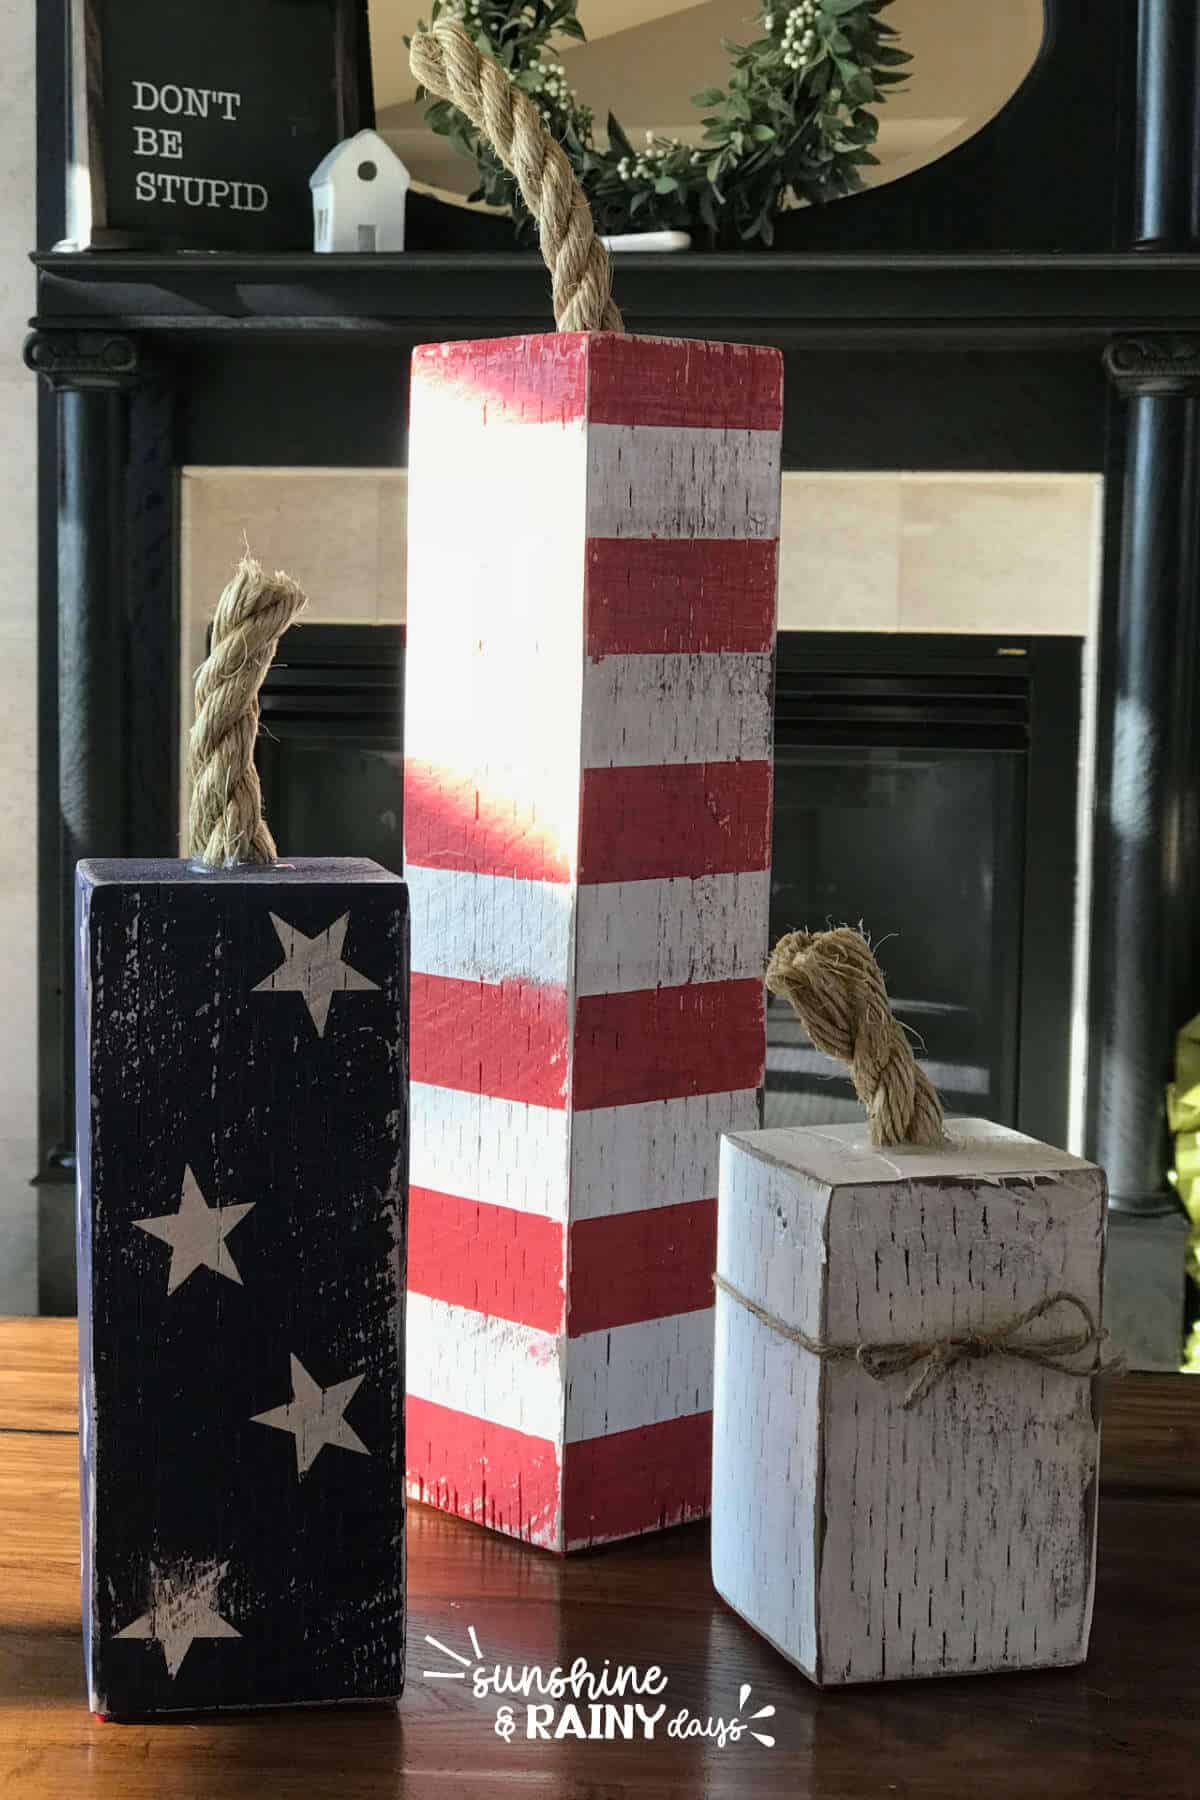
You now have a festive decoration for the 4th of July that you made yourself! Pair these DIY firecrackers with festive printable 4th of July banner flags to fill your home with red, white, and blue!
Frequently Asked Questions
More 4X4 Wood Crafts
- How To Make 4 X 4 Pumpkins – This is a creative and simple way to add pumpkin decor to your front porch or living area!
- How To Make A 4 X 4 Snowman – These snowmen make excellent mantel decor plus, they are a fun gift to make, gift, and get!
- How To Make 4X4 Reindeer – With a little creativity, you can create a reindeer out of a piece of a 4 x 4 to decorate your living area or to give as a gift!
- 4th of July 4 X 4 Firecrackers – This is a fun way to decorate for the 4th of July! I made these firecrackers years ago and use them every year to make our house festive!

Hi! I’m Bridget!
I create printables and DIYs to help you get organized and celebrate special occasions! It’s my mission to inspire you to get creative and find joy in every day!




Wiping with a damp cloth combined with sanding solved my issues. Thanks again for your help.
I’m so happy that helped! I’d love to see a picture of your firecrackers! If you’d like to share, email me at Bridget@sunshineandrainydays.com
Thanks for your help! I will take your advice and let you know how it turns out.
I love this project and all was going well until I sanded at the end. I got a lot of blue in the white stars, which looked messy. Do you have any suggestions? I followed your instructions, except I used spray paint instead of craft paint and a foam brush/roller. The paint seemed dry, but maybe I didn’t wait long enough. I haven’t sanded the red and white 4×4 yet for fear of getting read in the white stripes. Any help would be appreciated! Thanks.
Hi Rhonda! When I sanded my firecrackers, I sanded just in certain areas where there were paint bleeds and on the edges and corners. Enough to hide my imperfections and to make them look rustic. The paint colors did smudge some so I wiped them down with a wet rag and finished with a vinegar stain, which you can find here: https://sunshineandrainydays.com/make-wood-stain/. The paint definitely isn’t perfect but perfectly rustic!