The Best Way To Get Organized Once And For All
When we moved into our new house, close to two years ago, we had a sleepover Birthday Party for my teenage son the same weekend we moved in. Are we nuts? We got the keys late Friday, moved in Saturday, and partied Sunday and Monday. (It was a Holiday weekend.) With so much happening that weekend, I knew it wasn’t the time to get organized once and for all. Nope! It was time to put boxes in closets to make sense of later.
We had sold our previous home and moved into an apartment for a few months before moving into our new house so, thankfully, we had already downsized quite a bit.
THEN, two years later, my college freshman daughter invited a few friends to come over, for the weekend, so I decided to finally get our guest room set up. Don’t you love it when you have motivation like that?
I set to work, cleared the room, built a bed frame, painted, got a few things set up … enough to sleep and be comfortable, anyway! THEN, I remembered, in a box under the stairs, there was artwork. That artwork would work perfect in this room!
Can you say ripple effect?
I dug around under the stairs and pulled out the box. In the process, I found other artwork I forgot we had! It was like Christmas! Stuff I thought we had sold was right there, under the stairs!
It was TIME! Time to dive deep and see what other treasures I could find and organize under the stairs.
This post contains affiliate links. When you purchase through an affiliate link, we receive a small commission at no additional cost to you. Disclosure.
In an email, I mentioned that I was organizing and had a lot of readers ask what my process was for organizing!
Organization is kind of my thing. Seriously! I’d rather be organized than have fancy furniture and all the things. As a matter of fact, at our last house, we had EasyClosets installed before we had living room furniture!
Are you ready to see my process to get organized? It started with our under the stairs closet and went on from there …
Clear The Space
Yes! That means you need to pull every single thing out of that space. I know, I know, you’re probably giving me a huge UGH right now. Just remember, when you start with a clean slate, you can be intentional about what will go back in that space.
The exception to this rule is if you are cleaning out a kitchen cupboard and you know, beyond a shadow of a doubt, that those plates need to stay on that same shelf. In that case, move half of the shelf items out, clean, move over the other half, clean, and then replace the half you pulled out. Personally, I like to do a switcheroo when I clean my kitchen cupboards. I don’t necessarily switch shelves but I do put big plates on the opposite side they’ve been on. It’s kind of fun!
This part can get messy. We had just set up a fantastic music room for my son and THEN I filled it with all the stuff I pulled out from under the stairs. He’s a good sport though!
Clean Your Empty Space
Make your space sparkle! This is going to be a great space and you want to start with clean!
- Clean windows, window tracks, window sills, and blinds/curtains.
- Spot clean walls.
- Wipe down light switches.
- Vacuum and wipe down baseboards.
- Vacuum or wipe down the floor.
Since I was cleaning out an under-the-stairs closet space, it was super quick to get it clean.
Sort Your Stuff
This isn’t the time to decide what to keep or toss. This is the time to sort your items, by category.
For me, that meant: pictures, scrapbooks, memorabilia, artwork, luggage, vacuum stuff, and a few odds and ends.
Tip: Don’t start new projects! This was hard for me. When I clean out spaces, I see projects that need to be done and want to get to them right away. Scrapbooks need to be finished, quilts are waiting to be made, and a garage sale has to happen. However, if I start on those projects, my spaces won’t get organized. Keep your eye on the prize!
Decide What You Want This Space To Hold
This is important! There’s no need to put everything right back in. Decide what you want to use this space for. It could be something totally different than what you’ve used it for, in the past.
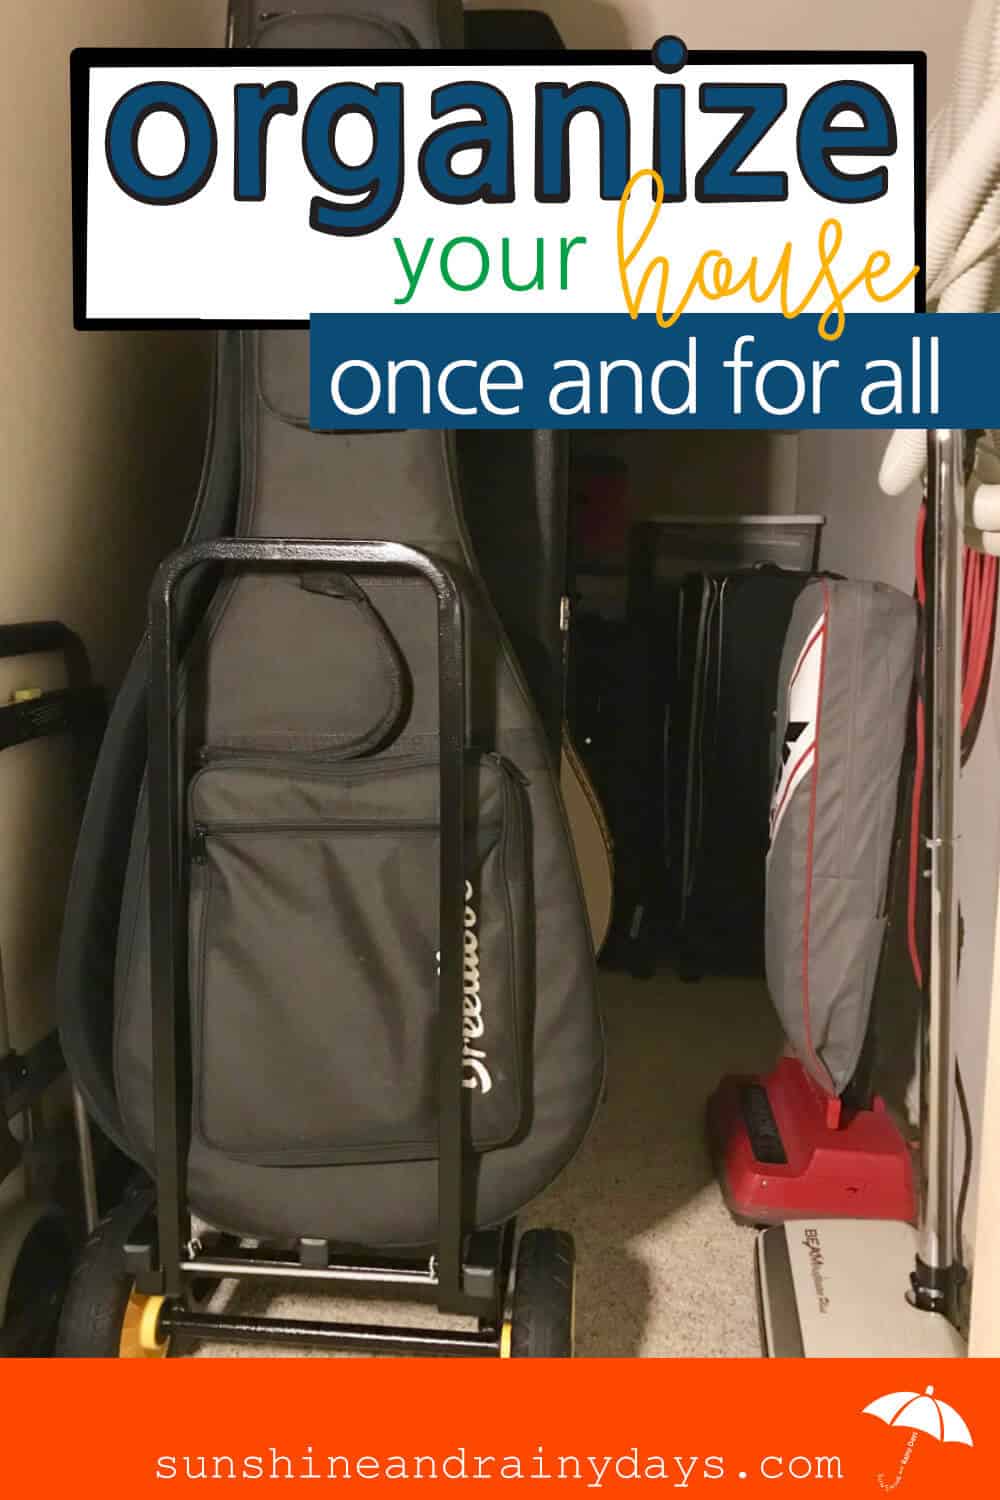
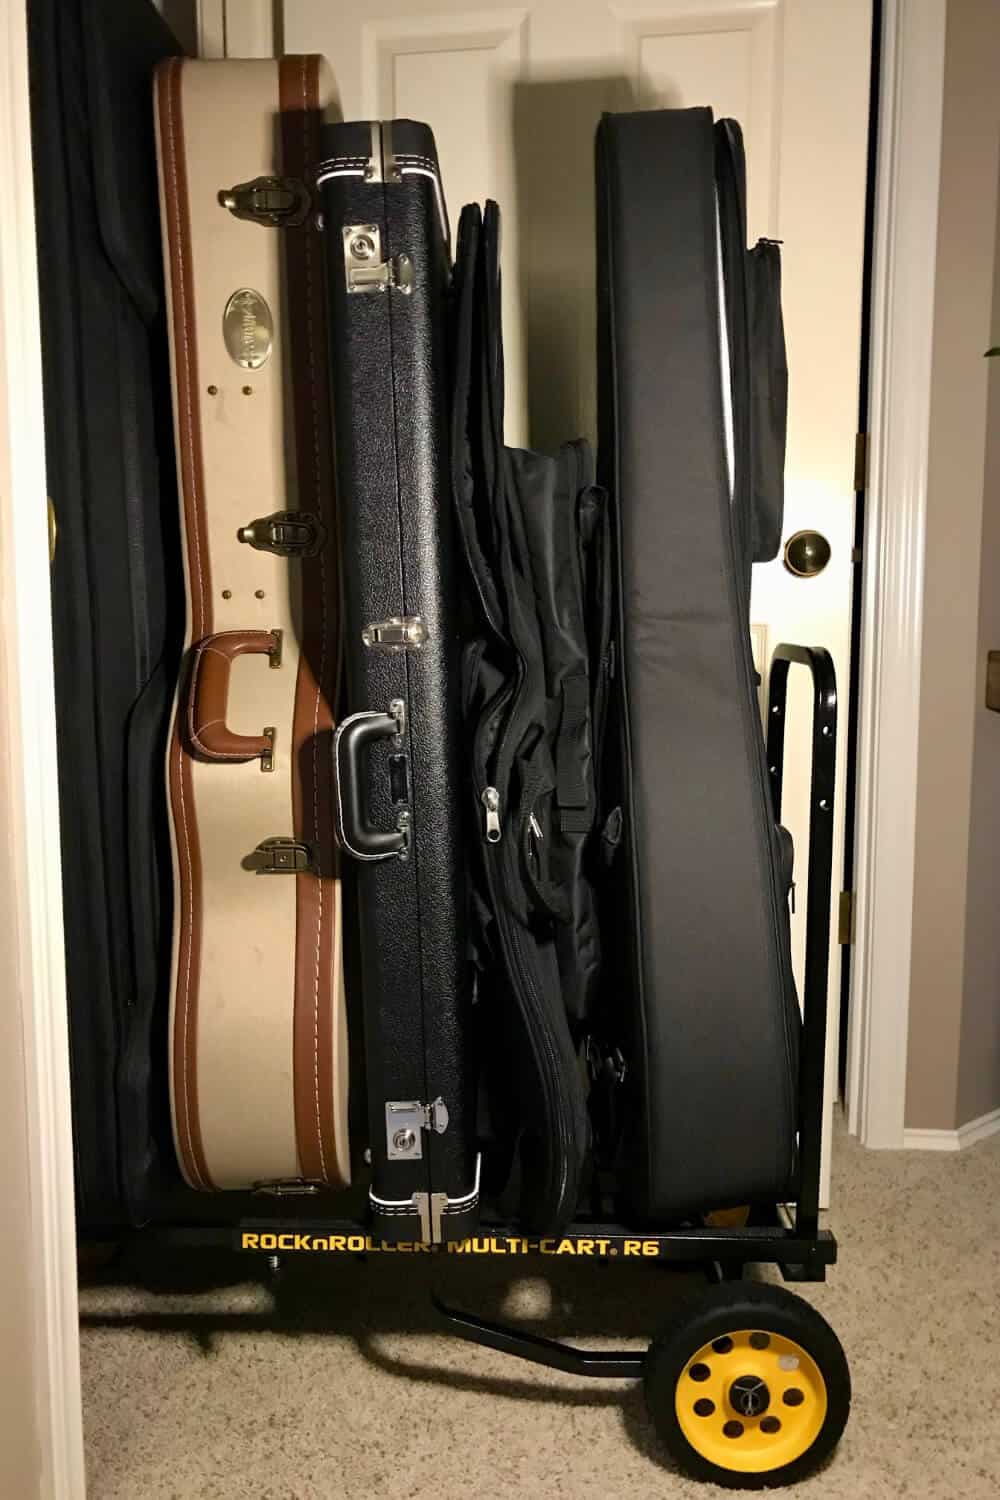
Our under-the-stairs closet just so happens to be right next to the music room. It would be the perfect space for guitar, bass, and ukulele cases that needed a home. It is convenient to have our vacuum there and is also L-shaped so has plenty of room for other storage, too.
The pictures, scrapbooks, memorabilia, luggage, and artwork all needed to stay under the stairs since they shouldn’t be stored in the garage.
Tip: Store like items together. If you have a screwdriver in the drawer with the batteries, it may be convenient when you need to change a battery but it will be frustrating when you can’t find that screwdriver with the tools. It would make sense to purchase an additional screwdriver that was meant for the battery drawer.
Determine What Supplies You May Need
Do you need containers, shelves, baskets, boxes? What would help you contain the items in your space?
For inspiration, I googled ‘how to organize under the stairs’ and was excited to see my friend, Katie, from Organizing Moms pop up! She used rolling carts in her under-the-stairs closet and I thought that was brilliant!
I could use a rolling cart to store all of our music cases. That way, it would be easy to roll in and out if we needed to get to anything in the back of the closet!
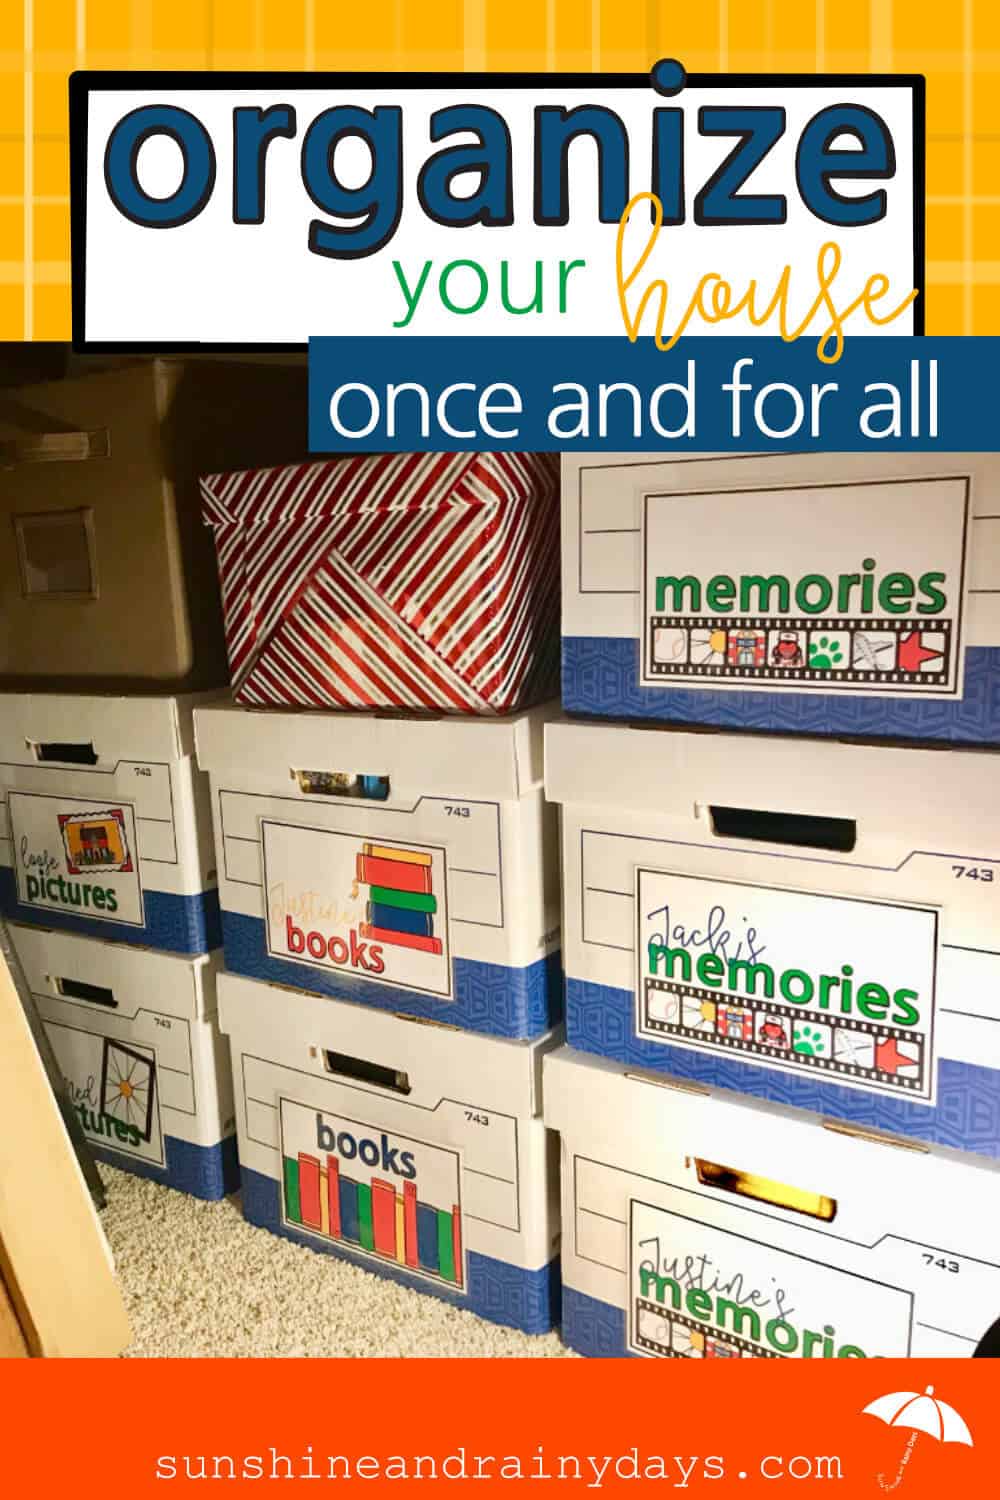
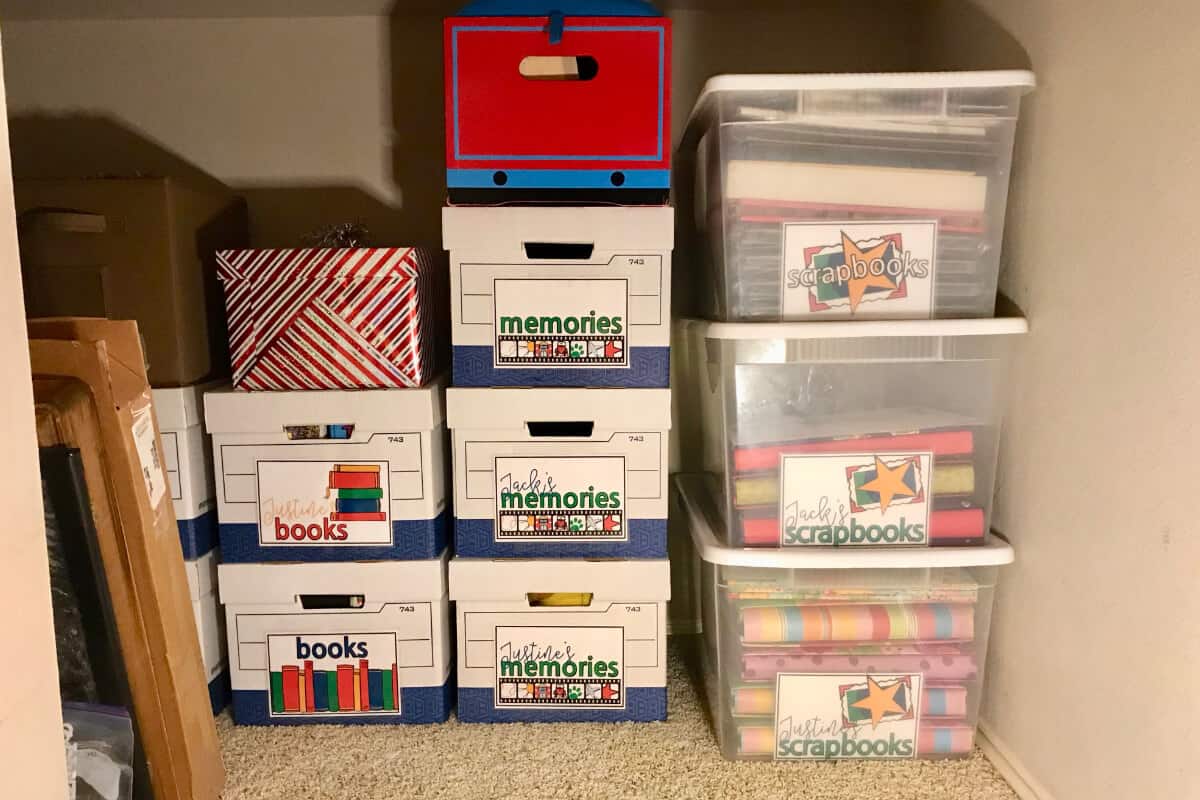
For inside storage, I like to use Bankers Boxes. They are nice and sturdy and we have a bunch from our temporary move!
We also use Sterilite Clear Containers. We always buy the same kind so that whatever we store stacks nicely and looks uniform! We have a lot of these in our garage and a few that store scrapbooks since the Bankers’ Boxes aren’t big enough for them.
Decide What Items Are Worthy Of This Space
Use your supplies (mentioned above) to organize your categories. But WAIT! Only put in items you will actually use again.
If an item isn’t worth the real estate it takes, get rid of it!
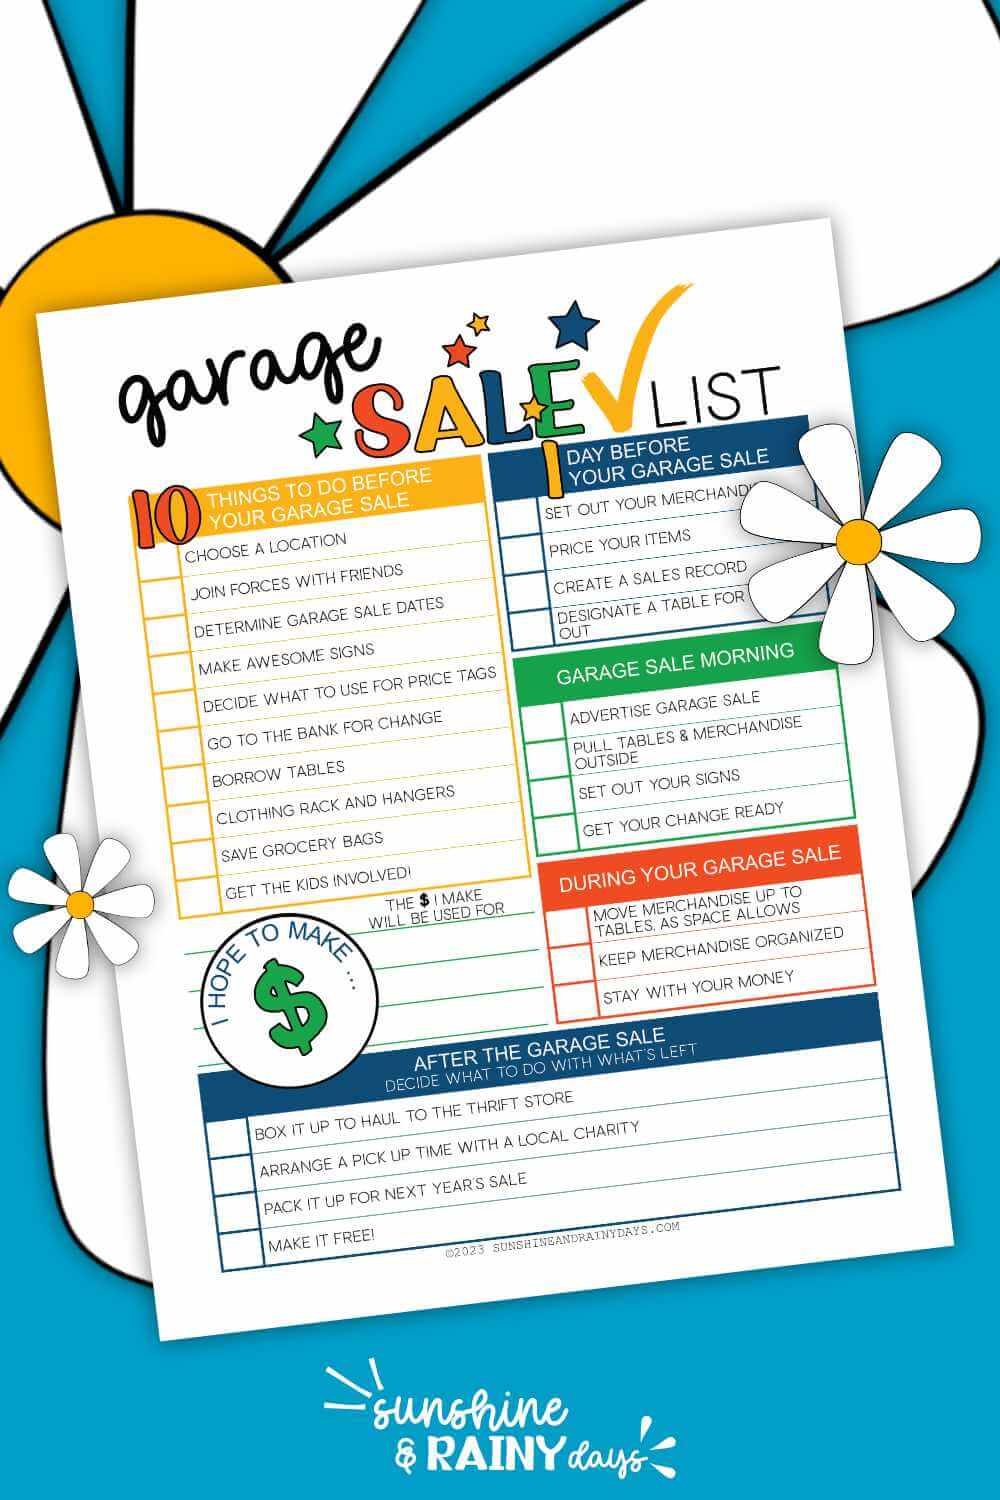
- Create a Garage Sale box.
- Find new homes for items that don’t fit this space.
- Look for things in other spots that DO belong in this space.
Case in point: We had baskets under the stairs that would fit better in the laundry room … the ripple effect is real! There was a mattress topper, we were saving for my son’s dorm days, in the guest room, that needed a new home. Under the stairs is the perfect spot for that!
Decluttering Labels
When organizing a large space, with lots of stuff, it would be beneficial to label boxes, for items that belong in other spaces. This way you will be able to easily sort your items and take the boxes right where they need to go!
Related: Decluttering Tips You Should Pay Attention To
How To Use The Decluttering Labels
- Print on card stock.
- Cut the labels.
- Laminate the labels, if you’d like to use them over and over again.
- Place the labels you will use on the front of the sorting boxes.
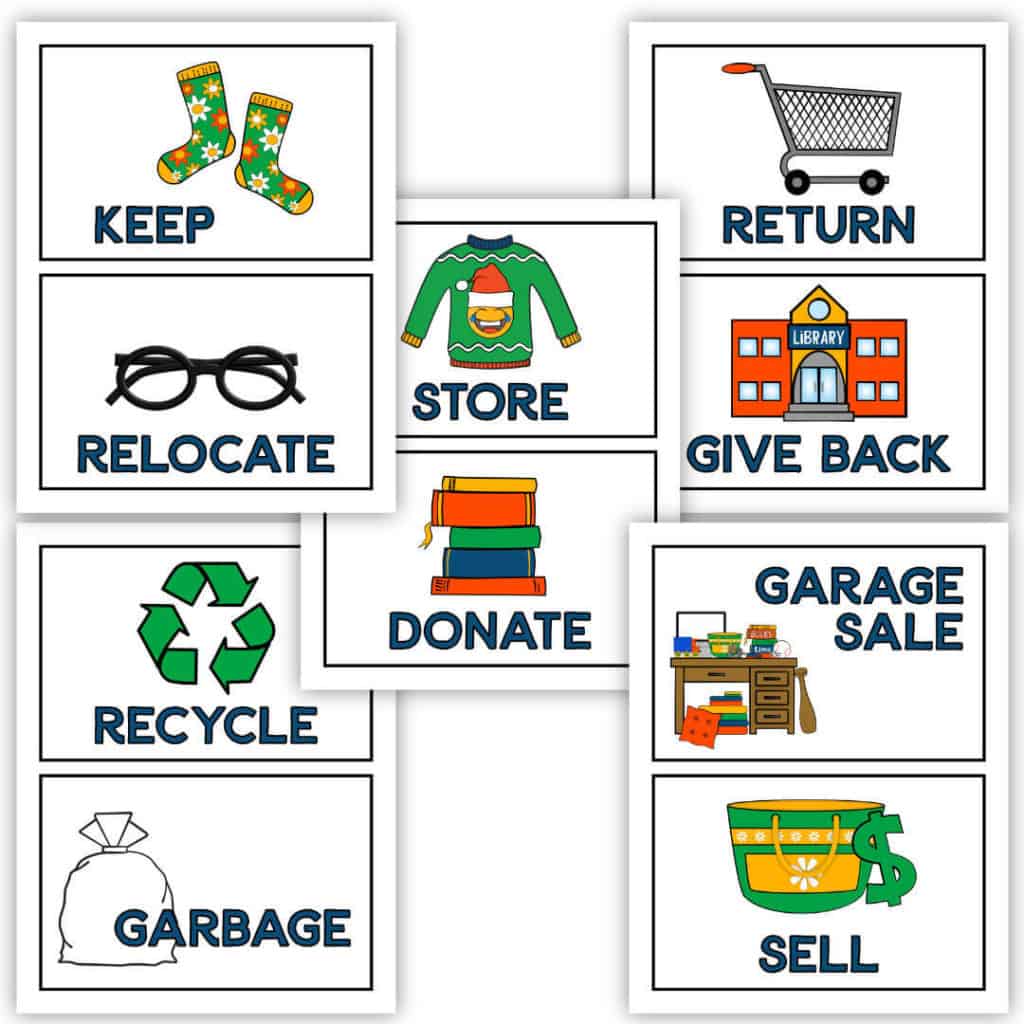
Decluttering Labels Included
- Keep – You may or may not need to use this label, on a box, but it could be useful for things you want to keep, in the space, but don’t have a sort category for, yet.
- Relocate – This box is for items that need to be moved to a different space.
- Recycle – Use this box to gather the recyclables you find, in the space you plan to organize.
- Garbage – When garbage piles up, you need a place to throw it away, fast.
- Store – This box is for things that would make more sense to store, in the garage or storage space. While decluttering, you might find a random Christmas ornament that needs to go in your Christmas Storage Boxes or a memory item that would be best placed in your Memory Box.
- Donate – If you plan to donate items you no longer want or need, use this box, so you can easily put it in the car to take to your favorite donation place.
- Return – You may have library books, school items, or a random office supply from work taking up space in your home. Place them in the Return Box and put them right in your car so you don’t forget to return them.
- Give Back – This box is for all those things you’ve accumulated or borrowed from family and friends.
- Garage Sale – Garage Sales are a great way to get rid of stuff fast that you don’t want and make a little cash, too! Once you’re done decluttering, keep your Garage Sale Box(es) in the garage so they’re ready to go, for your next garage sale.
- Sell – Some things just aren’t garage sale material but would sell great on Craigslist, eBay, or Facebook Marketplace. Place those items in the Sell Box.
- Blank – You may need to create your own category if you know you’ll find a lot of Sally Sue’s things in Suzie Q’s room. Write Salle Sue’s Room on a label and make a box so you don’t have to keep running back and forth.
With these Decluttering Labels, you’ll be ready to clear the clutter, which will make organizing so much easier! Use just the labels you know you will need, for the space you are decluttering. Don’t use them all … that would be too much.
Get Your Decluttering Labels Here
Label
Label every box or basket you put in your space. Trust me. Later, you’ll be so happy you did!
For Bankers Boxes and Clear Storage Containers, I like to use a half sheet of card stock, and, of course, I try my best to make them look pretty! Then, I laminate them and put them inside the clear containers or use packing tape to tape them to Bankers Boxes.
Find our Storage Box Labels here:
- Books Storage Box Labels
- Memories Storage Box Labels
- Pictures Storage Box Labels
- Scrapbooks Storage Box Labels
Fill Your Space
Not like fill, fill … leave room to breathe! Put stuff back in your clean space in a way that makes sense.
That mattress topper I talked about earlier, it’s waaaay back there. We won’t need it for another year. Our scrapbooks, memorabilia, books, and pictures are lined neatly across the back wall.
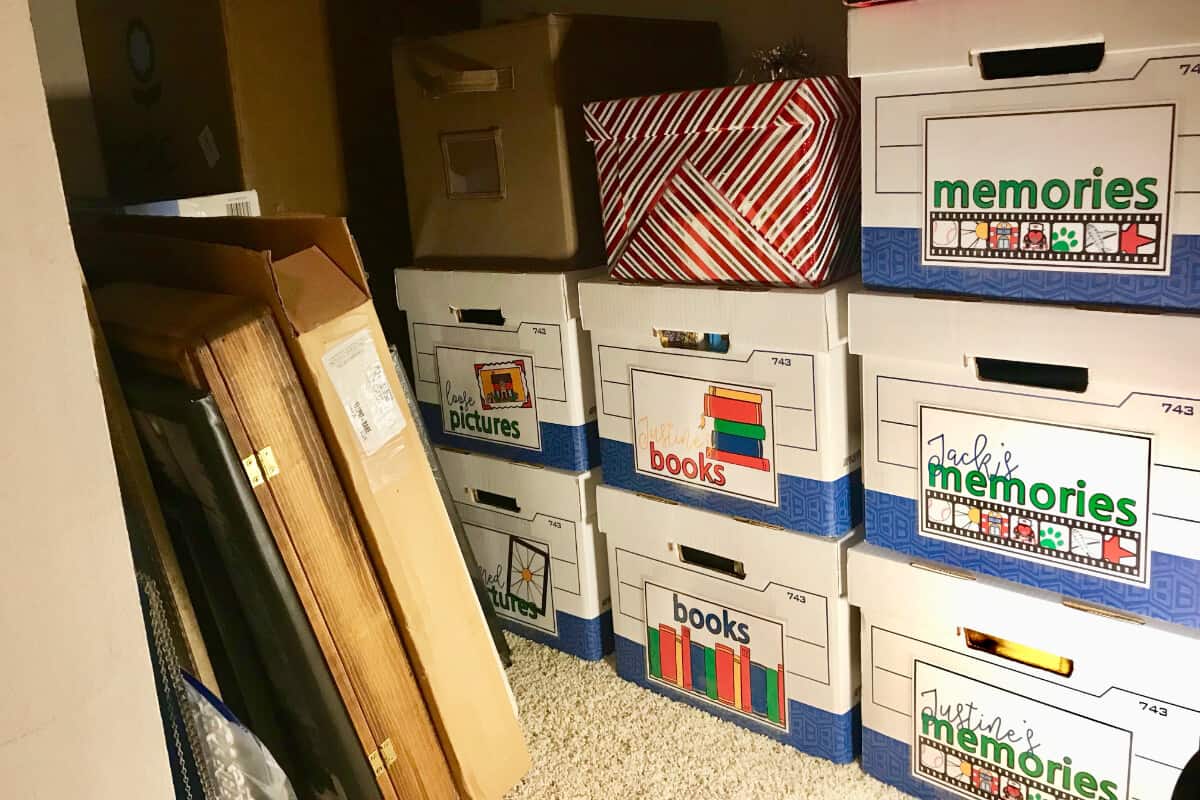
The luggage is right in front of our storage boxes and the rolling cart with music cases is in the front next to the vacuums.
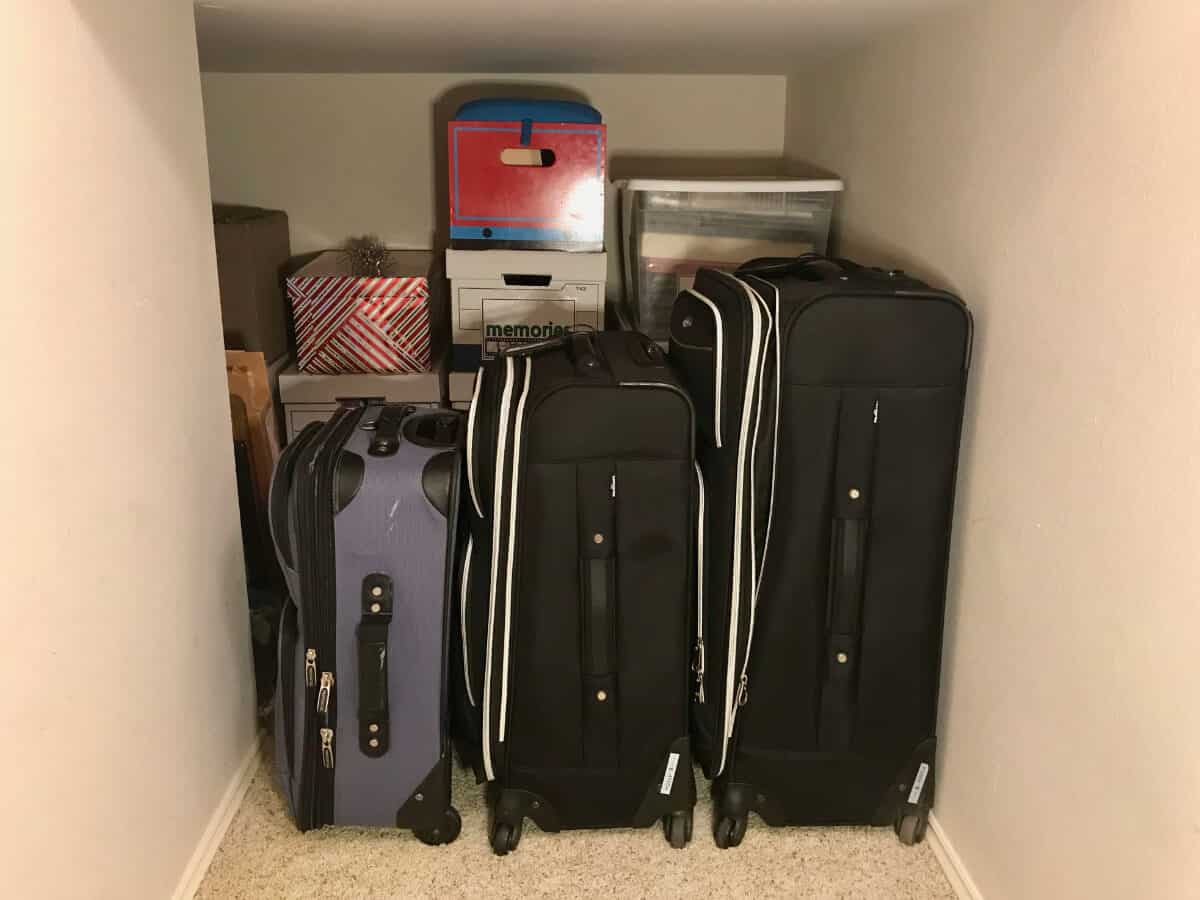
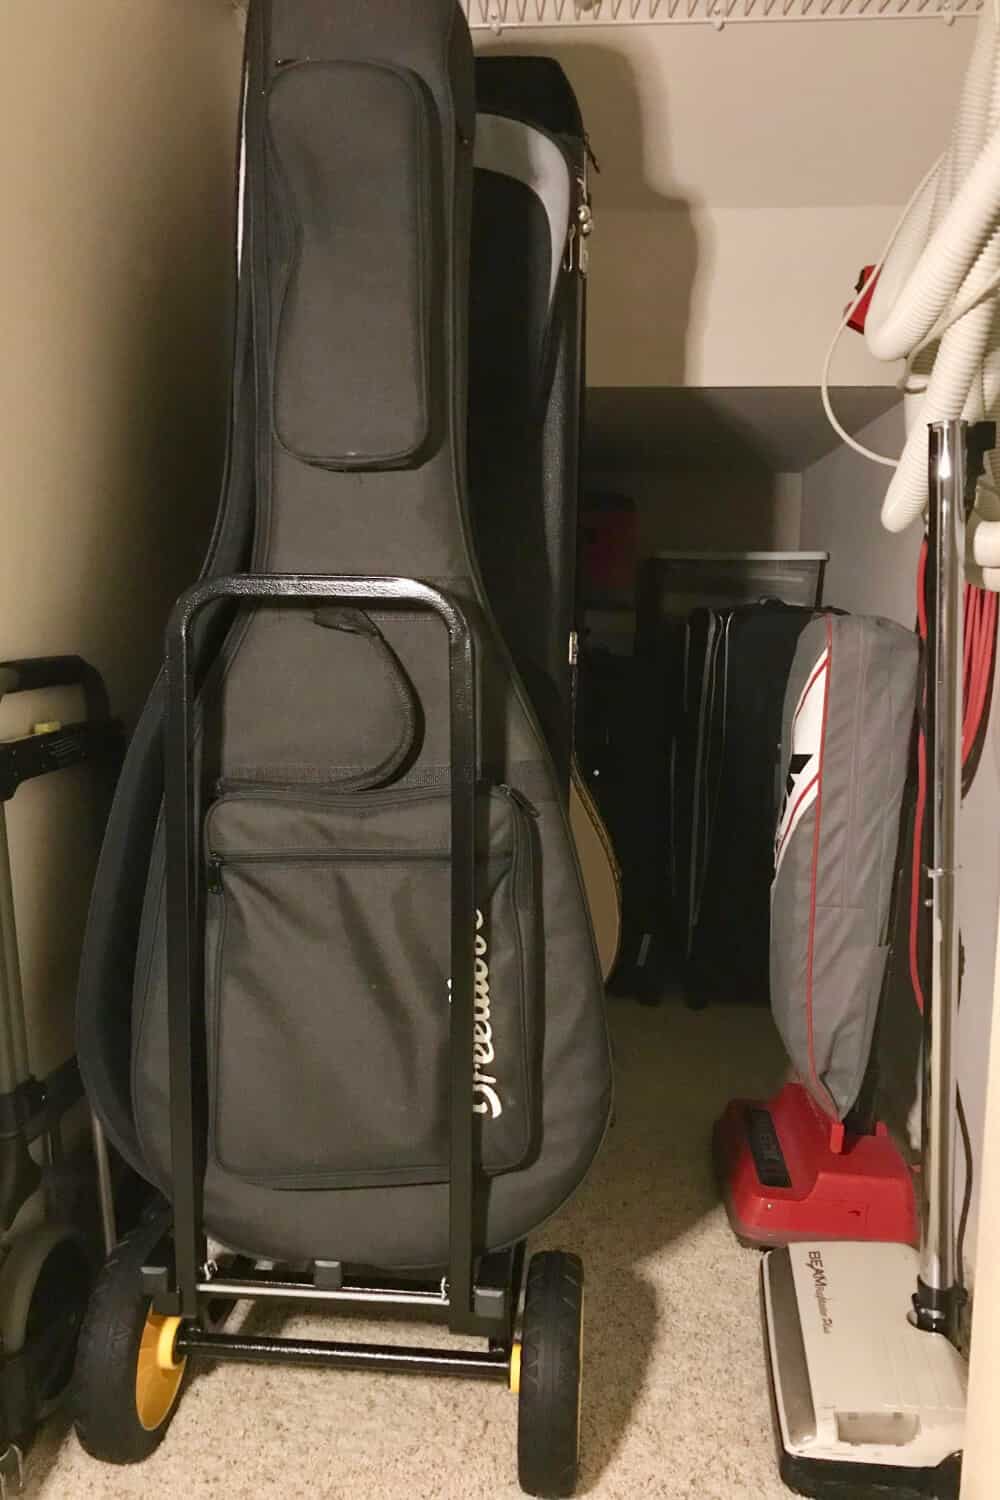
This under-the-stairs closet is the perfect place to store things that shouldn’t be stored in the garage!
Move To The Next Space
While organizing your first space, you may have piled stuff up in other spaces, where it makes sense for them to live. Pick a space and go through the steps again! That’s the ripple effect!
Little by little, step by step, you will have organized your home, once and for all! Everything will have a home that makes sense.
Once your home is organized, and your stuff is in a designated space, it’s easy to keep it organized with just a few adjustments here and there!
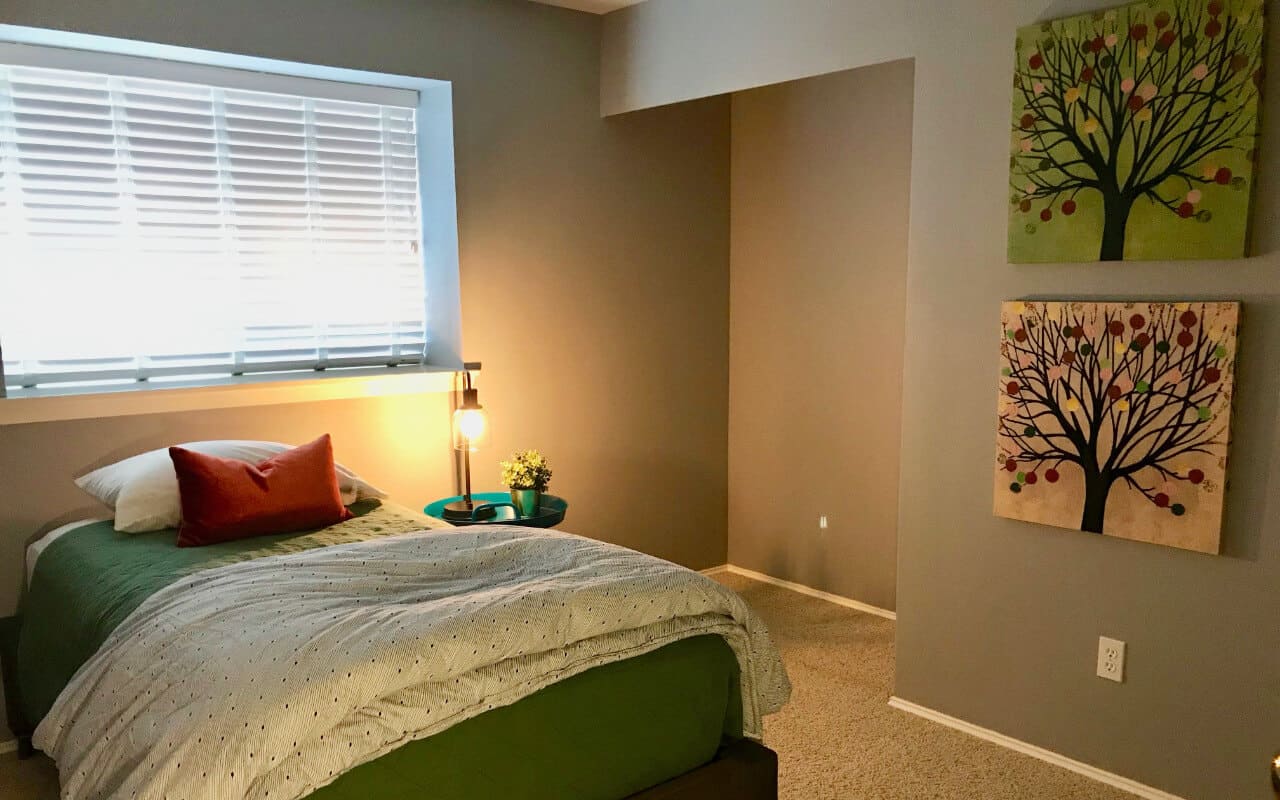
The artwork is hung in our guest room and it is ready for a guest! The long-forgotten clock has found its place on the garage wall and that cool guitar shape, made out of license plates, has found a perfect home.
I’ve moved through the under-the-stairs closet, the guest room, the laundry room, the linen closet, and the coat closet.
The garage is calling my name. Two years into our new house and it’s starting to feel like home! This organizing thing feels good!
Get Your Organized Battle Plan Here!
Join The Sunshine Club and be the FIRST to know when we release new printables and DIY projects, through our Weekly Newsletter!
By subscribing, you are agreeing to our Privacy Policy.
