How To Refinish Chest Of Drawers – The Easy Way!
Learn how to refinish chest of drawers, the EASY way, with just a few supplies and minimal time!
Back in the 70’s, when I was in elementary school, I moved from an orange shag rug shared bedroom, with my sister, to my own small room with green shag carpet. My mom found a used dresser and chest of drawers and spent hours, in the garage, scraping the paint off and bringing the dressers back to their natural wood state. She stained them and lined the drawers with Holly Hobbie wallpaper. The wallpaper colors matched the green shag carpet and the newly stained dressers, perfectly!
My parents put shelves on the walls that held my Holly Hobbie collection as well as Snoopy, who had various outfits. Under my bed was a shiny Nordstrom box that held my Hello Kitty collection. I spent a lot of time sitting on that green shag carpet, pulling that silver Nordstrom box out and looking through those cute little Hello Kitty things. Am I bringing back memories for anyone? Strawberry Shortcake was somewhere in the mix, too!
I used that dresser and chest of drawers throughout my childhood. Through the years, they have been used by different family members and even split up between sibling’s homes. The chest of drawers was used in my sister’s home, most recently, and she was ready to let it go so … I took a picture and asked my daughter, Justine, if she’d like to use it in her college rental house.
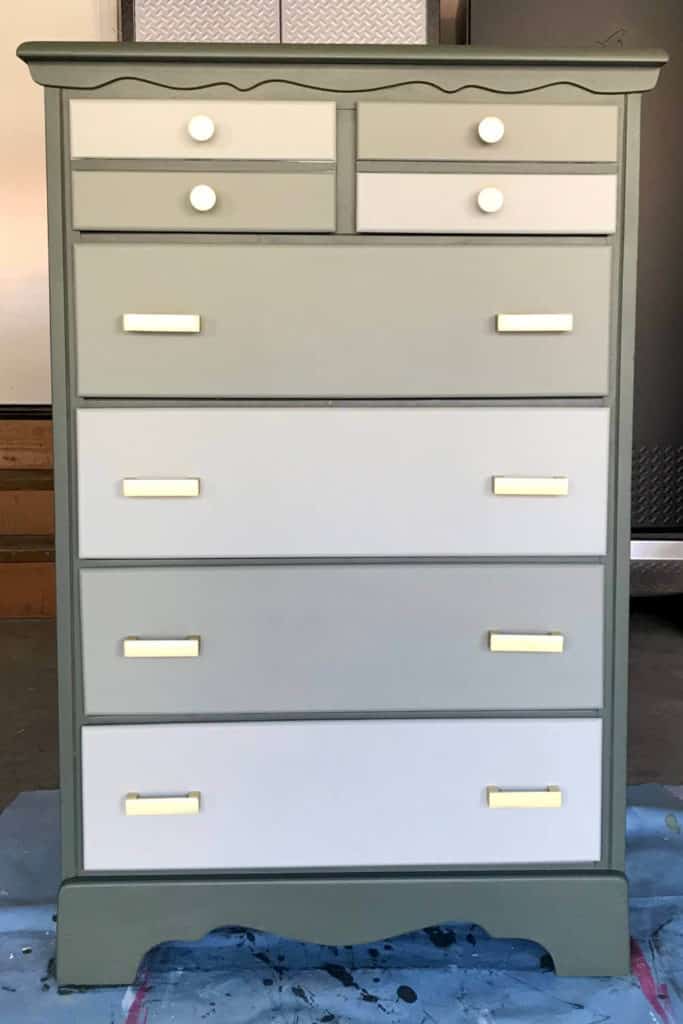
Justine was up for the challenge of making the chest of drawers fit her style! She found paint colors she liked, picked out new hardware for the drawers, and painted the chest of drawers, while she was home on break.
At first, I couldn’t catch Justine’s vision of a chest of drawers with three colors but I am SO impressed with the final result!
Now, I’m handing it off to Justine to tell you exactly how she refinished her chest of drawers – the EASY way!
1) Decide on the finish you would like to use.
Going from stain to paint is straightforward. Paint to stain (like my grandma did) is much more labor intensive. Also, if you choose to paint raw wood, you will need to first use primer, so the wood doesn’t soak up your paint.
What is the best paint for a chest of drawers?
There are so many different types and brands of paint to choose from. For my dresser, I found that using mineral paint was the easiest. There was no need for a primer or aggressive sanding before applying the paint. All I needed was paint and a brush. Ta-Da. If you’re looking for a specific brand of mineral paint, I used Fusion Mineral Paint. The brand has a lot of cute colors. Granted the brand is a little expensive, so no harm, no-foul, if you find another, cheaper brand.
2) Purchase supplies.
Once you have a vision for your chest of drawers, it’s time to purchase the supplies you need, to make your vision a reality.
What supplies do I need to refinish a dresser?
This post contains affiliate links. When you purchase through an affiliate link, we receive a small commission at no additional cost to you. Disclosure.
If you want to paint a dresser that’s stained, there are, surprisingly, just a few supplies needed.
Tasha, from Kaleidoscope Living, painted her kitchen cabinets with Fusion Mineral Paint. She made it look so EASY and I figured it would be a great way to paint my chest of drawers, too!
- Brushed Brass Drawer Pulls – Make sure new hardware holes match the old.
- Brushed Brass Cabinet Knob
- Krud Kutter Gloss-Off
- Fusion Mineral Paint – Bayberry
- Fusion Mineral Paint – Lichen
- Fusion Mineral Paint – Bedford
- Plastic Cups – I used plastic cups to put the paint in so I didn’t contaminate the jar of paint by dipping my paint brushes in it.
- Paint Brushes – Wooster Shortcut Paint Brushes are my favorite and what I used for this project!
- Drop Cloth
- Lint Free Rags – I cut up an old T-Shirt!
- Screwdriver – To remove pulls and knobs.
- Plastic Wood-X – If you have spots you’d like to fill in, on your dresser.
- Sander/Sand Paper – Although I didn’t sand the chest of drawers, I did use a sander to sand a few rough spots along the bottom of the chest of drawers and to lightly sand a few spots I had filled with Plastic Wood-X.
How much does it cost to refinish a chest of drawers?
This is all up to you! Since I decided to be extra and use three different colors, the cost wasn’t the cheapest. The paint itself cost about $75 for three colors. I also sprung for more expensive drawer handles. Although I did not choose the cheapest alternatives the overall price was less than $150. With some creativity, that price could be significantly reduced.
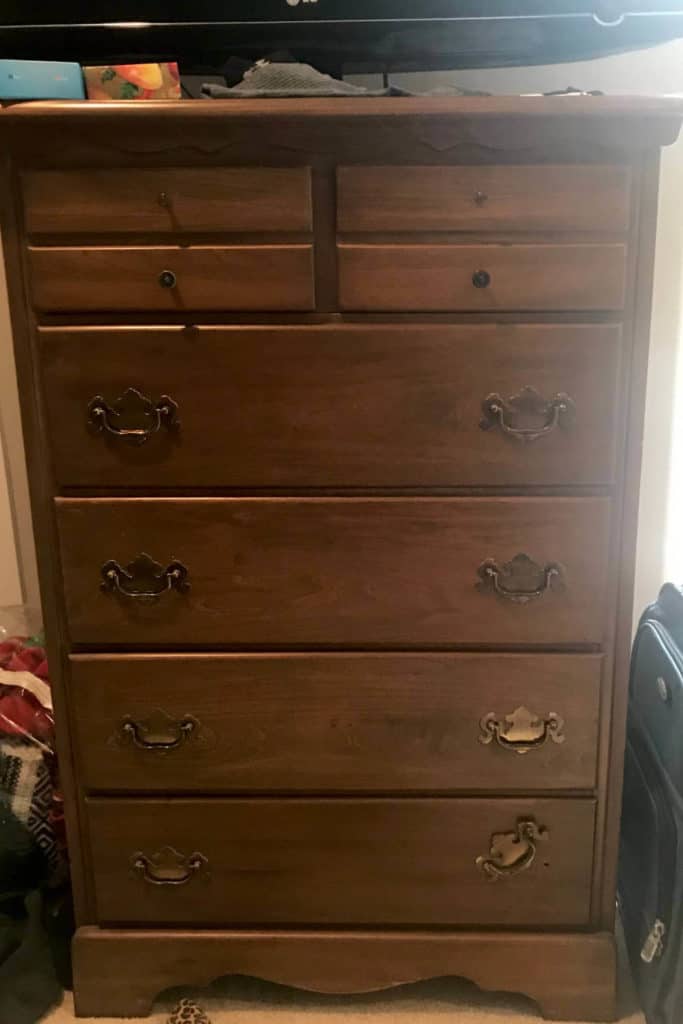
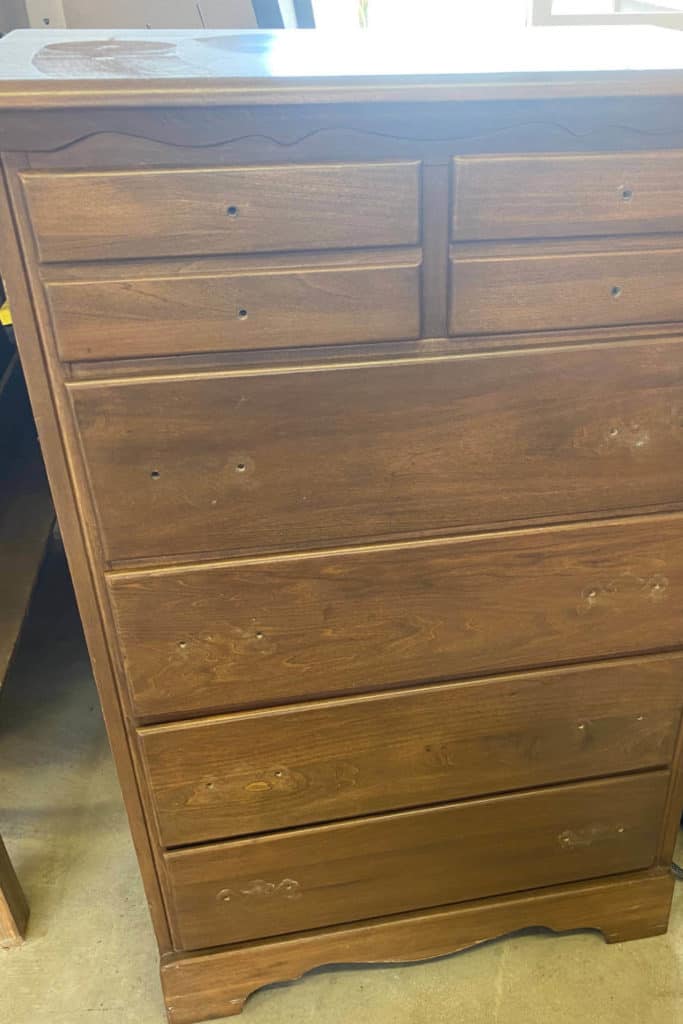
3) Remove all hardware.
This should be a pretty easy step. Just grab a screwdriver and go to town. The hardware should be removed in no time. The hardware can then be tossed, sold, or maybe even cleaned and painted to use on the refinished product.
4) Remove drawers and stand them upright.
Do you finish the inside of the drawers?
I didn’t. This is really a choose your own adventure. If you feel like finishing the inside of the drawers, go for it! However, it is an extra step that would probably take more time. The inside of the drawers in my dresser were in good shape. I let them be!
However, I did choose new liner to line the drawers with!
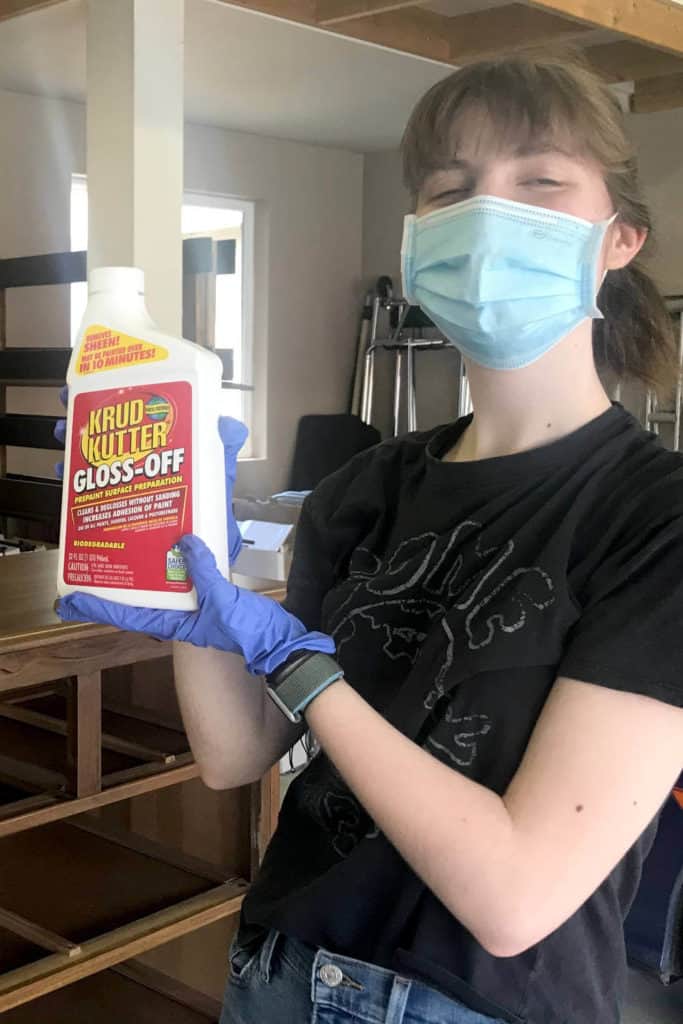
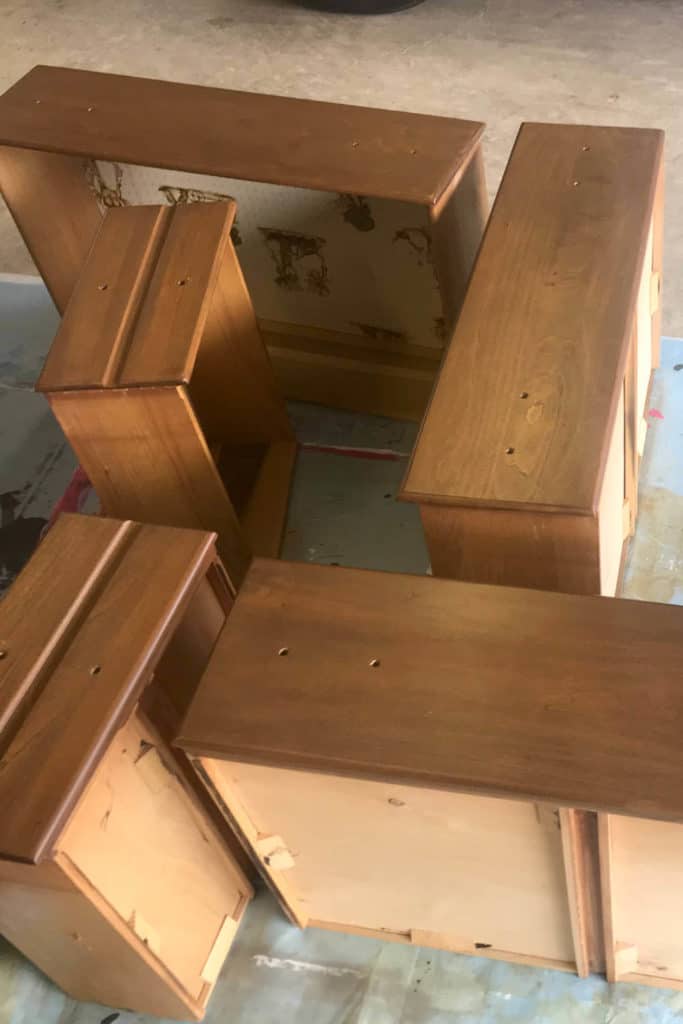
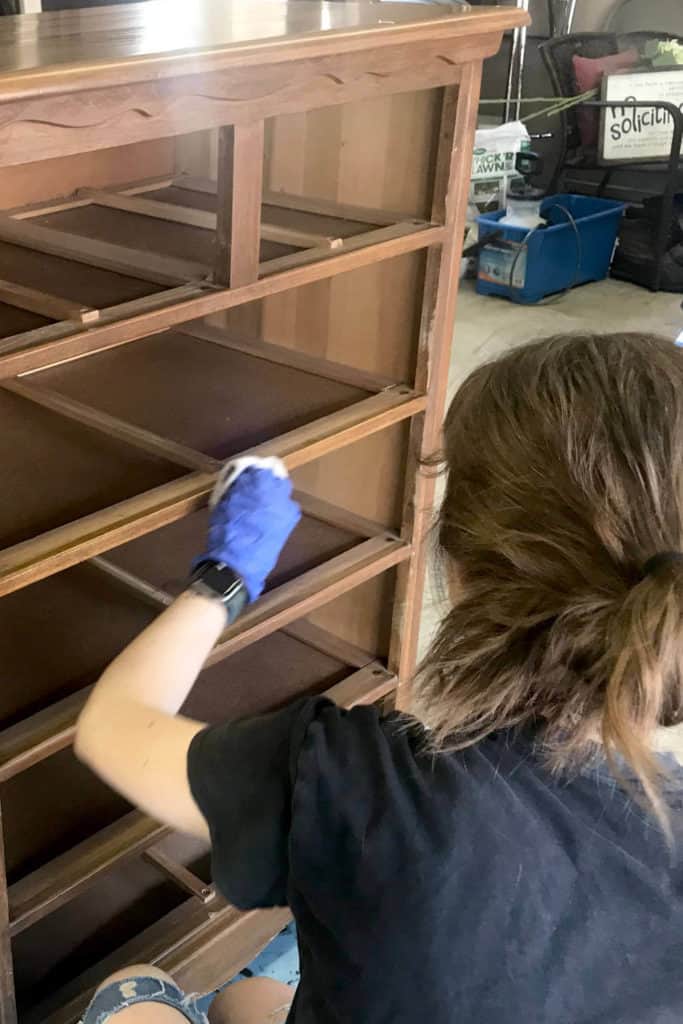
5) Use Krud Kutter Gloss-Off, with a lint-free rag, to remove the sheen from your dresser and drawer fronts.
Do I need to sand the chest of drawers before painting?
I did not sand before painting my chest of drawers. There was minimal sheen on the drawers, when I first got it. I used Krud Kutter and that took off all the sheen. With mineral paint there is no sanding needed. There were some nicks in the drawer that I filled with plastic wood. After the plastic wood dried, I did sand that down, so it was flush with the dresser. But that’s it! Thankfully no sanding required. Makes life easier.
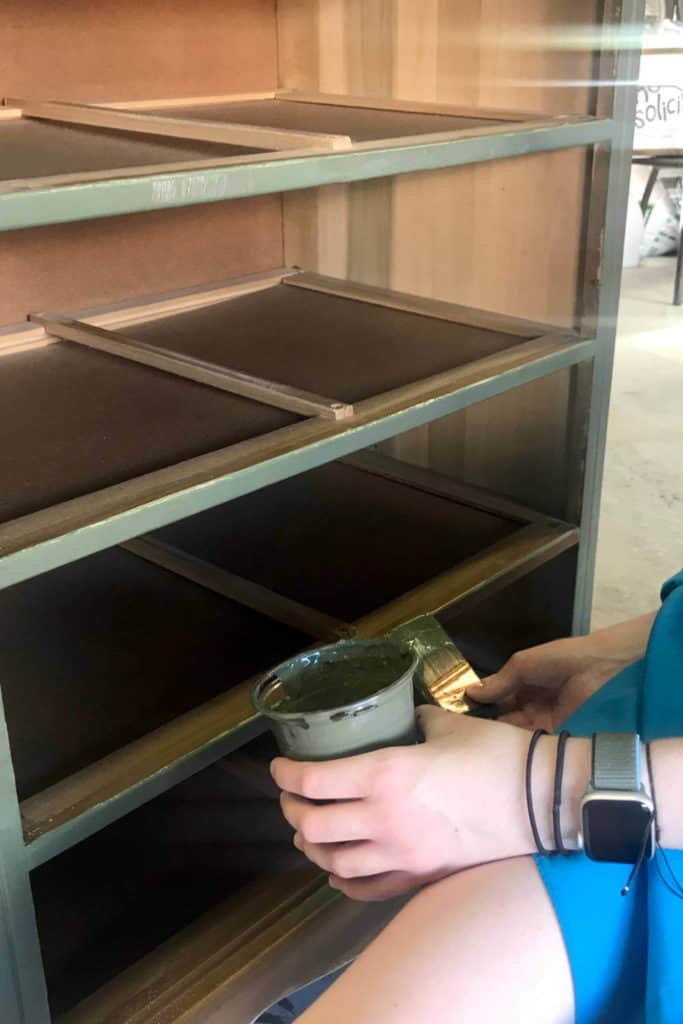
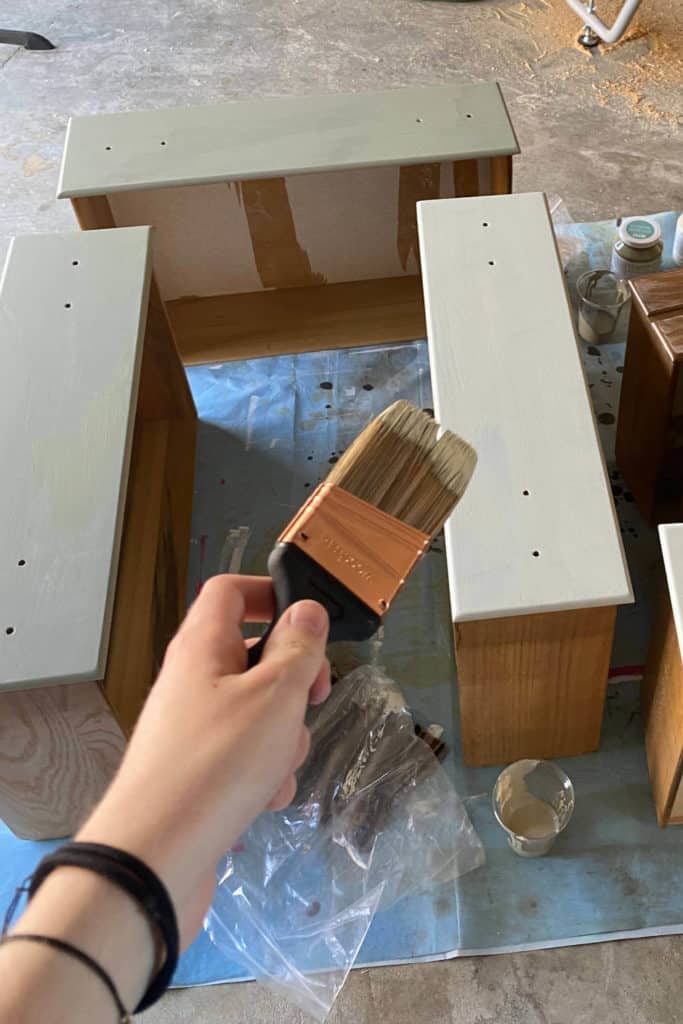
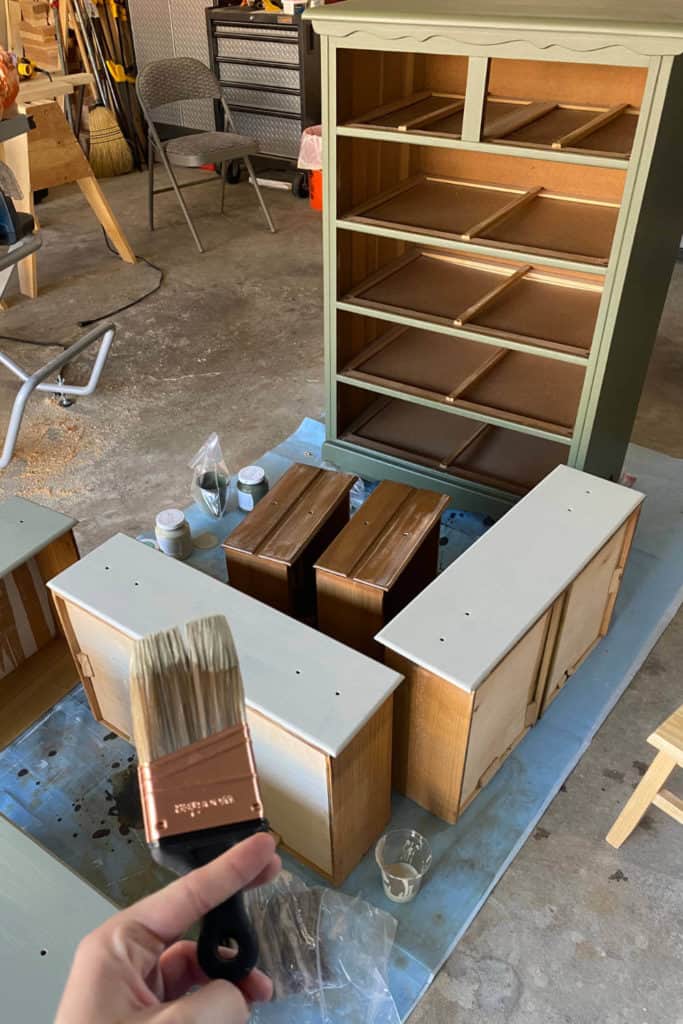
6) Paint the chest of drawer frame as well as the drawer fronts.
I started by painting the frame of the dresser. I used my base color and painted with a medium-sized brush. I am not the best painter and I decided to double coat with paint. It worked really well! Not a lot of visible brush strokes. I then painted the large drawers, followed by the smaller ones. Again, I used a medium-sized brush. This did the trick. If you consider yourself a bit heavy-handed when painting, using a different-sized brush might be the move. It will make it easier to get into small crevices and detail paint.
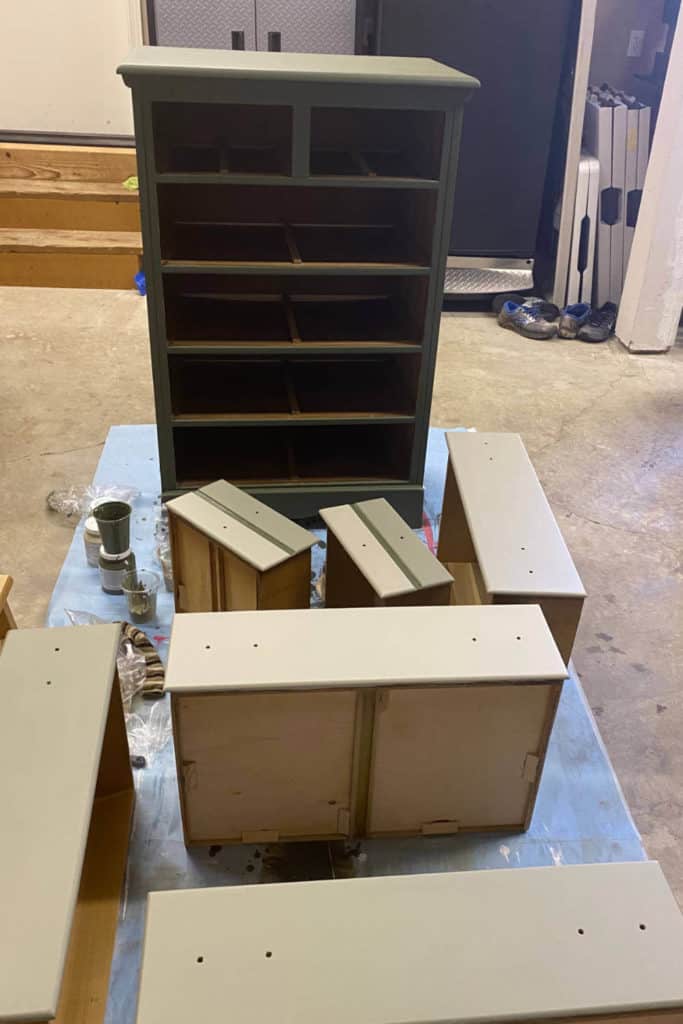
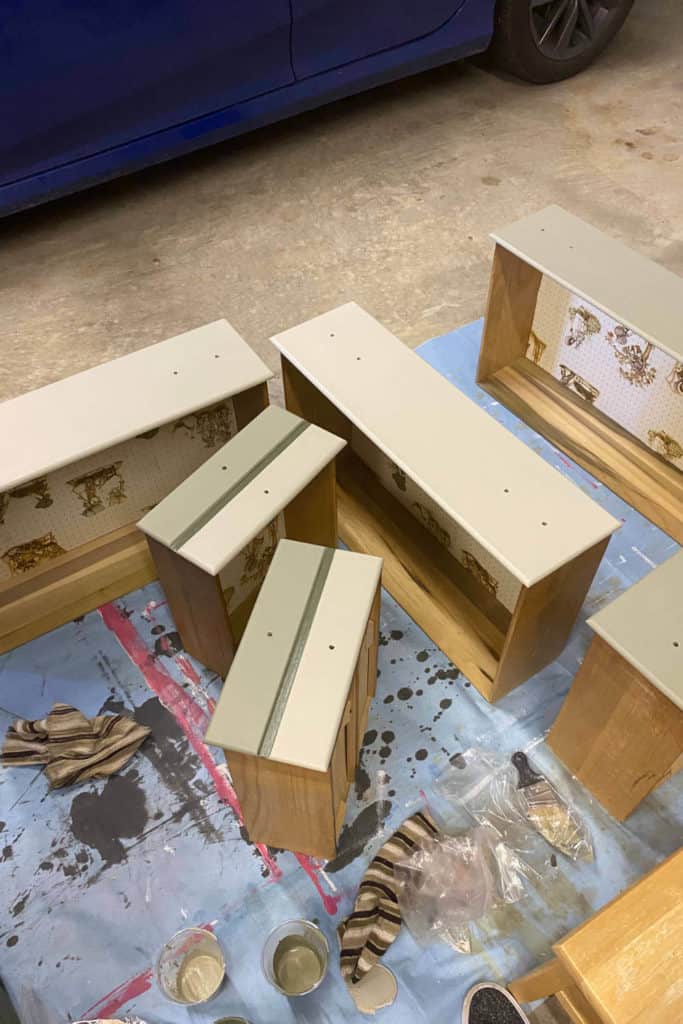
7) After the first coat is dry, paint a second coat.
As I mentioned above, I painted a second coat. This might not be necessary for you! If you are an expert at painting, you may know exactly how to get it done in one coat. If you’re like me, a second coat is needed.
8) Once your pieces are completely dry, add your hardware.
The mineral paint dried surprisingly fast. Within a couple of hours of painting my second coat, I was able to add hardware. I used drawer pulls for the larger drawers and knobs for the small drawers. The hardware came with two different lengths of screws, so you can determine the right length for your project. It was really easy to add the hardware. I just needed a screwdriver! It makes life easier to find hardware that matches up with already existing holes, in your chest of drawers. That way you can just screw in your hardware. No need to fill old hardware holes and add new ones!
9) Replace your drawers.
Once I added hardware, I put the drawers back in. It was easy for me. The drawers easily slid back in. Hopefully, that will be the same for you!
10) Enjoy your refinished chest of drawers!
Sit back and enjoy your hard work! Take plenty of pictures! Don’t be afraid to boast about how cute your chest of drawers turned out to be! It will be a great talking piece, in the future. Also, feel proud of yourself for refurbishing an old piece of furniture. It’s a great way to be sustainable, while also making a piece your own.

Justine had a vision and made it come to life! I’m so excited to set this up in her college house. She can now get rid of the file box shelves we put together, to give her more storage space, although they are pretty sweet, too.
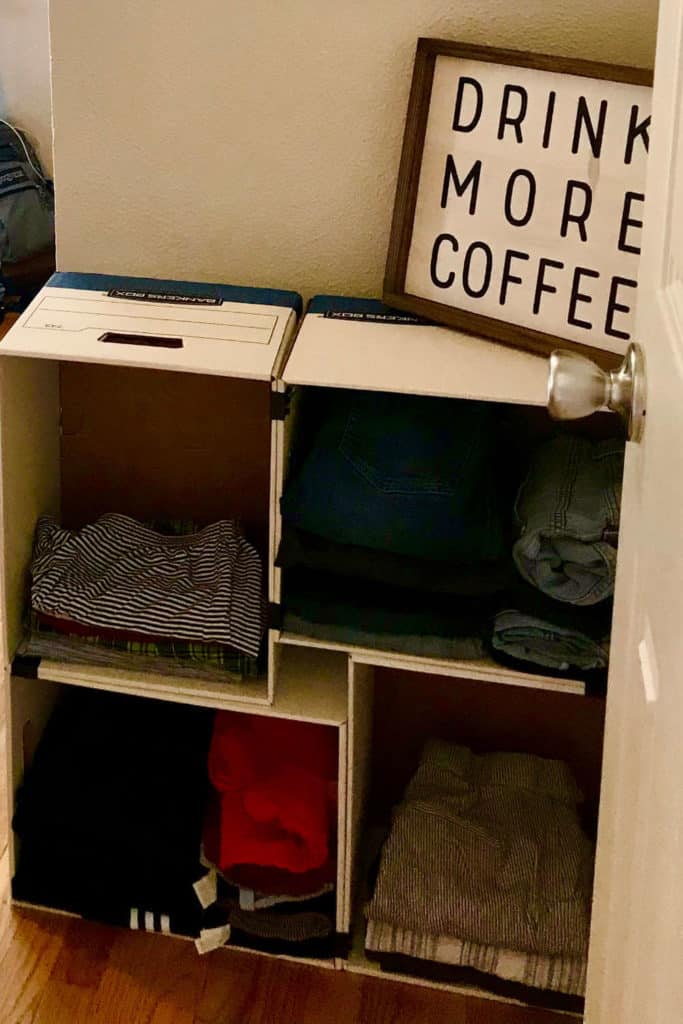
We don’t know the age of this chest of drawers but we do know that it is at least 50 years old, made of real wood with dovetail joinery, and has stood the test of time!
It’s worth it to learn how to refinish a chest of drawers and end up with a piece of furniture you can be proud of!

