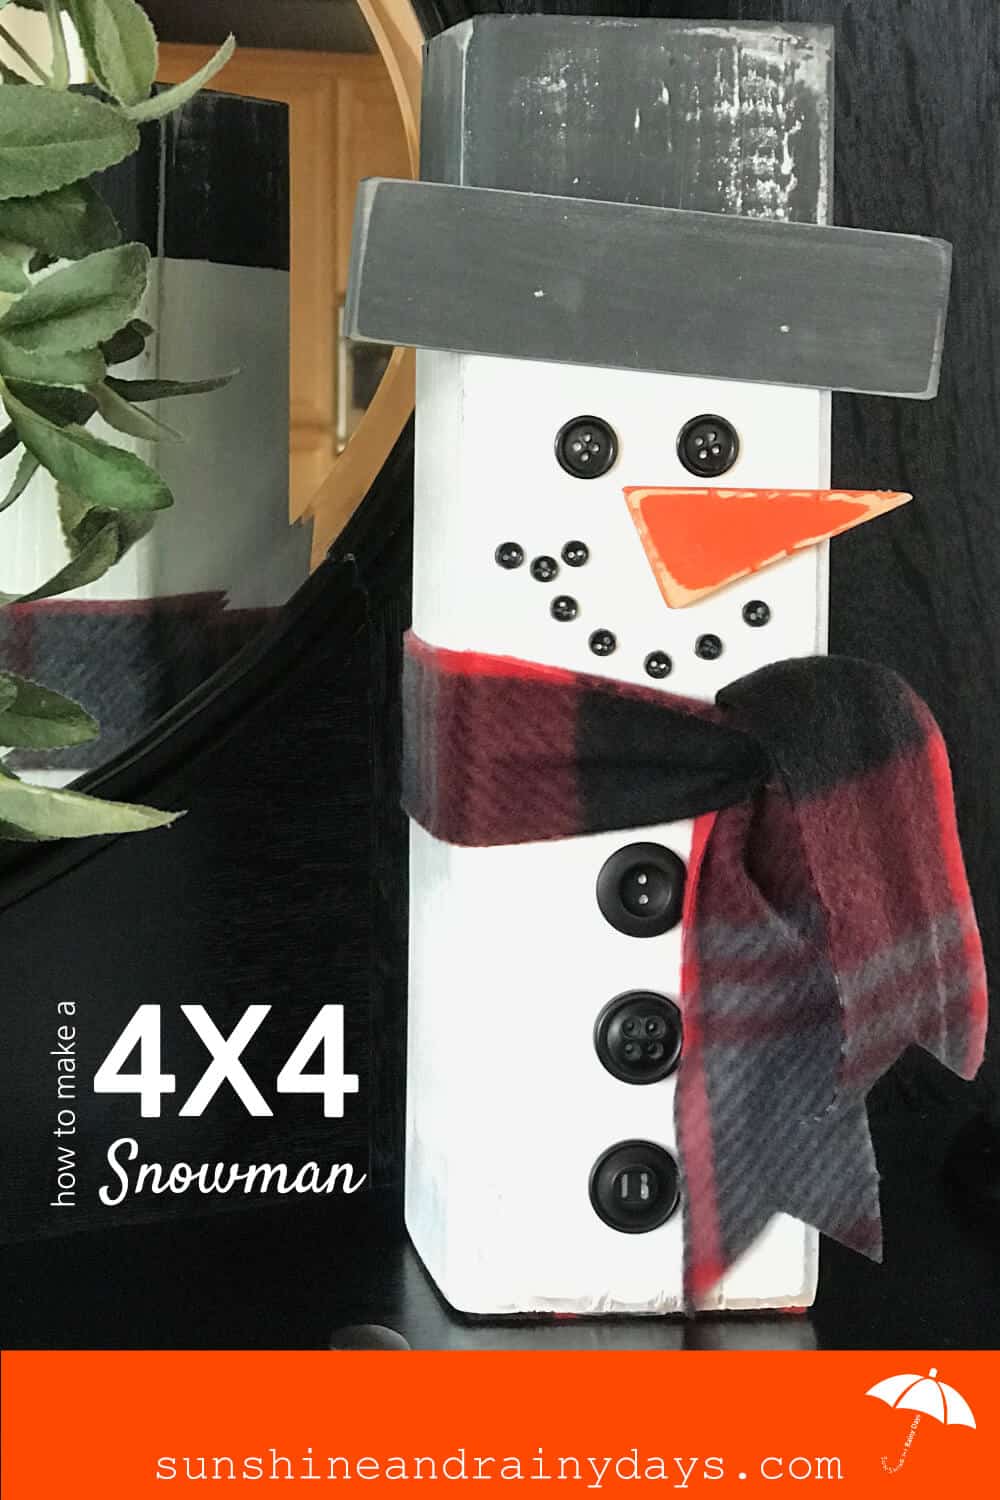
How To Make A 4 X 4 Snowman
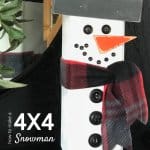
After making 4 X 4 Pumpkins, we had part of a 4 X 4 left and I set out to create a 4 X 4 Snowman! I was quite impressed with the results and suggested we make more for gifts. In an effort to make each Christmas a Cash Christmas (and Skip the Holiday Debt) we look for fun DIY Gift Ideas to make. My husband was on board and liked the idea too! After all, 4X4 Wood Crafts are fun to make, easy on the budget, and people like them!
4 X 4 Snowman Supplies
This post contains affiliate links. When you purchase through an affiliate link, we receive a small commission at no additional cost to you. Disclosure.
- 4 X 4 – Just your standard untreated 4 X 4 fence post. We used two 8′ 4 X 4’s and got seven Snowmen out of each one.
- 1/4″ X 1-1/2″ Poplar – This is for the Hat Brim and Noses. I found mine at Lowe’s.
- Chop Saw
- Finishing Nails – We used two nails on the Hat Brim. In hindsight, I would also use nails on the Carrot Nose.
- Sander – Makes the job go sooo much faster!
- 220 Sand Paper
- White Paint – I used Behr Marquee Semi-Gloss (Ultra Pure White)
- Black Paint – I used Rust-Oleum Chalked Ultra Matte Paint (Charcoal)
- Orange Paint – I used a Bright Orange paint. We had this leftover orange paint from painting our patio chairs but you could use craft paint!
- Paint Brushes – My favorite paintbrush is the Wooster Shortcut but any paintbrush will do for this project.
- Painters’ Tripods – You Guys! I just discovered these things and they make painting so much easier!
- Painter’s Tape
- Fleece – Cut into 2″ x 27″ strips for scarves and 3-1/4″ x 3-1/4″ for bottoms. We used a red plaid fleece purchased at Walmart.
- Black Buttons – We purchased a value package of black buttons for the eyes and buttons!
- Mini Black Buttons
- Glue Gun
How To Make 4 X 4 Snowmen
Note: This post is picture-heavy! I’m a visual learner and pictures help me immensely so I thought they might help you too!
1. Quick sand 4 X 4 with 220 grit sandpaper
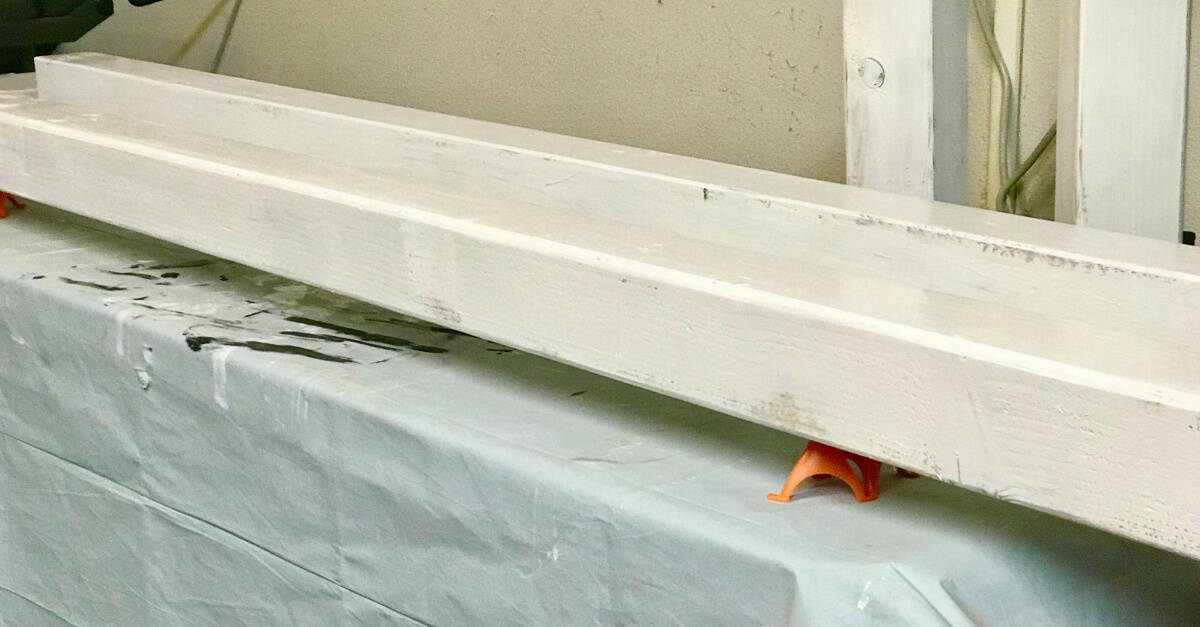
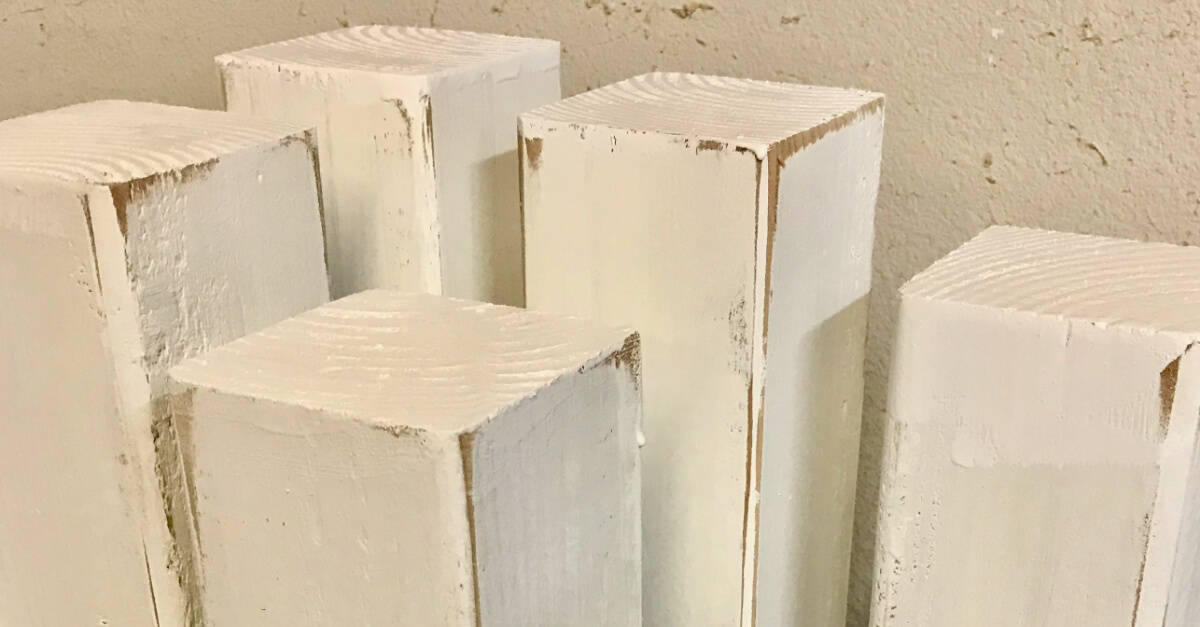
2. Paint 4 X 4 with semi-gloss white paint
I used Painters’ Tripods. As you can see, I wasn’t too worried about full coverage as I like the wood to show through!
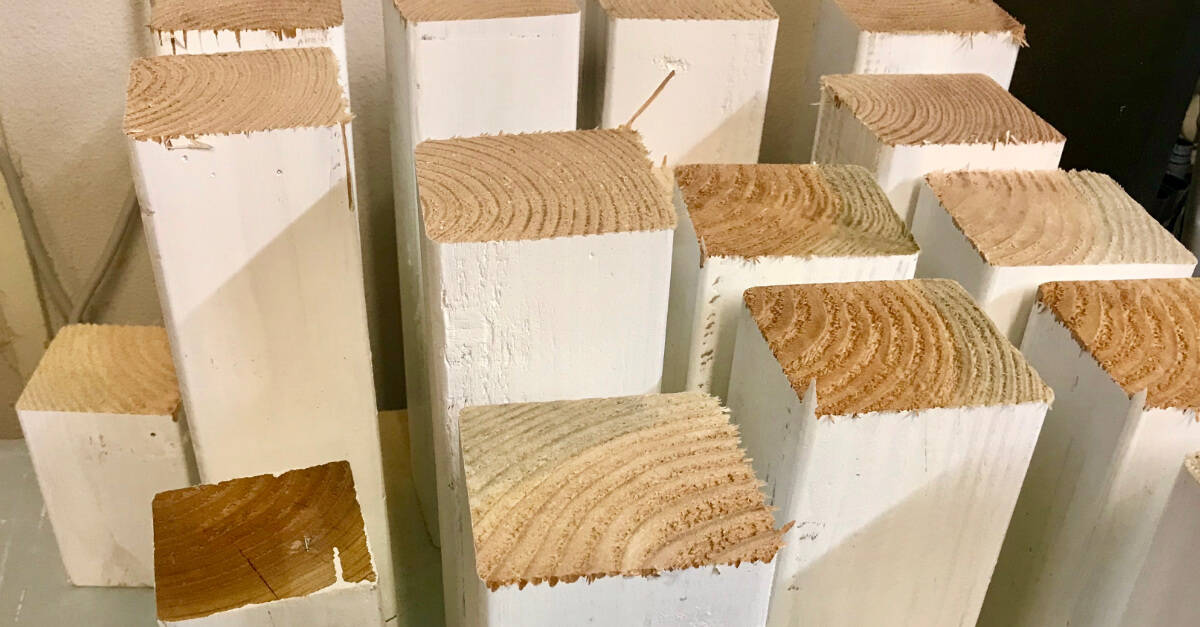
3. Cut Your 4 X 4 Using A Chop Saw
We weren’t particular about our Snowmen being the same size and eyeballed it. They are approximately 13″ – 15″ with a few shorter end pieces we made without hats.
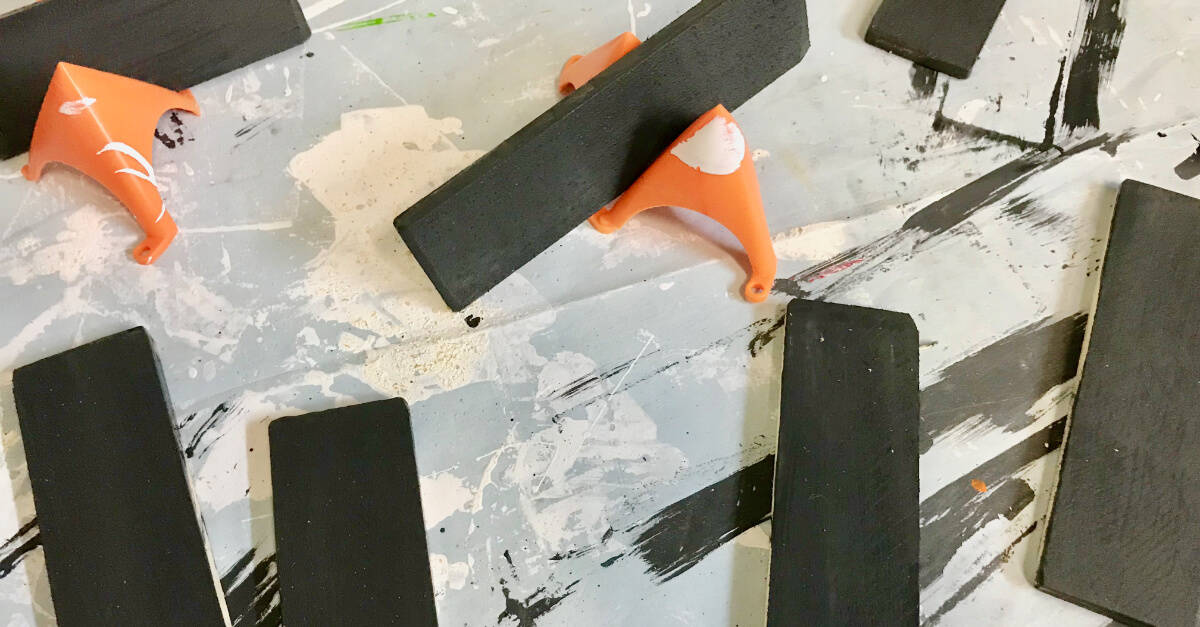
4. Cut Hat Brims
We used 1/4″ X 1-1/2″ Poplar. You may have scrap wood that would work just fine. Our Hat Brims are approximately 5-1/2″ long.
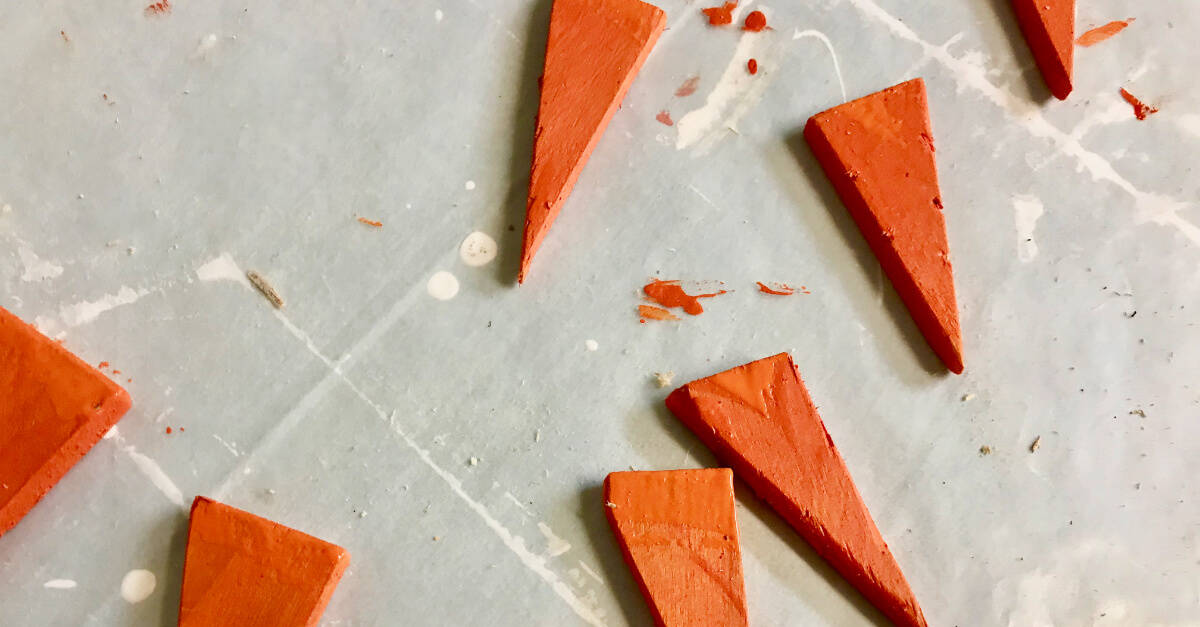
5. Cut Noses
We used 1/4″ X 1-1/2″ Poplar. My husband cut triangles and used the hammer to make little carrot creases.
6. Sand ends and edges of Snowmen
7. Sand Hat Brims and Noses
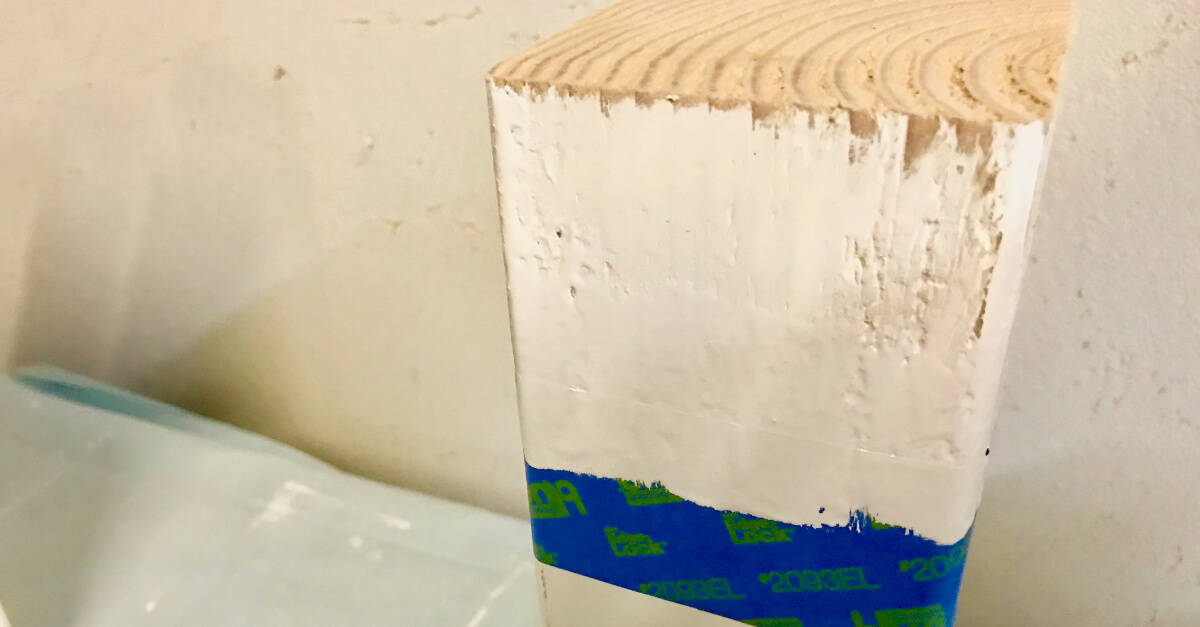
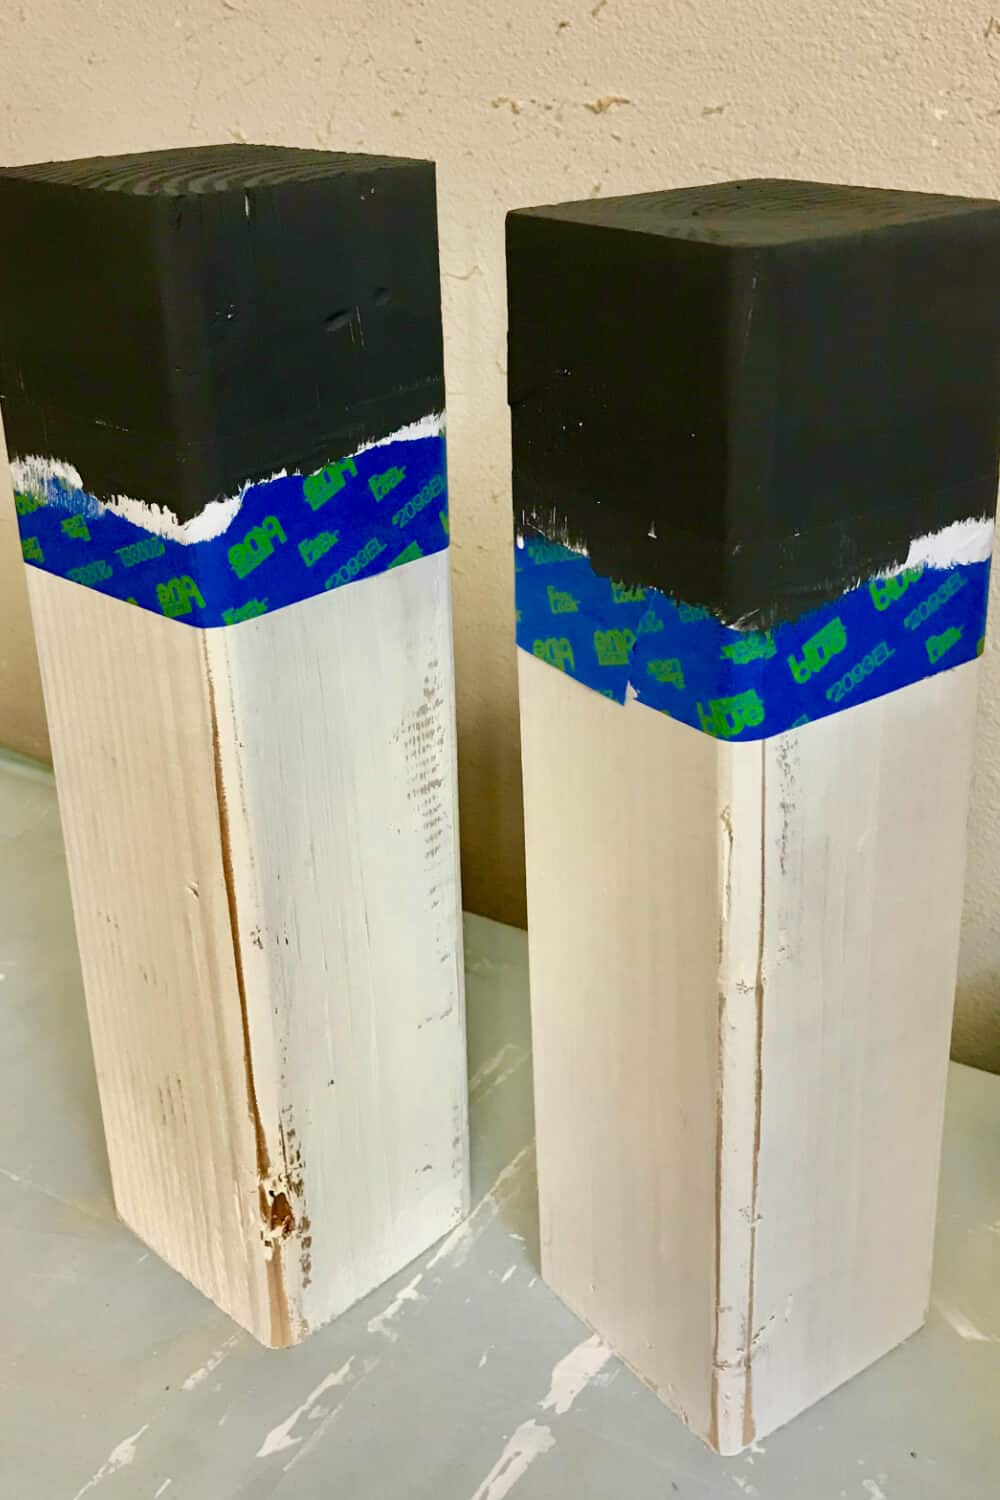
8. Tape off the top to paint the Snowman’s Hat using Painter’s Tape
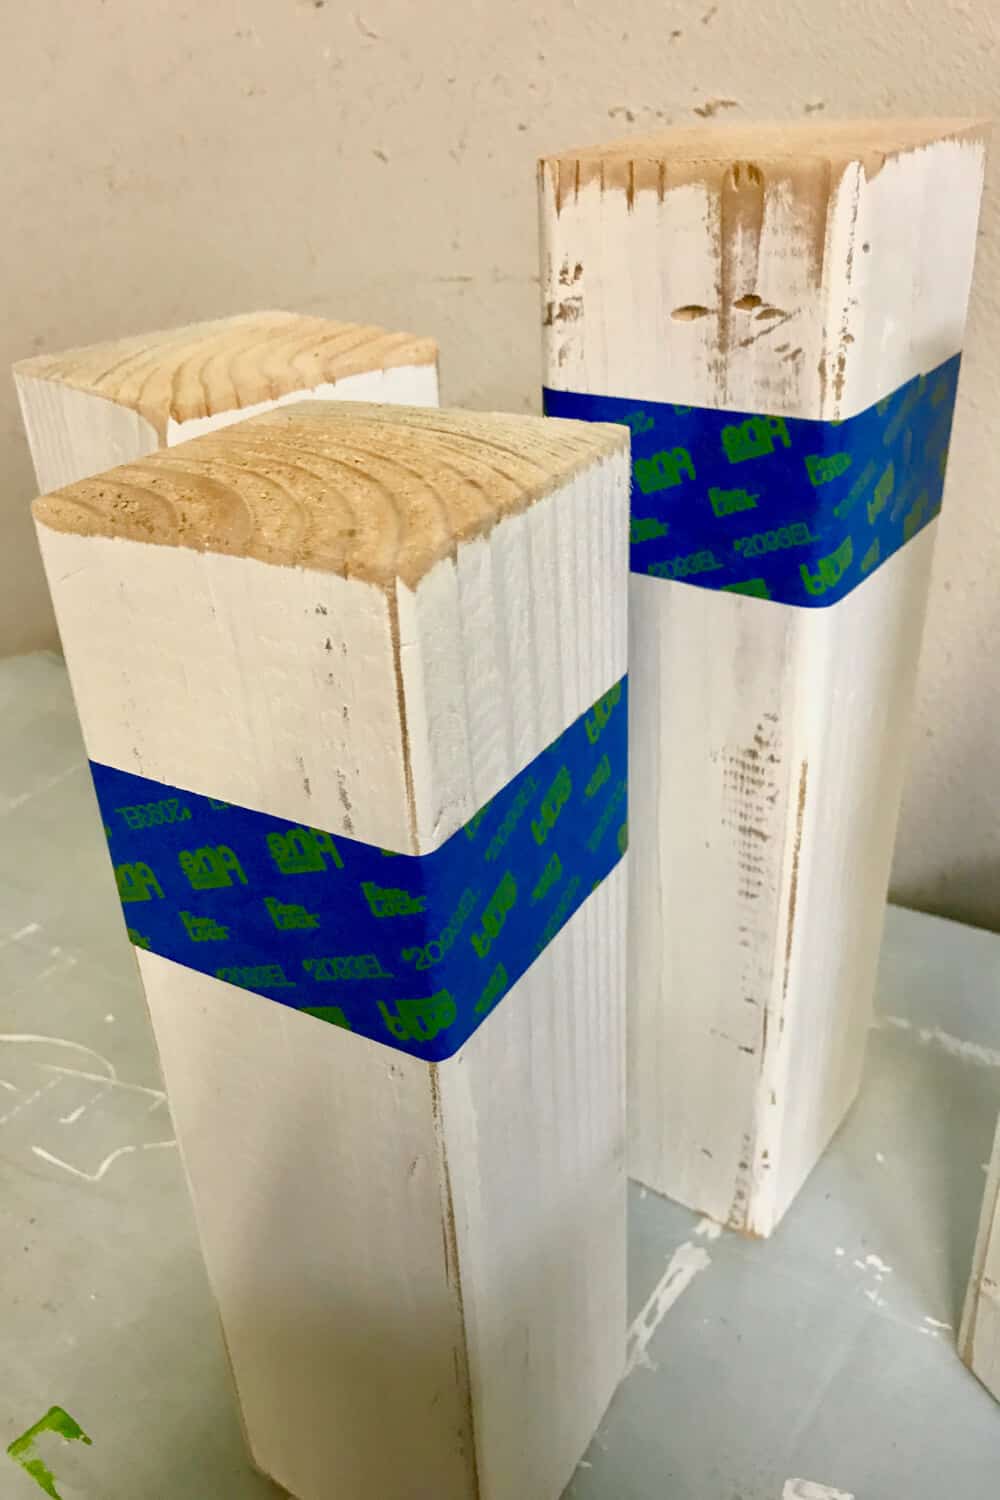
For a crisp line, paint the edge of the hat with your semi-gloss white paint to seal the tape.
9. Paint the bottoms of the Snowmen
10. Paint Black Hats
11. Paint Hat Brims
12. Paint Carrot Noses
13. Sand Everything
We gave our Carrot Noses, Hat Brims, and 4 X 4 Pieces a finish sand to bring out the wood and make them look rustic! Then, we wiped a homemade wood stain over the wood pieces for a super cool rustic look!
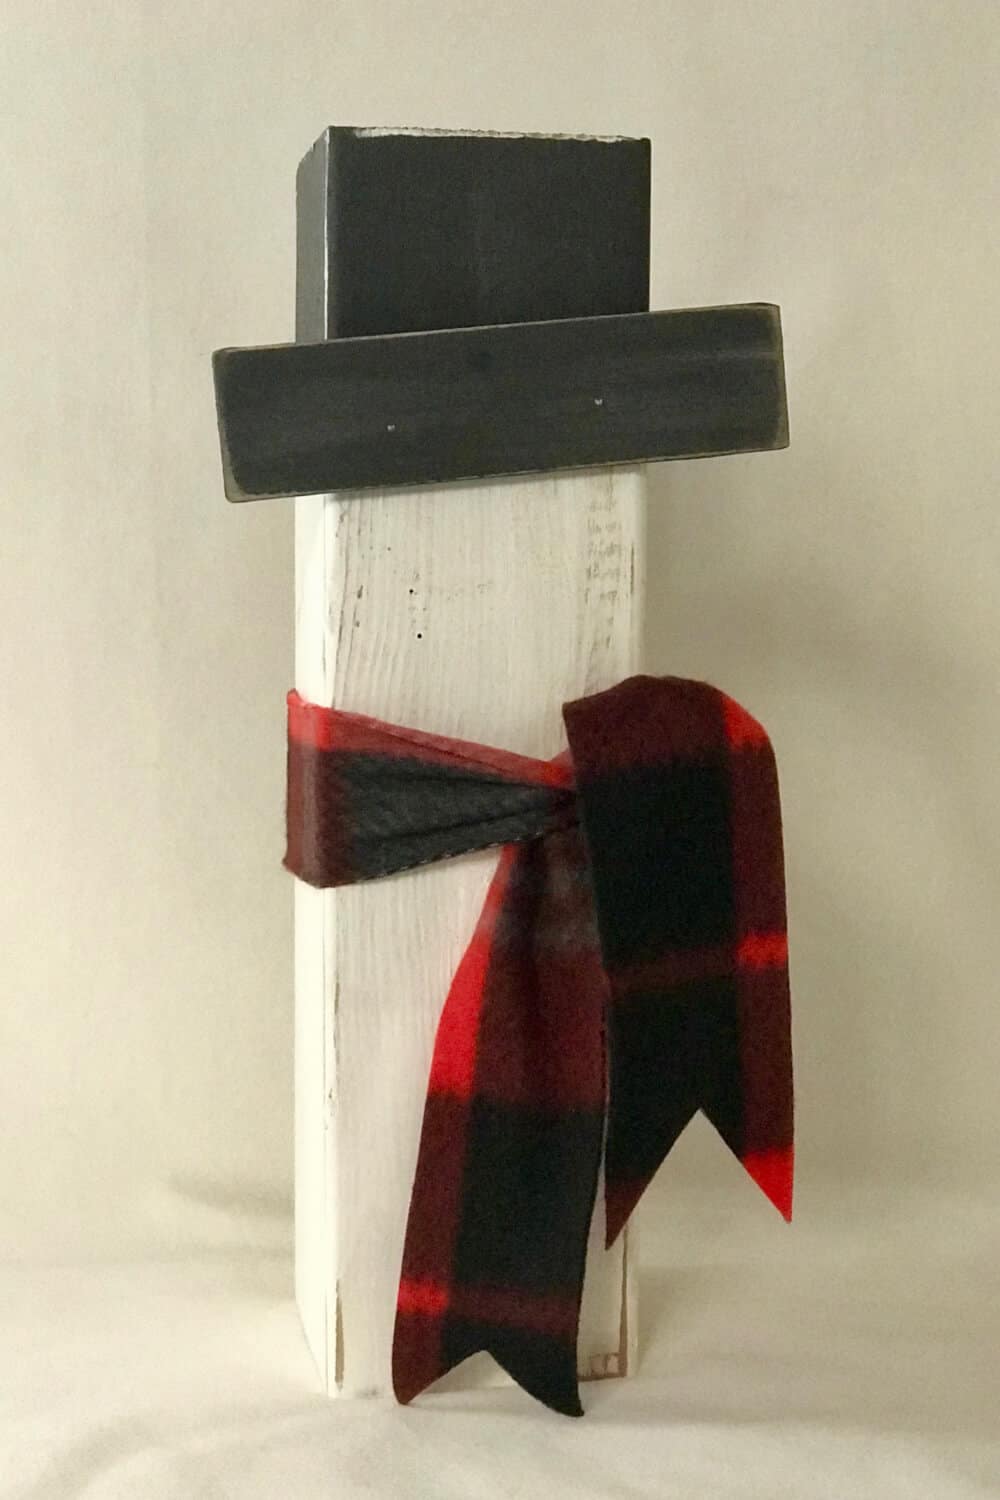
14. Adhere Hat Brim
We used a nail gun and two nails but it would be easy enough to hammer two nails!
15. Tie the Fleece Scarf around 4 X 4 and cut the Decorative Ends
Our Fleece Scarves were 2″ X 27″. I like to use a cutting mat to make cutting fabric super simple!
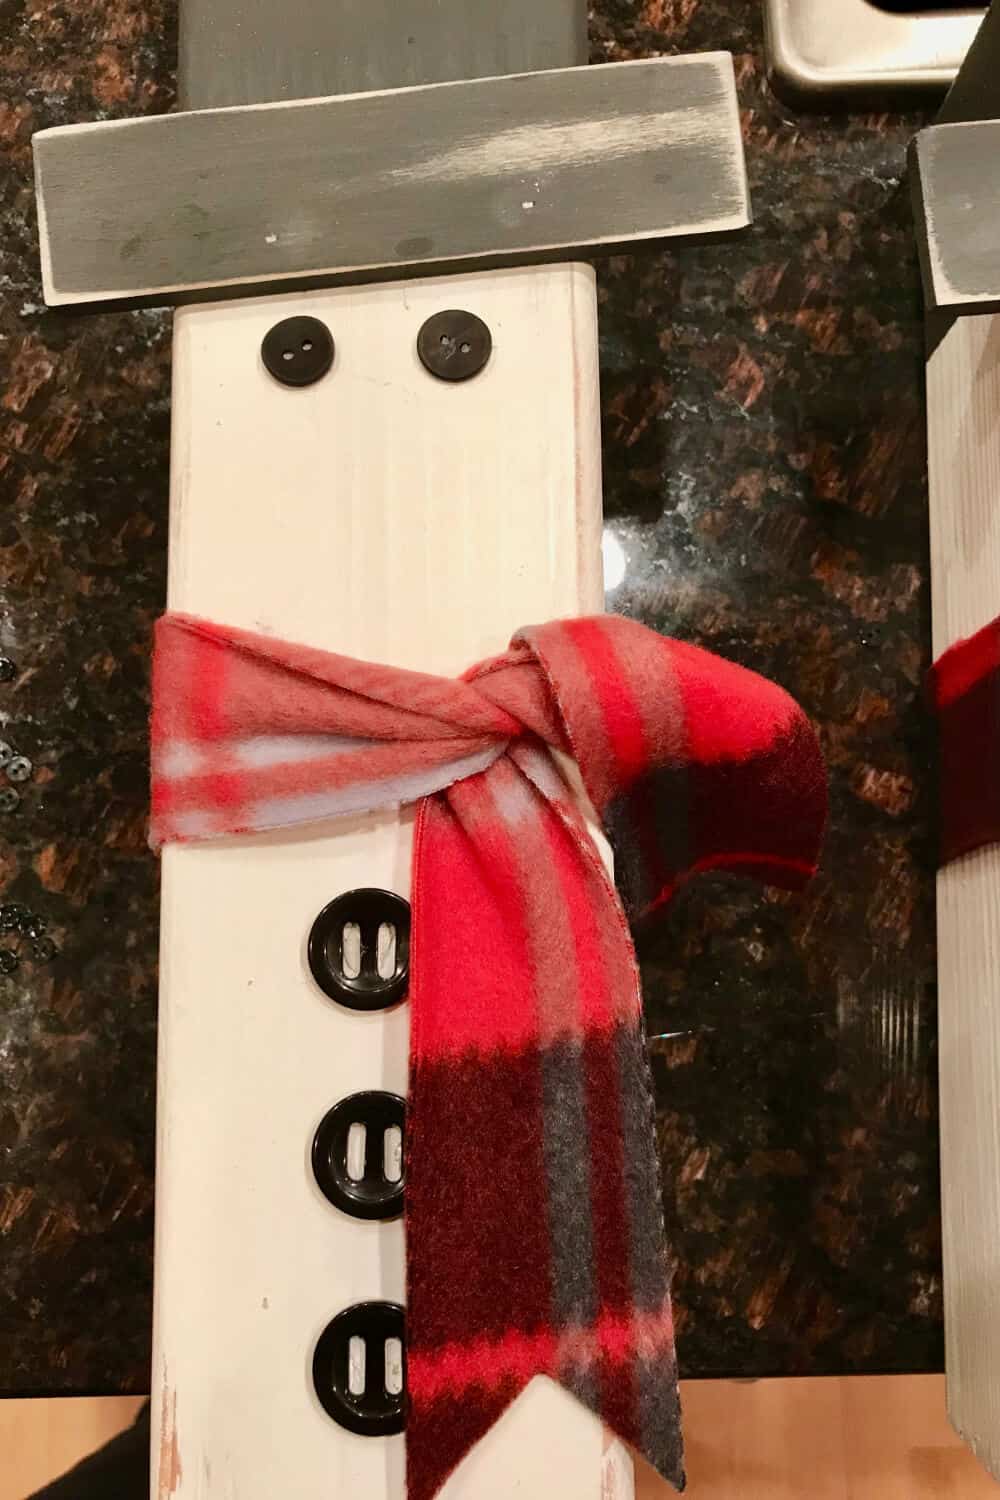
16. Glue two medium buttons on for eyes using a Glue Gun
17. Glue three large buttons down the front
18. Adhere Carrot Nose with glue gun or two nails
In hindsight, I would nail the Carrot Noses on as a few fell off during transportation.
19. Glue mini buttons on for Smile
We used either five black buttons or eight buttons for a crooked smile.
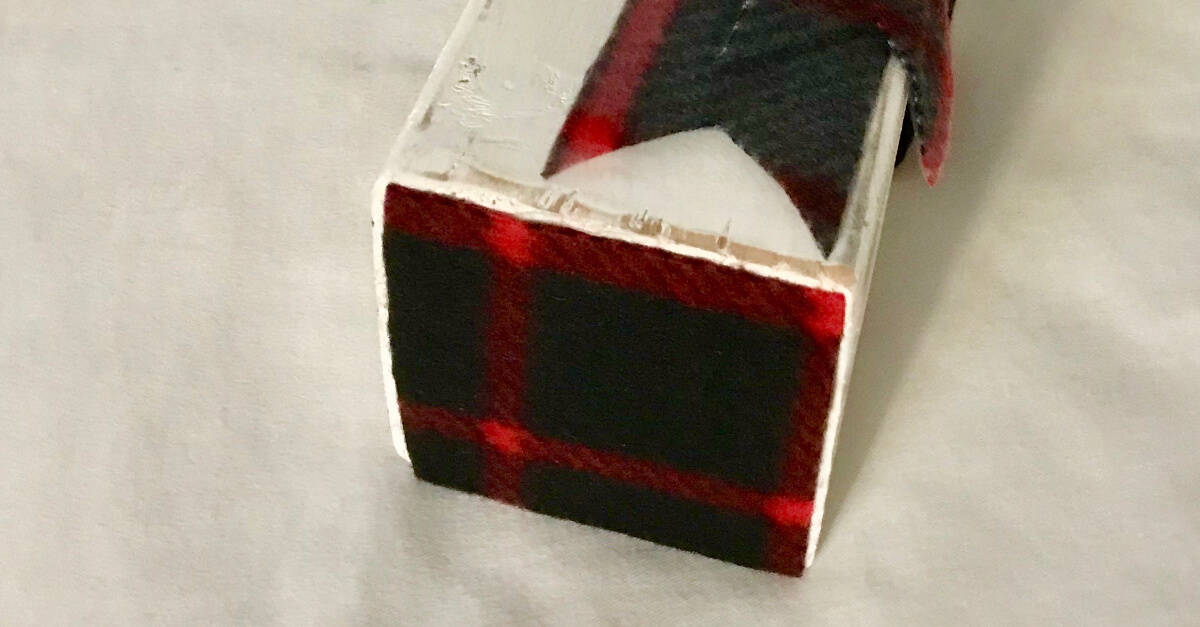
20. Glue Fleece onto the bottom of the 4 X 4 Snowman
We added this step as a furniture protection measure. It gave our snowmen a nice finishing touch!
This was a super fun project and we love the result!
You never know if others will appreciate homemade decorative gifts but I think these 4 X 4 Snowmen are pretty cool!