How To Paint A Kitchen Table | DIY
Learn how to paint a kitchen table in order to give your old table a new look!
My daughter and her roommates lived in a small house close to their college. It was so small that they didn’t even bother with a kitchen table. Instead, they ate their meals sitting on the couch. After living in that house for a year, the landlord decided to sell the house because the market had skyrocketed. That sent them scrambling to find a new place, right before their senior year of college.
Thankfully, they were able to rent a home that was nicer than the last and had room for a kitchen table! They planned to purchase an inexpensive table from IKEA or Amazon. Then, I happened to see a FREE kitchen table posted in my local Buy Nothing group on Facebook. I sent a picture of the free table to Justine and asked if she and her roommates would want it. After quickly checking with her roommates, Justine said yes, they wanted the table. By this time, someone else had shown interest in the table but I added a comment saying I knew a few college students who would appreciate the table if the other person decided against it. Right away, I got a message from the table gifter saying the table was still available.
If you’ve ever gifted or accepted a gift on a Buy Nothing group, you know that people gifting usually want to get rid of their gift, yesterday. I asked the gifter if she would like us to pick it up now or the next day. She said now was best for them. Although my husband prefers to sit in his recliner from 8:00 – 10:00 PM every night, we hopped in his truck and picked the table up at 9:00 PM. Thankfully, the gifter lived nearby! The table was solid wood and the perfect size. It was a good get!
We often gift items in our local Buy Nothing group since it’s a great way to get rid of stuff fast that we no longer want but this was the first time we received a gift!
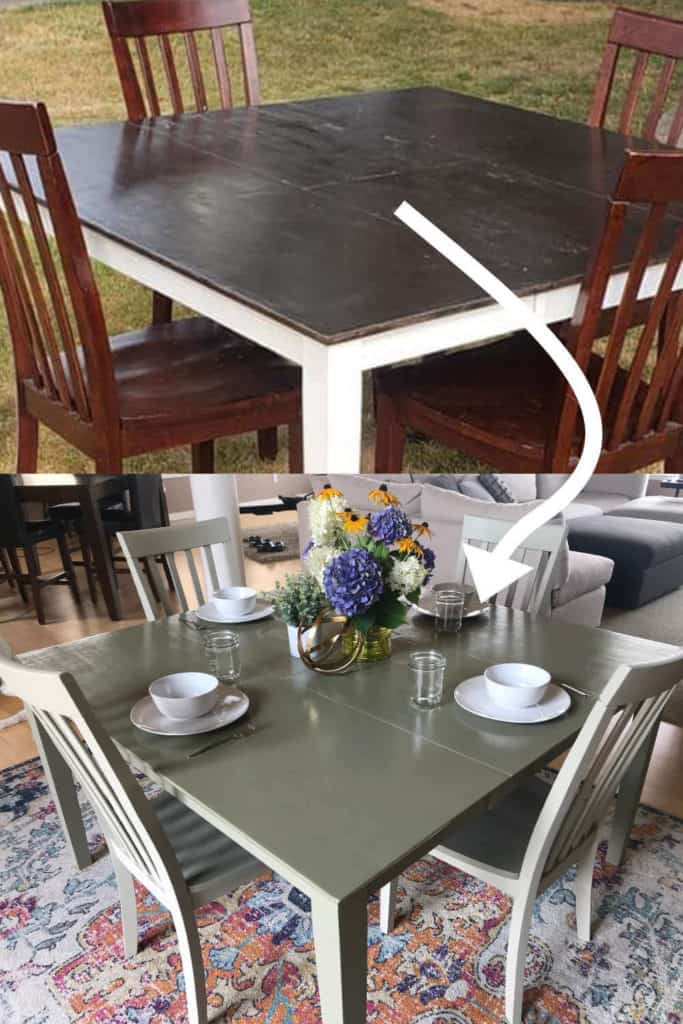
A few days later, Justine and one of her roommates came home to visit and refinished the table!
Supplies Needed To Paint A Kitchen Table
This post contains affiliate links. When you purchase through an affiliate link, we receive a small commission at no additional cost to you. Disclosure.
There are many different types and brands of paint to choose from. For this table, we used Fusion Mineral Paint that we had left from refinishing a chest of drawers. We have really liked working with Fusion Mineral Paint!
- Krud Kutter Gloss-Off
- Lint Free Rags – I cut up an old T-Shirt!
- Plastic Wood-X – If you have dents or scrapes you’d like to fill in, on your table.
- Sander/Sand Paper
- Kilz 2 All Purpose Primer – Optional. Our table had a fragrant smell that we wanted to cover and primer did the trick!
- Fusion Mineral Paint – Lichen
- Fusion Mineral Paint – Bedford
- Plastic Cups – We used plastic cups to put the paint in so we didn’t contaminate the jar of paint by dipping paint brushes in it.
- Paint Brushes – Wooster Shortcut Paint Brushes are our favorite!
- Small Foam Paint Roller and Tray
- Drop Cloth
- Minwax Wipe-On Poly – Clear Gloss – BUT WAIT! There may be a better option … read below!
How much does it cost to paint a table?
If you don’t have any kind of paint supplies and want to use a sander (instead of sanding by hand), it will cost you around $175 to purchase the things you need to paint a table with the same paint and materials that we used.
BUT … you probably already have a lot of the supplies you’ll need, on hand! Since we chose to use paint we used for a previous project, our only cost was for a quart of primer, which was around $10.
How To Paint A Kitchen Table
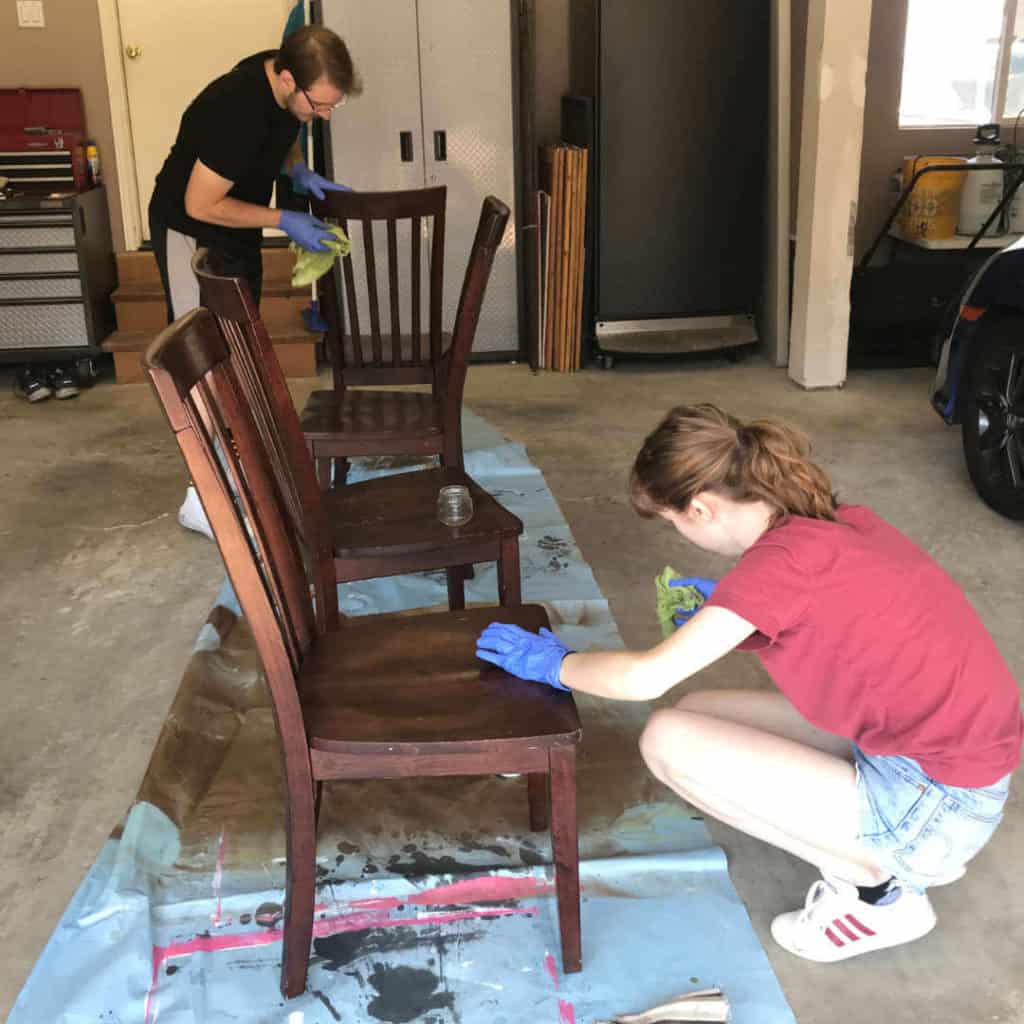
1) Use Krud Kutter Gloss-Off, with a lint-free rag, to remove the sheen from your table and chairs.
We used Krud Kutter Gloss-Off to clean and remove the shine from the kitchen table and chairs. Of course, we used gloves to protect our hands and had the garage door open for airflow. It really didn’t smell much though.
If you have dents and scratches you’d like to fill in with Plastic Wood, this would be the time to do it. We chose not to simply because we were fast-tracking this project and didn’t want to wait for the Plastic Wood to dry. Plus, this table and chairs didn’t have any bad spots that couldn’t be handled with a light sanding.
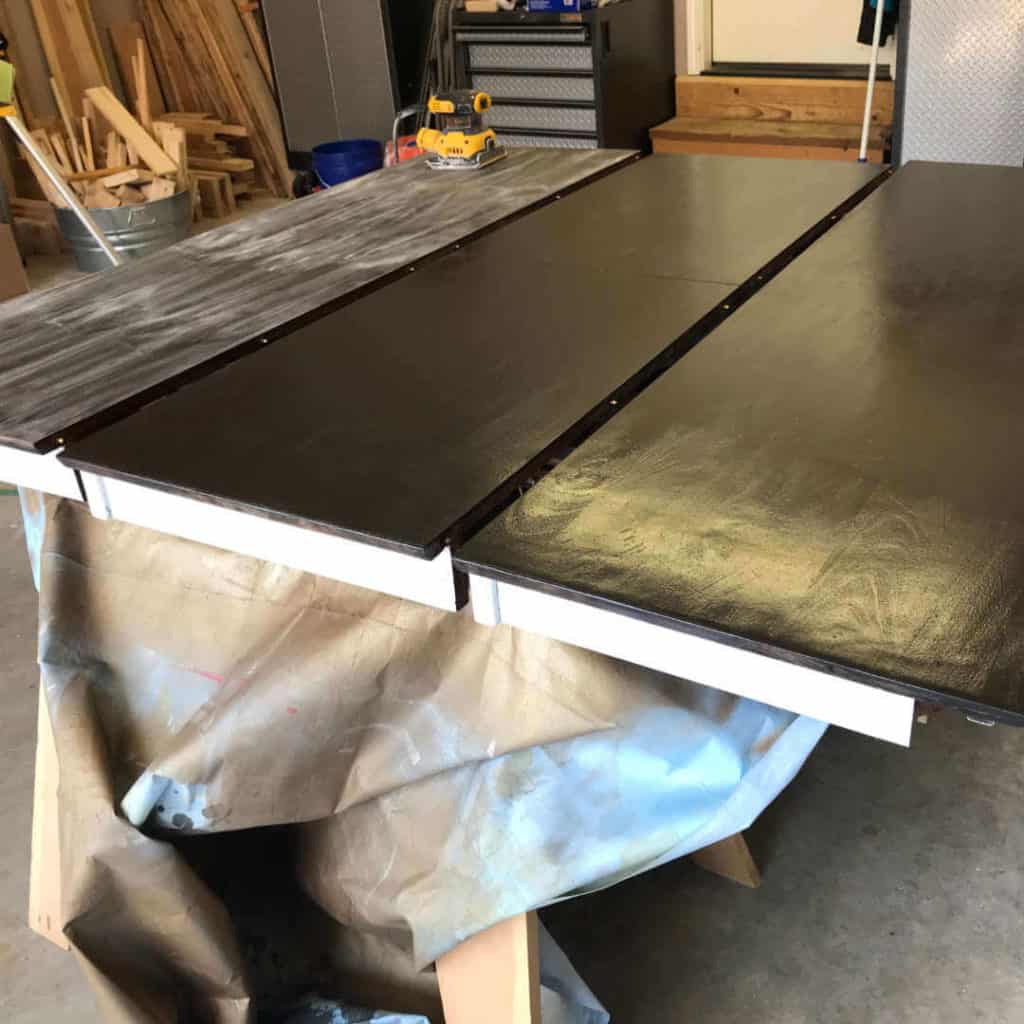
2) Give your table and chairs a quick sand, where needed.
It isn’t necessary to sand your table before using Fusion Mineral Paint but we decided to do a quick sand, using 220 grit sandpaper. We wanted to rough up the tabletop so it would easily accept primer. The chair seats had a few scratches that we sanded a bit but we didn’t bother sanding the other parts of the chairs unless there was damage.
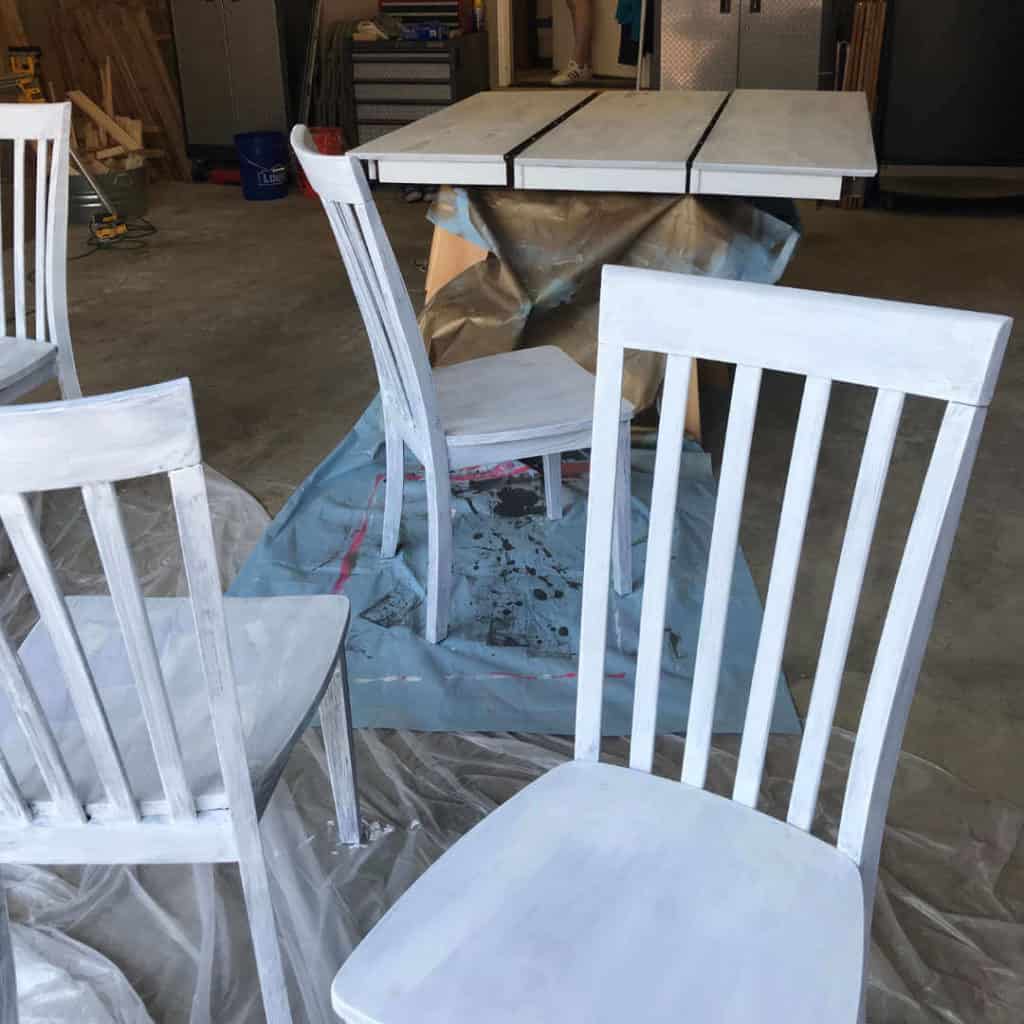
3) Prime the table and chairs, if needed.
We probably wouldn’t have bothered to prime this table and chairs but it had a pretty strong fragrant/cologne smell that we wanted to seal in. The primer did the trick!
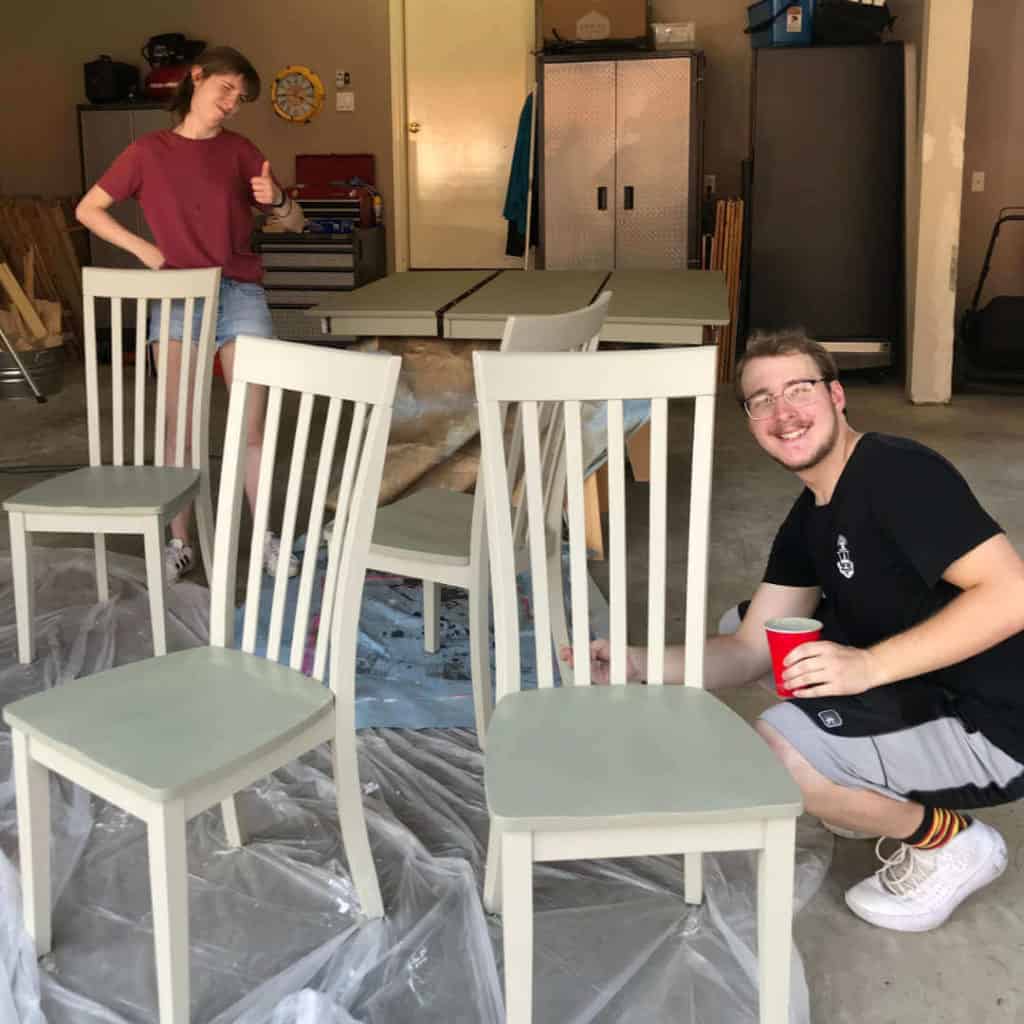
4) Paint!
After the primer dried, these two college roommates came up with a plan on how they wanted to use the paint we had on hand. They ended up choosing to paint the chair seats and table the darker color and the legs and backs of the chairs the lighter color. We used paintbrushes for the lighter color and Justine used a small foam roller for the tabletop and chair seats
5) After the first coat is dry, paint a second coat.
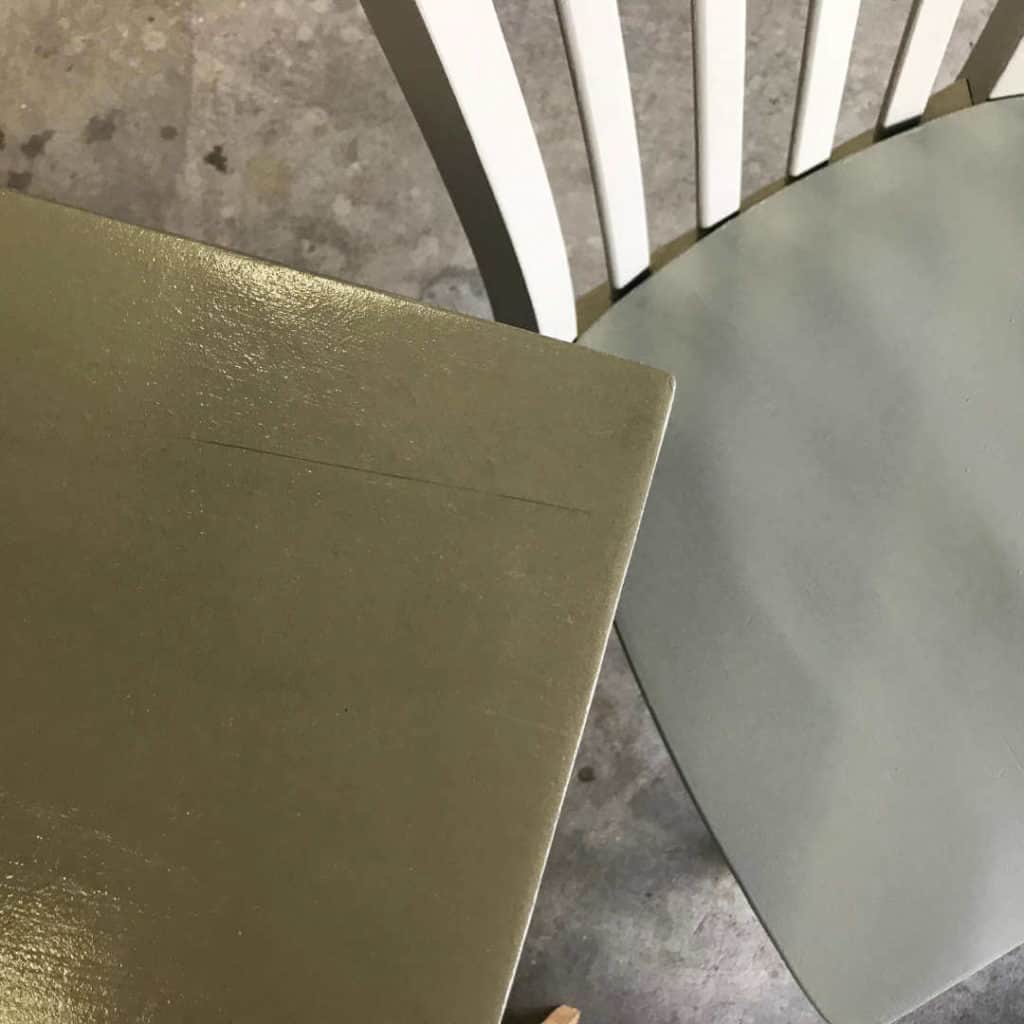
6) Put a finish on the tabletop.
Fusion Mineral Paint doesn’t require a topcoat but for things like a tabletop, it’s probably a good idea. We happened to have Minwax Wipe-On Poly, on hand, and used three coats, as suggested. However, as you can see, it totally changed the color of the tabletop. The color isn’t bad (I actually like it) … it just no longer matches the chair seats. The roommates were okay with it but it was a good experience to know to try something different next time.
If we were to paint a table again, I would try either Fusion Mineral Paint Stain And Finishing Oil Natural Finish or Varathane Water-Based Ultimate Polyurethane Satin Finish.
Once the table was set up, it was barely noticeable that the tabletop and chair seats were a different color!

7) Enjoy your refinished table and chairs!
We set the table up, staged it, and even had the college roommates pose for a few pictures before loading it up in Justine’s CRV for the trip back to their college house.
They are excited to have a table to sit at for meals, along with their third roommate!
There’s no need to buy new when you can give an old table a new look with a little elbow grease and paint!
Thank you to those of you who gift items in Buy Nothing groups! It’s a great way to bring new life to things you no longer need but others have a use for!

