How to Make a Duck Tape Pouch with a Zipper
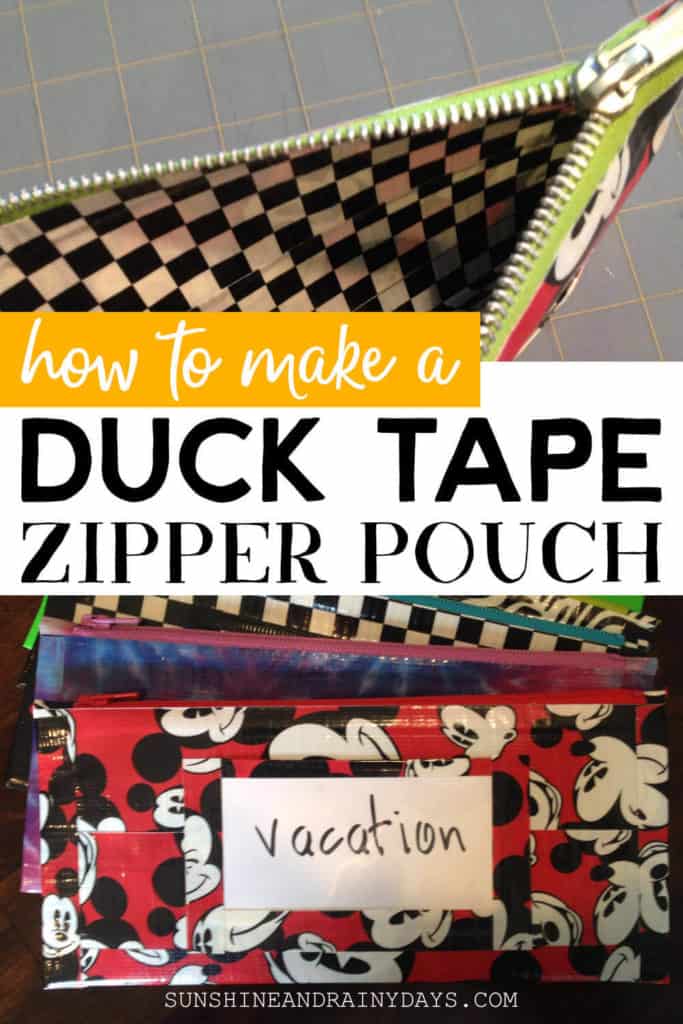
We were ready for a Fresh Start with Finances and the envelope system we’ve heard so much about, from Dave Ramsey, was calling our name. We needed something more than just plain envelopes though. Something colorful, exciting, new, and different! I opened the craft cupboard and there it was, Duck Tape left over from creating Duck Tape wallets! Challenge accepted! I had fun creating a Duck Tape pouch with a zipper. So much fun, in fact, that I made seven Duck Tape pouches! They are just the perfect size for money!
This post contains affiliate links. When you purchase through an affiliate link, we receive a small commission at no additional cost to you. Disclosure.
How To Make A Duck Tape Pouch With A Zipper
I’ve been getting a lot of use out of my Fiskars 24X36 inch Self Healing Rotary Cutting Mat lately. It is perfect for this job!
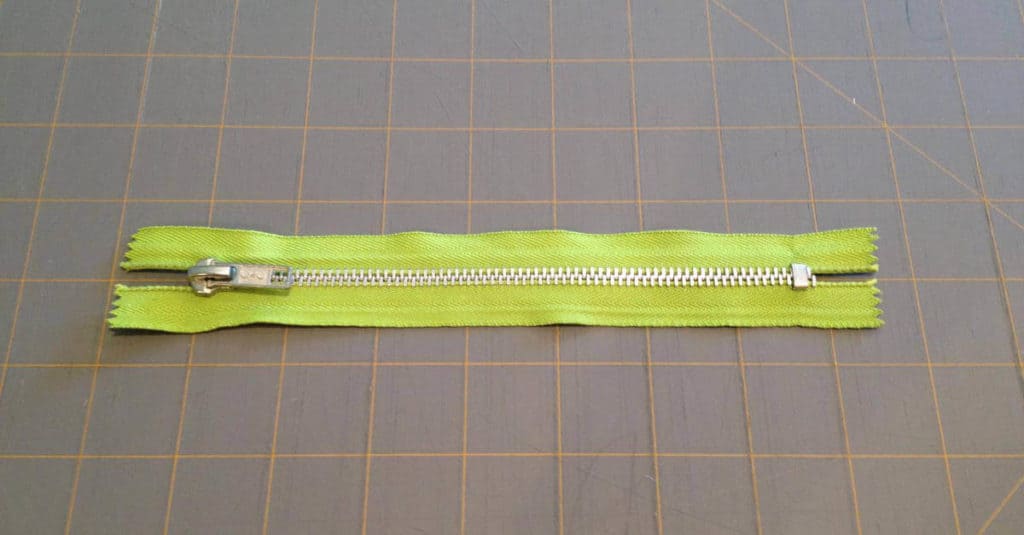
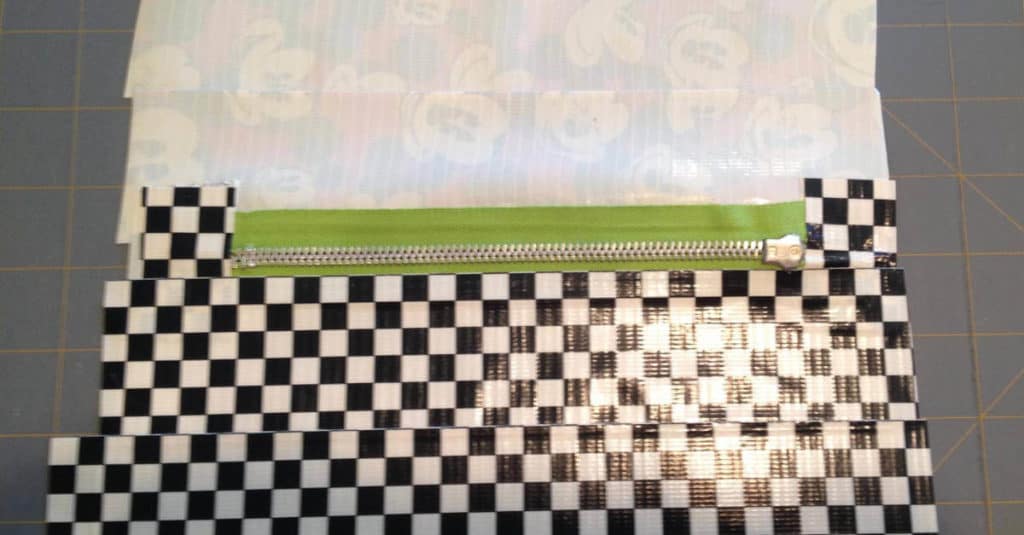
- Place a 7 inch zipper right side up, with zipper pull on the left side. Line the center of the zipper on a cutting mat line.
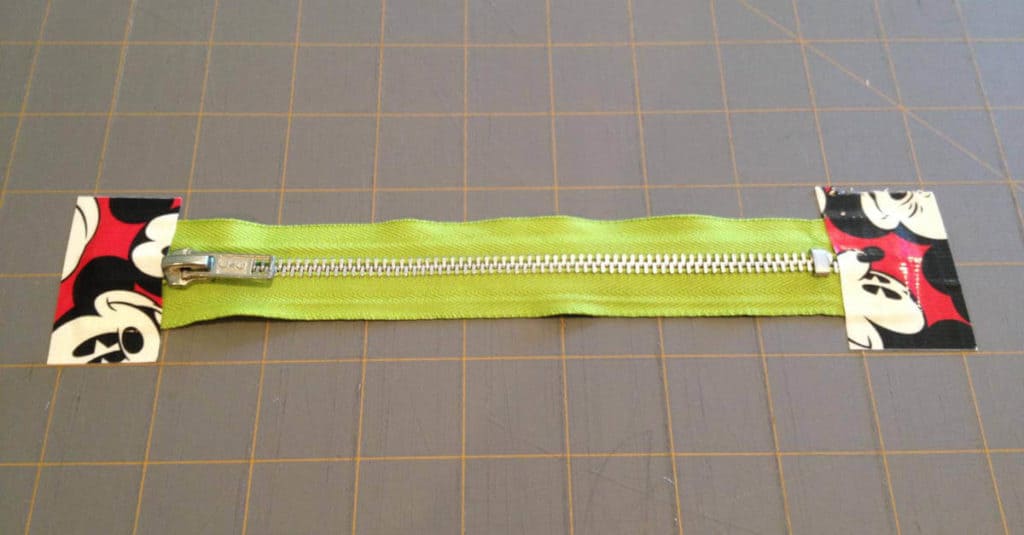
2. Use decorative Duck tape (I used Mickey Mouse from Hobby Lobby but you can also purchase it here) and cut two one inch lengths to reinforce the ends of the zipper.
3. Place a 9 inch piece of Duck tape over the edge of the zipper and reinforcement tape.
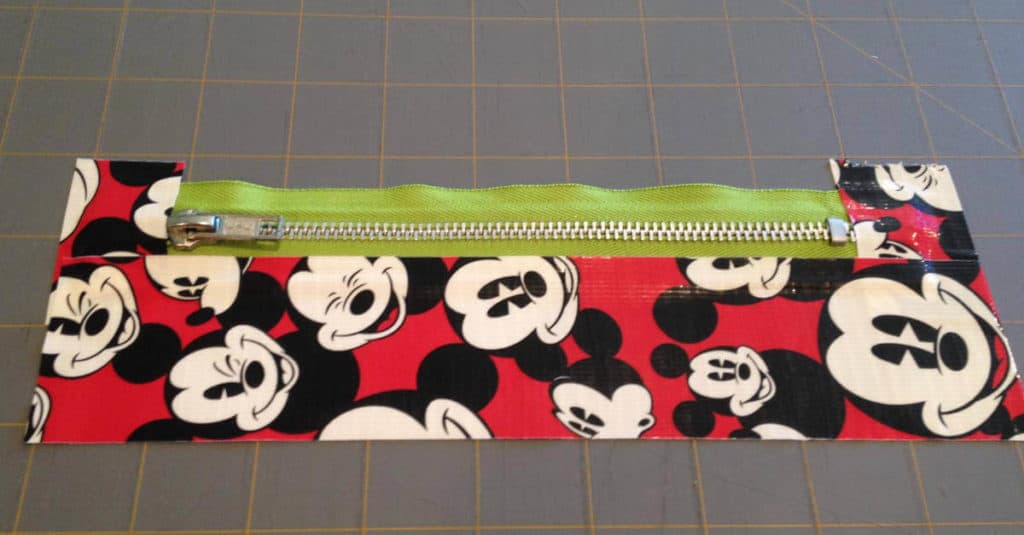
4. Overlap another piece on the 4 inch line.
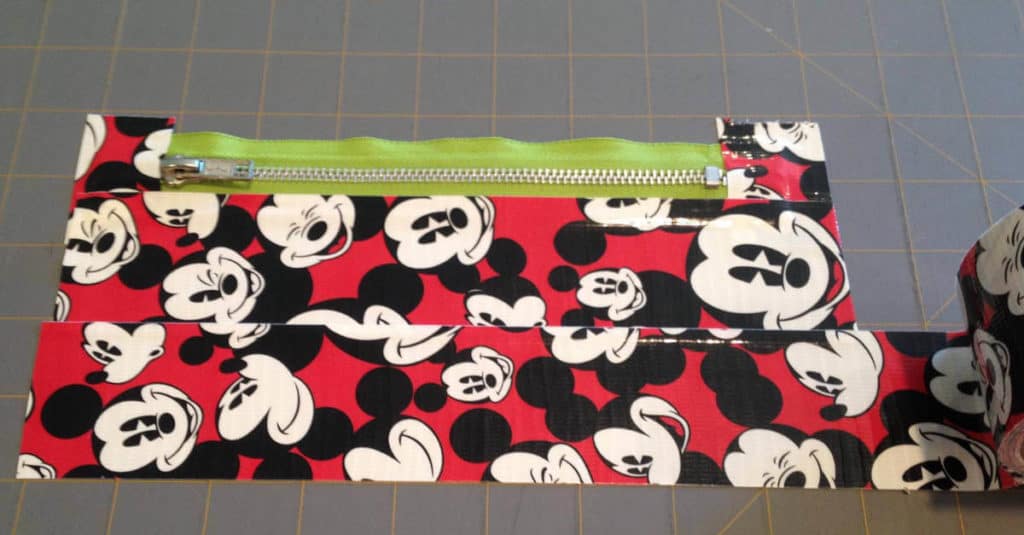
5. Repeat on the other side of the zipper.
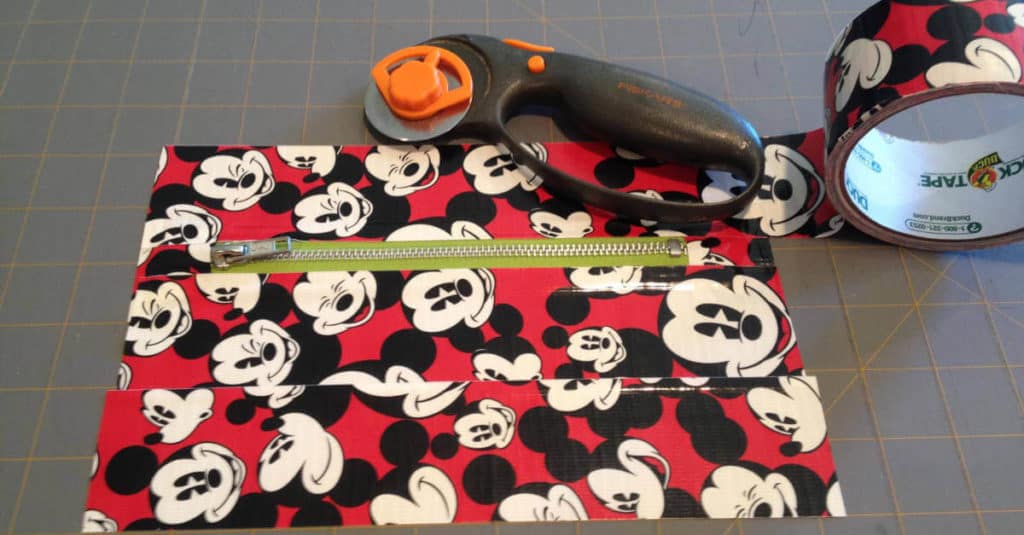
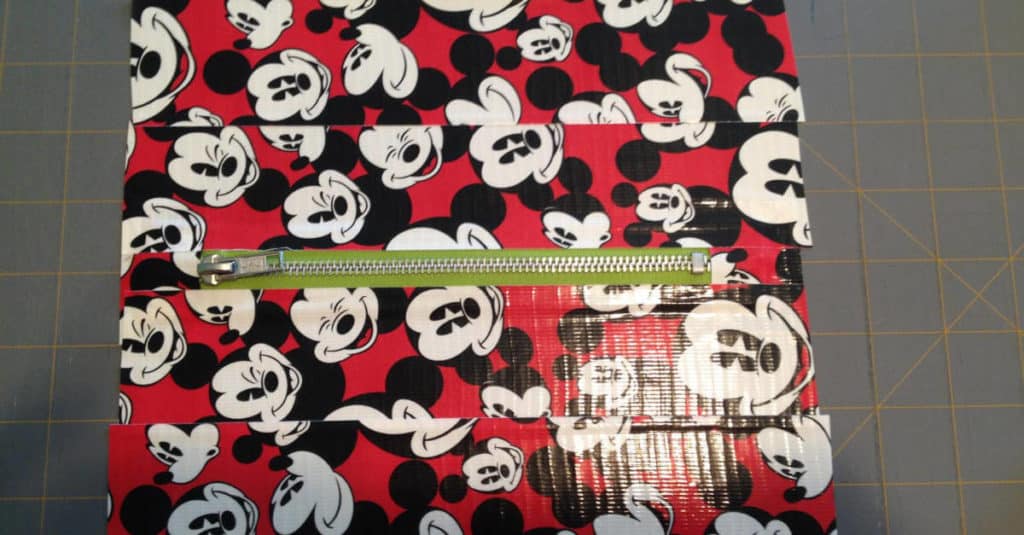
6. Flip your work over and repeat the same steps on the opposite side, overlapping tape.
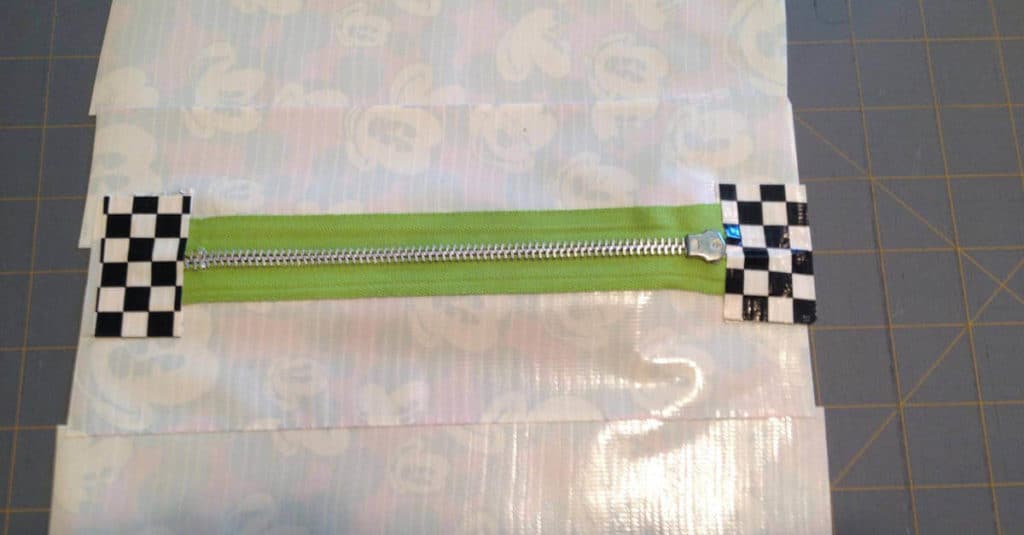
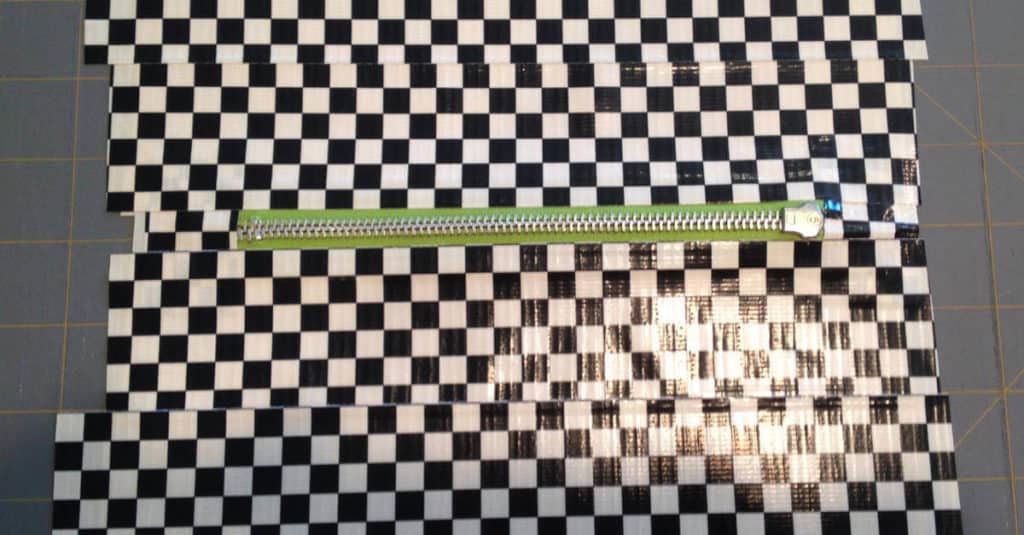
You have now created Duck tape material!
7. Flip back to the front side and trim the sides to eight inches, using an acrylic ruler and rotary cutter.
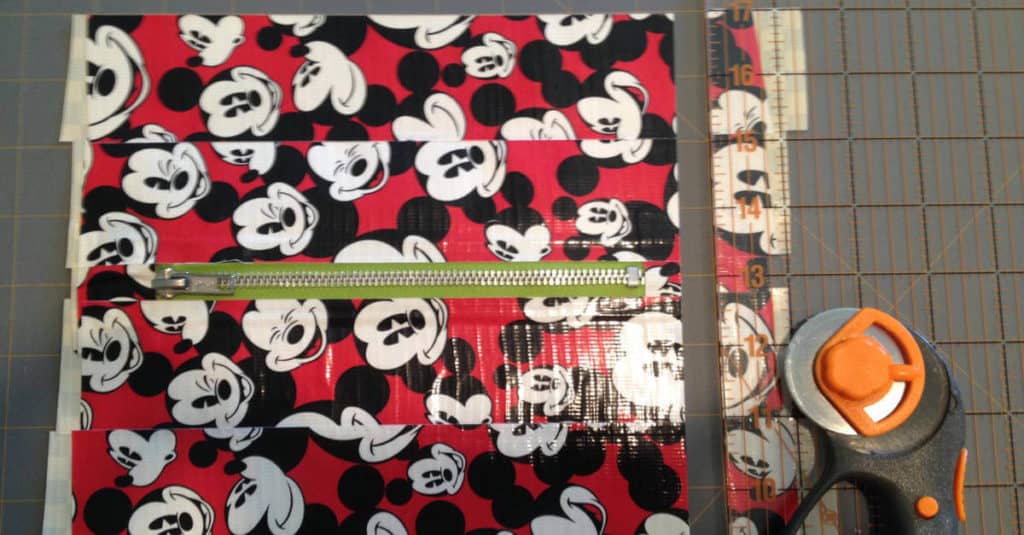
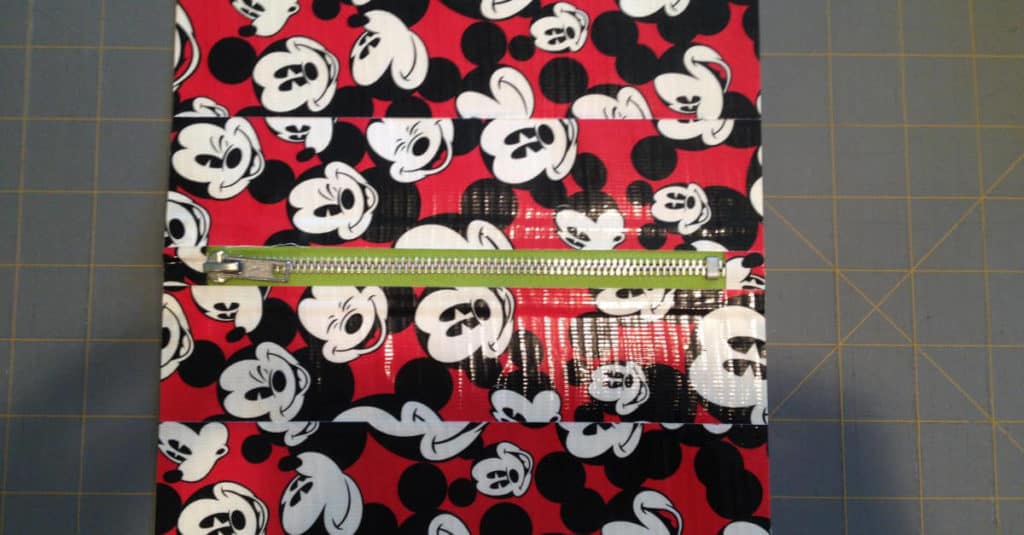
8. Fold in half at the zipper and trim the bottom edge to 4 inches (if needed).
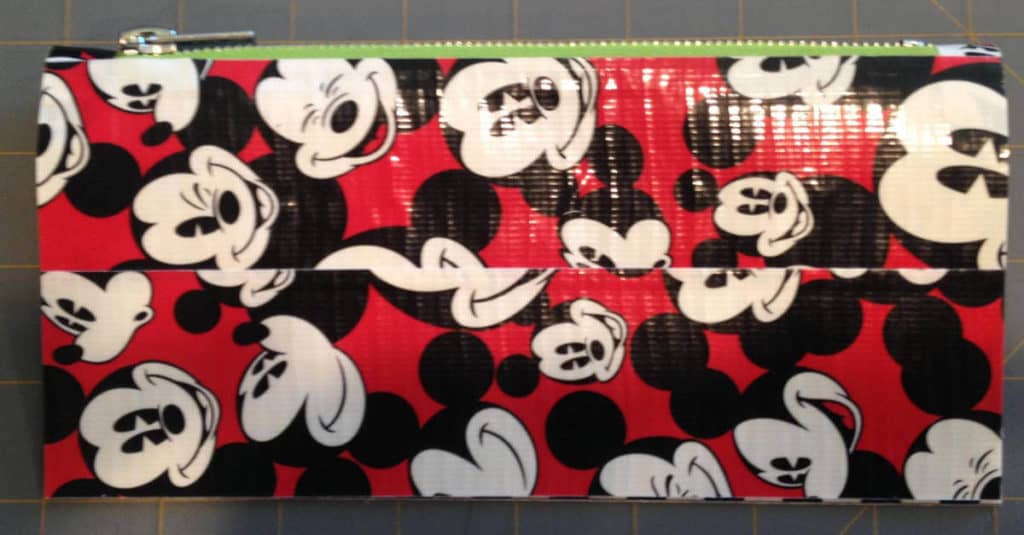
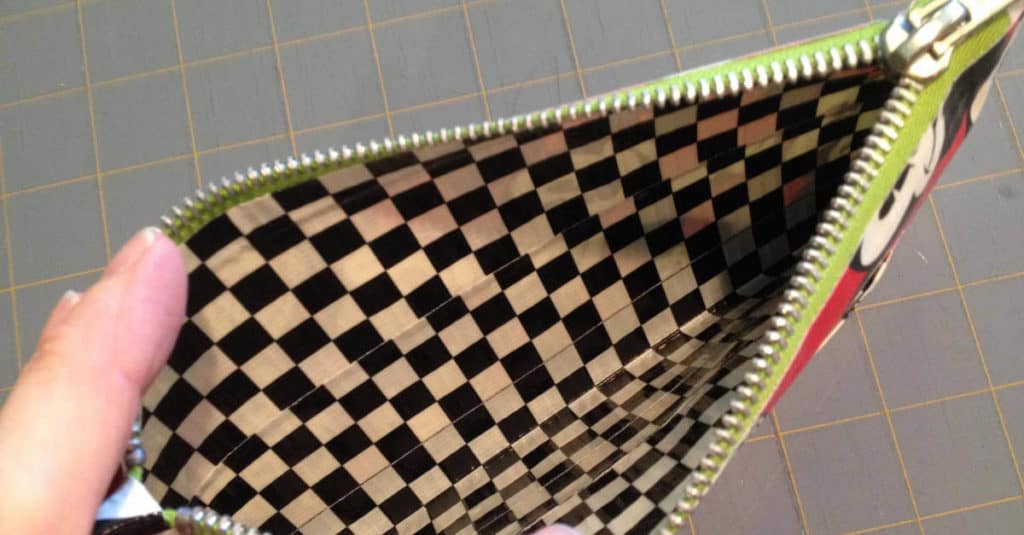
9. Cut an additional eight inch strip and attach this strip to the bottom of the pouch leaving half exposed.
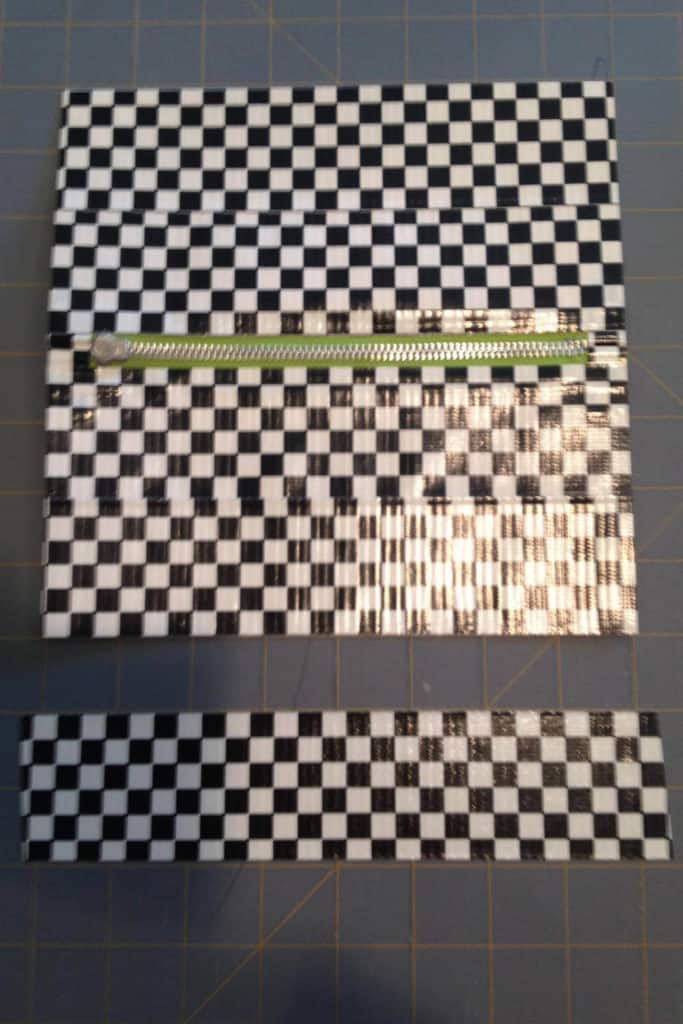
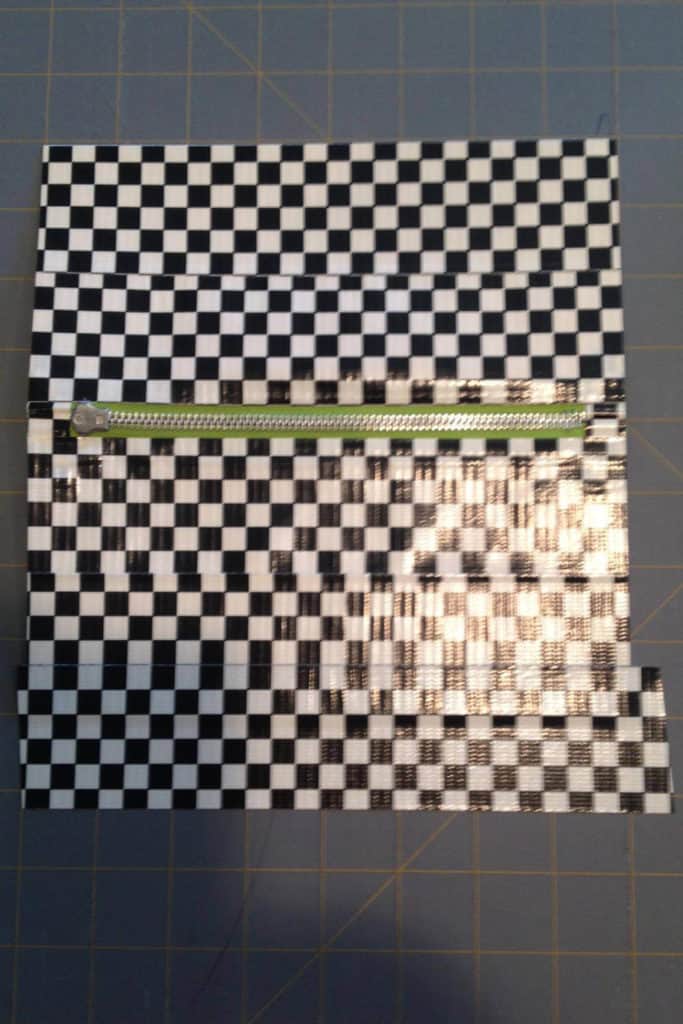
10. Fold exposed half up, sticky side up, and attach it to the second side of the pouch.
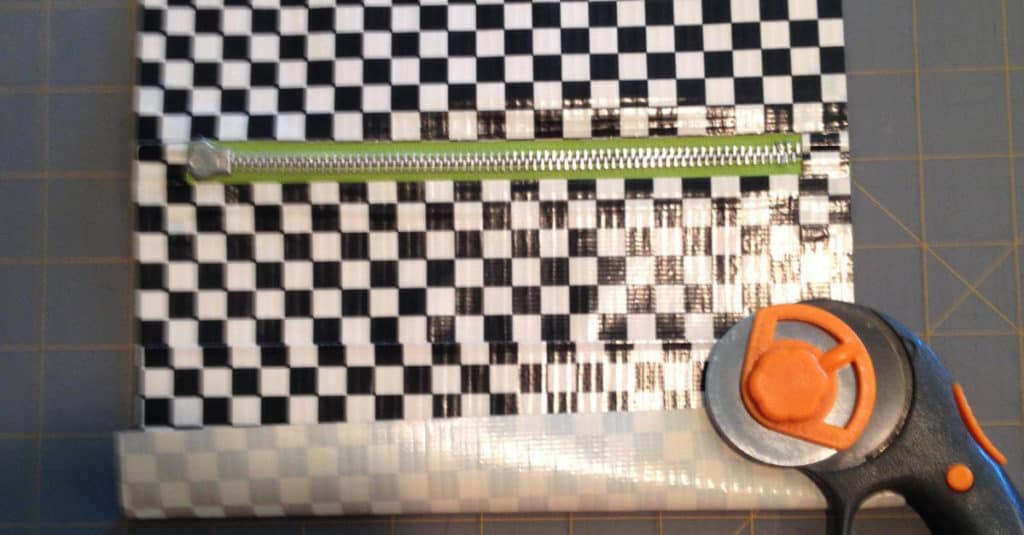
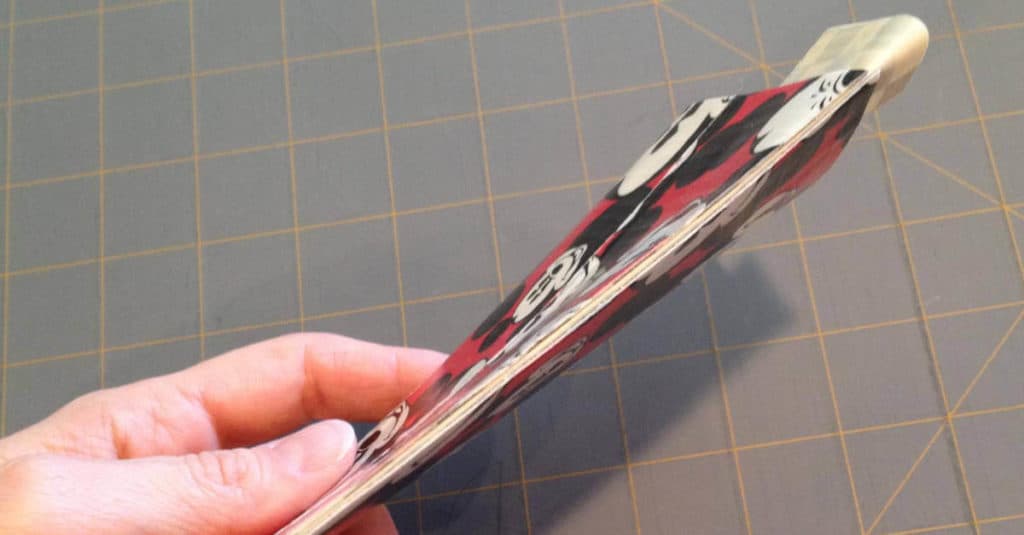
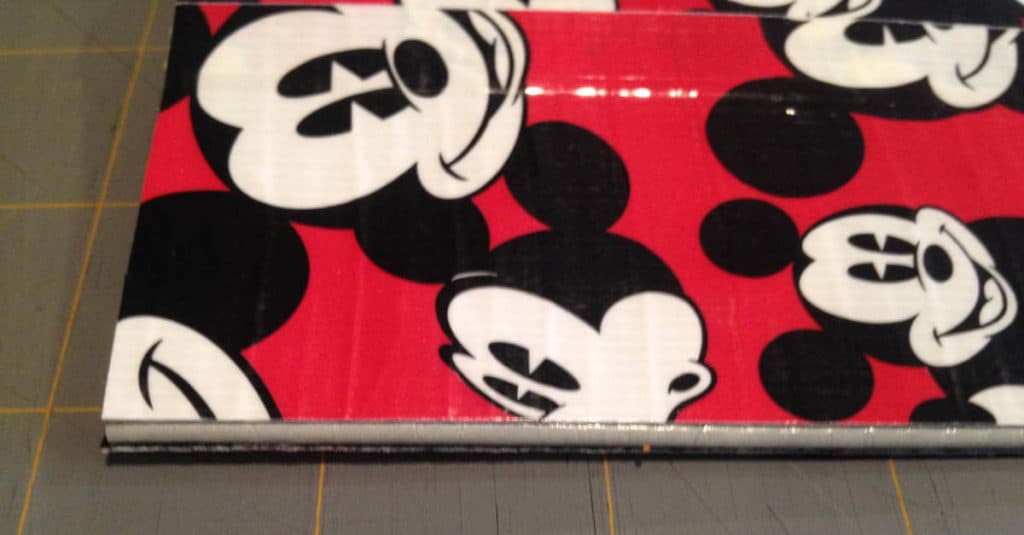
This will create a smooth finish inside, preventing a sticky bottom that money will adhere to.
11. Trim the ends.
12. Cut an additional 9 inch length of Duck tape and cut it in half, lengthwise.
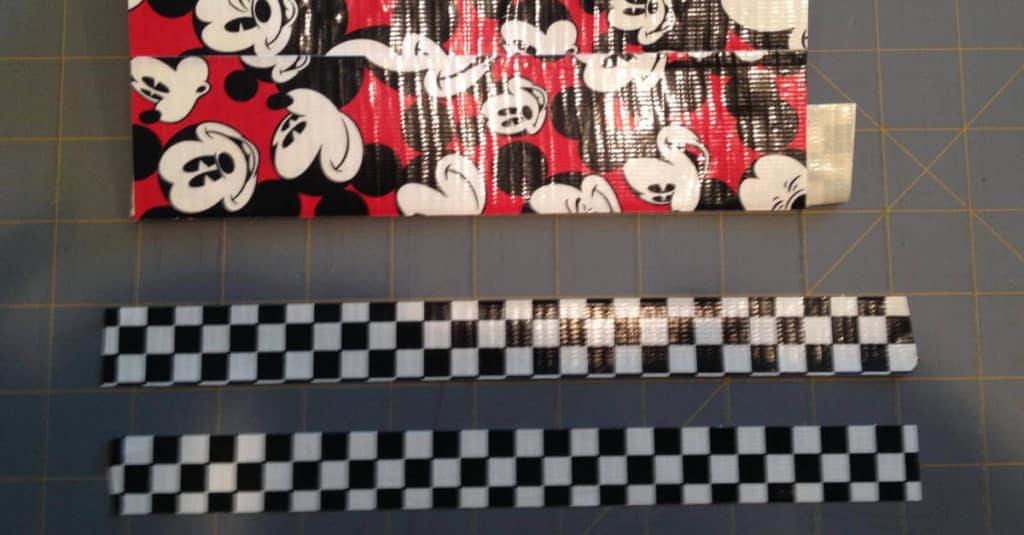
13. Place half of one strip of tape at the bottom of the pouch.
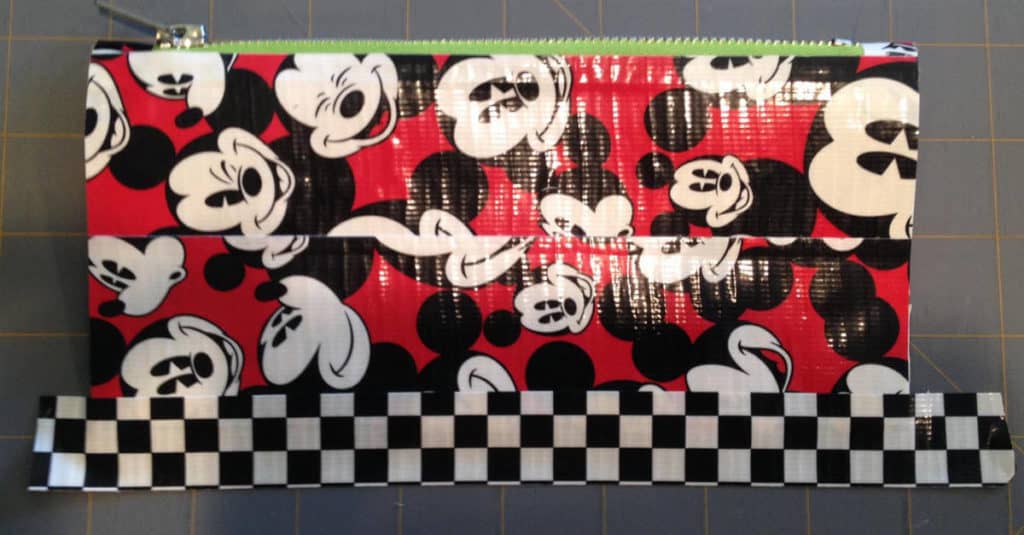
14. Flip pouch over and fold the remaining tape up.
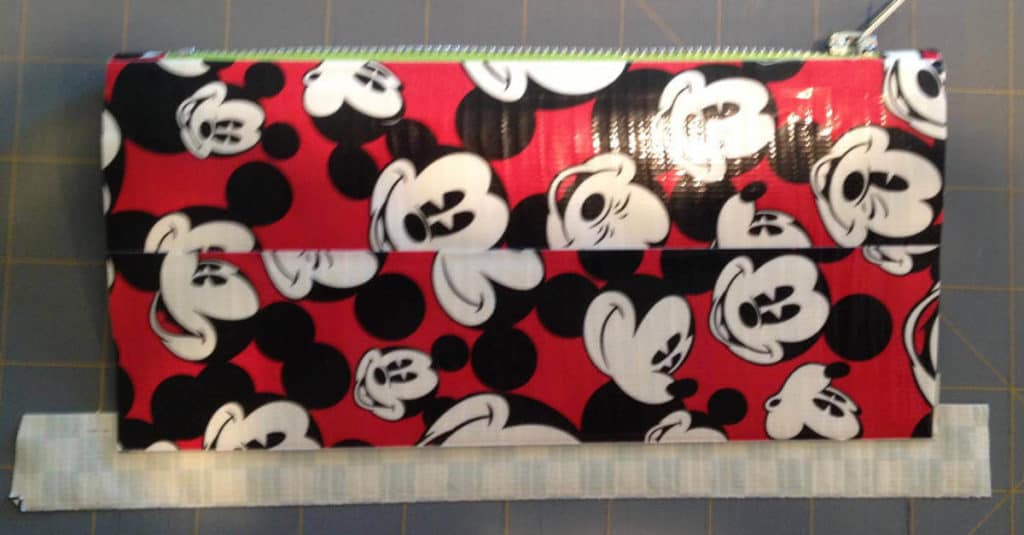
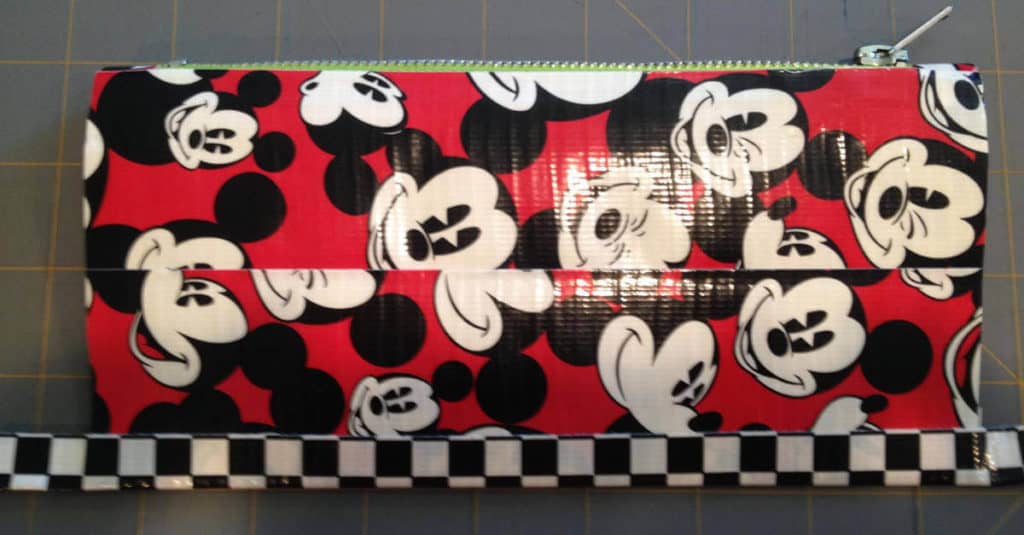
15. Trim.
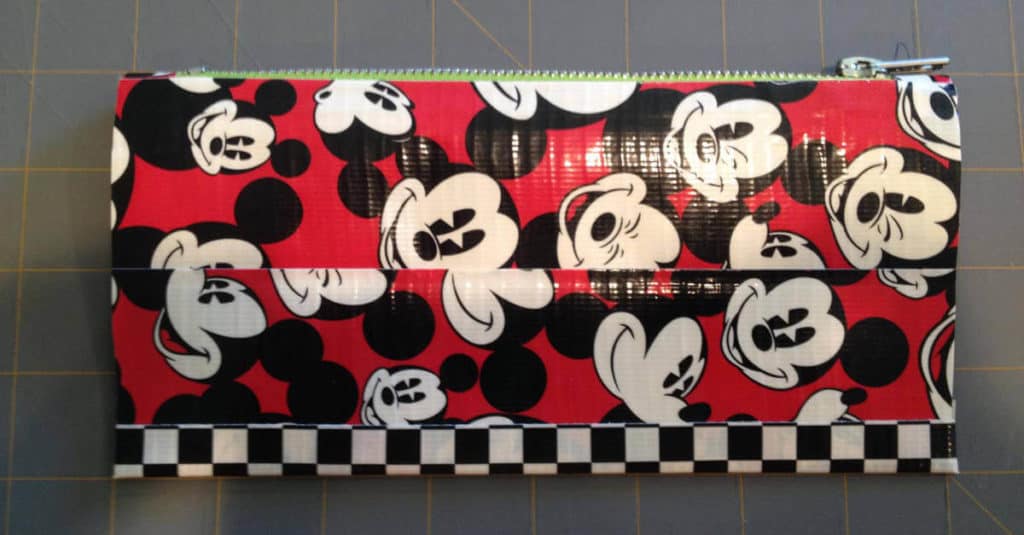
16. Cut the remaining 9 inch strip in two and attach to each end.
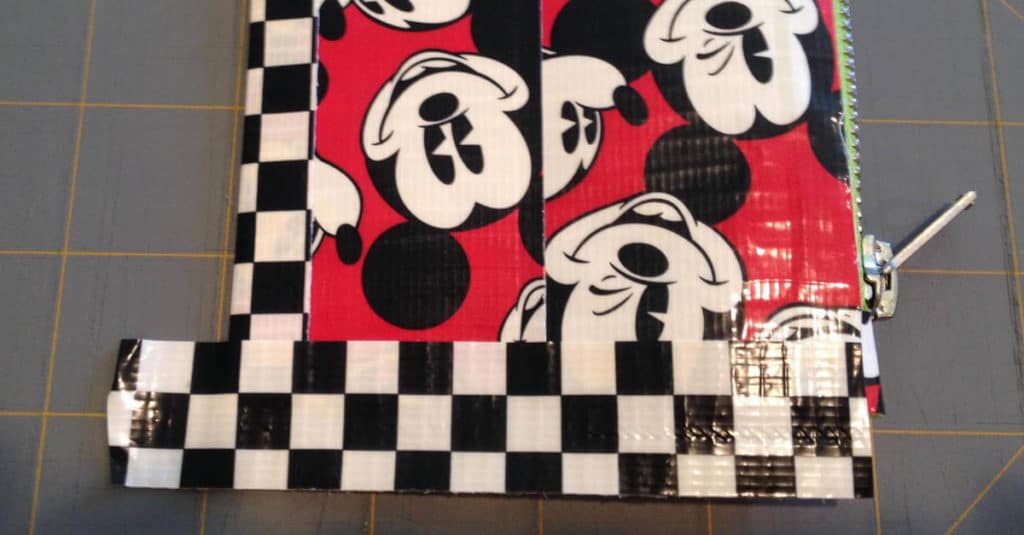
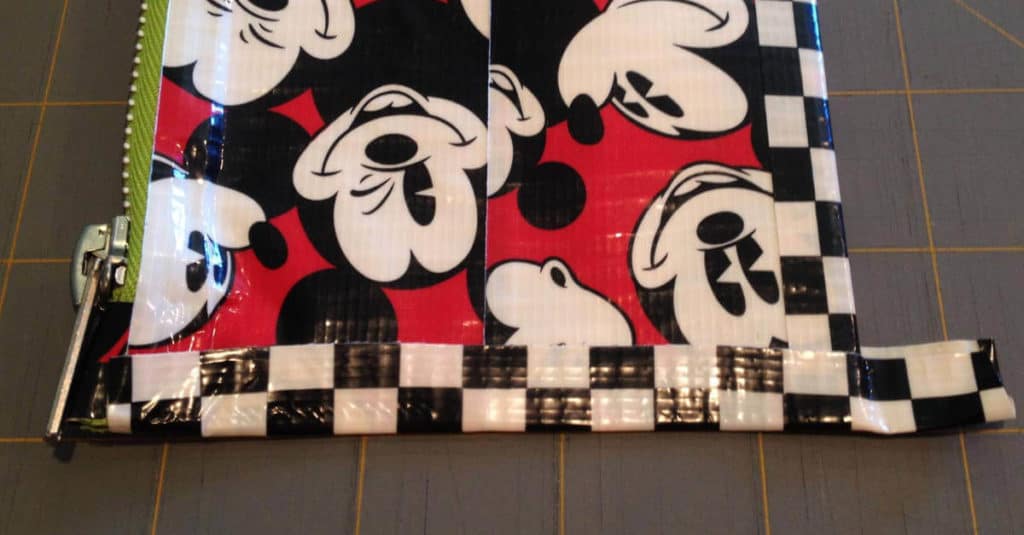
17. Trim the excess.
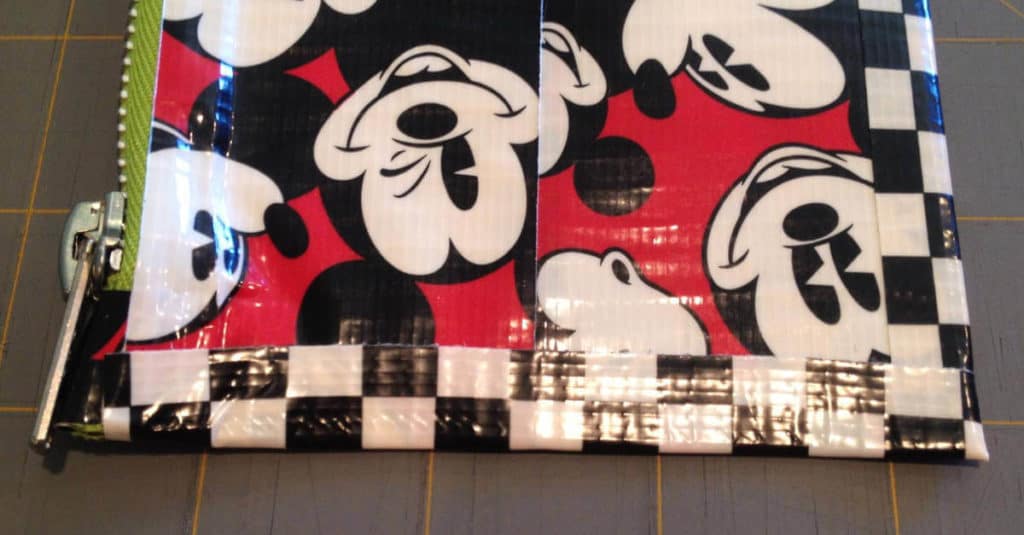
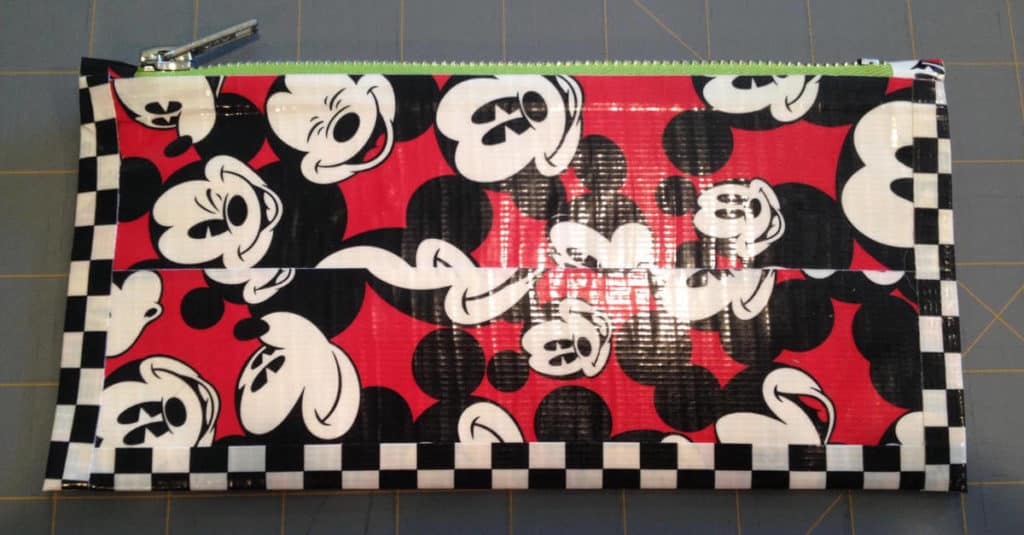
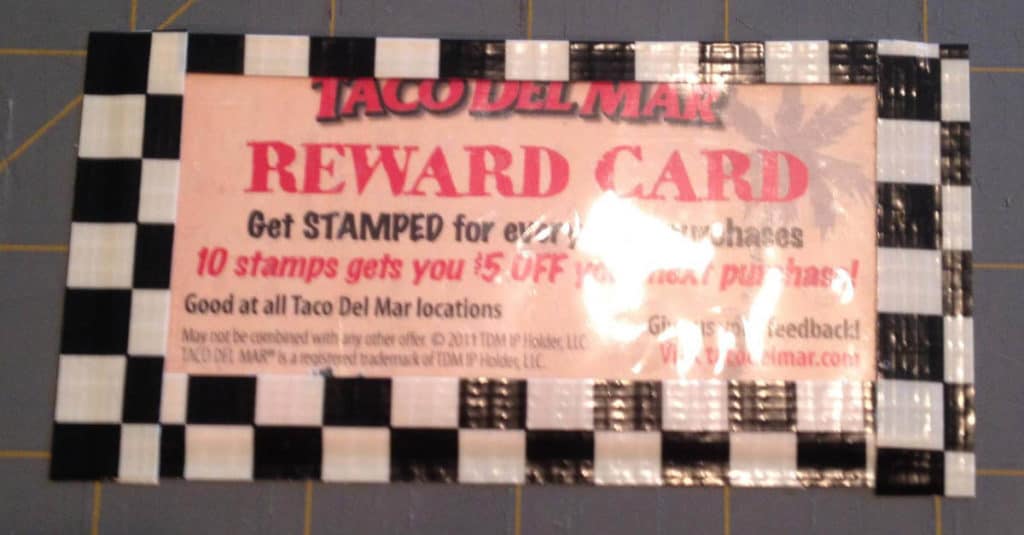
18. Create a clear pocket by placing two pieces of clear packing tape back to back (over four inches wide).
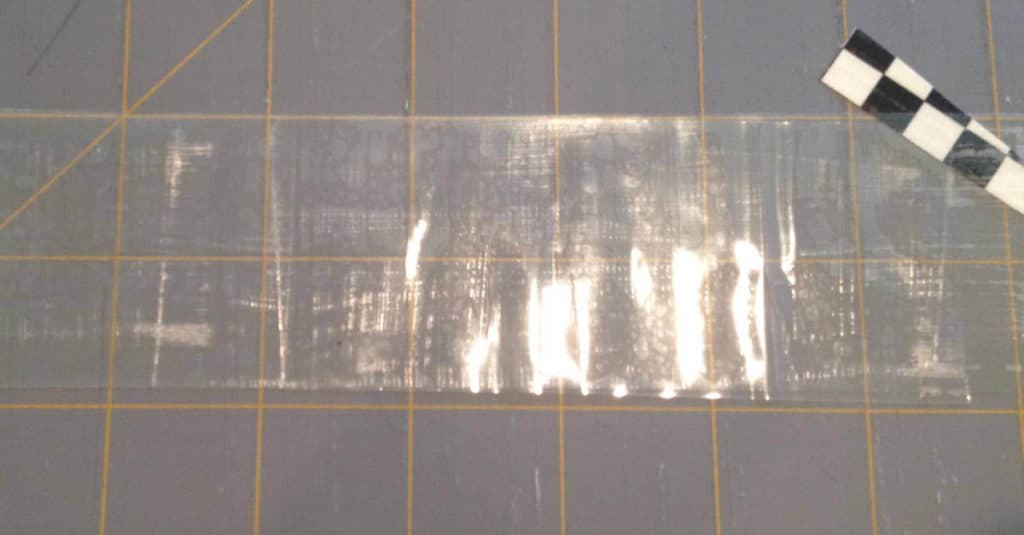
19. Cut a piece of Duck tape a little over four inches and then cut it into fourths, lengthwise.
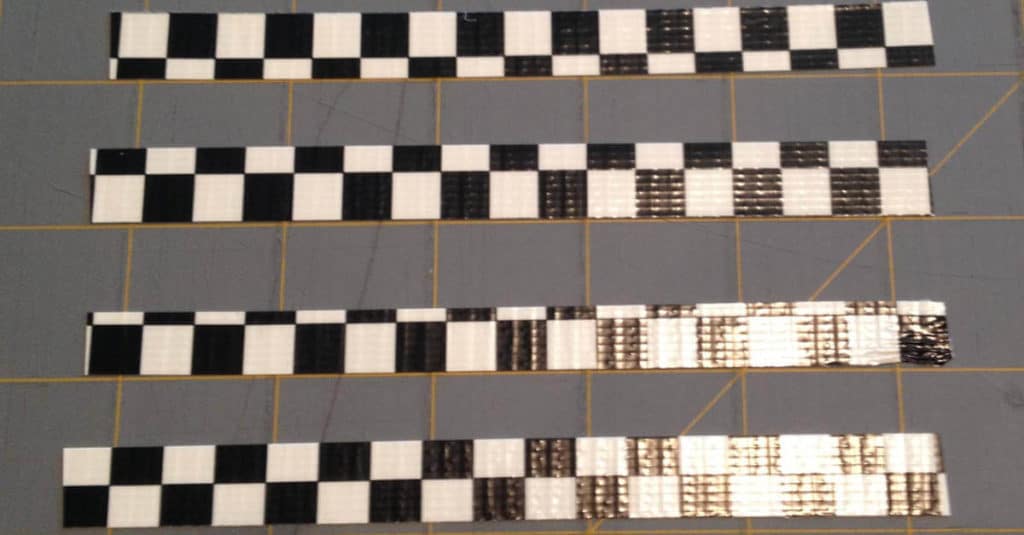
20. Place one piece on the bottom of the clear packing tape half on, half off.
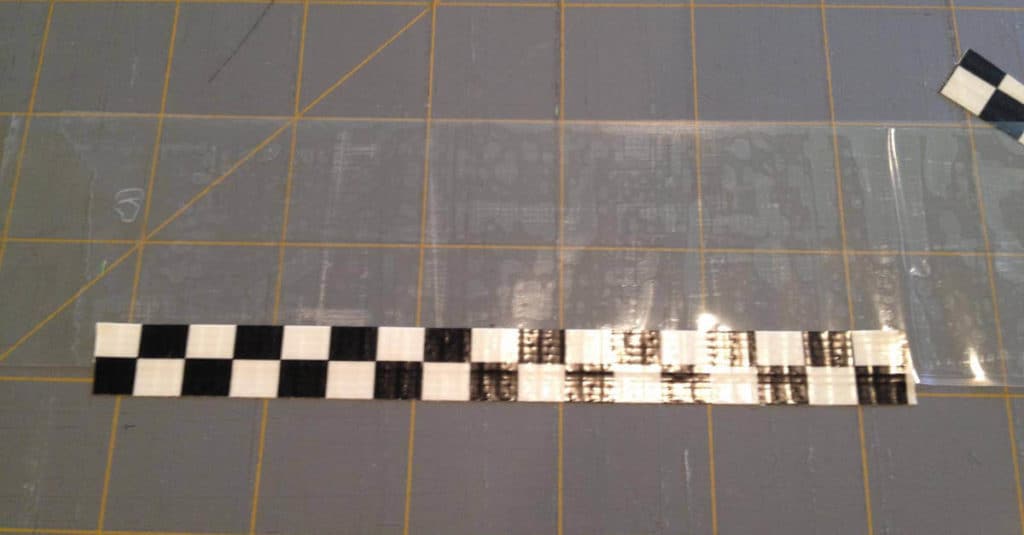
21. Place the second piece at the top edge of the clear packing tape half on, half off.
22. Trim the sides to make your pocket four inches wide.
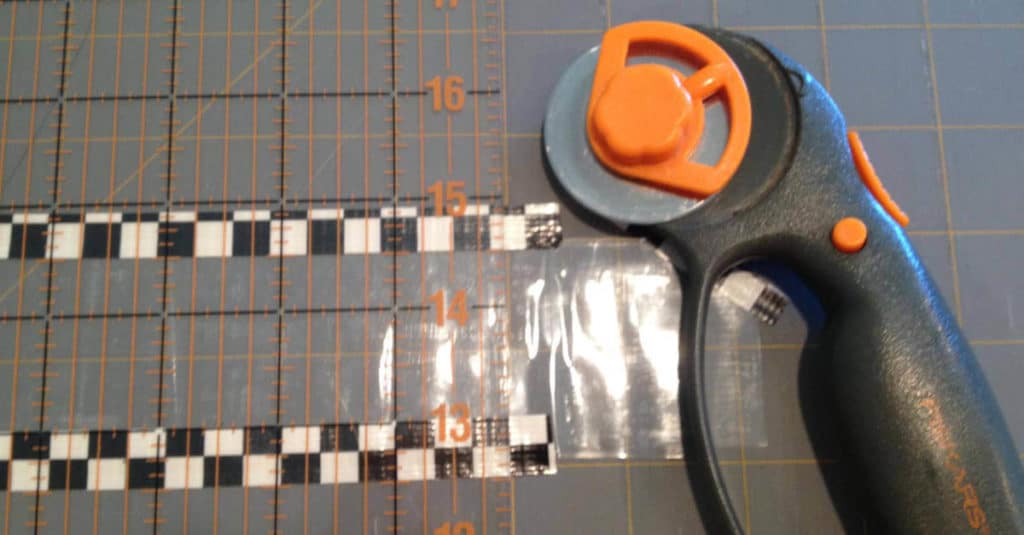
23. Pull top piece back and fold it over the clear tape, lining up with the edge on the front. This will create a pocket lip.
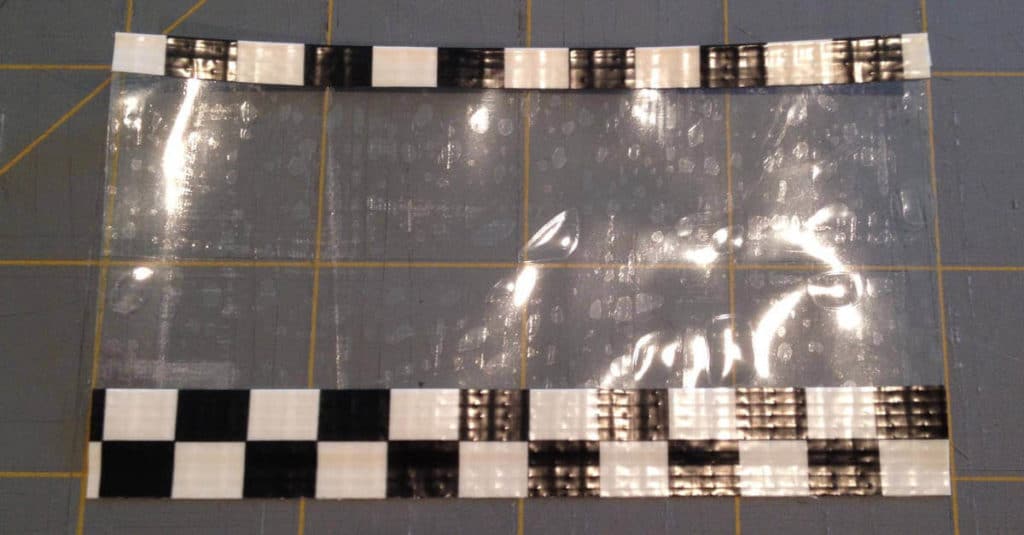
24. Place the remaining two Duck tape pieces on each end of the pocket (half on, half off) and trim.
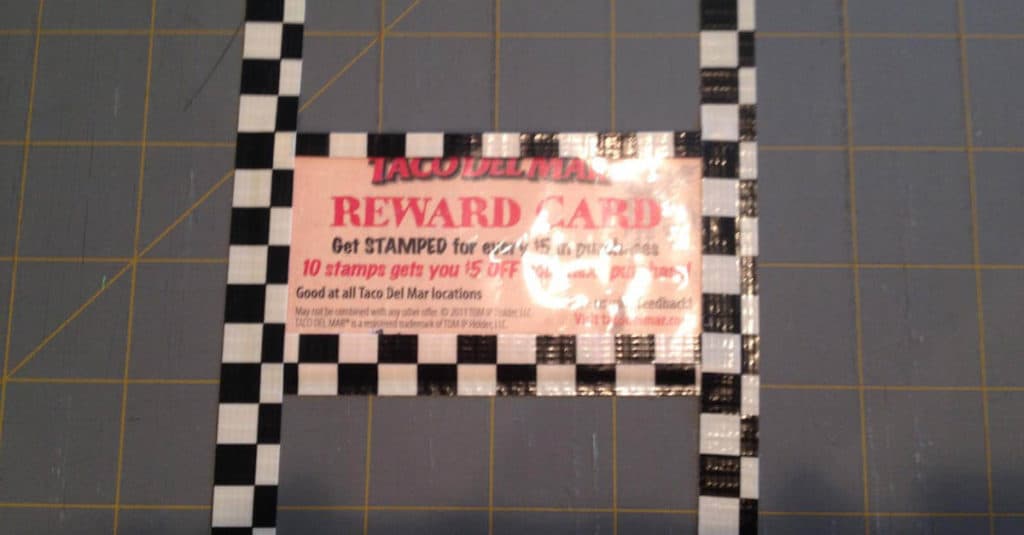
It is helpful to use a business card to determine where the ends should be placed.
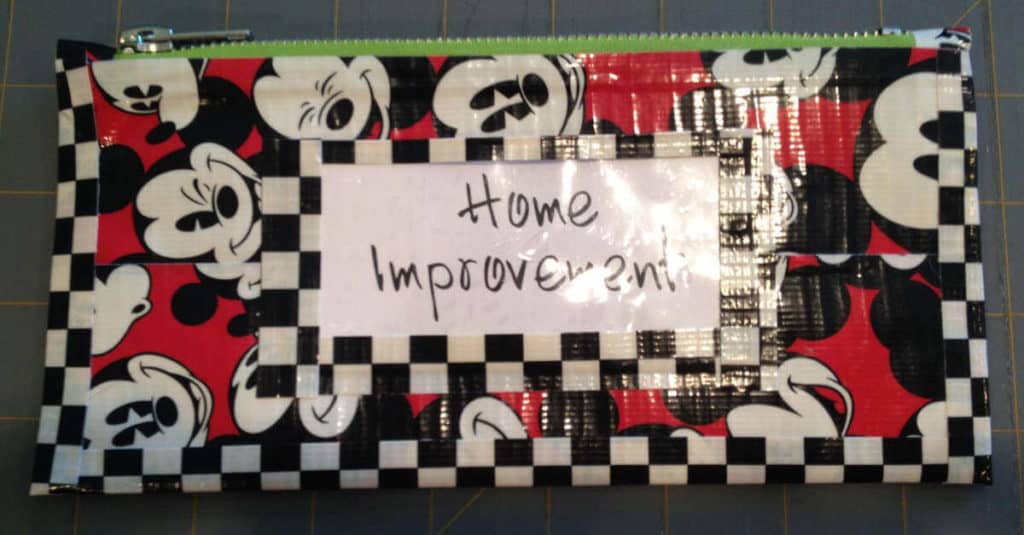
25. Pull the pocket off the cutting mat and center it on the front of the pouch.
Inside of pouch.
The final dimensions of the Duck tape pouch will be 4″ x 8″.
Are these duck tape pouches with a zipper awesome, or what? I’m loving them!
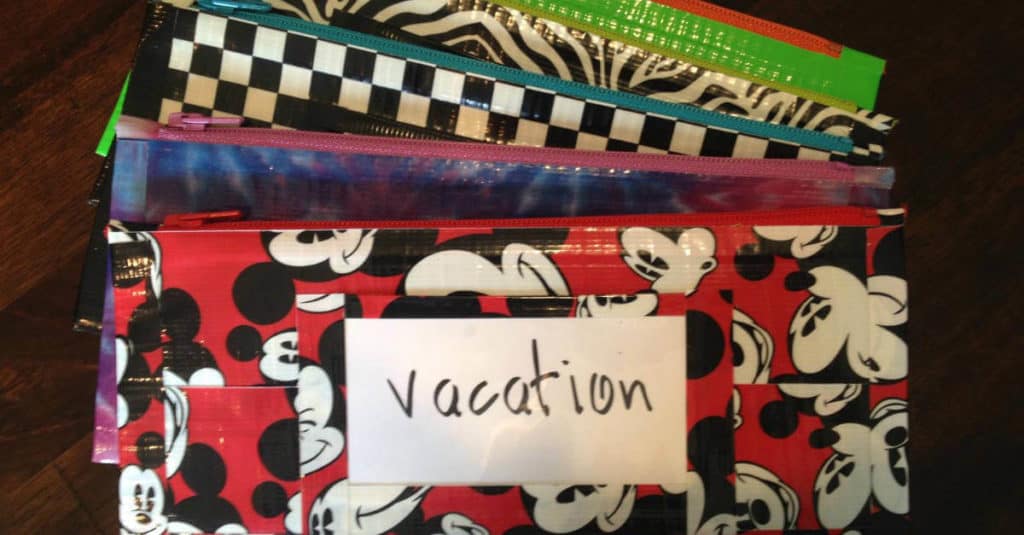
The Duck tape pouch with a zipper takes the Envelope System to a whole new level!


I love these! I had a bunch of zipper pouches made (with windows) and sell them on my site. But this is a really clever way to make your own!
Thanks for sharing such a great idea.
Be happy, healthy and wealthy ~
Ree
Thank you so much for stopping by Ree! I’m off to look for the pouches you sell! What a great idea!
What an awesome idea. I think this would be a wonder project for my niece and I to do together.