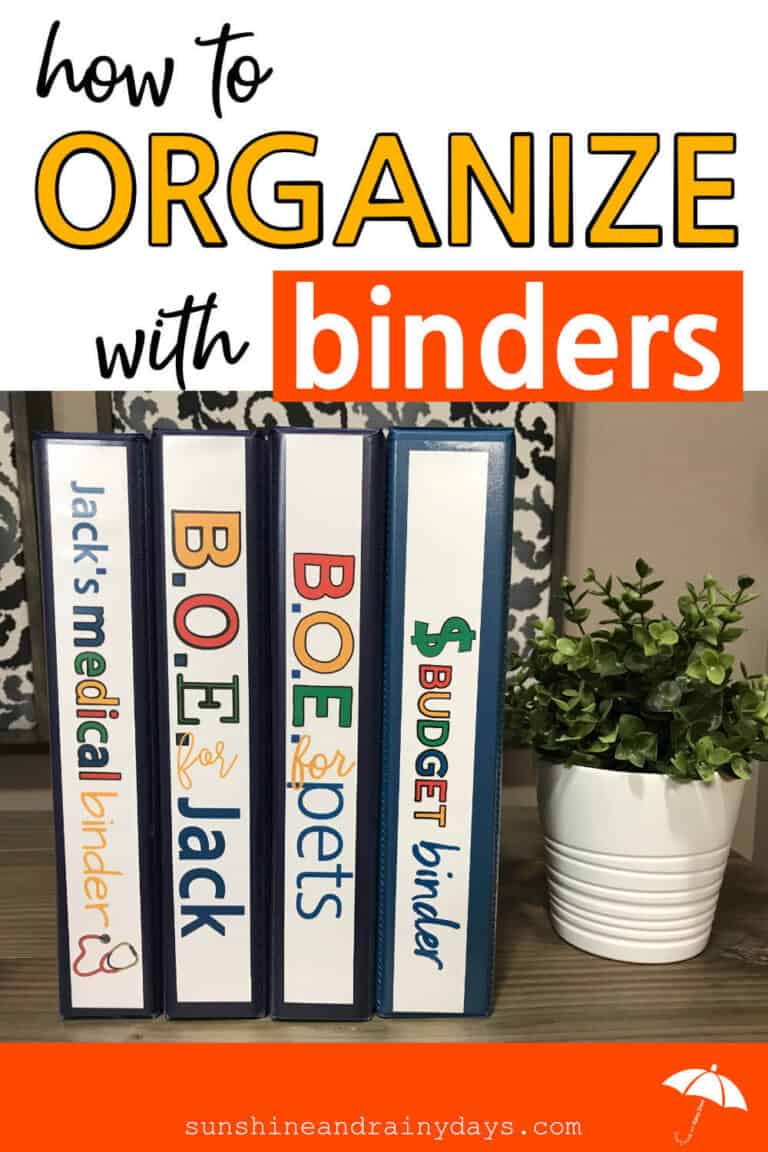
Garage Sale Tips | Home Organization Printables | Organization Printables And Ideas | Organizing With Binders
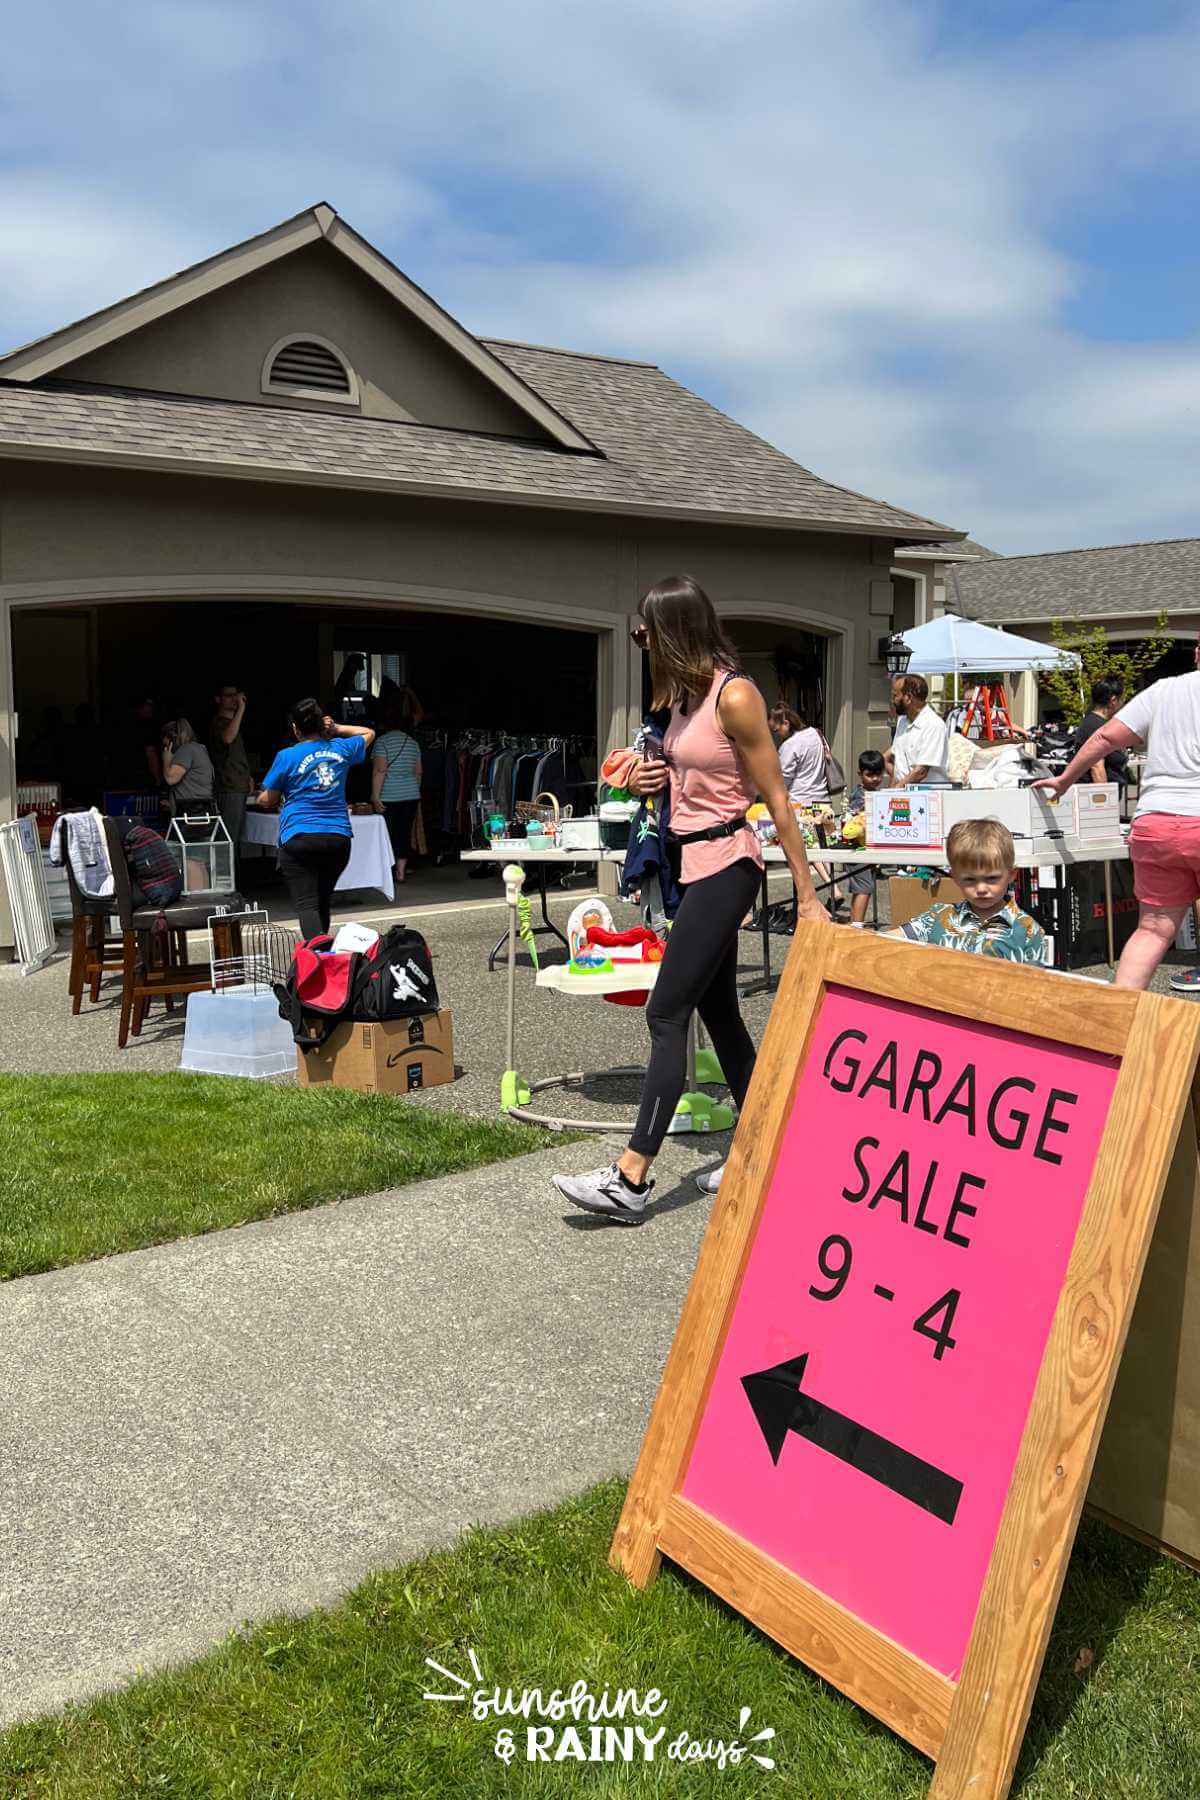
Garage Sale Planner
Take the guesswork out of planning your next Garage Sale by using this Garage Sale Planner that was designed to walk you through the steps to host a successful garage sale!
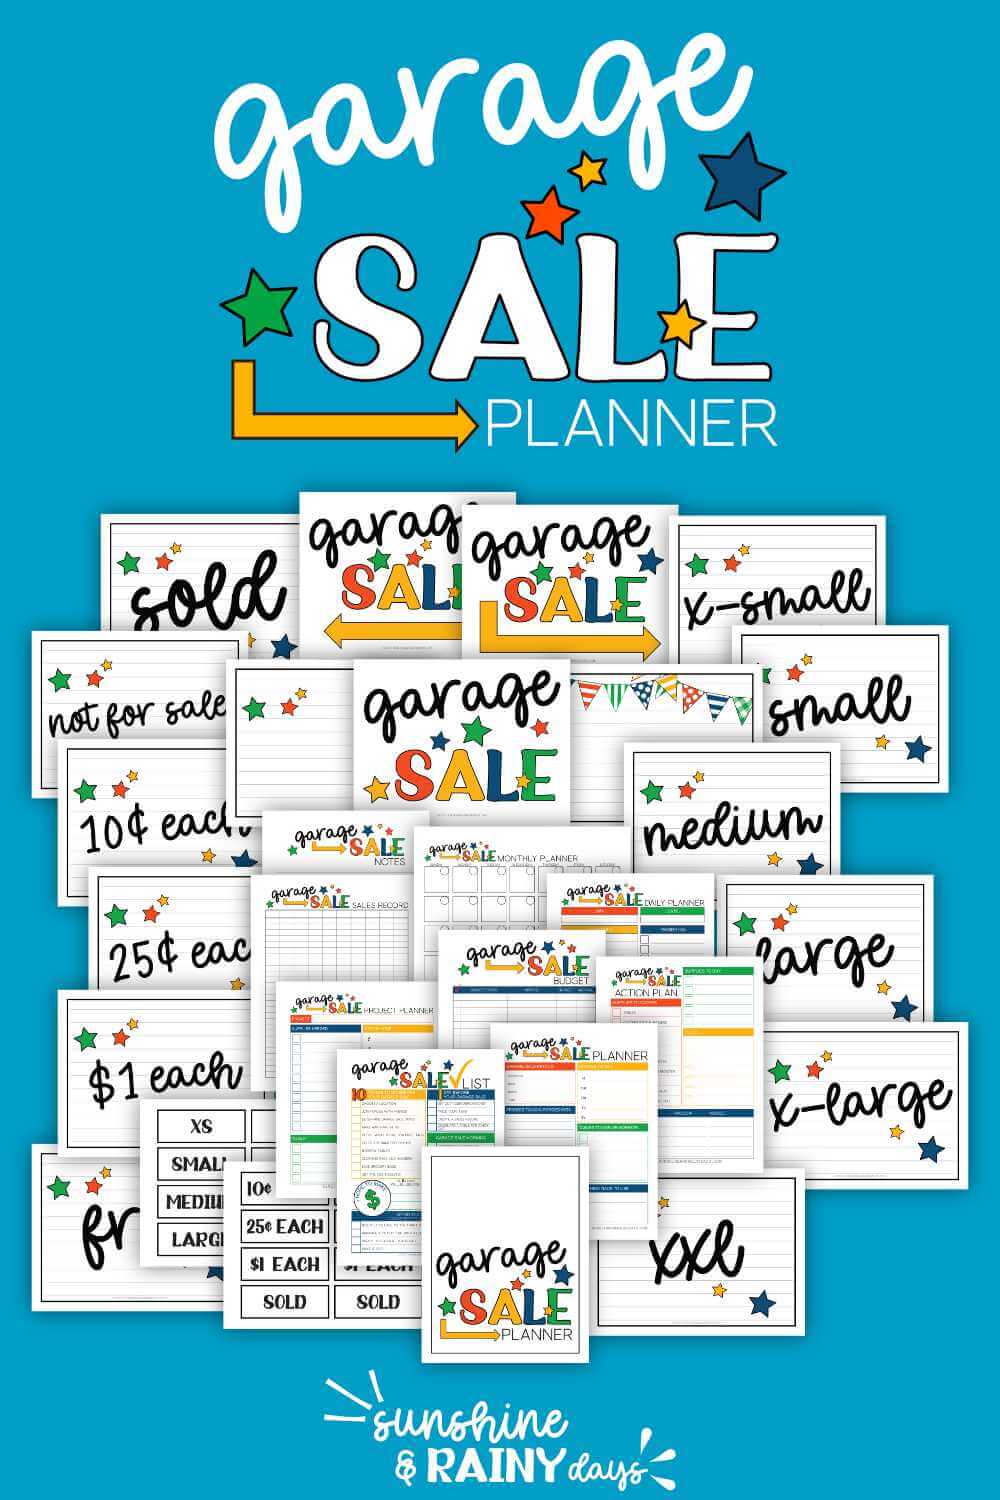
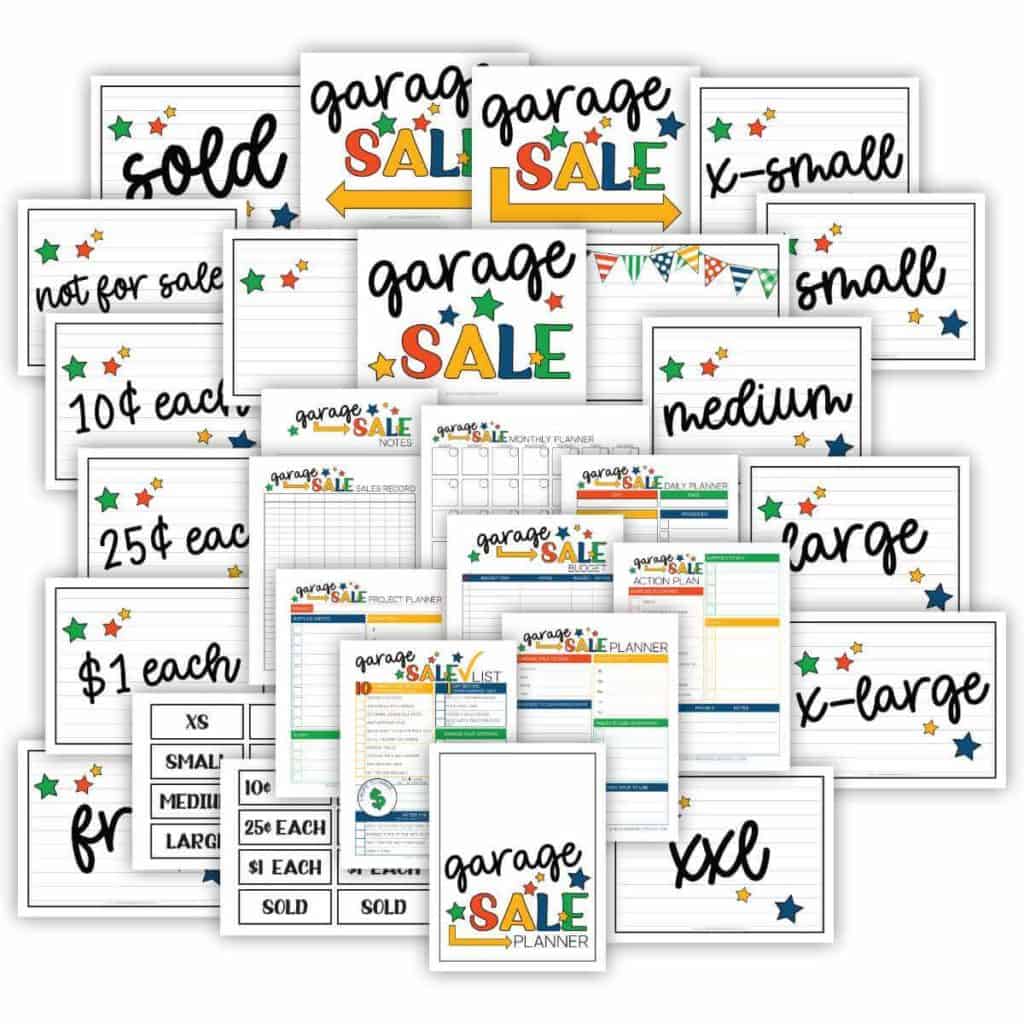
The Printable Garage Sale Planner Is A PDF Document That Includes The Following:
- Binder Cover Page
- Binder Spine
- Belongs To Page – You know, in case you lose your Garage Sale Binder, it can be returned!
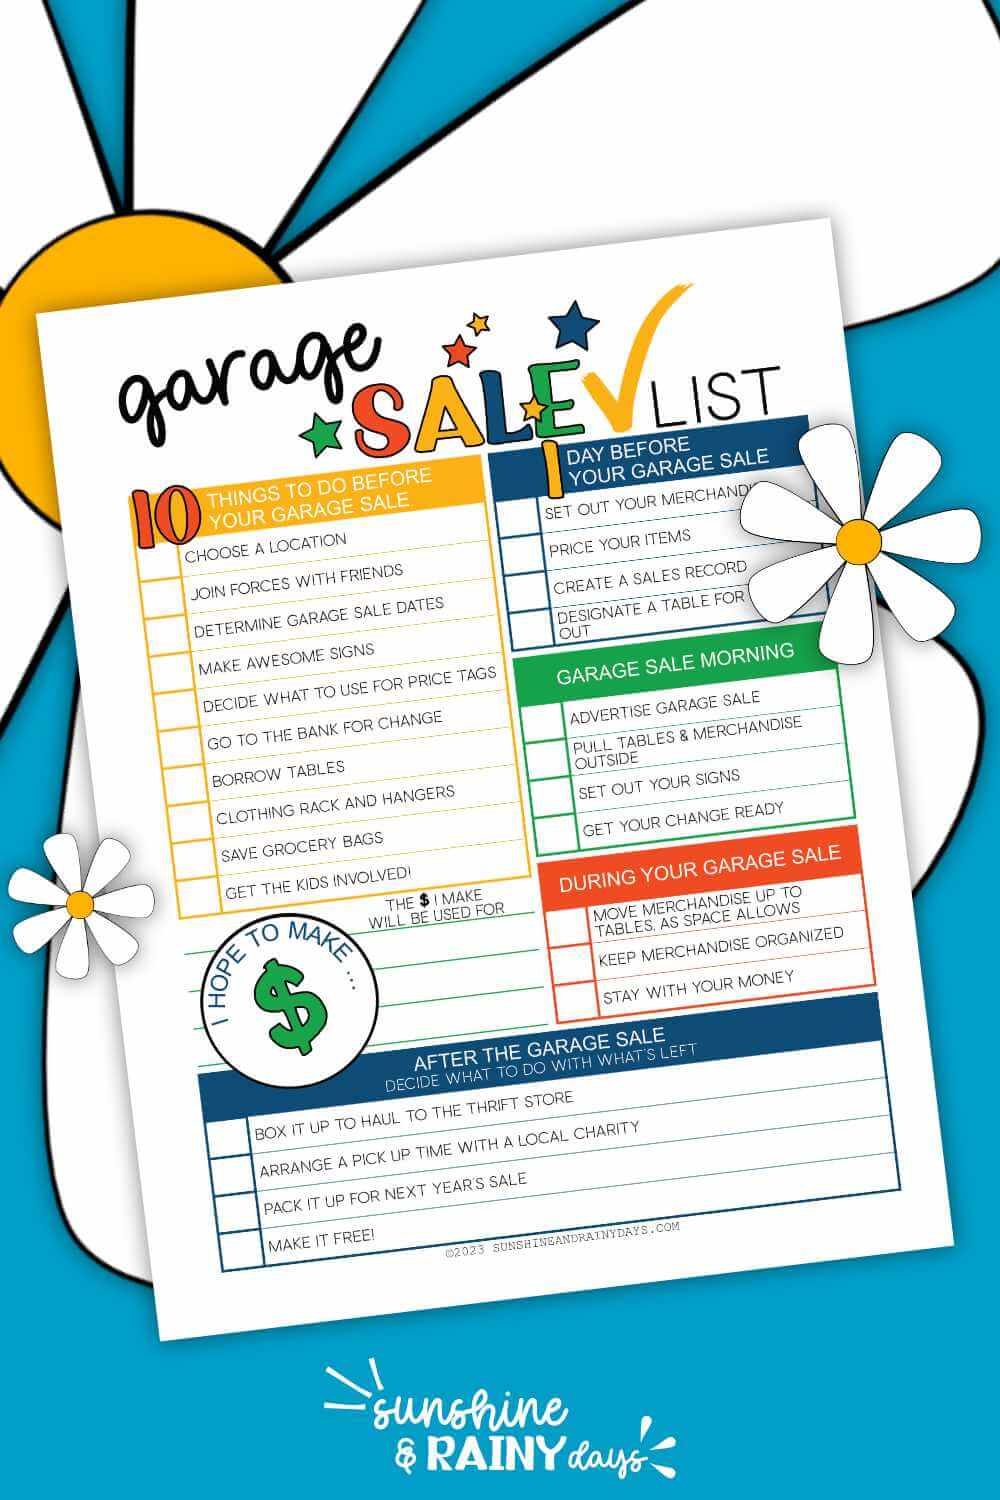
- Garage Sale Checklist – This checklist will guide you through the steps you need to take to have a successful garage sale!
- Garage Sale Planner Details – This page gives you space to get all the details down in writing.
- Garage Sale Action Plan – There are things you need to do before you open the garage door for customers. Make a list and check them twice!
- Garage Sale Budget – You shouldn’t spend much to host a garage sale, but if you’ve never had a garage sale before, you may want to invest in materials to build a sign or a clothing rack that you can use every year.
- Monthly Planner – Write in your garage sale dates and then write in the things you need to do before those dates to make it a successful sale.
- Daily Planner
- Garage Sale Project Planner – If you plan to DIY garage sale signs, this is the place to plan your project.
- Notes Sheet – You’ll need a place for notes at your garage sale; print this sheet to have on hand. An example might be that someone purchased a piece of furniture and plans to come back to pick it up later in the day. Be sure to write down their name and phone # in case they don’t show up.
- Garage Sale Sales Record – This is the best way we’ve found to record sales when there is more than one person participating in the sale. Put each person’s initials or name at the top of the column and then record their sales below their name. At the end of the sale, add each column so you know how much each person made.
- Small Size Labels – Use these size labels on a table or box of clothes.
- Small Price Labels (for boxes) – Perfect for shoe boxes full of those tiny little things that you don’t want to price individually.
- Garage Sale Signs – Print these on card stock and laminate them to lead people to your sale!
- Price Signs – 10¢, 25¢, $1 (to put on boxes of 10¢, 25¢, and $1 merchandise) – These signs are great for tables or boxes. Just know that merchandise might get moved around, so you have to keep your eye on that.
- Free Sign – Save things from the landfill a bit longer by offering them for free at your garage sale.
- Size Signs – XS, S, M, L, XL, XXL – Use these signs on tables or boxes so customers know where to find their size.
- Checkout Sign – This might be obvious, but a Checkout Sign will let customers know where to pay.
- Not For Sale Sign – There might be things on your garage walls that people keep wanting to buy. Place this Not For Sale Sign on those things to avoid the questions.
- Sold Sign – Many times, customers will pay for an item and pick it up later, especially if it’s a large item. Place this Sold Sign on those items so you don’t forget and so customers know it’s already sold.
- Blank Sign With Stars
- Blank Sign With Banners – Print a few of these Blank Signs to have on hand at your garage sale. Sometimes customers may not know what something is, and a written explanation is just what you need to get that item sold. Use these signs to write a description.
How To Use The Garage Sale Planner
- Print the Garage Sale Planner Pages and Signs on paper or card stock.
- Laminate your signs so you can use them year after year.
- Create a Garage Sale Binder with the Planner Pages.
- Go through the Garage Sale Checklist and create a plan using the Detailed Planner, Action Plan, Budget, and Planner Sheets.
- Use the Garage Sale Sales Record at your sale if more than one person is selling so you can calculate how much you each made.
- There are small and full-page size labels for clothing.
- There are also small and full-page price labels for 10¢ each, 25¢ each, and $1 each. These work great for all the little things you’d like to put in a box and place a label on the outside of the box instead of pricing them individually.
- Print the Garage Sale Signs with arrows and laminate them to lead customers to your sale.
- Use the small or large SOLD labels for those items that customers will pick up later.
- Have a FREE pile? There’s a Free Sign!
- Use the Checkout Sign so customers know where to pay for their items.
- Hang the Not For Sale Sign on the things in your garage that people keep wanting to buy but aren’t for sale.
- Use the two Blank Signs as needed! Print a few to have on hand for your sale.
Get Your Garage Sale Planner Here
Use this Garage Sale Planner to guide you on the steps to take to make your next garage sale a successful one!
More Garage Sale Resources
- Reasons Why You Should Host A Garage Sale
- People Who Should NOT Host A Garage Sale
- How To Make More Money At A Garage Sale
- How To Make More Money At A Garage Sale
- How To Set Garage Sale Prices
- How To Make A Garage Sale Sign
- Garage Sale Table Signs To Organize Your Sale
- Garage Sale Tips For A Successful Sale