How To Make A Candy Train
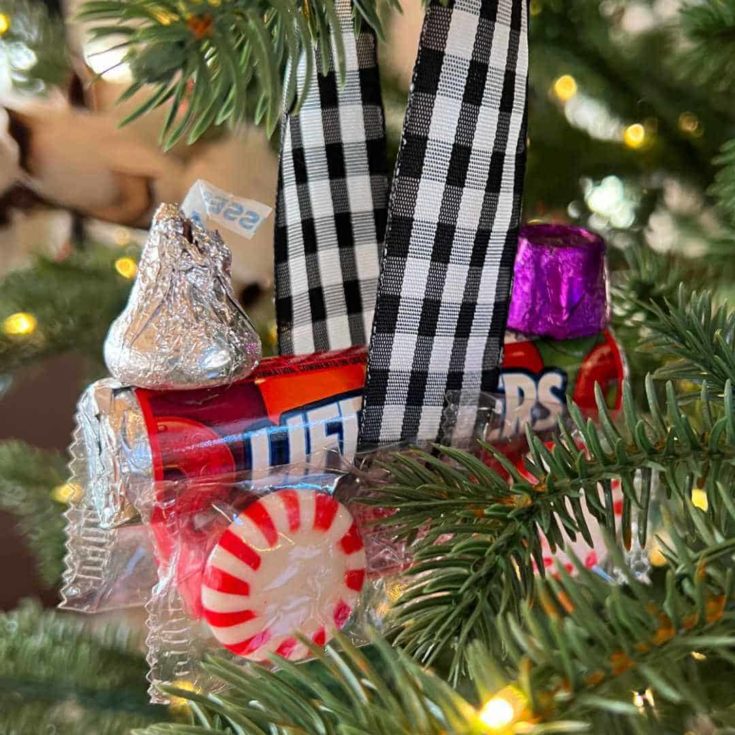
Learn how to make a candy train to use as an ornament, for a Birthday activity, as a gift topper, or just for fun! This classic craft is sure to be a hit with the young and old, alike!
When my kids were little, I remember making Candy Trains with them! I even made enough to sell at a small local bazaar, along with Snowman Soup, Reindeer Food, and Beaded Socks for little girls. It was a lot of fun to make them and they were good gifts to give!
Now that my nieces have kids, I decided it was time to revisit candy train-making to share the joy with them!
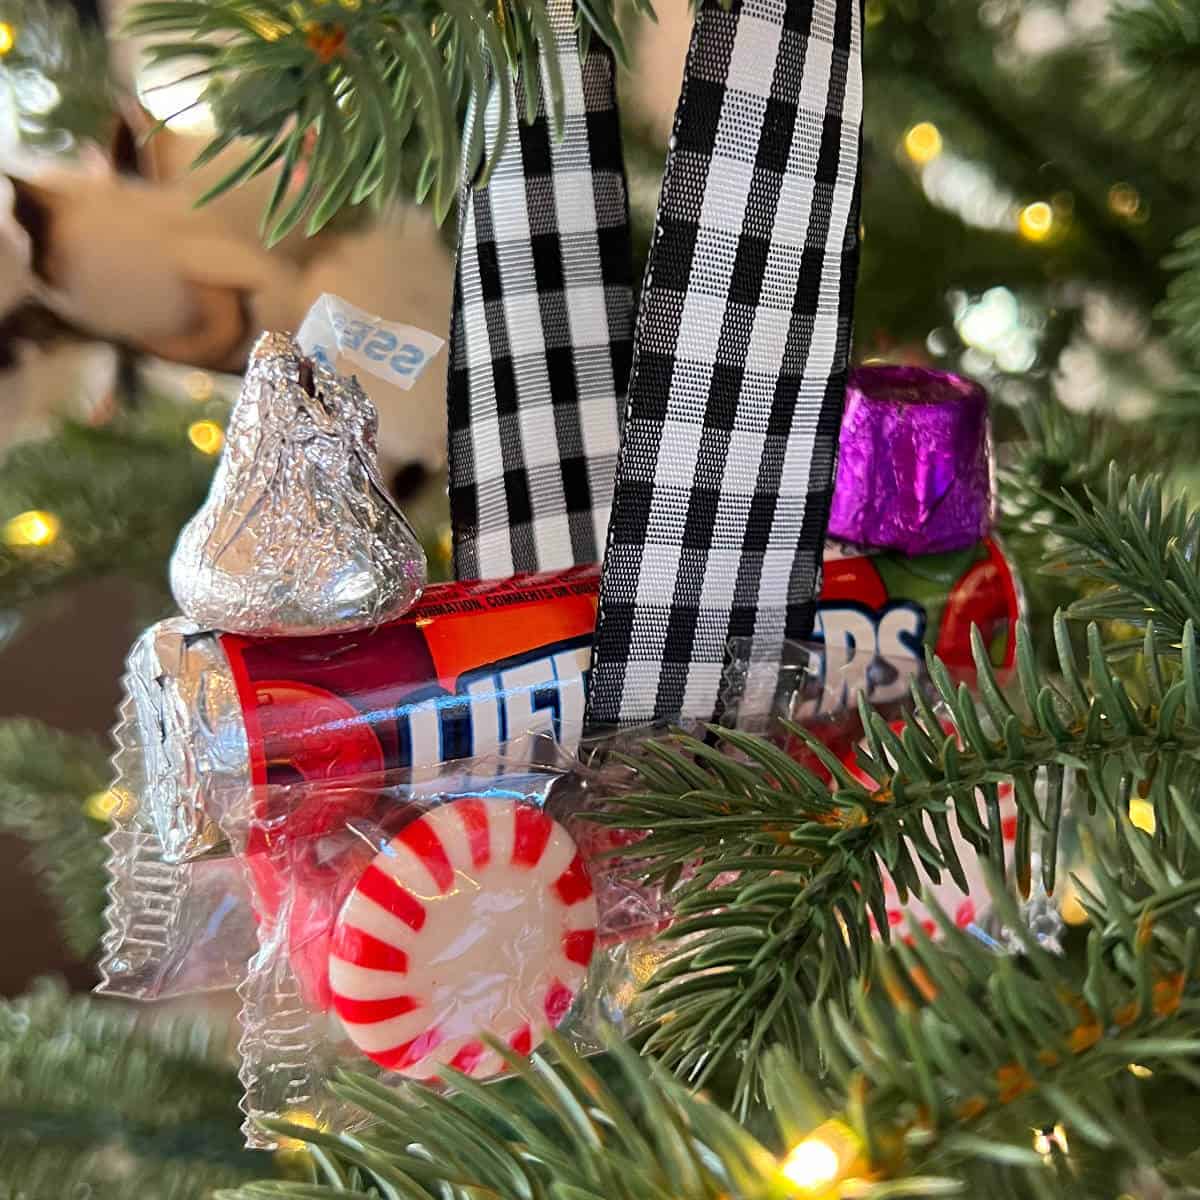
Supplies
This post contains affiliate links. When you purchase through an affiliate link, we receive a small commission at no additional cost to you. Disclosure.
- Gum – Believe it or not, it’s actually hard to find the small packs of gum in stores but I was able to find them on Amazon.
- Lifesavers – You can often find Lifesavers around Christmas time, in stores.
- Starlight Mints
- Rolos
- Kisses
- 1/2″ Glue Dots – You can also use a glue gun. Because we are making candy trains with little kids, I opted to buy glue dots to prevent burns.
- 1″ Wide Ribbon – If you want to turn your candy train into an ornament, be sure to pick up some ribbon. This is the ribbon I used, you just want it to be wide so the train doesn’t tip, when you hang it on your tree.
How To Make A Train Out Of Candy
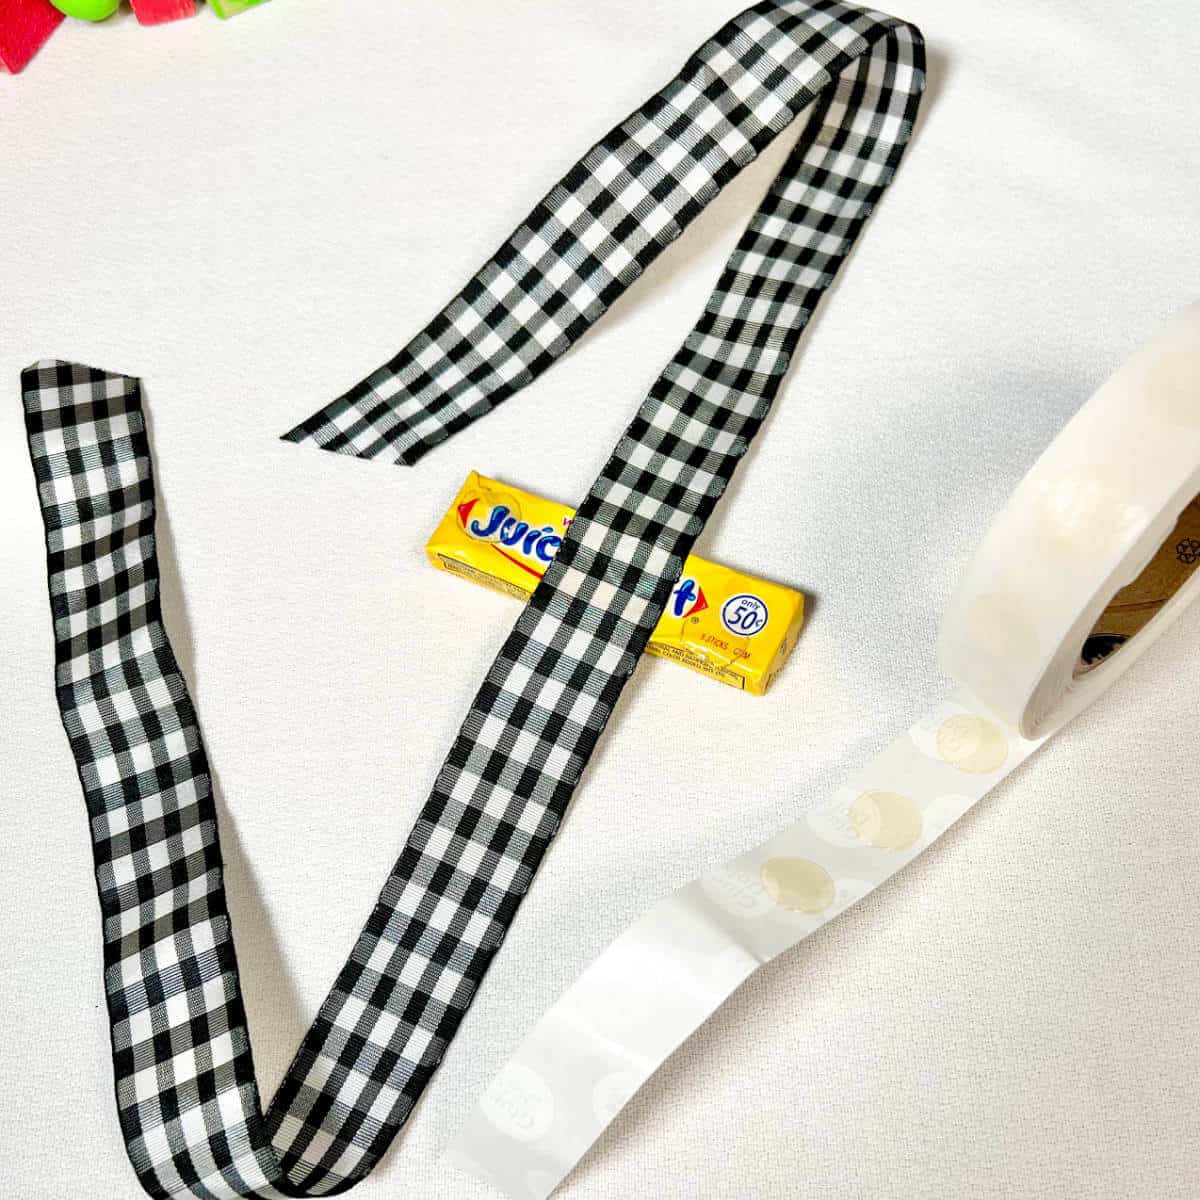
Step 1: Add 3 glue dots across the top of a small 5-piece pack of gum.
Step 2: If you plan to make a candy train ornament, lay a piece of ribbon across the middle of the gum, on the center glue dot.
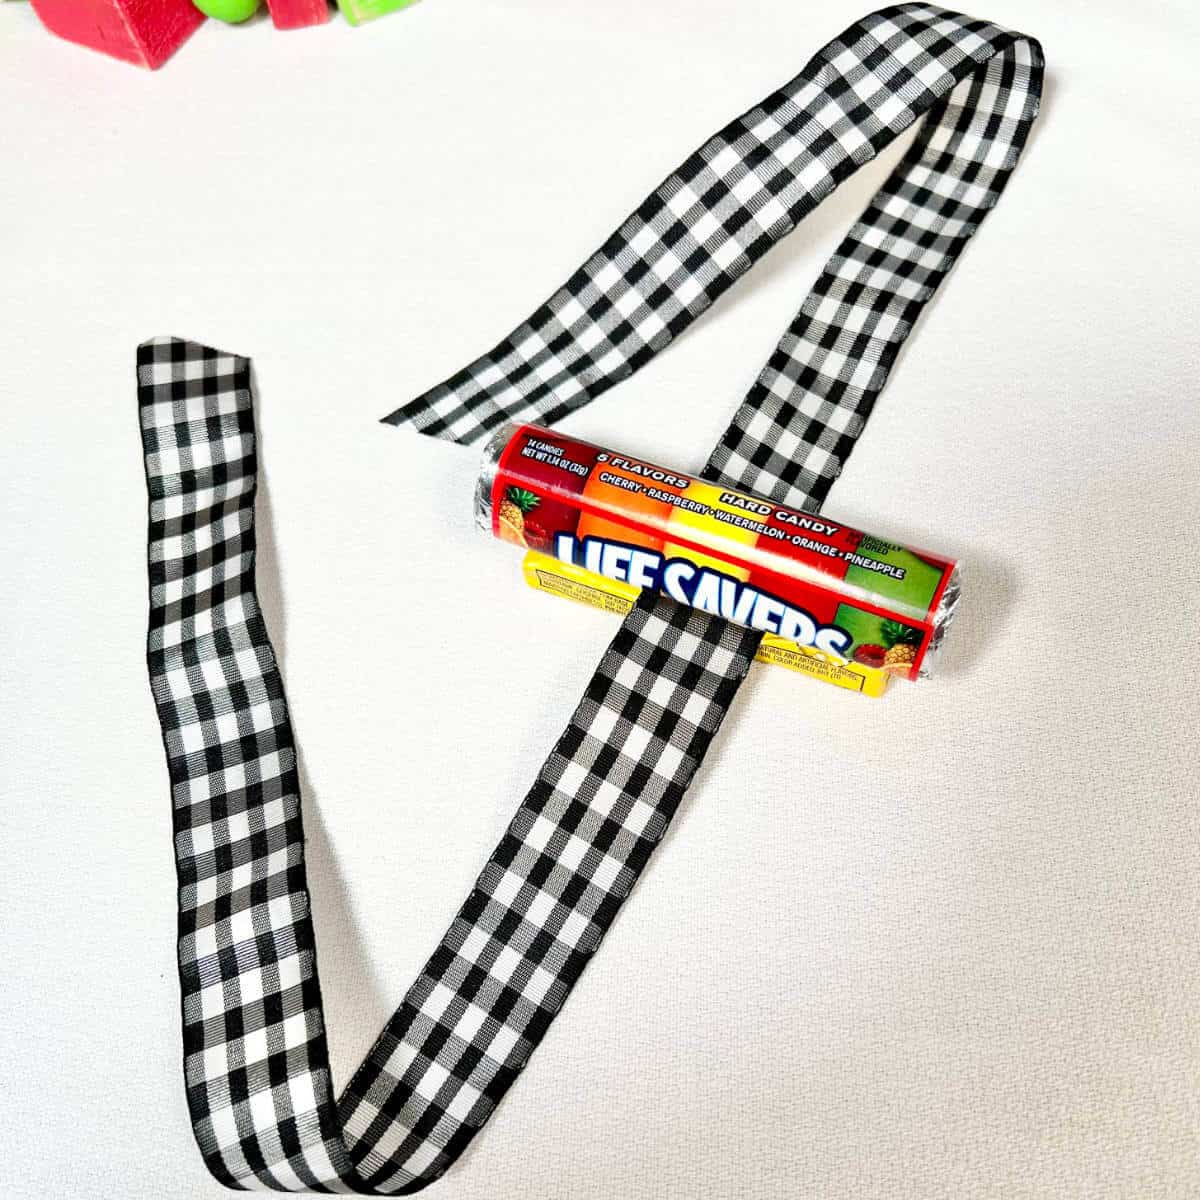
Step 3: Then, press a pack of Lifesavers on top of the gum.
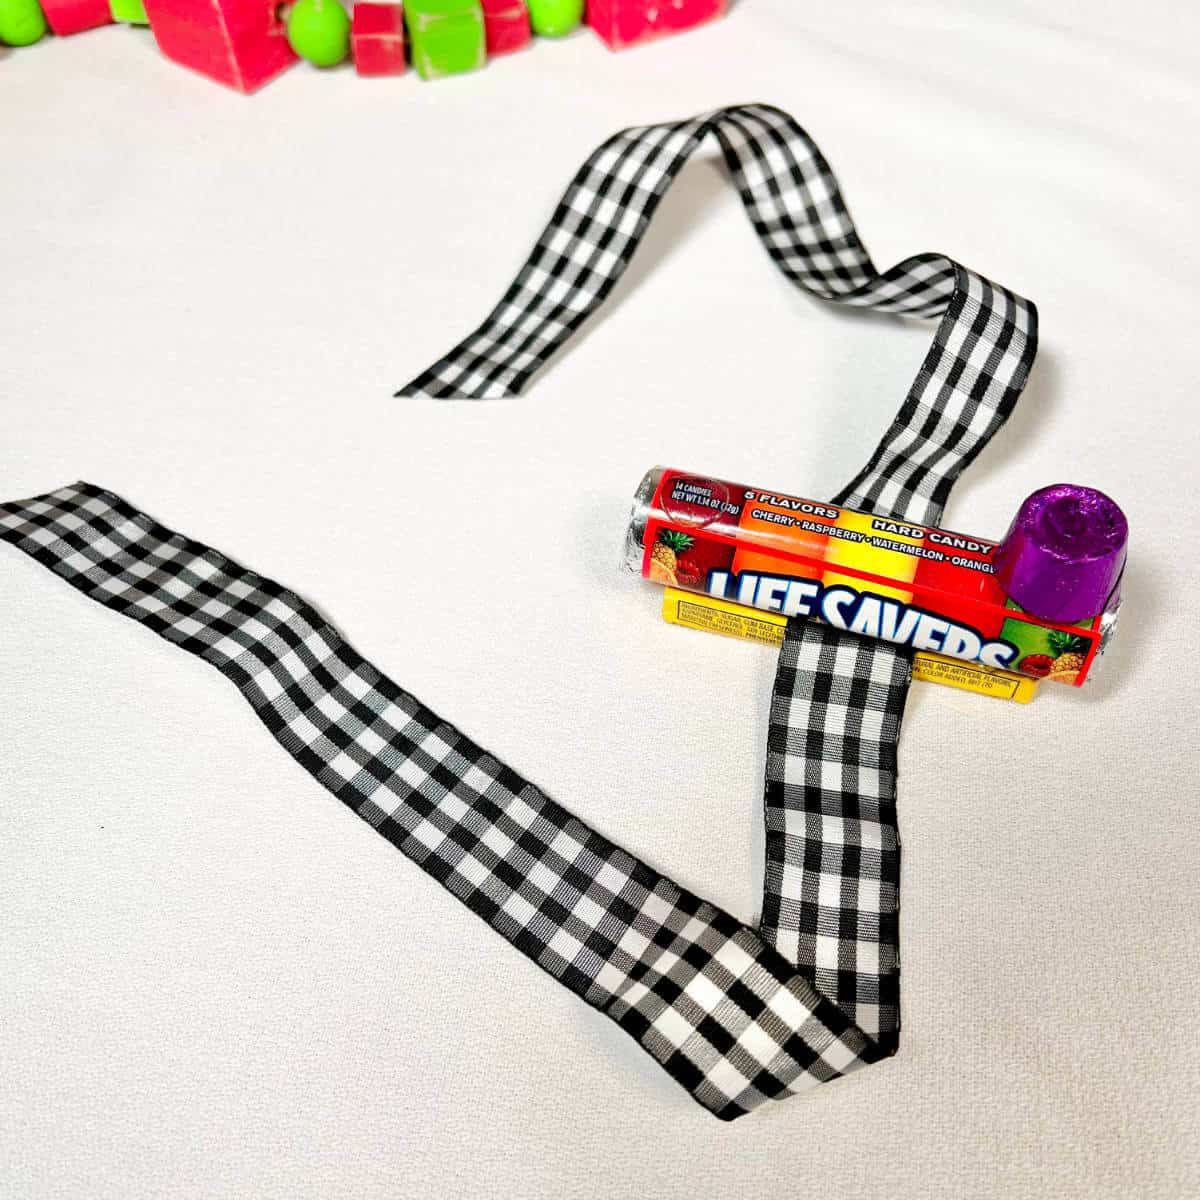
Step 4: Add a glue dot to the top, back end of the Lifesavers and attach a Rolo for the engineer’s cabin.
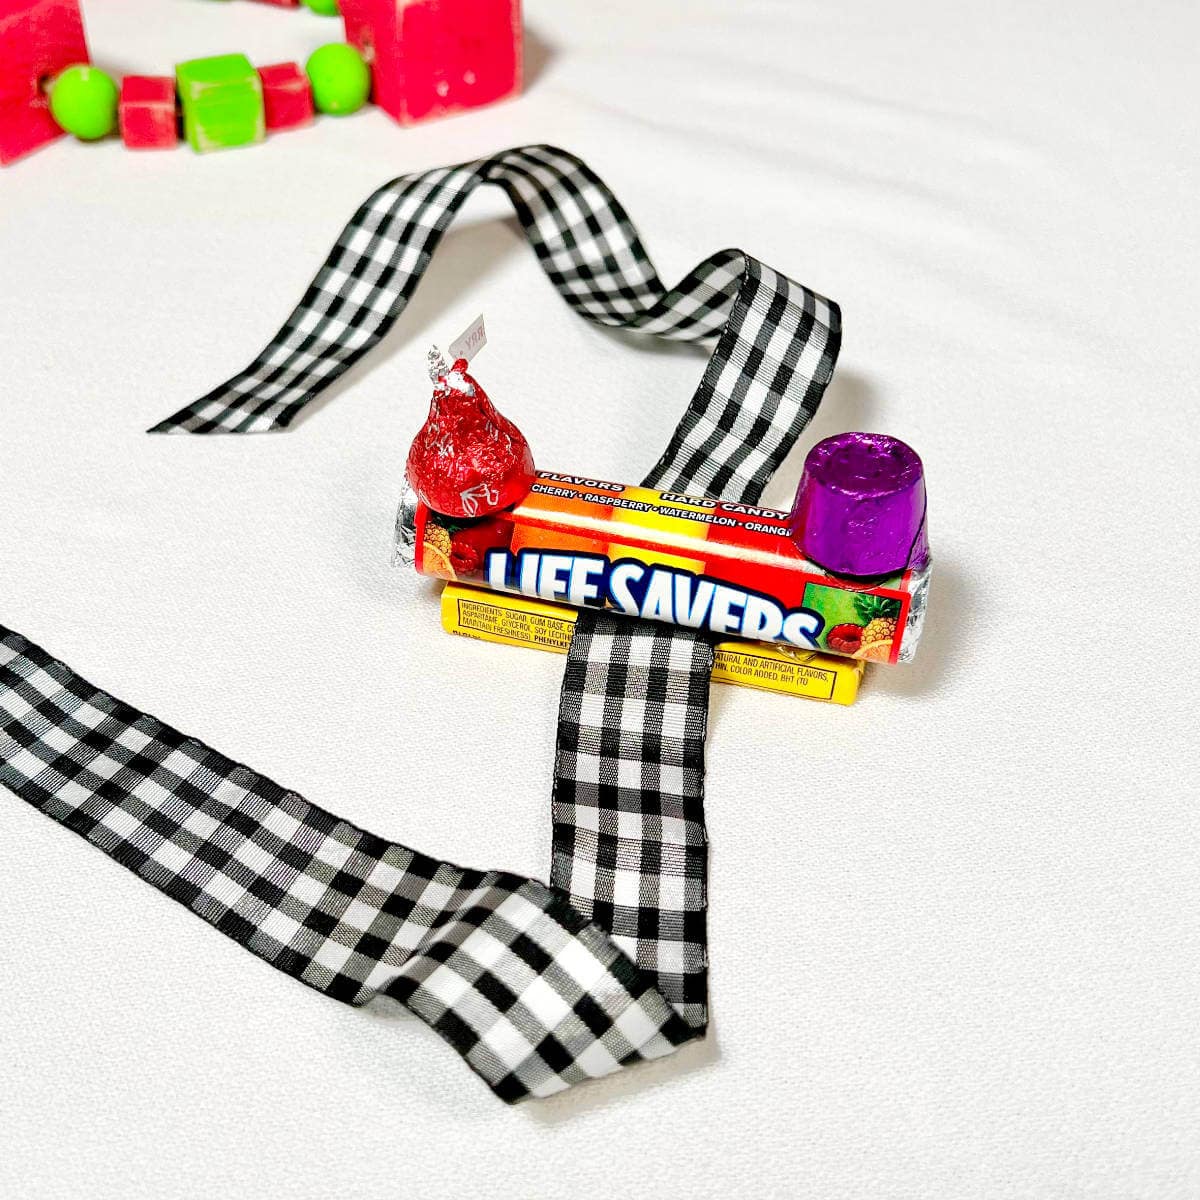
Step 5: Next, use a glue dot to attach a Kiss to the other end of the Lifesavers, for the front of the train.
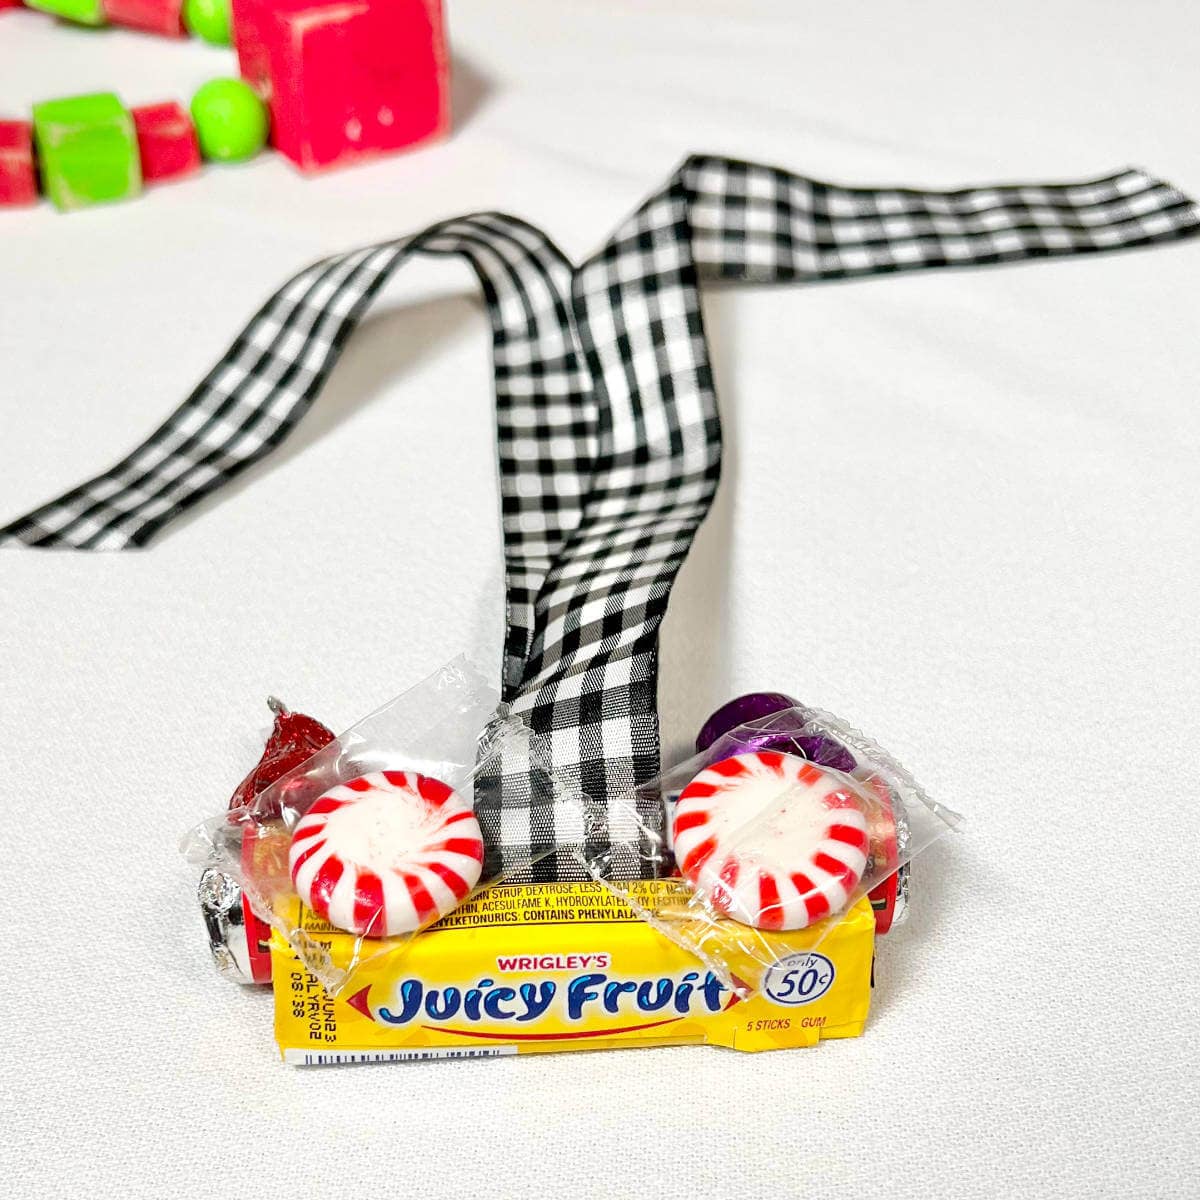
Step 6: Finally, using glue dots, press Starlight Mints onto the front and back of the gum pack for the wheels. Repeat on the opposite side.
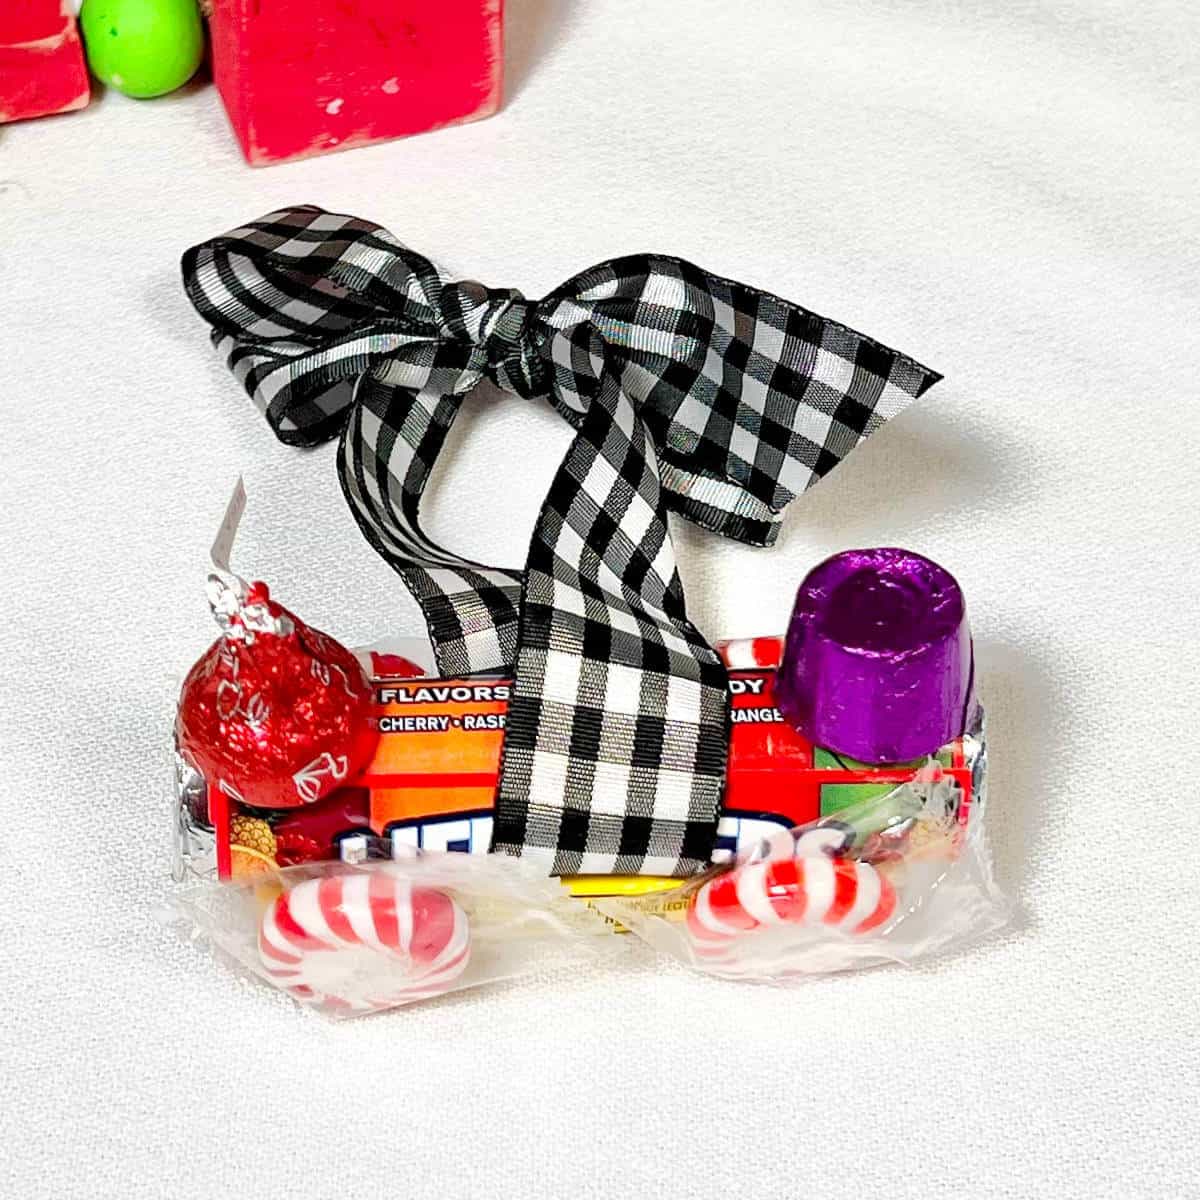
Step 7: If you added ribbon, now is the time to tie a bow at the top.
What To Do With Candy Trains
These candy trains are a Christmas favorite but would also make a great activity for a Train Birthday Party or for the train enthusiast!
- Turn it into an ornament.
- Use it as a gift topper.
- Put them together at a craft party.
- Add to a You’ve Been Tinseled Box.
- Make it a Birthday activity.
- Sell them at a craft bazaar.
- Provide the supplies for a classroom activity or classroom Christmas Party.
- Gift to your children’s friends.
Making a candy train is a fun and creative way to add a little sweetness to your train themed Birthday party or Christmas. Whether you use it as a decoration, a tree ornament, or a cute gift, this easy craft is sure to bring smiles to everyone. Gather your supplies, follow the steps, and enjoy building these adorable trains with family or friends. It’s a simple project that adds a special homemade touch to your Christmas!
Frequently Asked Questions
How To Make A Candy Train
Materials
- Gum - Believe it or not, it's actually hard to find the small packs of gum in stores but I was able to find them on Amazon.
- Lifesavers - You can often find Lifesavers around Christmas time, in stores.
- Starlight Mints
- Rolos
- Kisses
- 1/2" Glue Dots - You can also use a glue gun. Because we are making candy trains with little kids, I opted to buy glue dots to prevent burns.
- 1" Wide Ribbon - If you want to turn your candy train into an ornament, be sure to pick up some ribbon. This is the ribbon I used, you just want it to be wide so the train doesn't tip, when you hang it on your tree.
Tools
- Scissors
Instructions
- Add 3 glue dots to the top of a small 5-piece pack of gum.
- If you plan to make a candy train ornament, lay a piece of ribbon across the middle of the gum, on the center glue dot.
- Then, press a pack of Lifesavers on top of the gum.
- Add a glue dot to the top, back end of the Lifesavers and attach a Rolo for the engineer's cabin.
- Next, use a glue dot to attach a Kiss to the other end of the Lifesavers, for the front of the train.
- Finally, using glue dots, press Starlight Mints onto the front and back of the gum pack for the wheels. Repeat on the opposite side.
- If you added ribbon, now is the time to tie a bow at the top.

Hi! I’m Bridget!
I create printables and DIYs to help you get organized and celebrate special occasions! It’s my mission to inspire you to get creative and find joy in every day!


