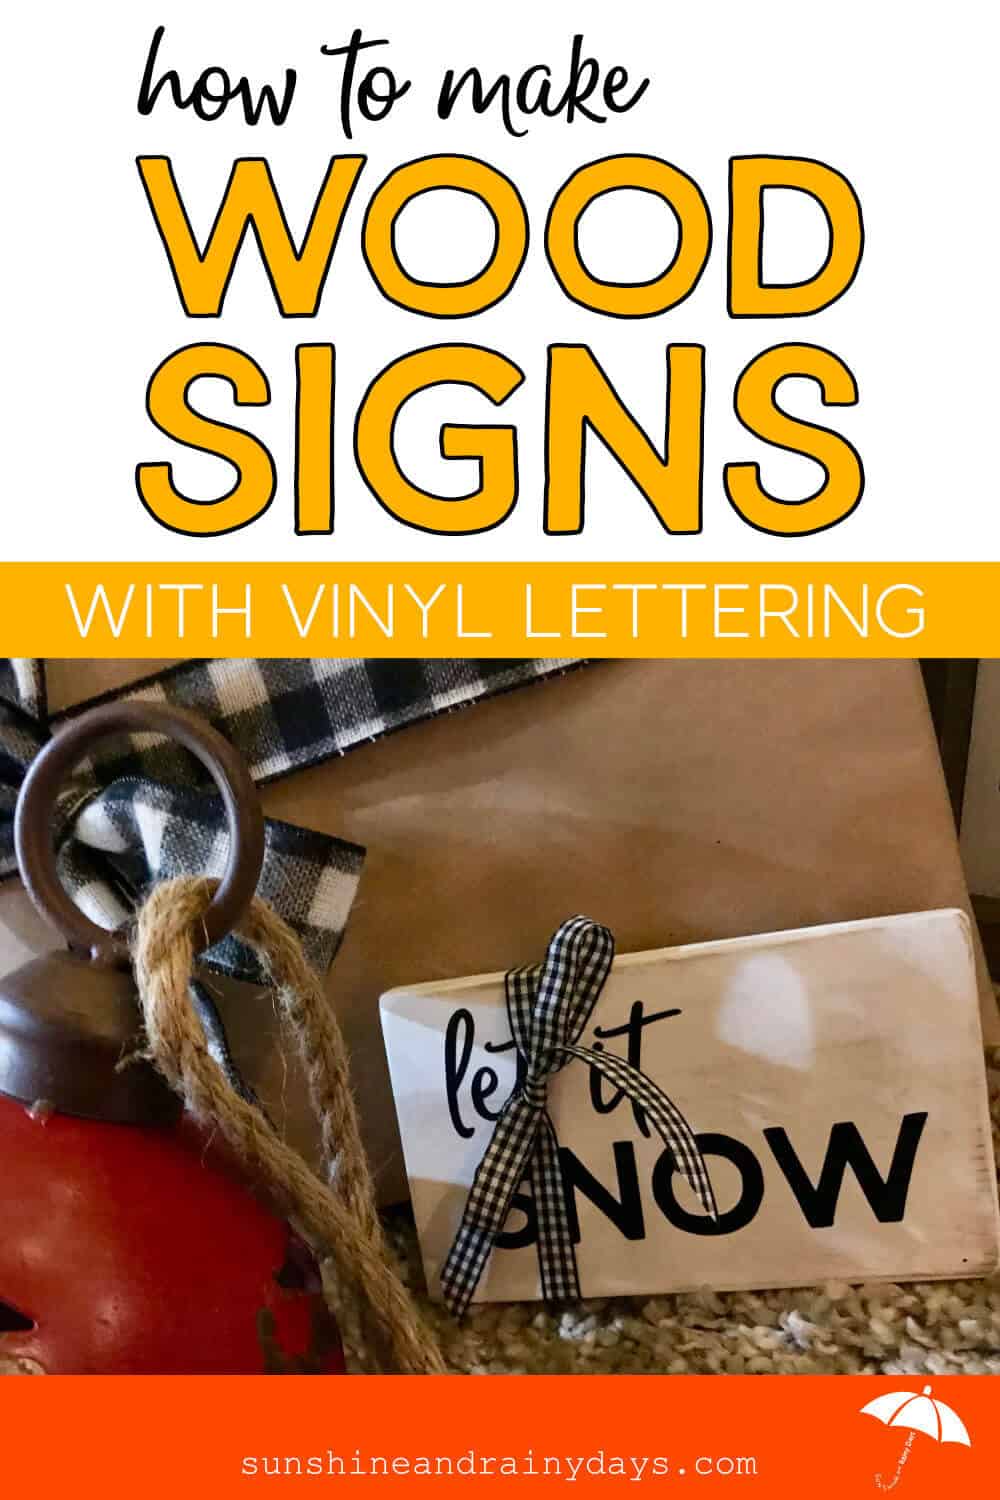
How To Make Wood Signs With Vinyl Lettering

I’ve made DIY Farmhouse Wood Signs by creating a stencil and painting the letters. Now, it’s time to create an EASY Rustic Sign, on the smaller side. Since these signs are so small, it can be challenging to use a stencil. Instead, I’ve learned How To Make Wood Signs With Vinyl Lettering!
Wood Signs with vinyl lettering are super EASY to make! Although I prefer Farmhouse Signs with letters painted on, I’ve found when working on a small sign, it’s best to use vinyl.
Tip: If you use Matte black vinyl, it will be hard to tell whether your sign is painted or not, which is a good thing.
Vinyl Lettering also makes the sign-making process go super fast!
Below, you will learn how to:
- Create A Blank
- Prepare Your Wood Sign Letters
- Apply Your Vinyl Letters To Your Sign
This post contains affiliate links. When you purchase through an affiliate link, we receive a small commission at no additional cost to you. Disclosure.
Tools Used
- Miter Saw
- Measuring Tape
- Square
- Sander
- Paint Supplies
- Silhouette
Supplies Used
- 1 x 4 (I used select Whitewood)
- Sand Paper (I used 220 grit)
- White Exterior Paint
- Mini Paint Roller
- Vinyl
- Transfer Paper
Create A Blank For Your Wood Sign
With just a few tools, this wood sign blank is so simple to make, it would be a shame to buy one.
This is 1 x 4 Select Whitewood. I prefer to use Select because it makes less work for me. Select wood is generally a good quality wood that will require very little sanding.
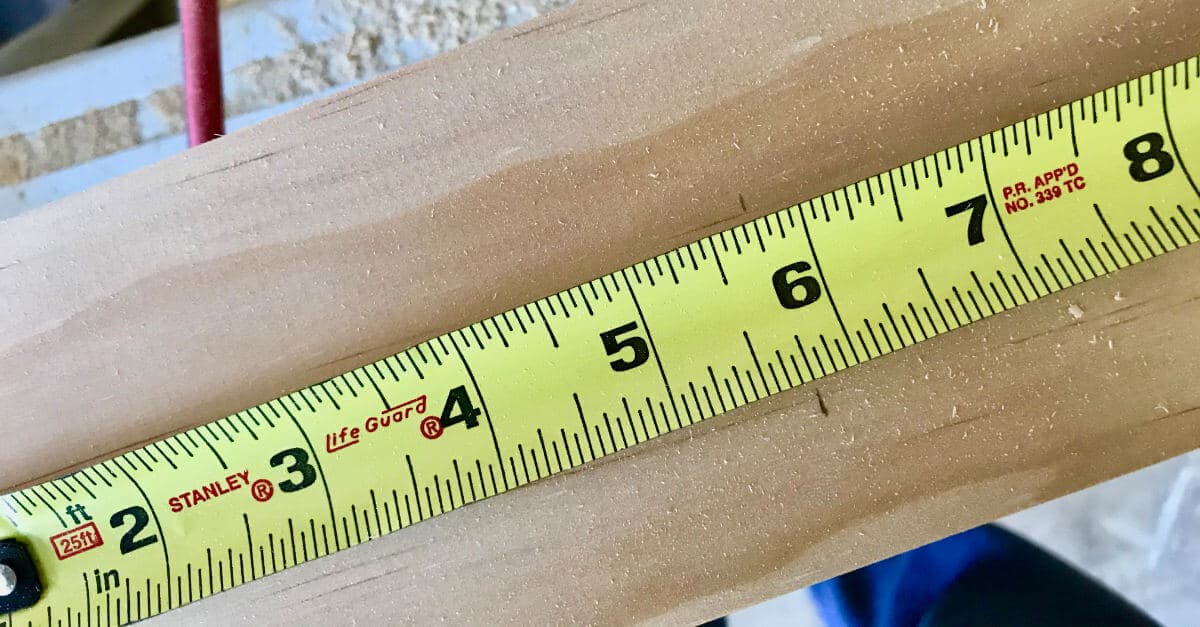
First, I marked the board at 5-3/4″.
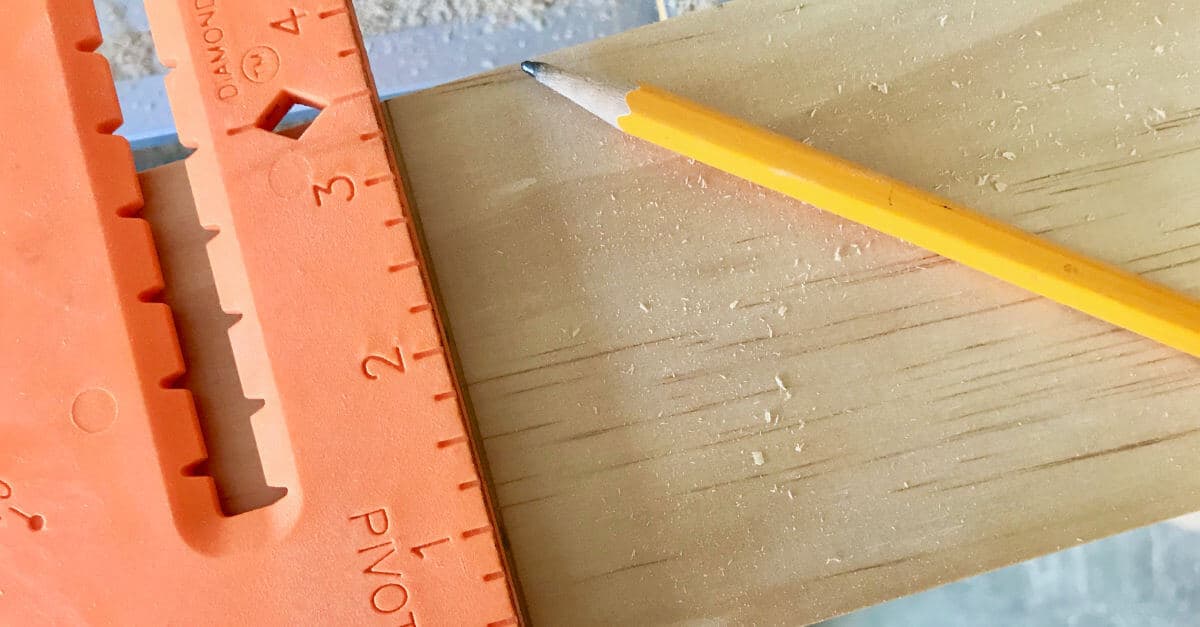
Next, I used a square to draw a cut line on the board.
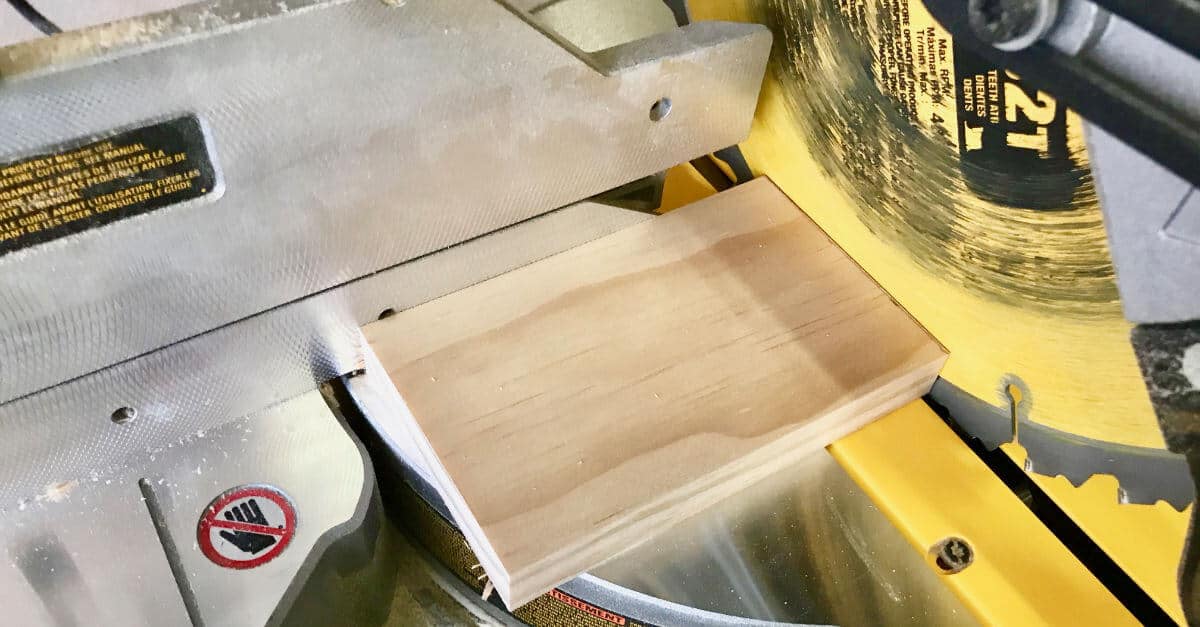
Then, I used my miter saw to cut my board.
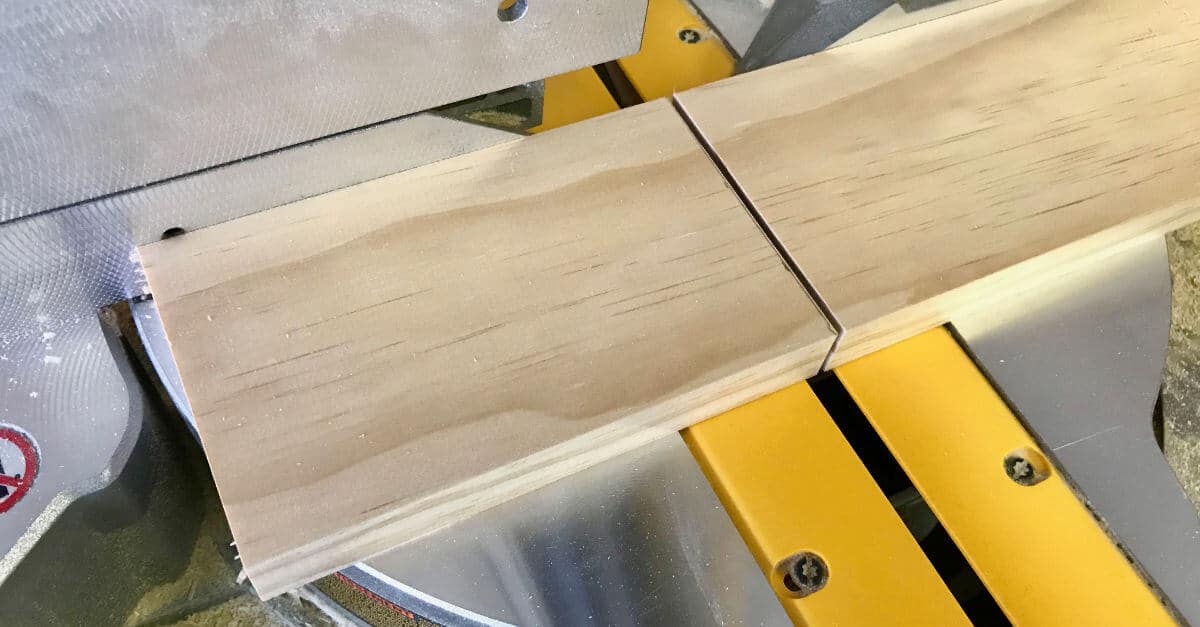
My wood sign is now cut and ready to sand.
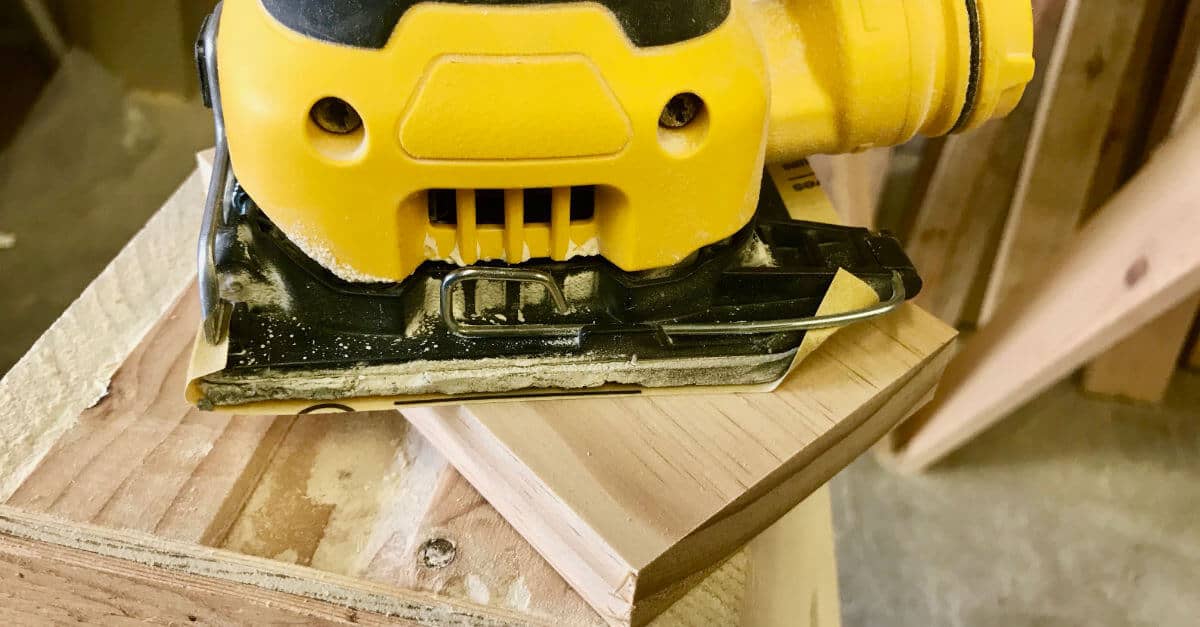
A little light sanding is all this wood sign needs.
Next, I used a mini foam paint roller to paint my wood sign blank, white.
First, I paint the sides and then the front. Once that dries, I paint the back.
I prefer to use outdoor paint, in case the recipients of the sign choose to put the sign on their porch.
After the paint dries, you may choose to do another light sand to scuff it up a bit or you can leave it just how it is.
Tip: If you choose to give your blank a light sand, you may also want to make it look weathered on the exposed wood areas. To do this, simply brew a few tea bags and, once cool, rub it over your blank to darken the exposed wood.
That’s it! You have now created your blank for your wood sign!
If you plan to make more than one sign, go ahead and get all of your blanks ready.
Prepare Your Wood Sign Letters
Now that you have your blank ready to go, it’s time to use your cutting machine to create your letters.
There’s no need to get fancy here, just use your favorite fonts and write a saying you like. I go more in-depth on how I create my designs in my post about DIY Farmhouse Wood Signs.
Once you’ve created and cut your design, weed out the parts that won’t go on your sign. Basically, everything but the letters.
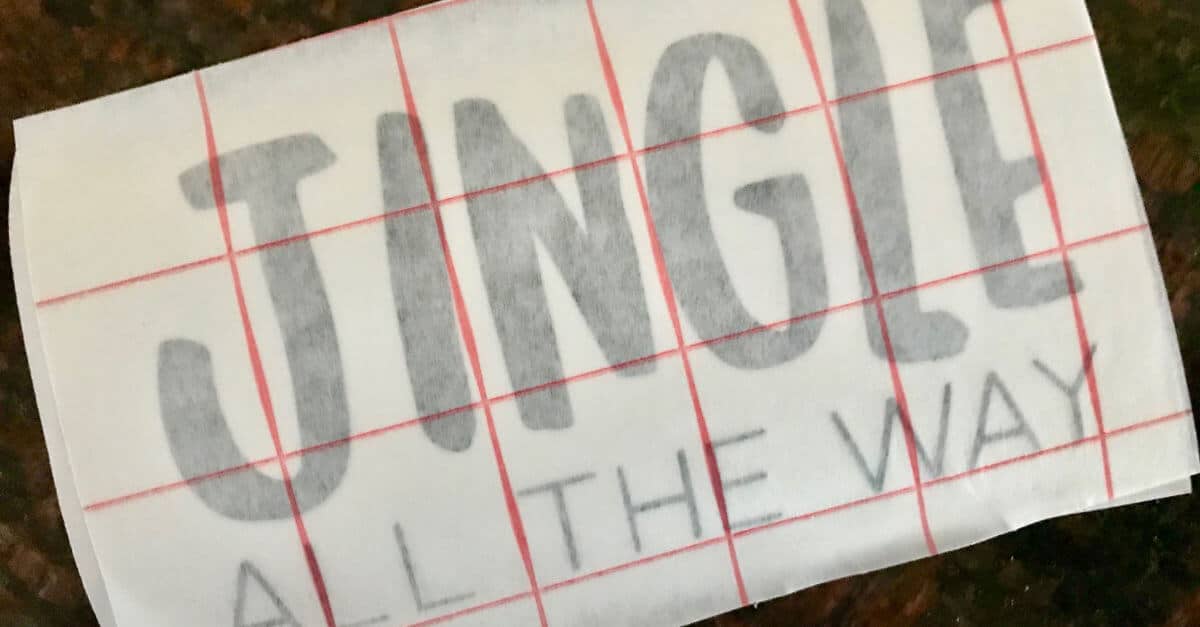
Next, place transfer paper over your vinyl letters.
Transfer paper is what helps you place your letters on your wood sign.
Then, burnish your letters onto the transfer paper with a burnishing tool, credit card, or even your fingers will work in a pinch. Burnish is a fancy way to say rub. You just want to make sure the letters stick to the transfer paper for the next step.
Now, turn your vinyl letters over and carefully peel the back away by pulling straight back. The letters should stick to the transfer paper. If they don’t, push the back, back on, and burnish again until the letters stick.
Apply Your Vinyl Letters To Your Sign
The tricky part here is lining your letters up evenly and straight. I will often eyeball it and lightly place the letters on the board.
Then, I will use a ruler, or whatever is handy, to measure each edge and make sure the letters are straight.
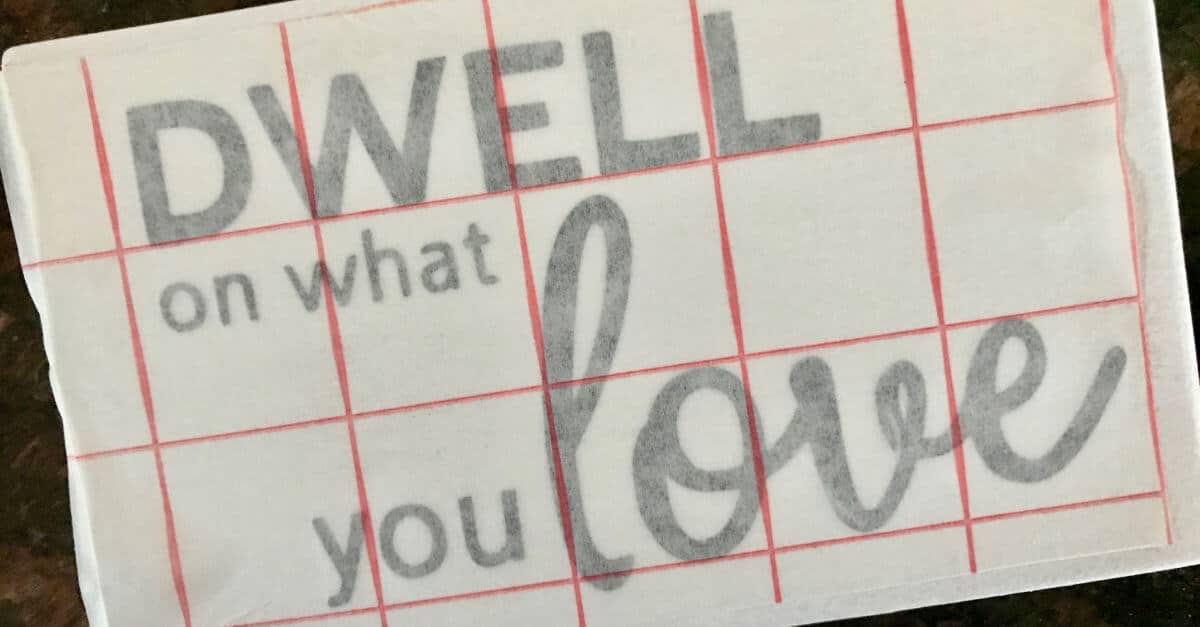
If your transfer paper has grid lines, that may help you line up your letters, too.
Once your letters are right where you want them, burnish the letters onto the wood.
Then, gently pull your transfer paper straight back, at an angle.
At this point, you can use your fingers to give your letters a final rub.
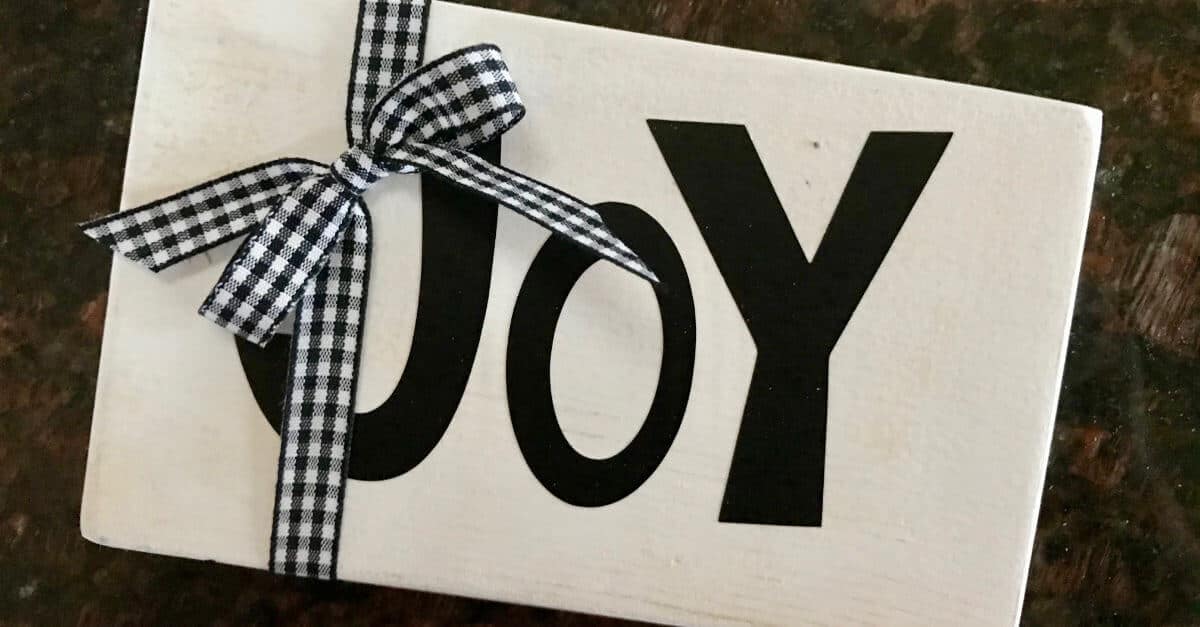
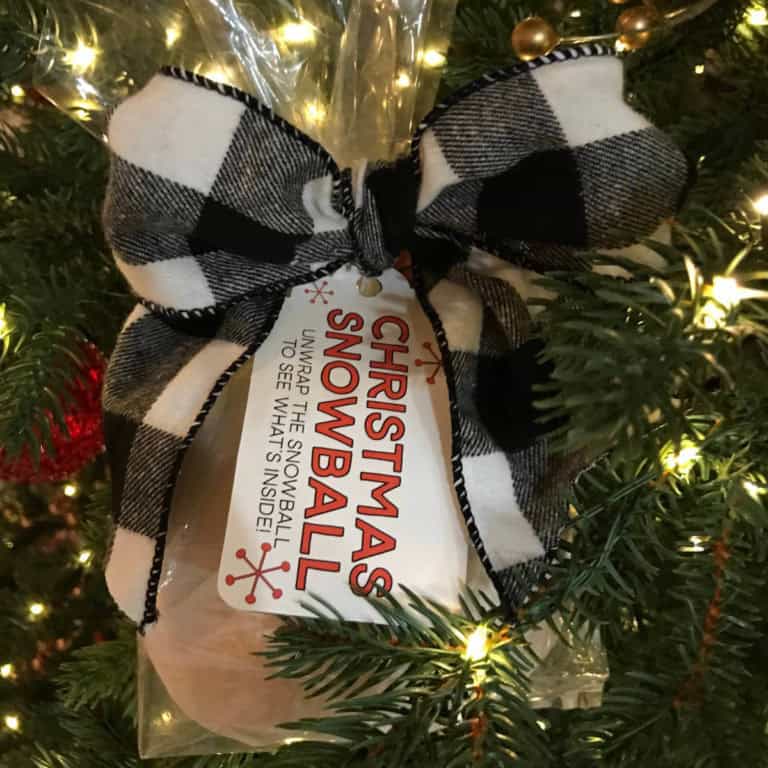
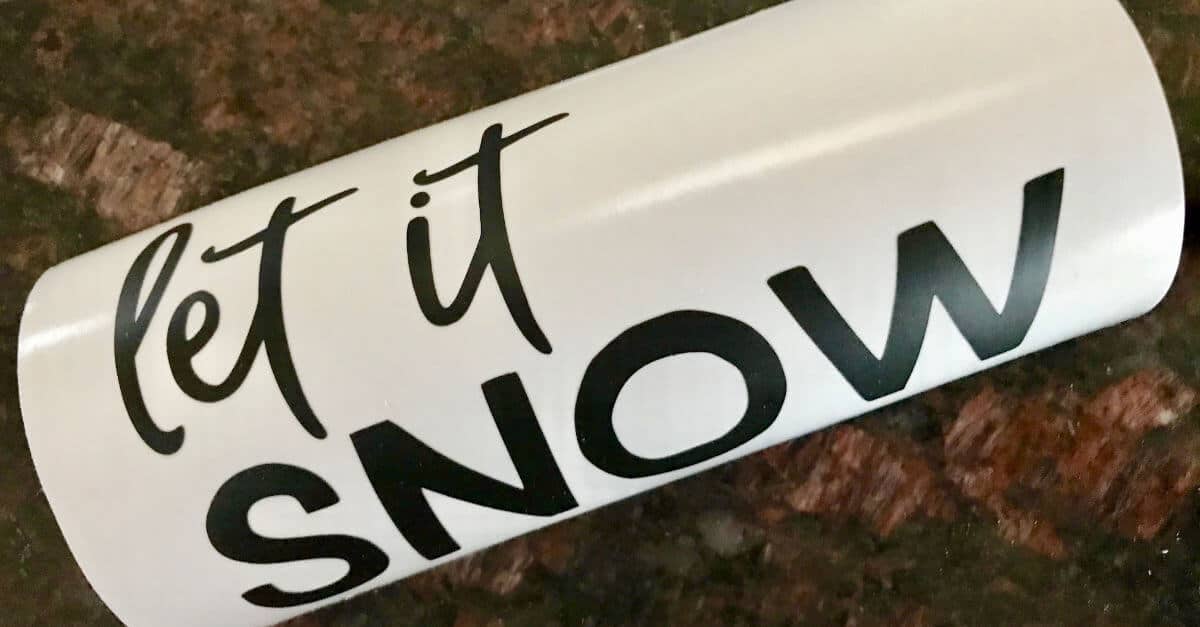
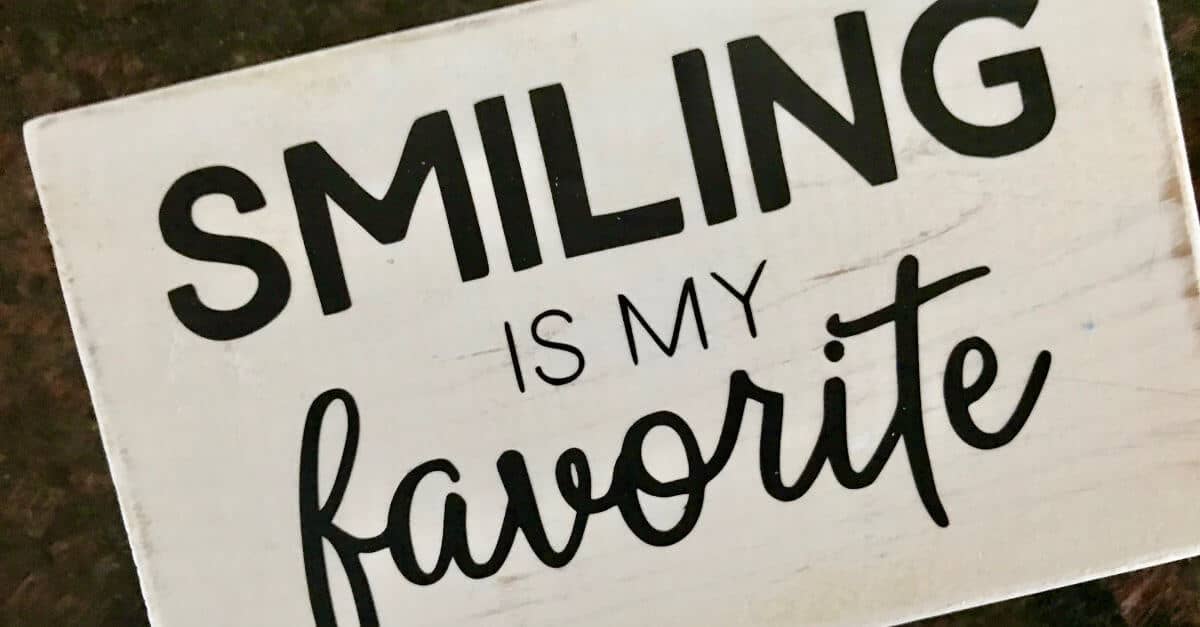
Now, you have a sign you can use as decor or as a gift! I even put a few in our Christmas Tree!

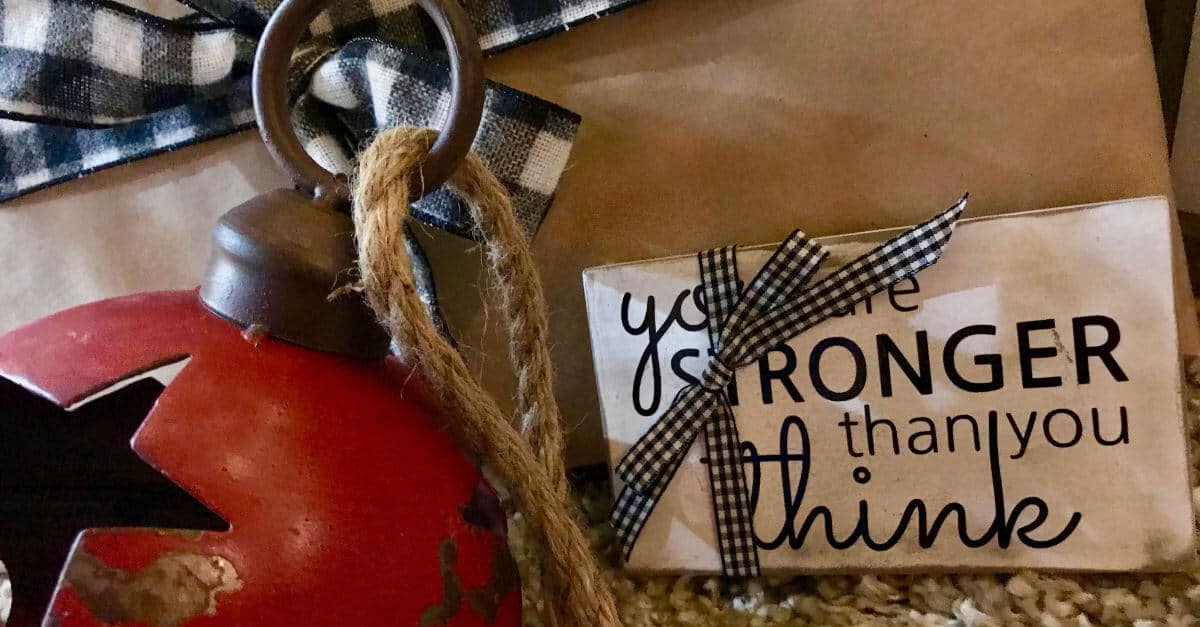
These Wood Signs With Vinyl Letters are super simple to make and fun to use as decor or give as gifts.
I’ve seen signs, a lot like this, for sale at bazaars and boutiques for $10.