How To Make Paper Bag Candy Corn Decor
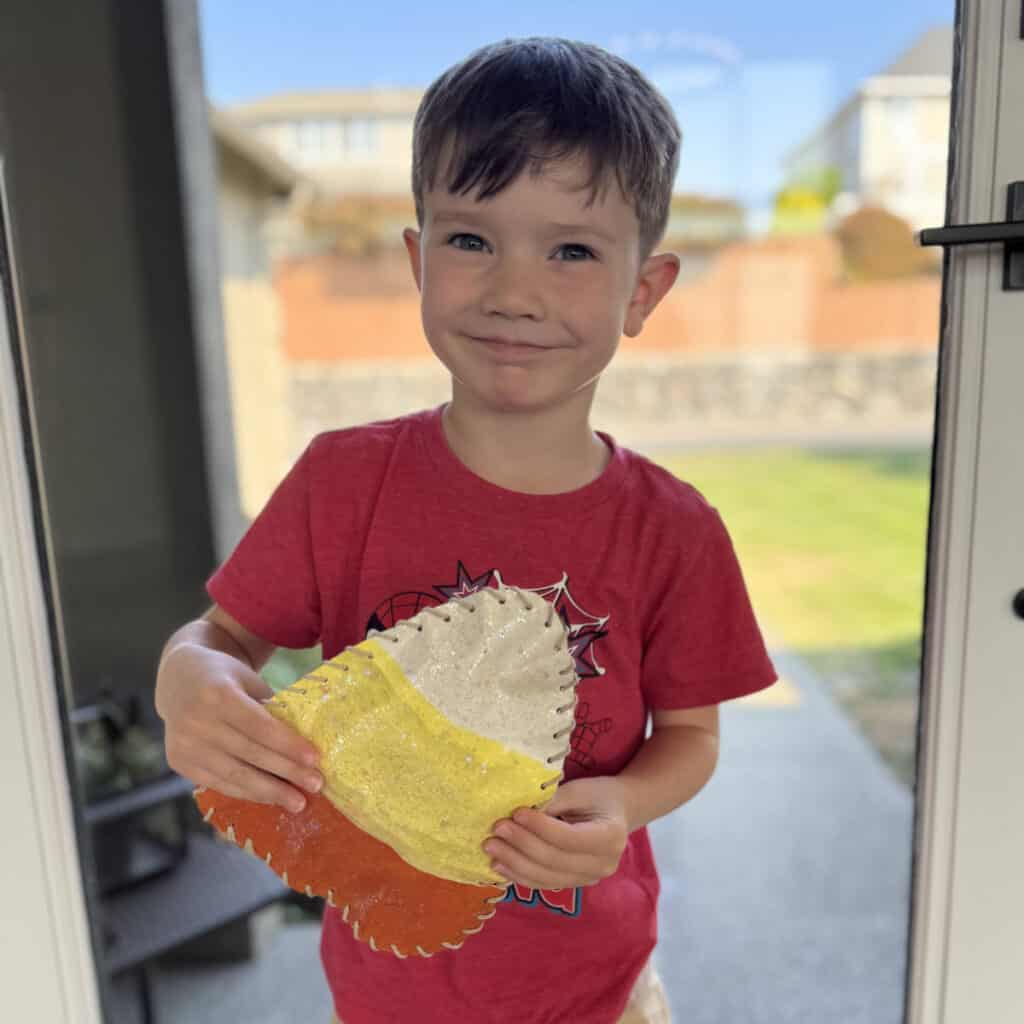
My great-niece and nephew, who love to paint, came over to spend a few hours. I wanted to craft with them using the supplies I have on hand, so I decided to learn How To Make Paper Bag Candy Corn Decor. At first, I tried to explain the craft to them, and they weren’t too interested. LEGOS were calling their name! So I decided to make one myself to see how it would turn out. After they saw what I made, they decided they wanted to make one too! But I have to say, theirs turned out so much better than mine! The glitter paint really took it over the top!
Supplies Needed
This post contains affiliate links. When you purchase through an affiliate link, we receive a small commission at no additional cost to you. Disclosure.
The thing I love about this craft is that it takes just a few supplies that you may already have on hand!
- Brown Paper Grocery Bag – We happened to have a few, although we mostly use reusable bags now. I had a few that we had paid eight cents for.
- Candy Corn Template – You could pretty easily come up with your own, but I found this free candy corn template from Freebie Finding Mom that worked great.
- Orange, Yellow, and White Paint – I barely had any yellow left, but thankfully we didn’t need much for this project.
- Glitter Paint – This is optional if you want your candy corn to sparkle. The kids found the glitter paint and had to use it. I think it added a lot to the project!
- Paint Brushes – I had one sponge brush on hand, and they loved using these makeup brushes I had from trying my hand at banner signs.
- Scissors
- Paperclips – We used paperclips to hold the front and back candy corn pieces together while punching holes and sewing.
- Hole Punch – I have a 1/8″ hole punch that worked perfectly for this project.
- Yarn – I used yarn that resembles jute.
- Yarn Needle – You’ll be surprised how much you use a yarn needle once you have one.
- Stuffing – If you have polyfill on hand, that’s great. I didn’t, so we used a plastic grocery bag in one and paper towels in the others. I gave my niece and nephew a choice of paper towels or toilet paper. They looked at me funny and chose paper towels.
The best memories start with a few simple supplies and an idea!
If you love candy corn to eat or just look at, check out this sweet Printable Candy Corn Banner or these Candy Corn Coloring Pages. But wait! Now I’m thinking you could paint a candy corn banner using brown paper bags. That sounds like fun! I also have festive Halloween Popcorn Tags featuring candy corn characters.
How To Make Paper Bag Candy Corn Decor
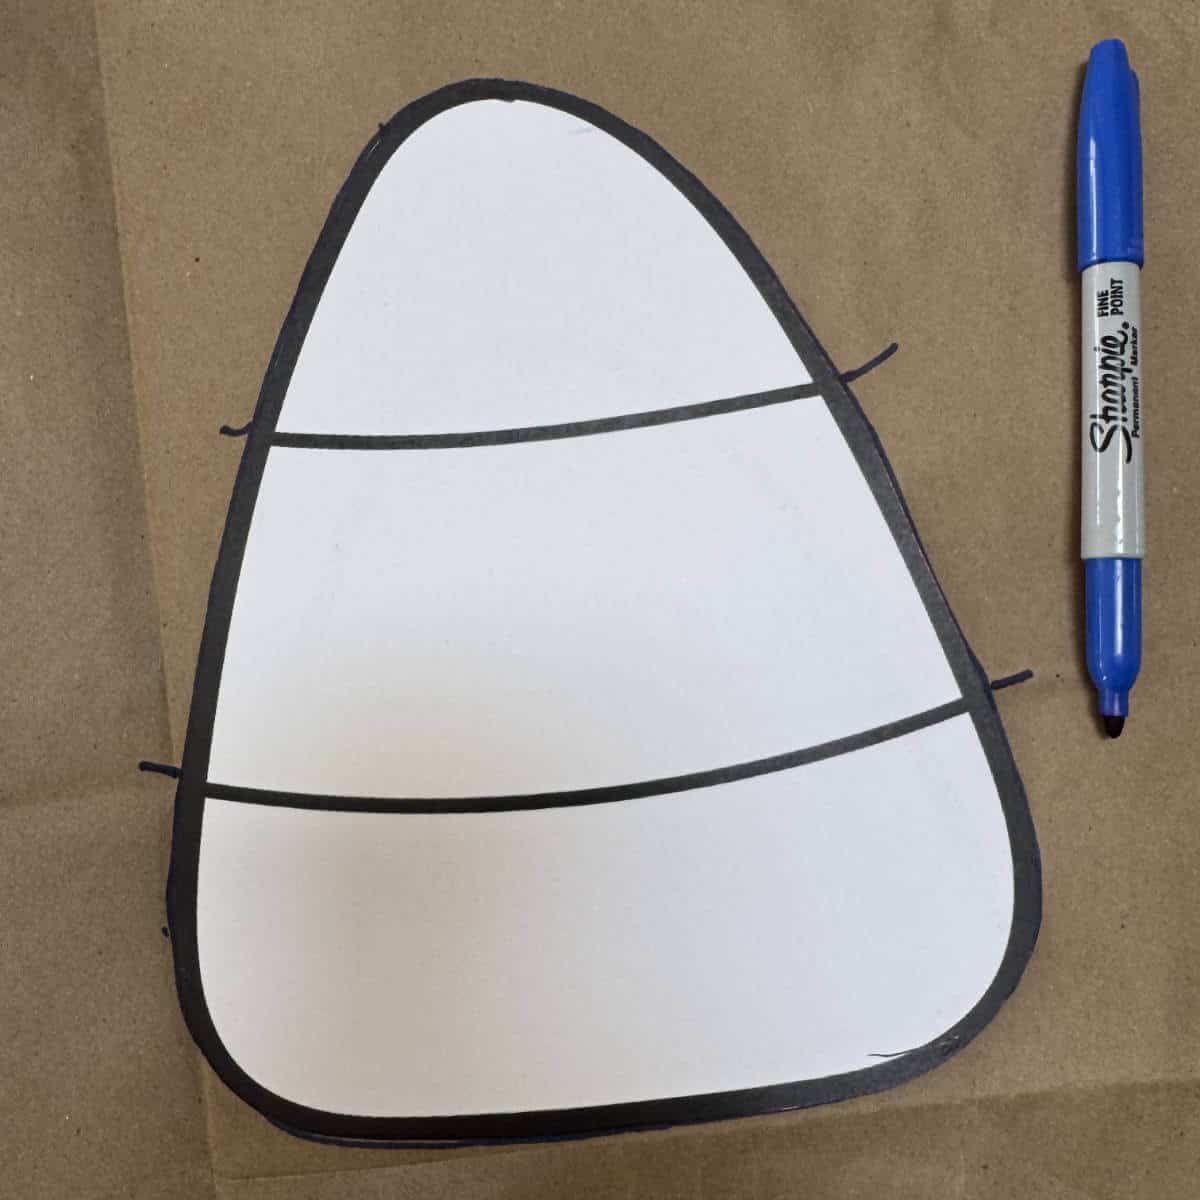
Step 1: Trace The Template
Trace a candy corn template onto a brown paper grocery bag, using a marker. After I traced the perimeter, I marked where the lines go across the candy corn to make it easier to draw the lines in.
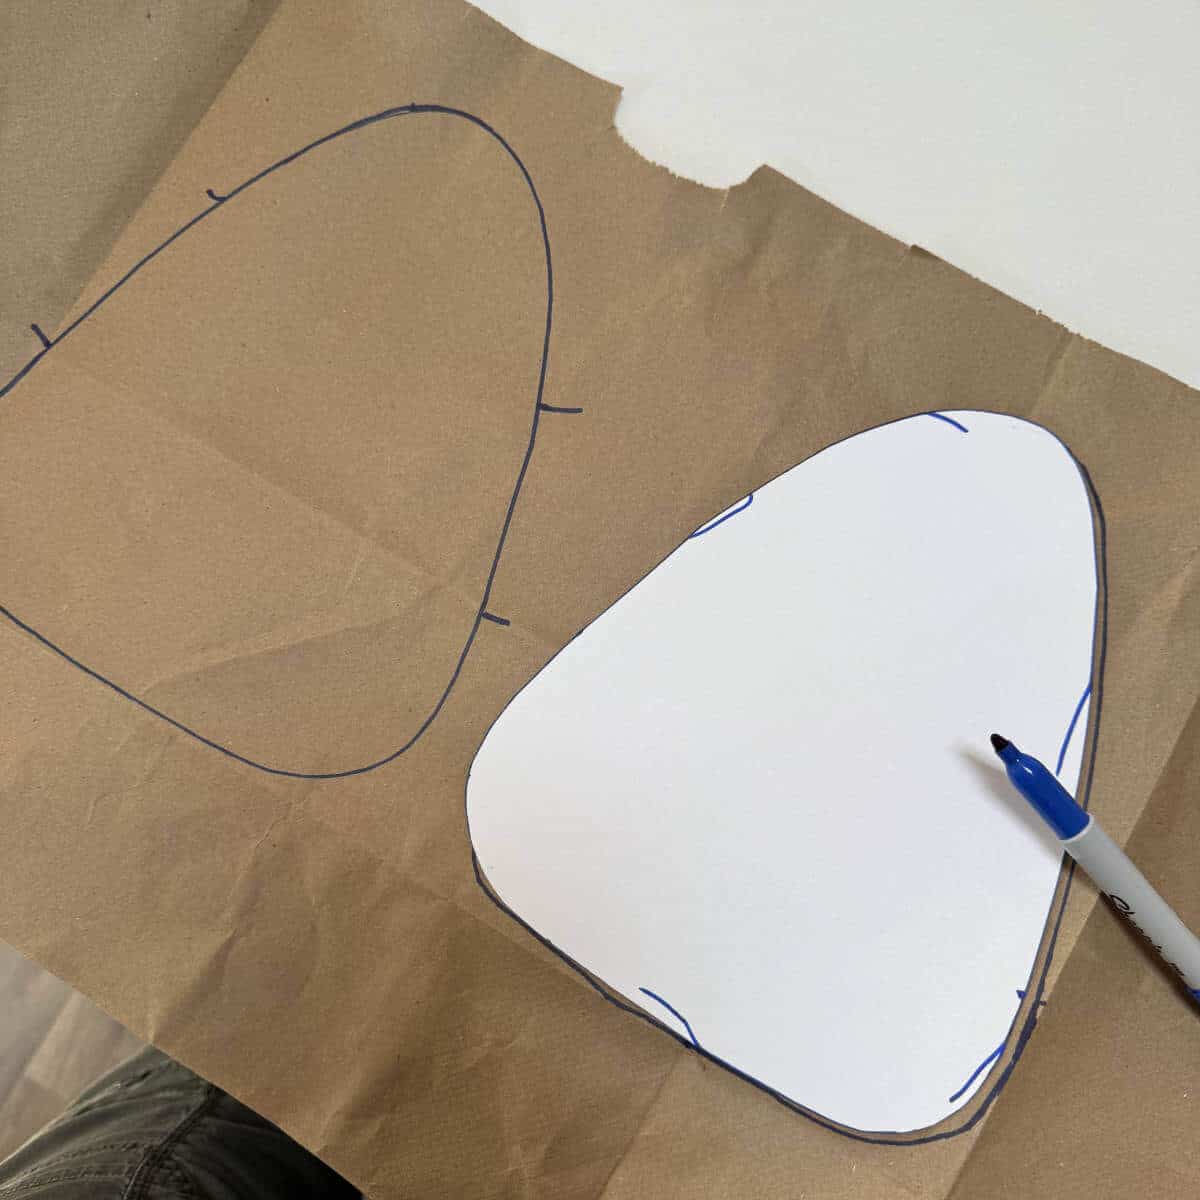
Step 2: Trace The Back
Because my candy corn template wasn’t perfectly symmetrical, I flipped it over to trace the backside of my candy corn.
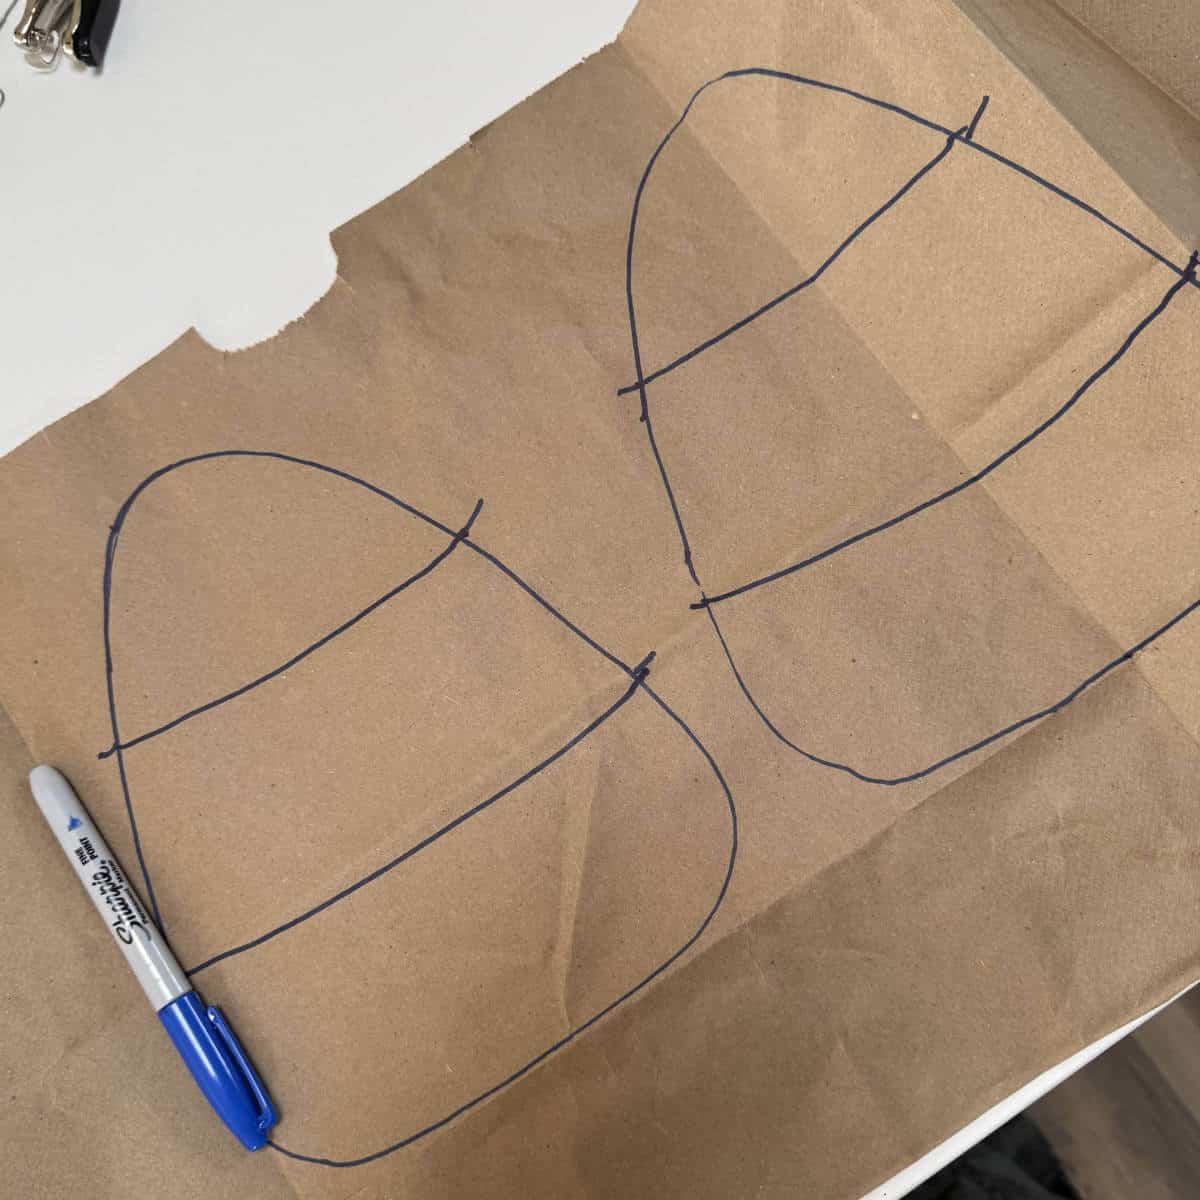
Step 3: Draw Lines
Once the front and back of the candy corn were traced and lines marked, I drew the lines across the candy corn shapes. They don’t need to be perfect or followed precisely with paint. They are simply a general guideline for your paint colors.
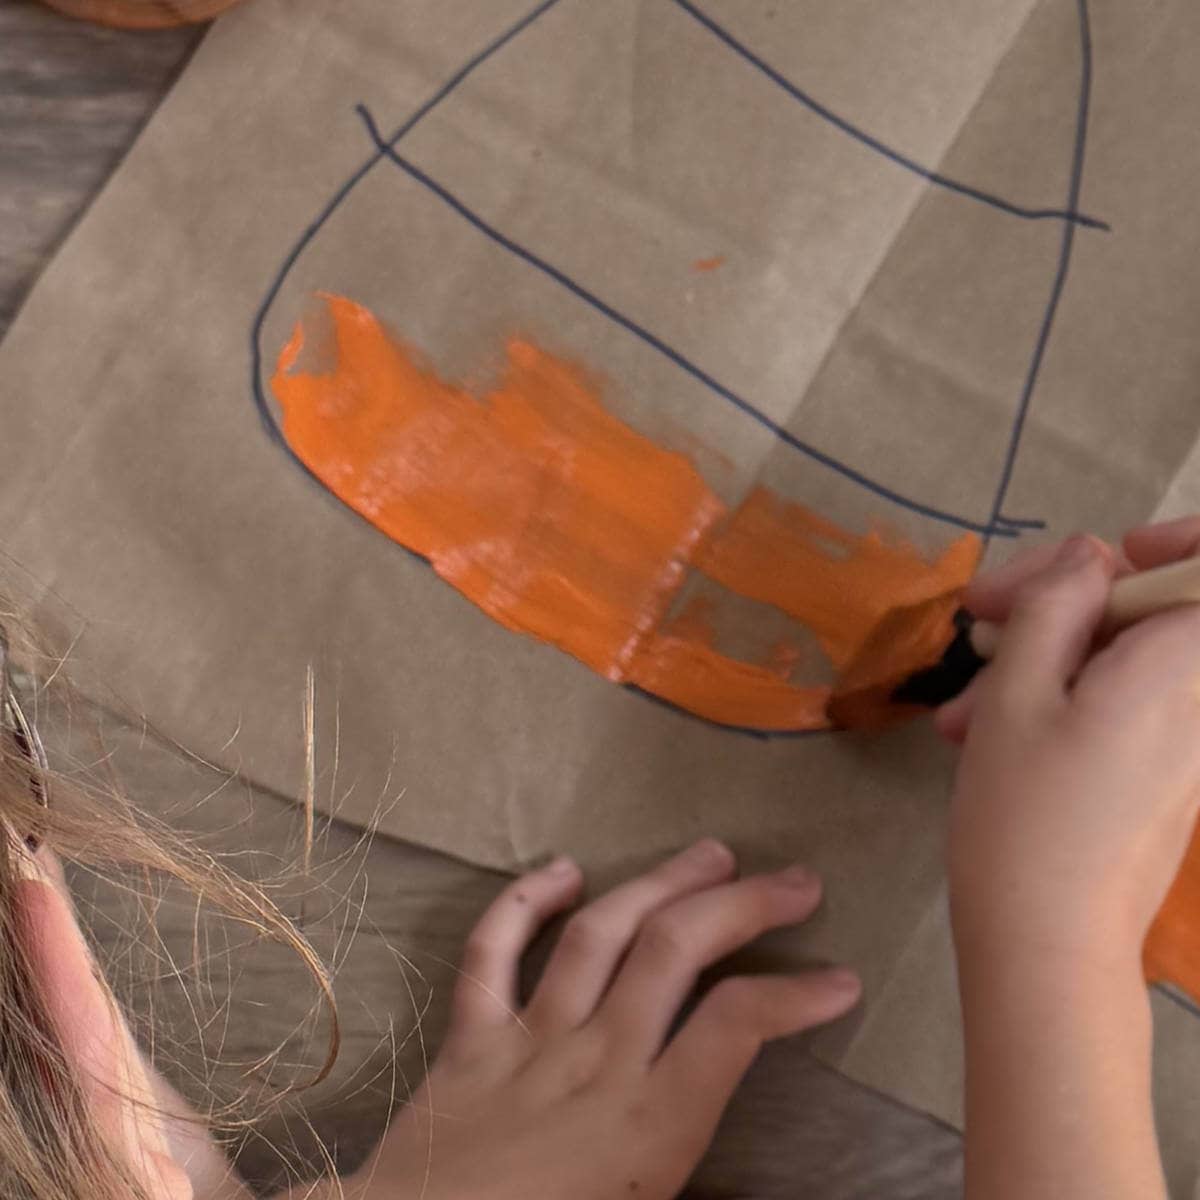
Step 4: Paint The Orange And White Portions Of The Candy Corn
We chose to paint our candy corn before cutting them out. I felt like this would be less messy, and it worked quite well.
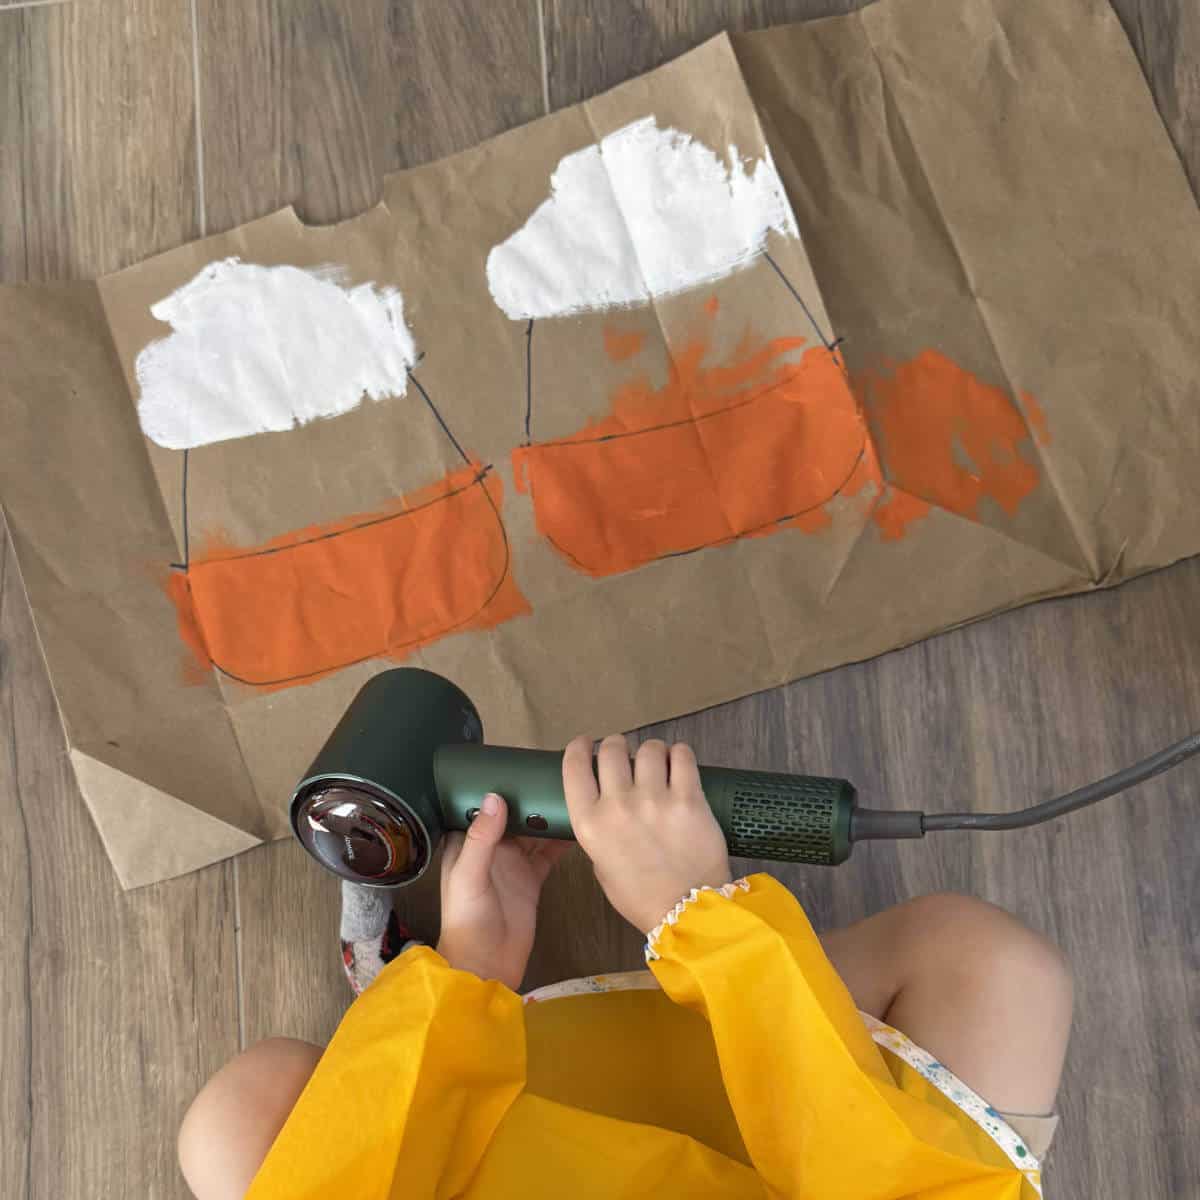
Step 5: Let The Paint Dry
Because the kids wouldn’t be at my house very long, we chose to use a hair dryer to dry the white and orange paint so we could paint the yellow right away.
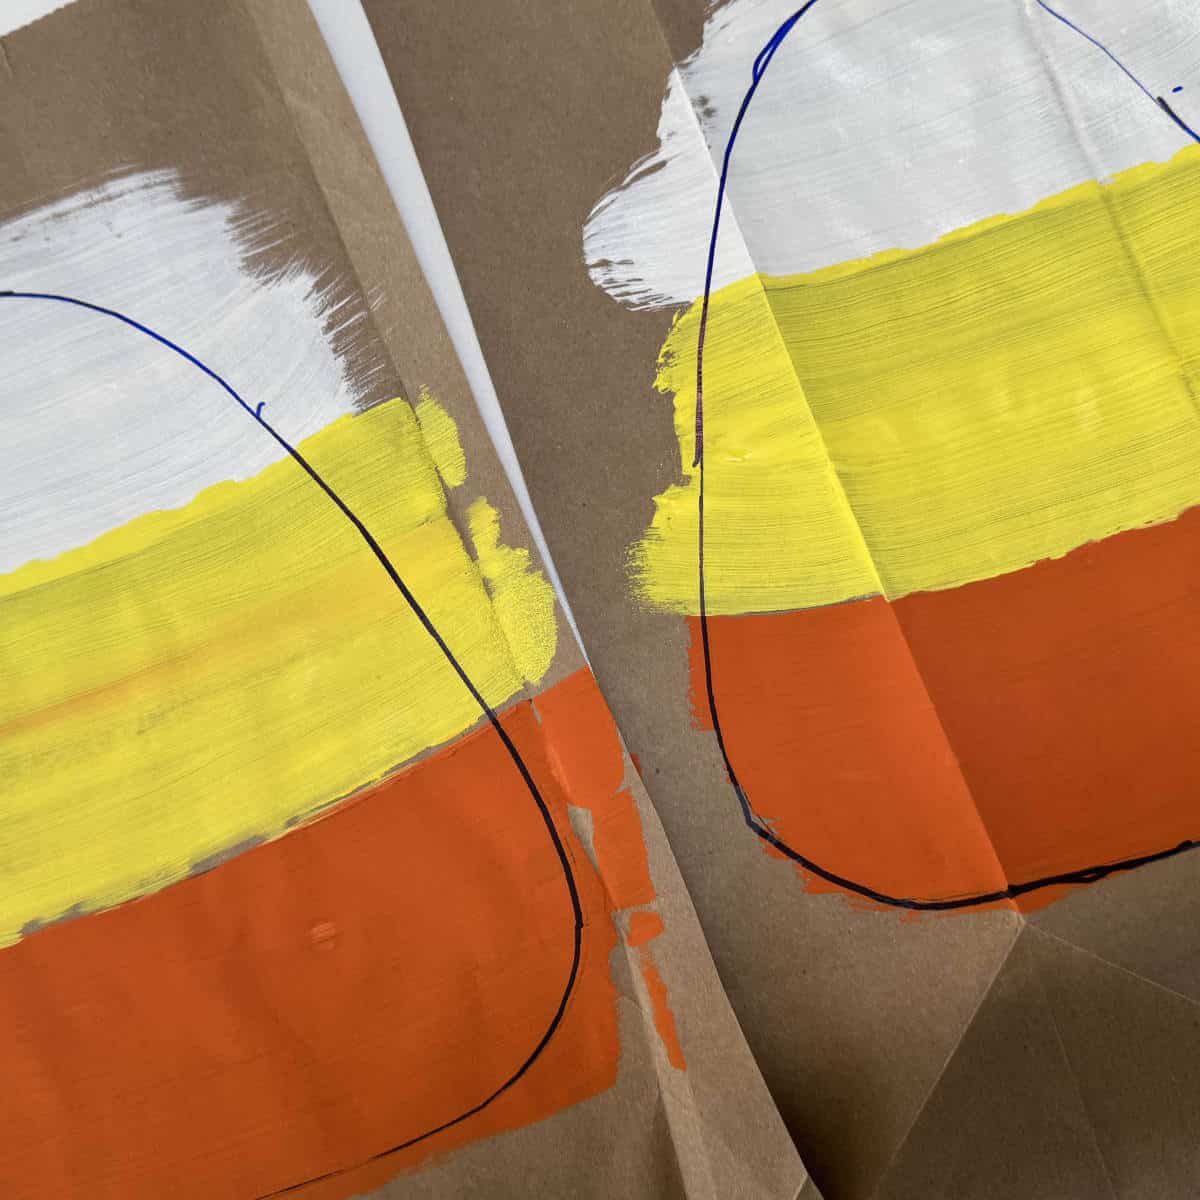
Step 6: Paint The Yellow Stripe
After the orange and white paint was dry, we painted the yellow stripe. A little of the orange got mixed in, but we weren’t going for perfection, and it turned out great!
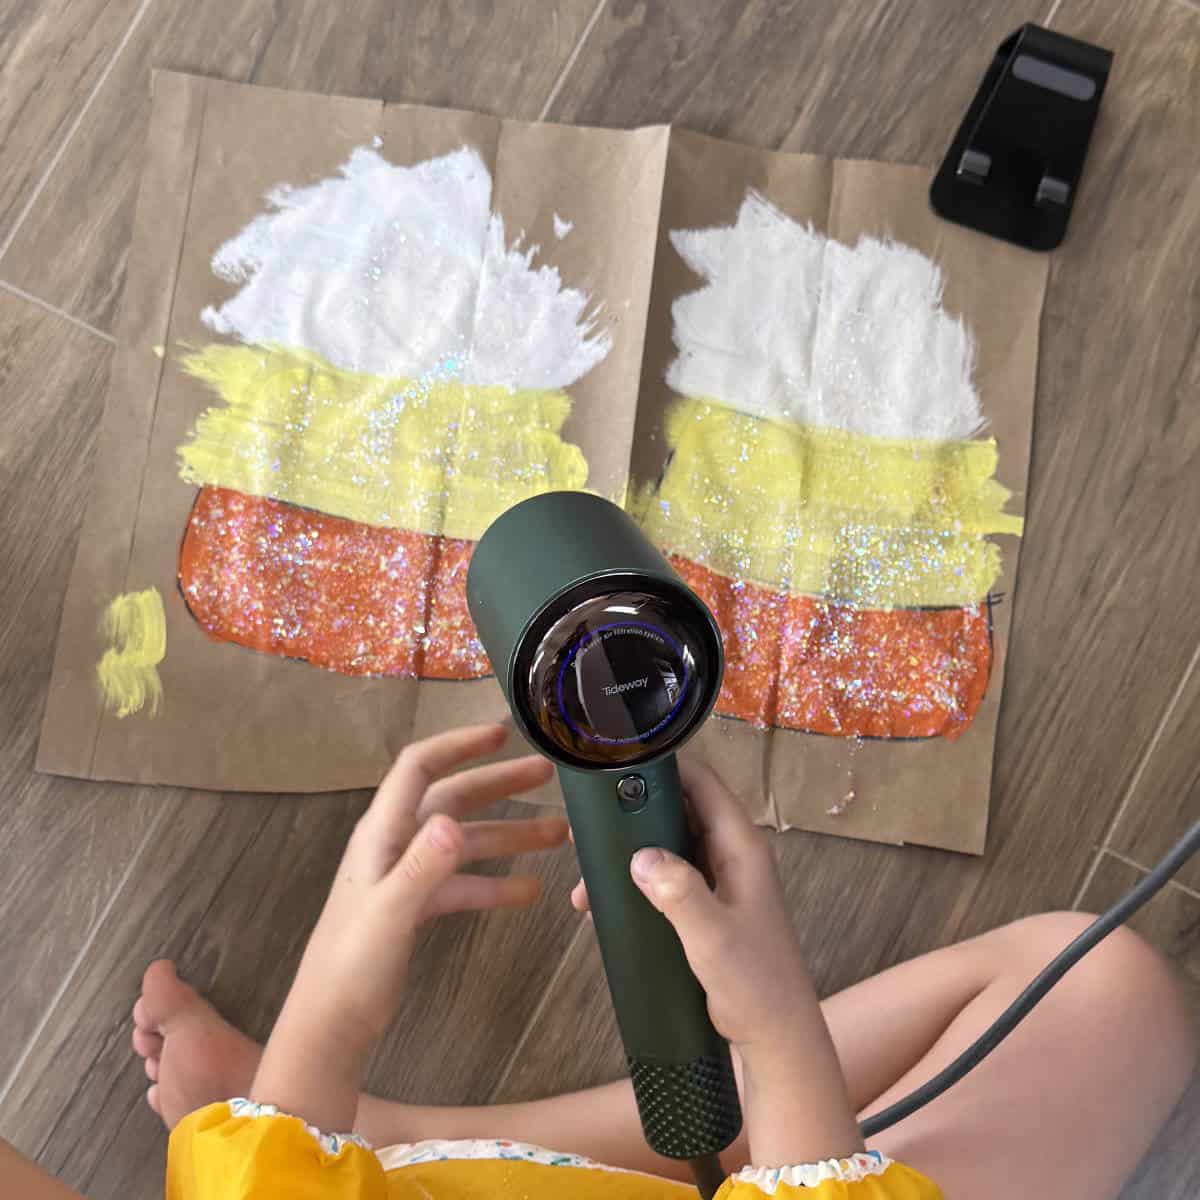
Step 7: Add Sparkles
This step is optional. My great-niece and nephew found the glitter paint and wanted to use it. I think it was a great addition!
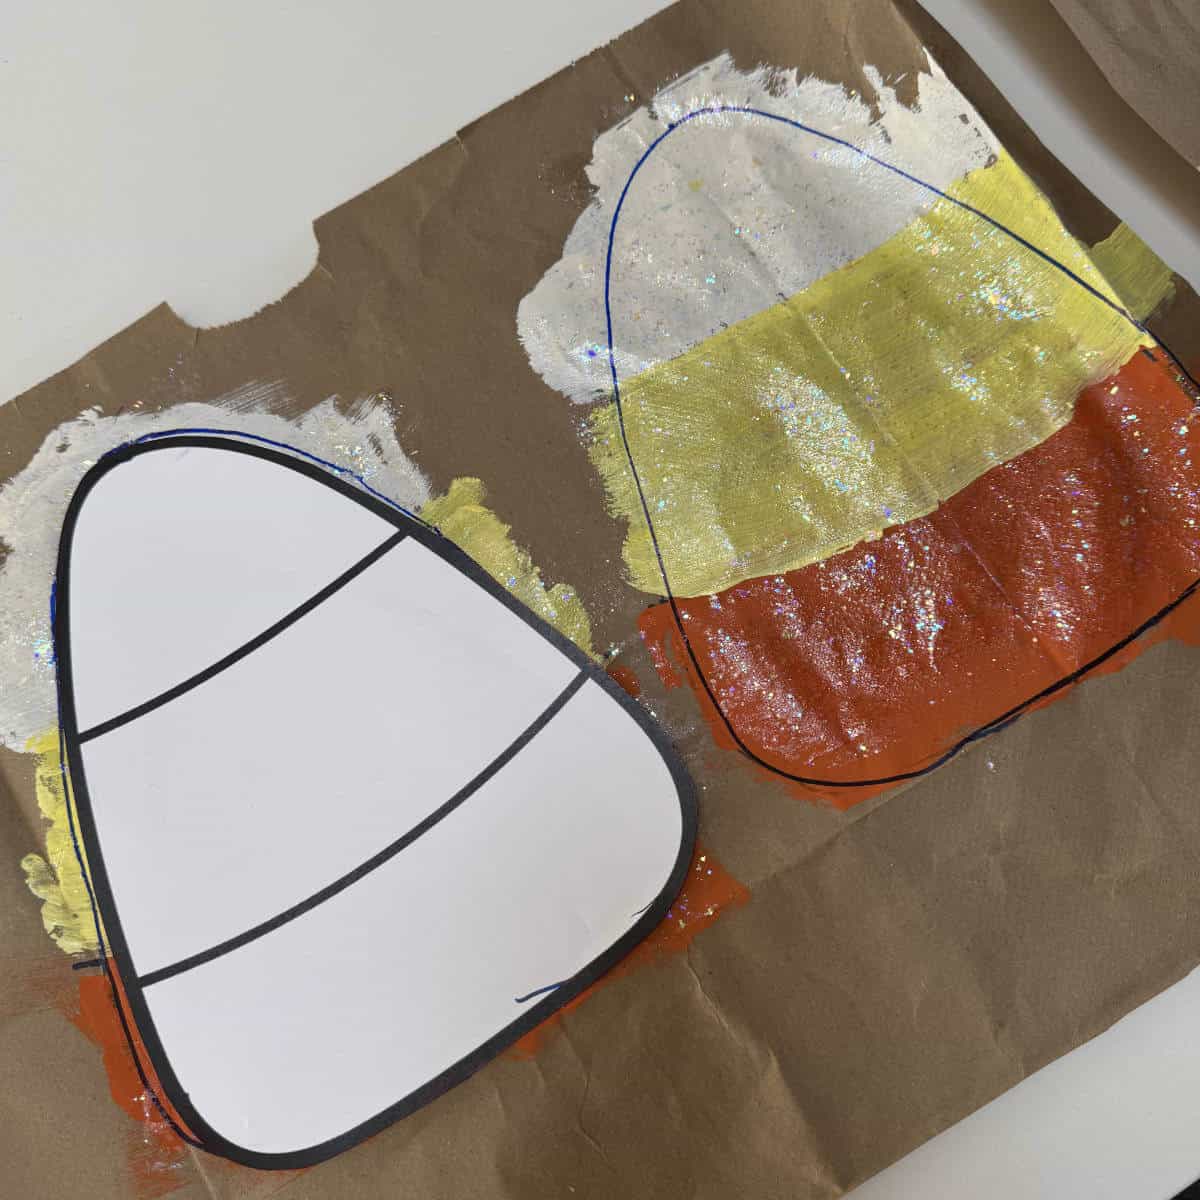
Step 8: Retrace Your Candy Corn Outline
Since we chose to paint before cutting, our cutting lines were lost, so we simply retraced them.
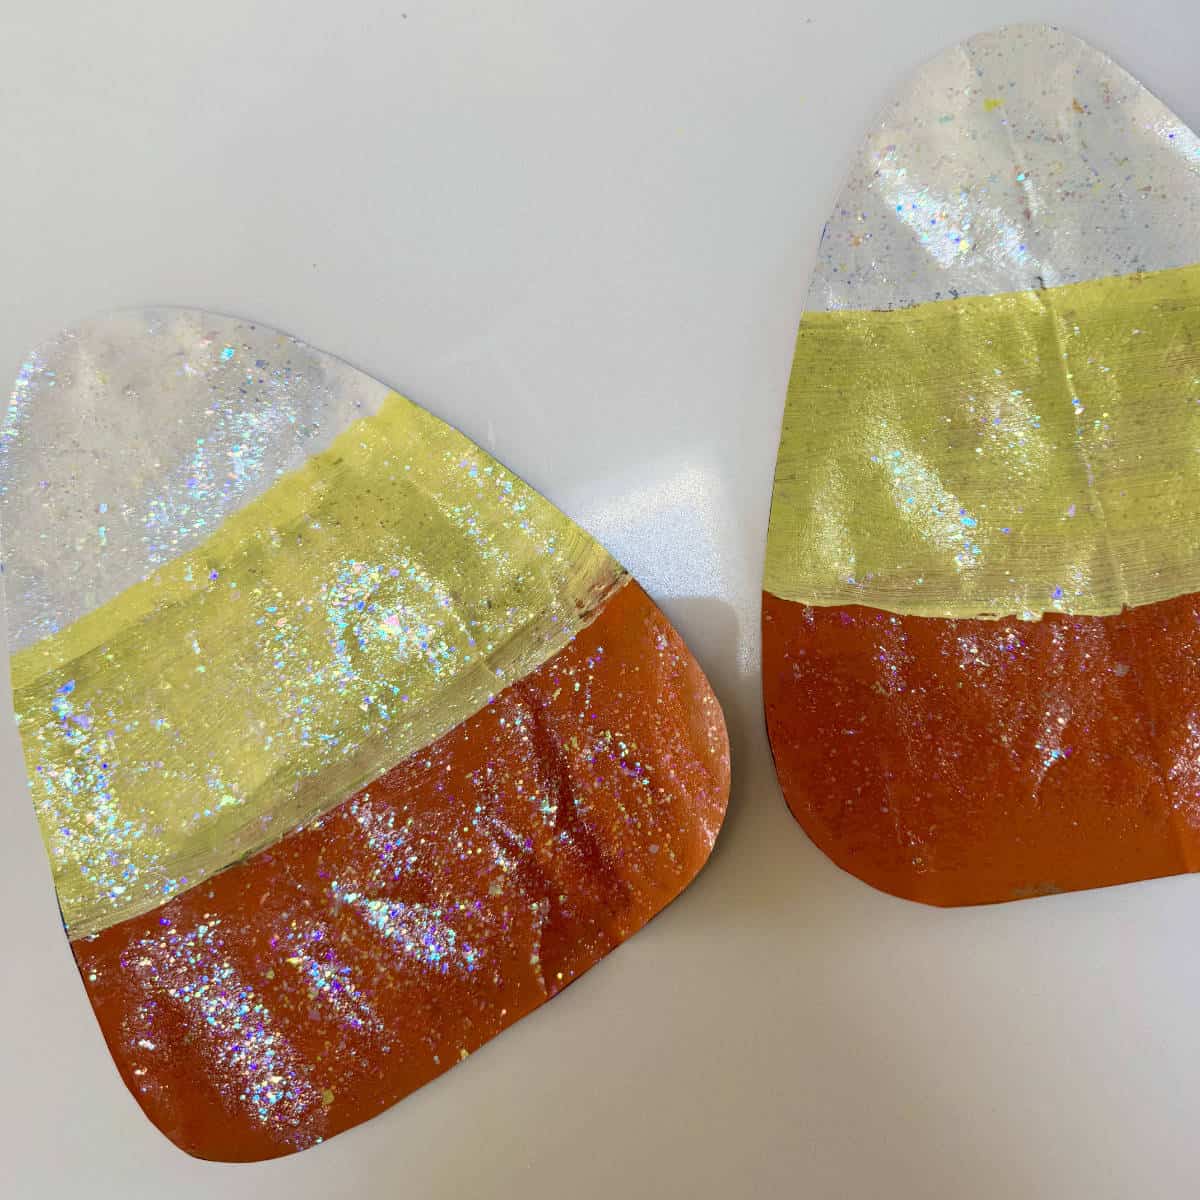
Step 9: Cut The Candy Corn Shapes
We carefully cut the candy corn shapes so that each side would match up when placed together.
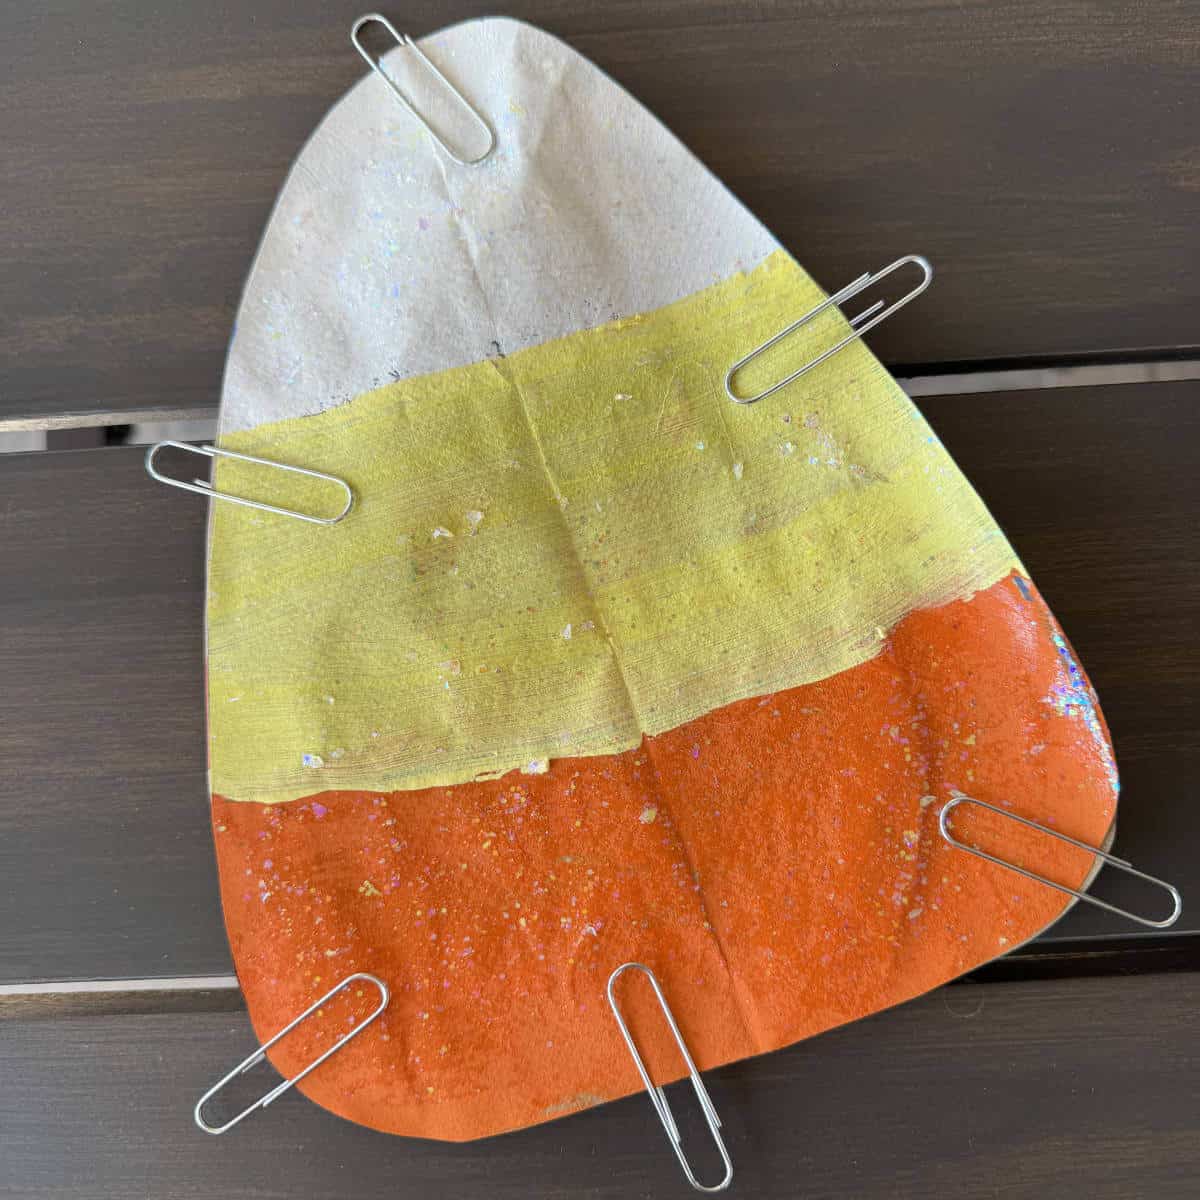
Step 10: Place The Two Candy Corn Pieces Together
With painted sides out, place the two candy cane pieces together. We used paper clips to hold the two pieces together.
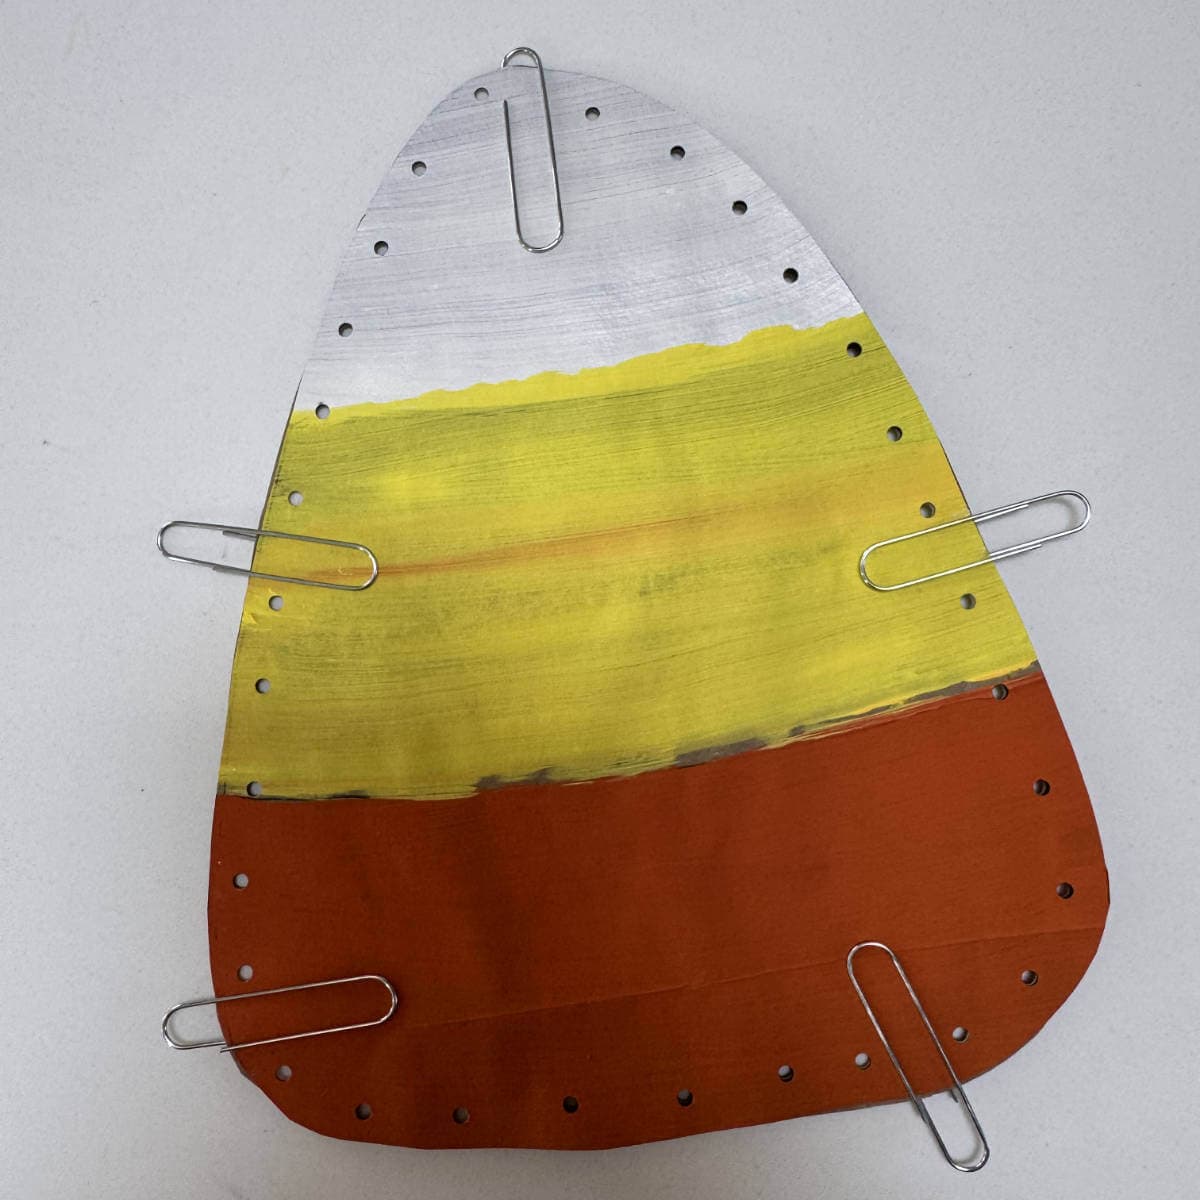
Step 11: Hole Punch The Edges
I used a 1/8″ hole punch to punch through both sides of the candy corn for sewing. At this point, the layers were pretty thick, so I did the hole punching.
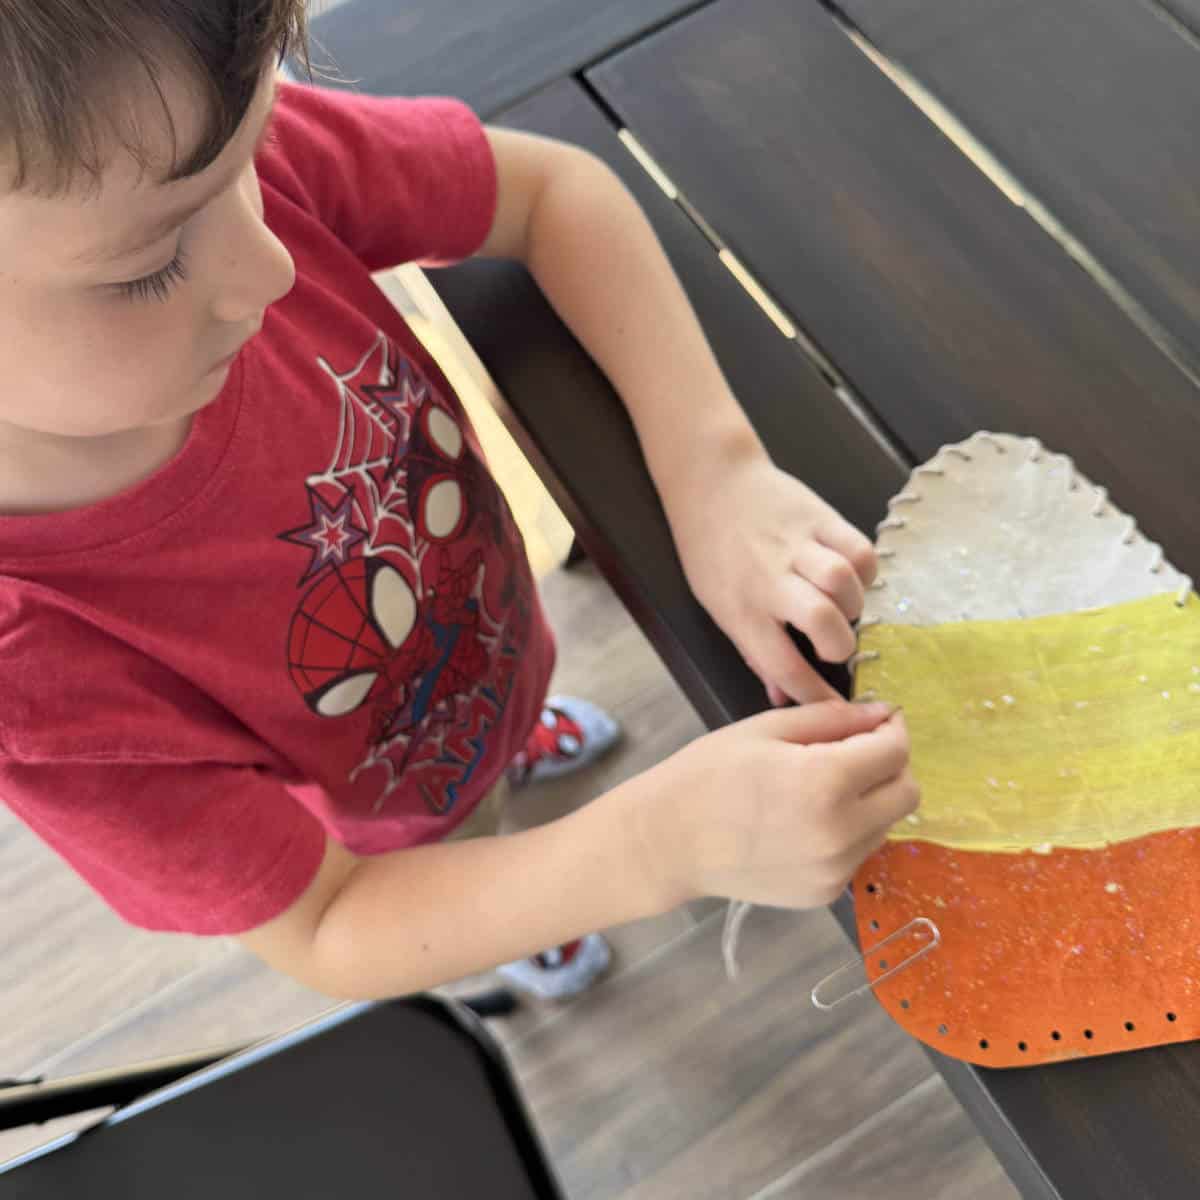
Step 12: Sew The Pieces Together
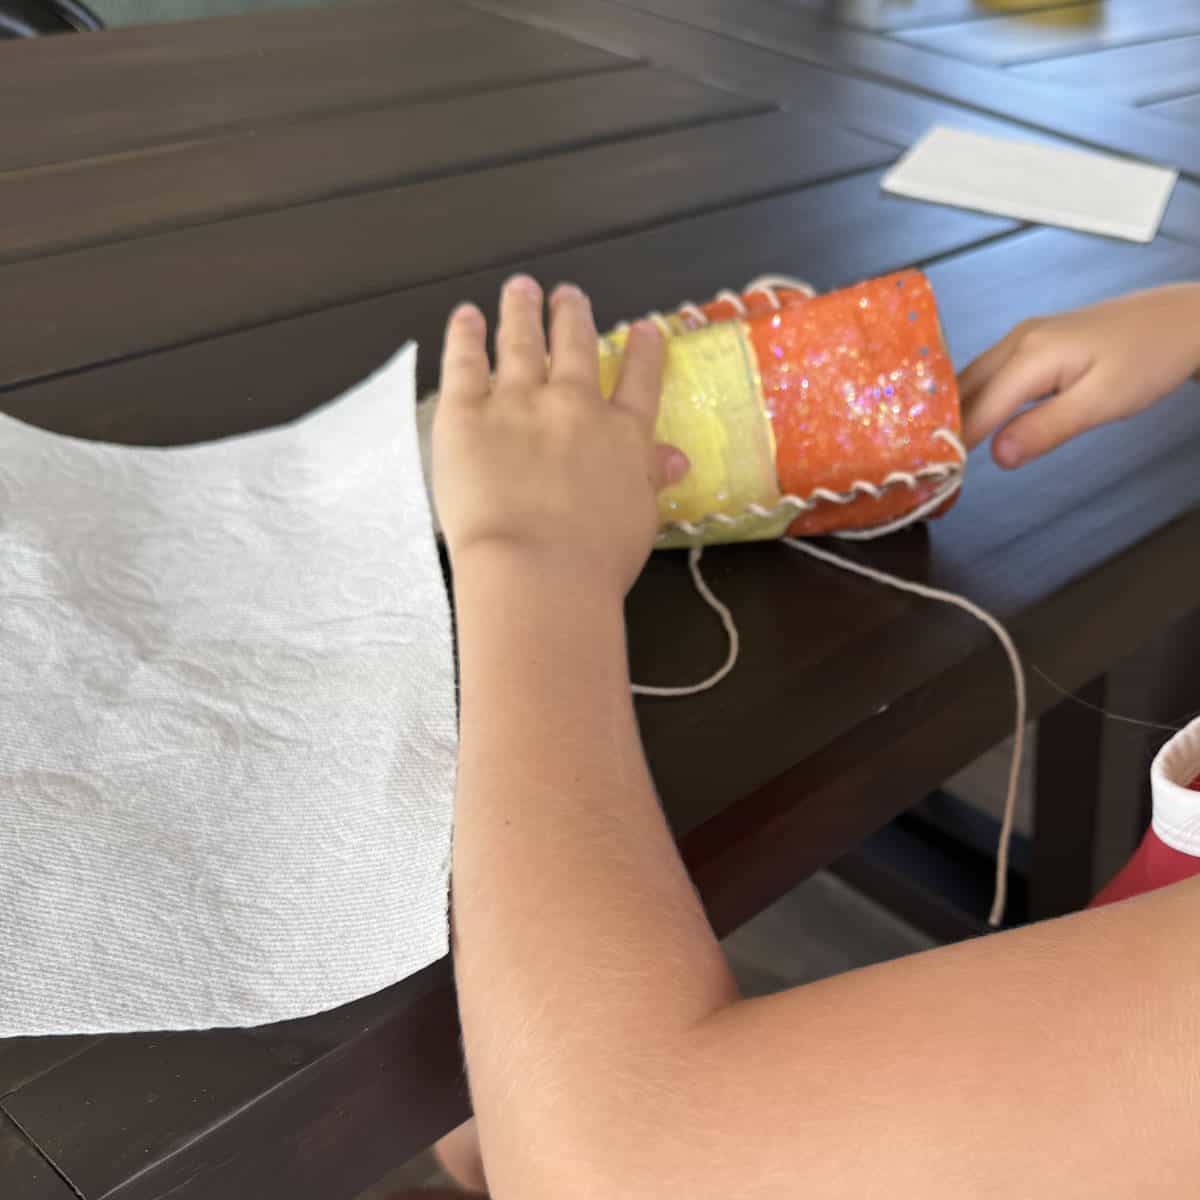
We used yarn and a yarn needle to sew around the edges, leaving the bottom open for stuffing. We used a couple of different sewing methods, but I like the method the kids chose most. As my great-nephew worked, he told me he likes to sew!
Step 13: Stuff The Candy Corn
Polyfill would work great for stuffing this candy corn, but I didn’t have any on hand, so I asked the kids if they’d like to use toilet paper or paper towels to put inside. They both chose paper towels. For my sample candy corn, I used a plastic grocery bag, which worked fine, too.
Step 14: Finish Sewing
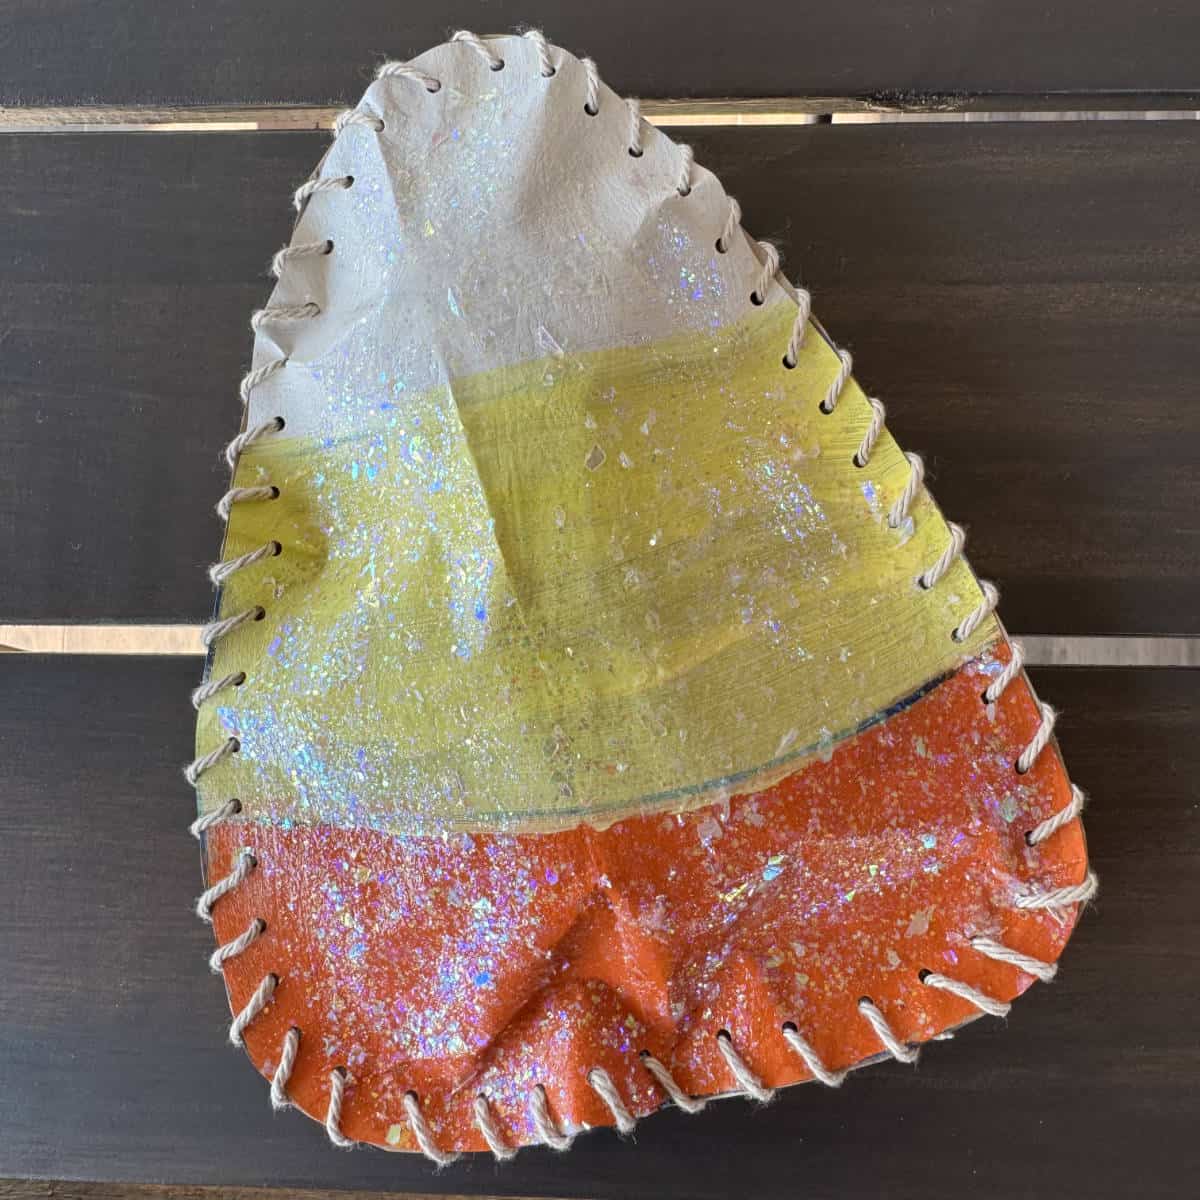
Once our candy corn was stuffed, I held the pieces together, lining up the holes, while they finished sewing. Then I pulled the yarn ends in between the two pieces of candy corn and tied them in a knot before trimming the ends.
Step 15: Decorate!
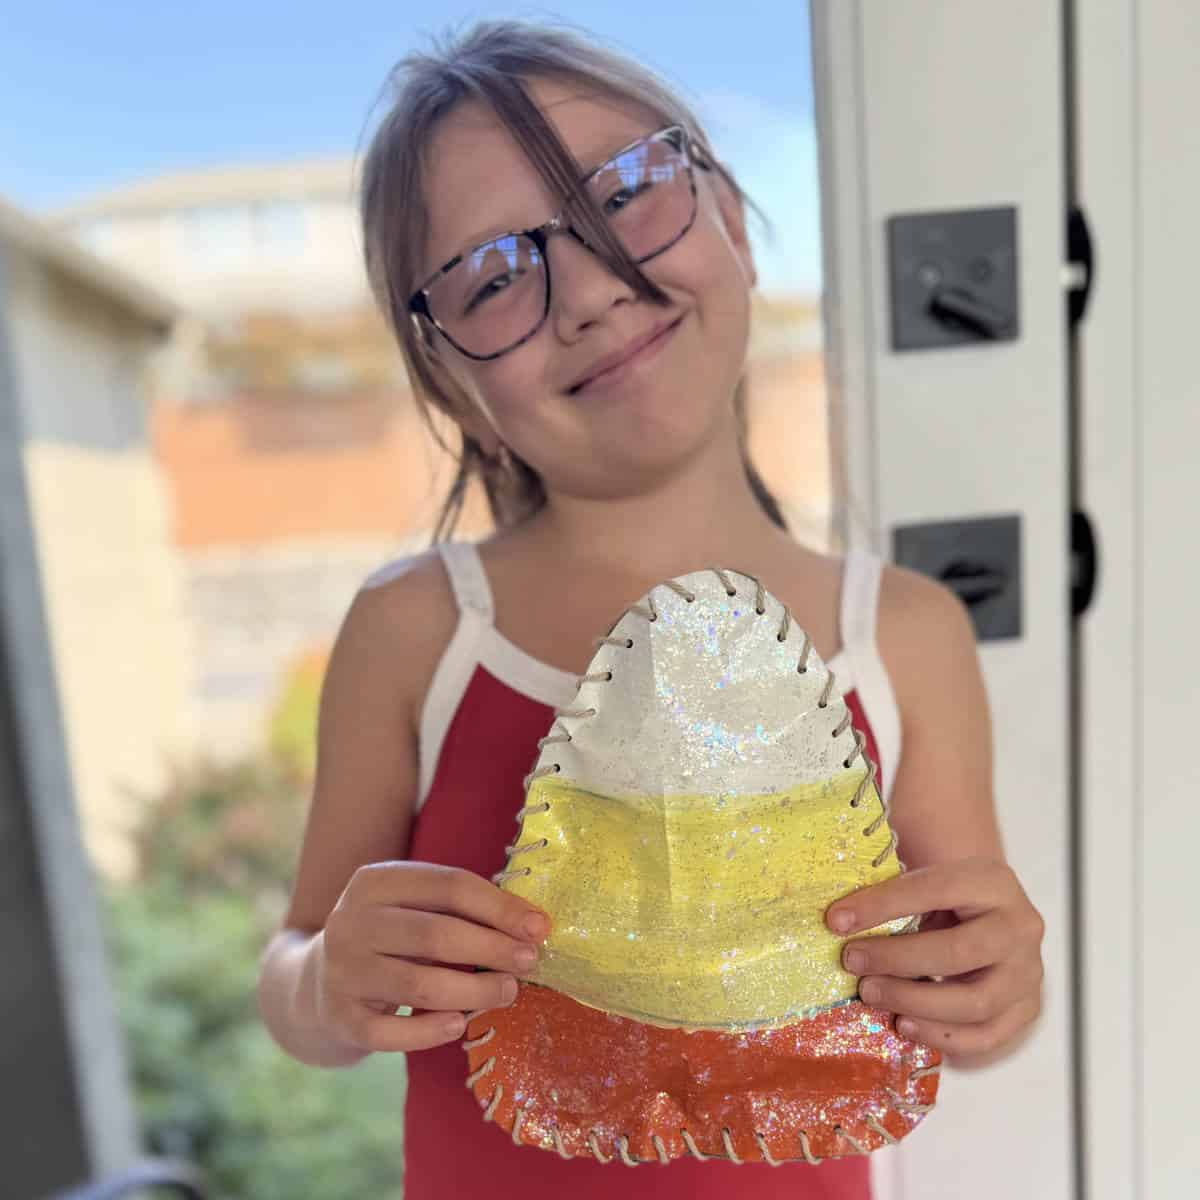
Use this fun candy corn as fall decor for your home! The kids were proud of their creations!
Modifications
Depending on the materials you have at home, you can modify this candy corn craft to fit your needs.
- Glue The Edges – If you’d prefer, you could glue the edges instead of sewing.
- Bigger Hole Punch – If you have a regular hole punch at home, you could try that, too.
- Staples – If staples are what you have on hand, you could try stapling the edges.
- Clothespins – When paper clips are nowhere to be found, clothespins could work to hold the sides together while you sew.
- Brown Craft Paper – Don’t have any brown paper bags to upcycle? Brown craft paper would work great, too.
- Polyfill – No polyfill? Try paper towels, toilet paper, or even a plastic grocery bag.
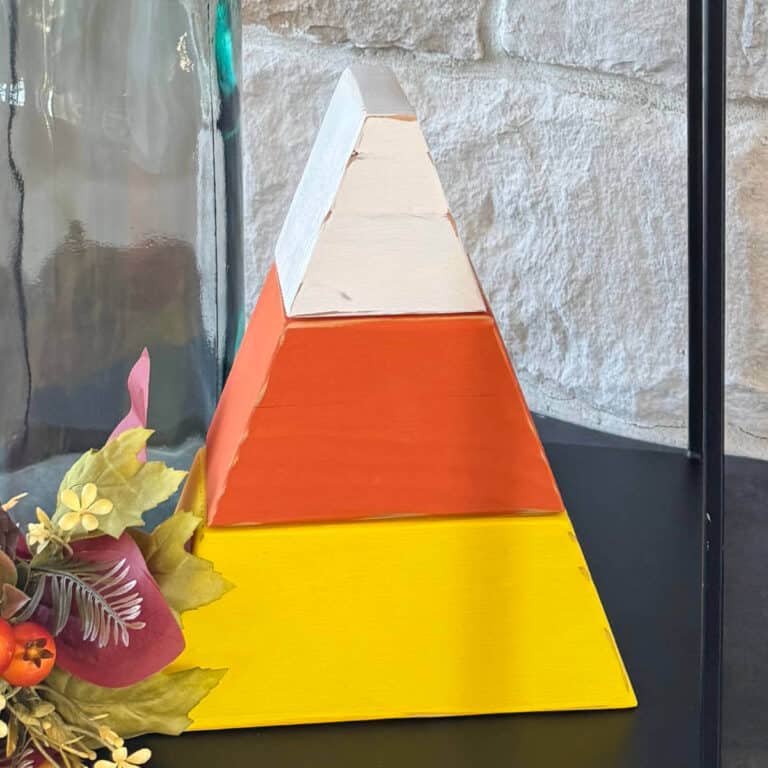
As you can see, there are many ways to create candy corn! If you’d like a candy corn decoration that’s a little more permanent, try this DIY 4×4 Candy Corn made from wood.
My great-niece and nephew were proud to show their creations to their mom when she came to pick them up. They even gave her a play-by-play of how they made them. I was kind of proud of myself for coming up with something fun to do with things we already had on hand!
Frequently Asked Questions

Hi! I’m Bridget!
I create printables and DIYs to help you get organized and celebrate special occasions! My mission is to inspire you to get creative and find joy in every day!