DIY 4×4 Candy Corn
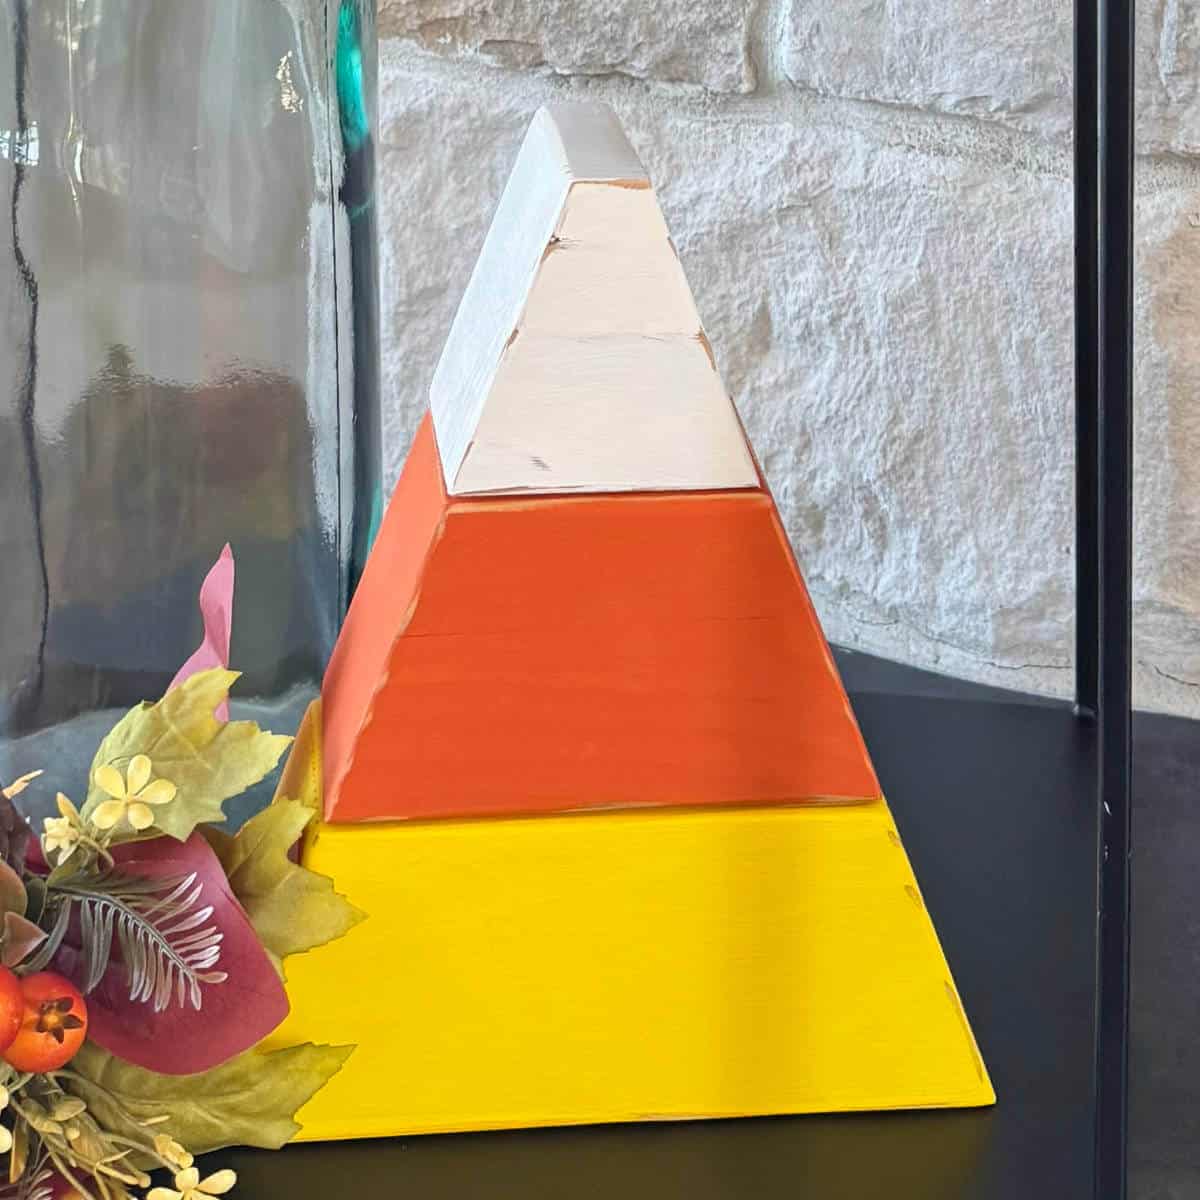
Fall makes me think of colorful leaves, cozy nights, and candy corn. When I was at a craft fair not too long ago and saw candy corn made out of 2x4s, I had an aha moment and realized I could make DIY 4×4 Candy Corn without even gluing the pieces together. I’ve made quite a few 4X4 Wood Crafts in the past, so this project was right up my alley.
What You’ll Need
This fun, simple wood project requires just a few tools.
- Miter Saw – It needs to be able to make angled cuts! If you’re new to using a miter saw, this guide to using a miter saw is a helpful place to start.
- 4×4 – We look for non-treated 4x4s that are in decent shape at the big-box stores.
- Sander & Sanding Paper – I generally like to start with 80 grit on rough wood, then move to 120, before finishing with 220 grit.
- Paint in Yellow, Orange, and White – I used acrylic paint that I had on hand.
- Paint Brush – At the time, I only had one paintbrush here at home, so I took my time to paint one color, wash out the brush, and then paint the other pieces. If you have three paintbrushes, you’ll be able to finish much quicker than I did! It seems I always have projects in various stages around here!
How To Make A DIY 4×4 Candy Corn
I kind of surprised myself with how easy this candy corn was to make, even with a few blunders along the way.
Step 1: Cut The 4×4
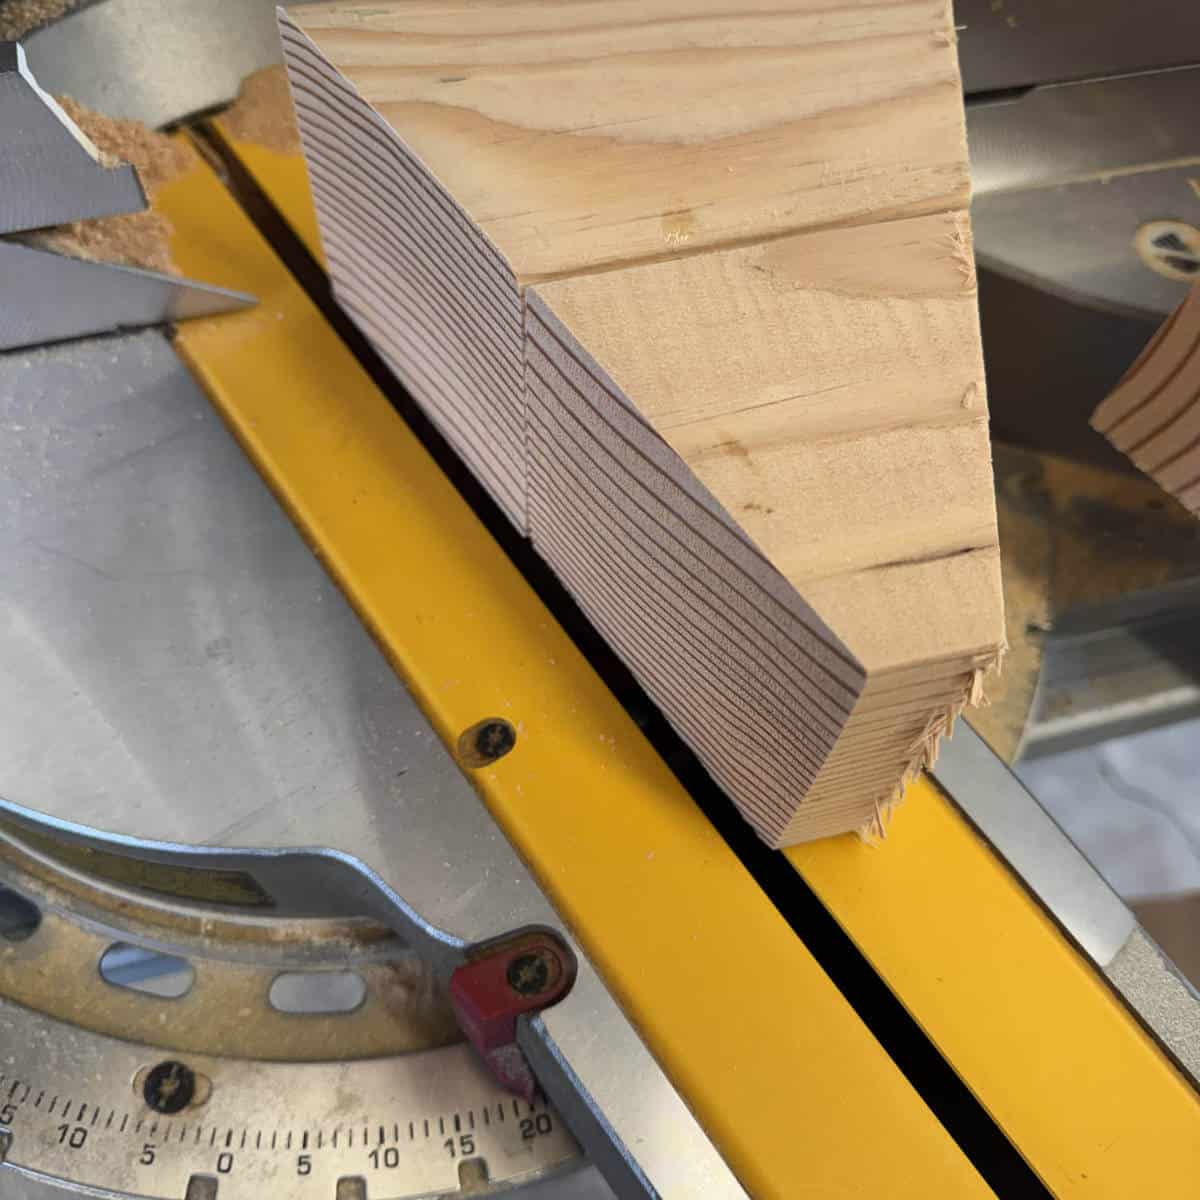
I started with the top of the candy corn and didn’t measure anything at all. I started by making a 20° cut on the end of my 4×4, then I flipped the board over and made another 20° cut, leaving about an inch at the tip of my candy corn.
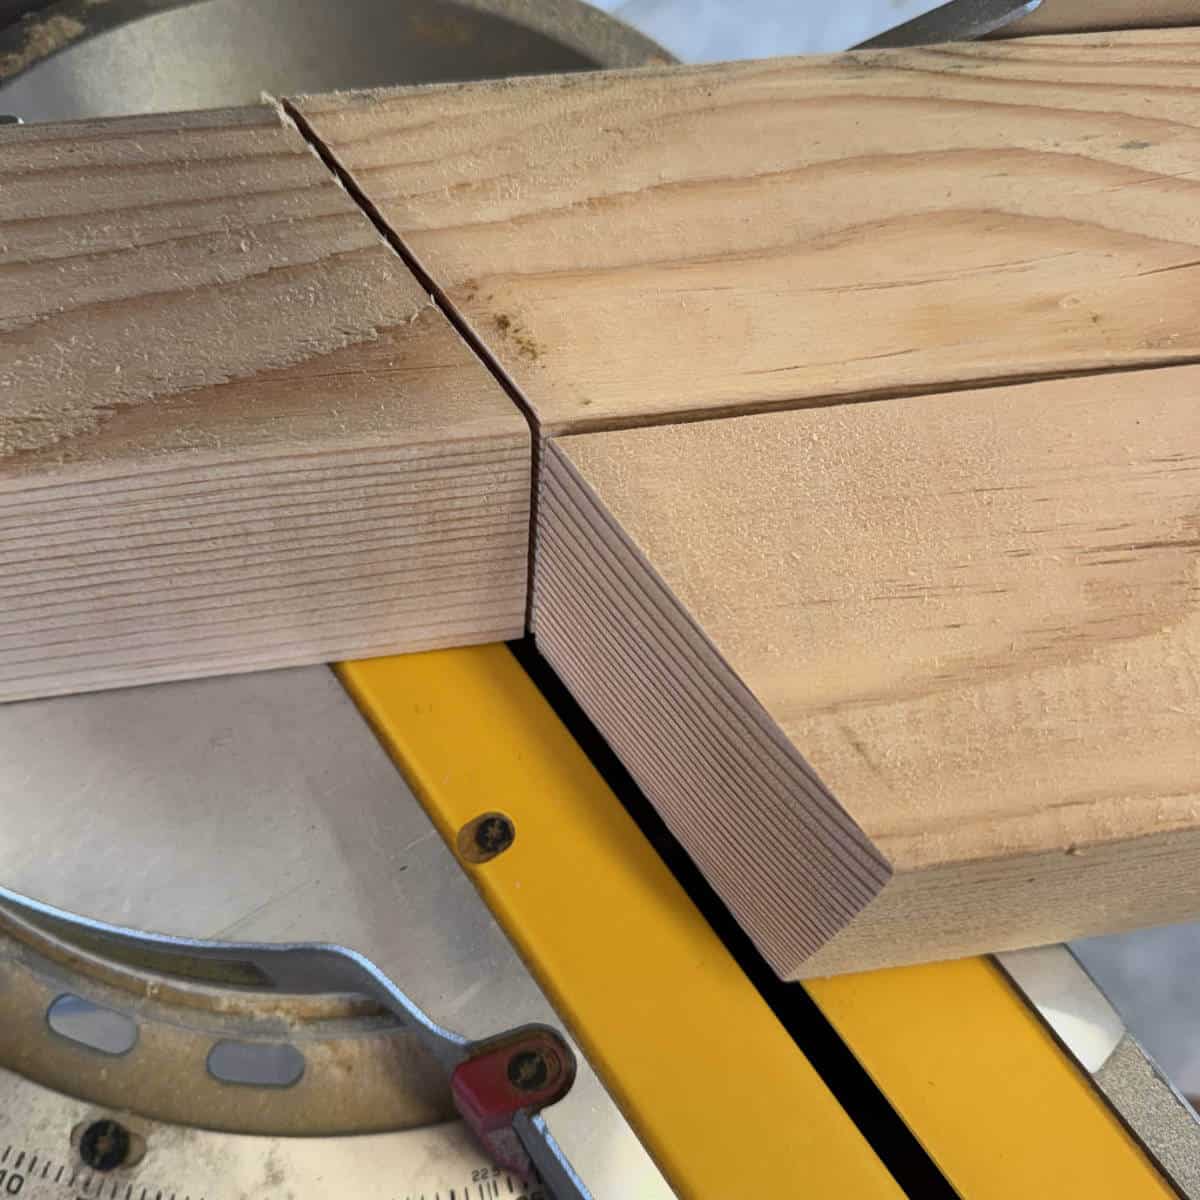
Then, I flipped the board again, lined the top piece up with it so the pieces would line up nicely, and cut the second piece. I repeated this process for the third and final piece of 4×4.
Although I didn’t measure as I was cutting, I will give you the dimensions here in case you’re interested.
In approximation, the bottom of the top white piece is 3-1/4″, the bottom of the orange piece is 6″, and the bottom of the yellow piece is 8-1/2″.
If you have about 16″ of a 4×4 you should be able to make this candy corn. Just be sure to cut the smallest piece first.
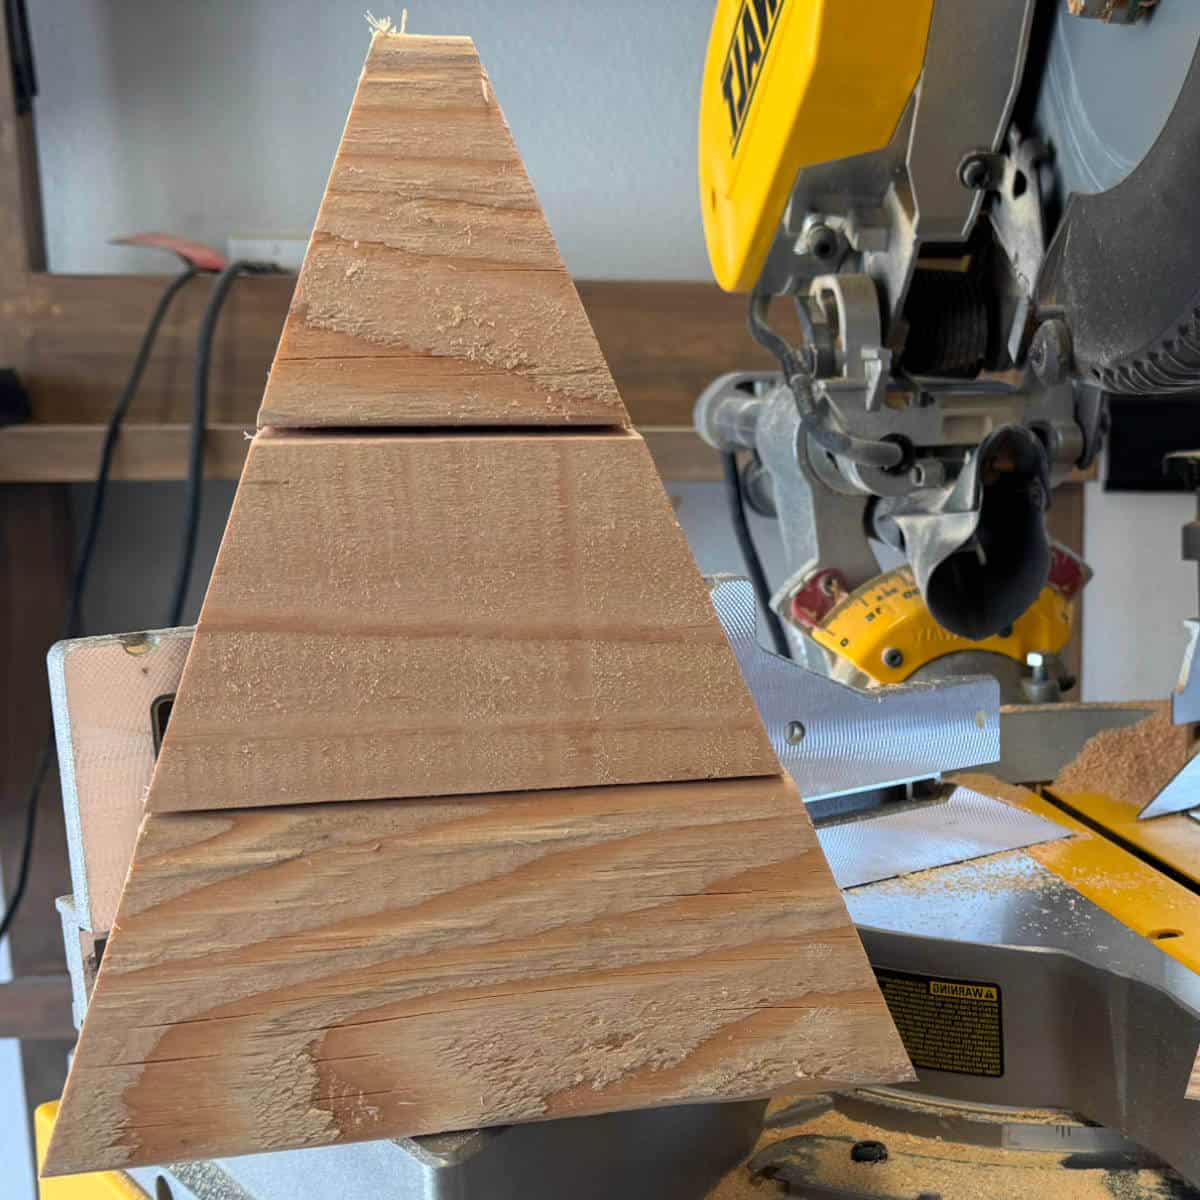
Next, I proudly put the candy corn on display in all its glory before sanding.
Step 2: Sand Your Candy Corn Pieces
For rough lumber like this, I like to start with 80 grit, move to 120 grit, and finish with 220 grit. It still takes time and patience.
I also might have forgotten to move the cars out of the garage and ended up creating another project of washing cars for myself.
Make sure hands are kept at a safe distance from the blade during cutting operations.
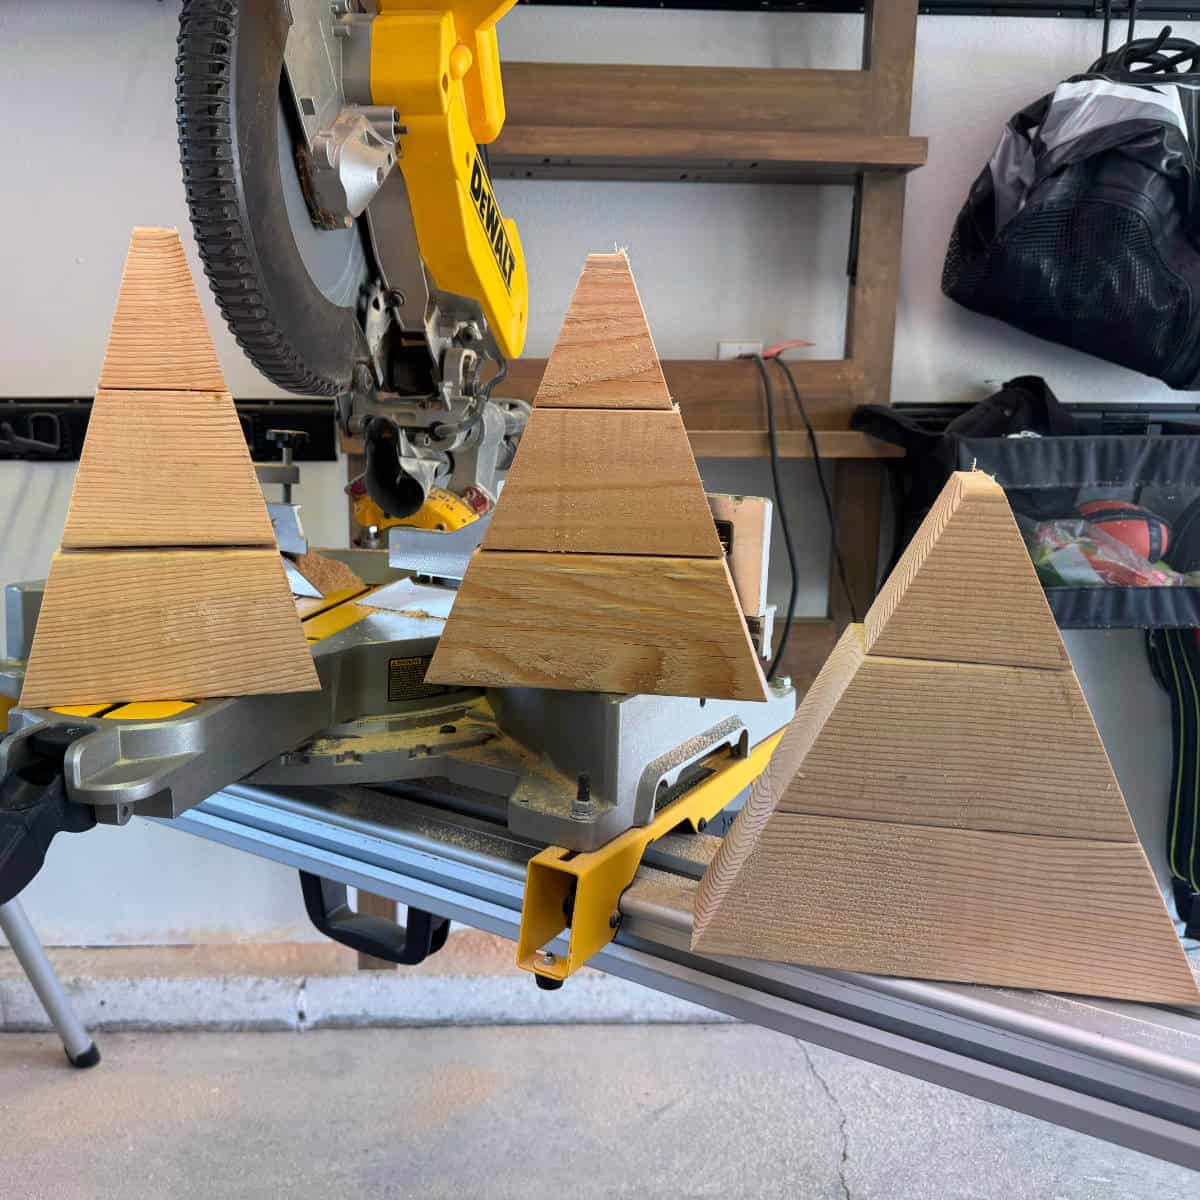
As a side note: I tried cutting these at 15°, 20°, and 25° and settled on 20° as the best shape for candy corn. (The middle one pictured.)
All is not wasted, though; I will use the others as Christmas trees using Behr’s 2027 color of the year, Grounded. I’m excited for that one, too!
Step 3: Paint The Candy Corn Pieces
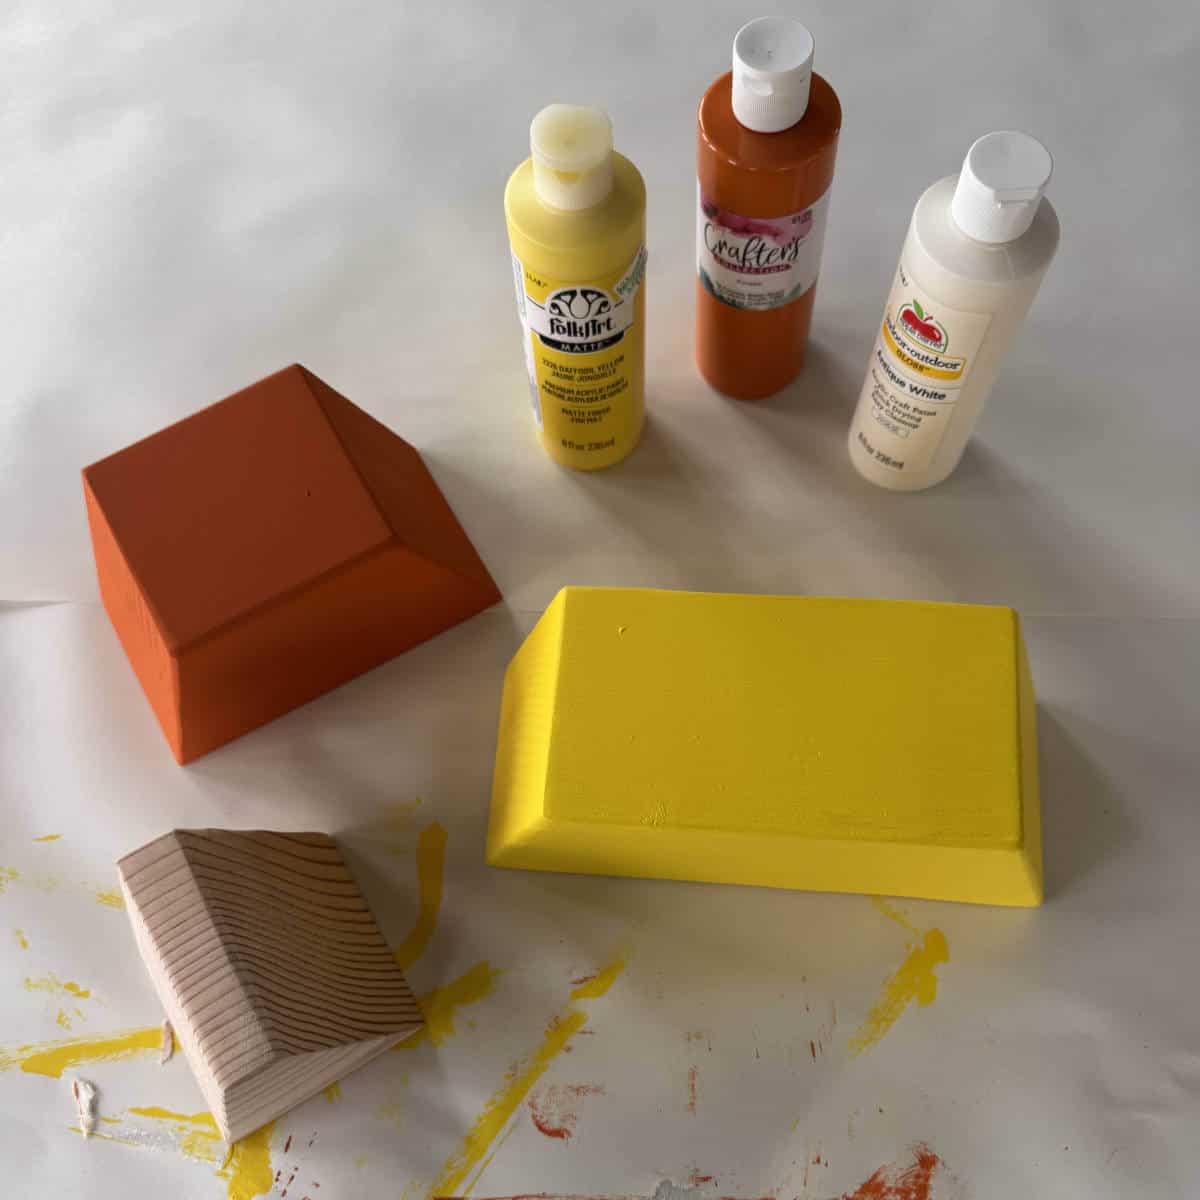
I used acrylic paint I had on hand to paint the candy corn pieces, and I feel it worked out well, although one of the paint bottles was a little old, so the paint went on a bit lumpy and bumpy. I did two coats of each color, but that’s totally personal preference.
Also, I should have used my cloth drop cloth because the pieces might have stuck to the table, creating a bit more work getting the paper off.
If you’d like to know the exact colors I used, they are FolkArt in Daffodil Yellow, Crafter’s Collection in Pumpkin, and Apple Barrel in Antique White.
Step 4: Distress Your Candy Corn
Of course, this is optional but distressing looks good and gives you a way to hide imperfections like old lumpy paint.
Don’t tell anyone, but I don’t actually like to eat candy corn, I just think it looks awesome and represents fall so well. It could also be that I don’t like the scary part of Halloween so I lean heavily on cute halloween activity ideas like these Halloween Care Package Ideas For College Students.
Frequently Asked Questions

Hi! I’m Bridget!
I create printables and DIYs to help you get organized and celebrate special occasions! My mission is to inspire you to get creative and find joy in every day!