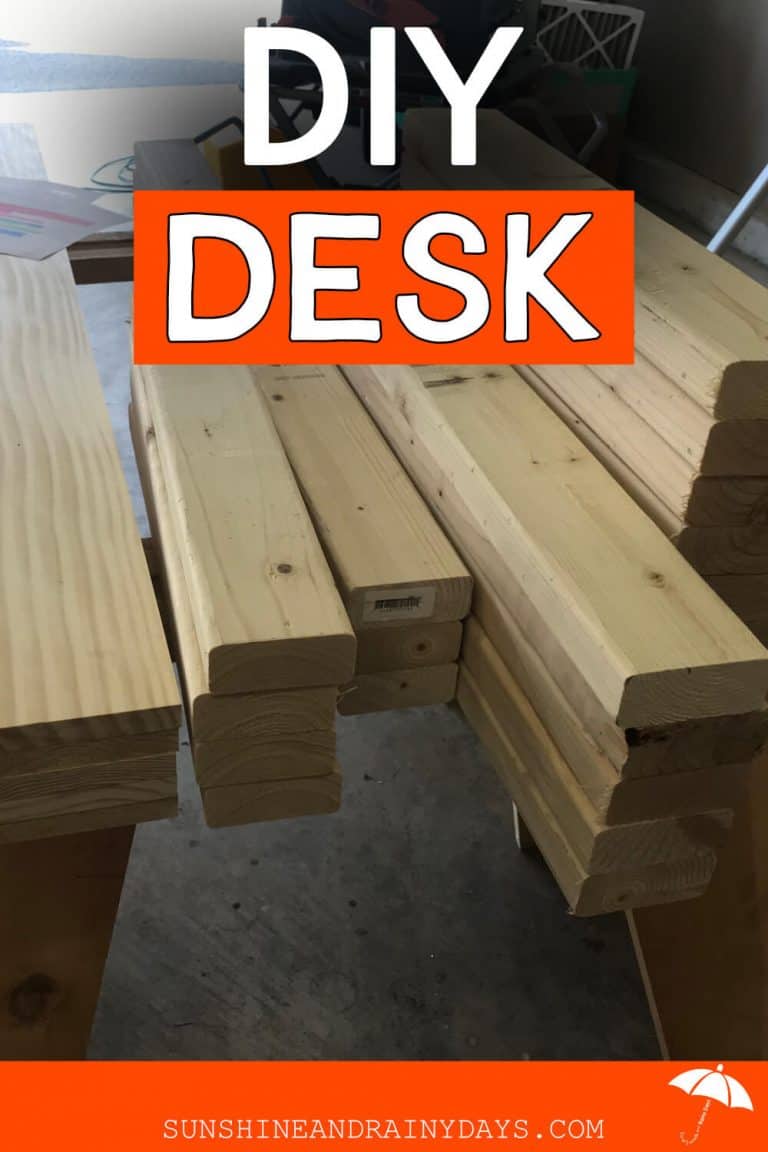
How To Build A Twin Platform Bed

We have a guest that will be staying the night, a very messy guest room, and a twin mattress … on the floor. I decided to get busy and Build A Twin Platform Bed with the thought that one of our kids could use it when they are off at college, renting a room off campus.
Eventually, I’d like to have a queen size bed in the guest room but this makes sense for now!

How To Build A Twin Platform Bed
This twin platform bed was pretty simple and inexpensive to build. It needed to be easy to disassemble so it could be hauled around easily and it needed to be inexpensive because … this isn’t meant to be a family heirloom. Nope! It has a purpose to serve on a budget!
This post contains affiliate links. When you purchase through an affiliate link, we receive a small commission at no additional cost to you. Disclosure.
Twin Platform Bed Supplies
- 2 x 10 – 8ft #2 Prime Doug Fir (3)
- 2 x 4 stud (6)
- 2 x 2 – 8ft
- Sand Paper
- 2-1/2″ Deck Plus Screws
- Wood Glue
- Bed Rail Brackets
- 3″ Swivel Plate Caster (3)
- 3″ Swivel Plate Caster with Brake (1)
- Stain (I used homemade stain)
Cuts
Our twin size mattress dimensions are 37-1/2″ x 73-1/2″ x 11″ and I built this bed to fit those dimensions.
Well, I originally googled twin mattress size and came up with 38″ x 75″. I then proceeded to cut my sides at those dimensions and the bed was too big. Don’t be like me. Measure your mattress first!
Adjust your cuts to accommodate your mattress size.
Note: My cuts are 2-1/2″ shorter than our mattress size. This is because the mattress partially sits on top of the 4 x 4 legs.
- 4 x 4 – 4 @ 13″ (This is for the legs with casters, if you choose not to use casters, adjust the cut of the legs. My casters are about 3-1/2″ tall)
- 2 x 10 – 2 @ 71″ (sides)
- 2 x 10 – 2 @ 35″ (headboard, footboard)
- 2 x 4 – 2 @ 67″ (slat supports)
- 2 x 4 – 7 @ measure once your bed is built – mine were 38″ (this is for the bed slats) The number of bed slats you need will depend on your mattress. Our twin mattress has a hard bottom and needed less slats than our Naturepedic mattress did.
- 2 x 2 – 12 @ 6-1/2″ (blocks to support bed slats)
- 2 x 2 – 4 @ 2″ (blocks to support bed slats)
Tools used
- Miter Saw
- Sander
- Drill
- Kreg Jig
- Kreg Clamp
How To Assemble The Twin Platform Bed
This bed is actually pretty simple to build!
Make your cuts, according to your mattress size, and sand each piece with 120 grit sand paper.
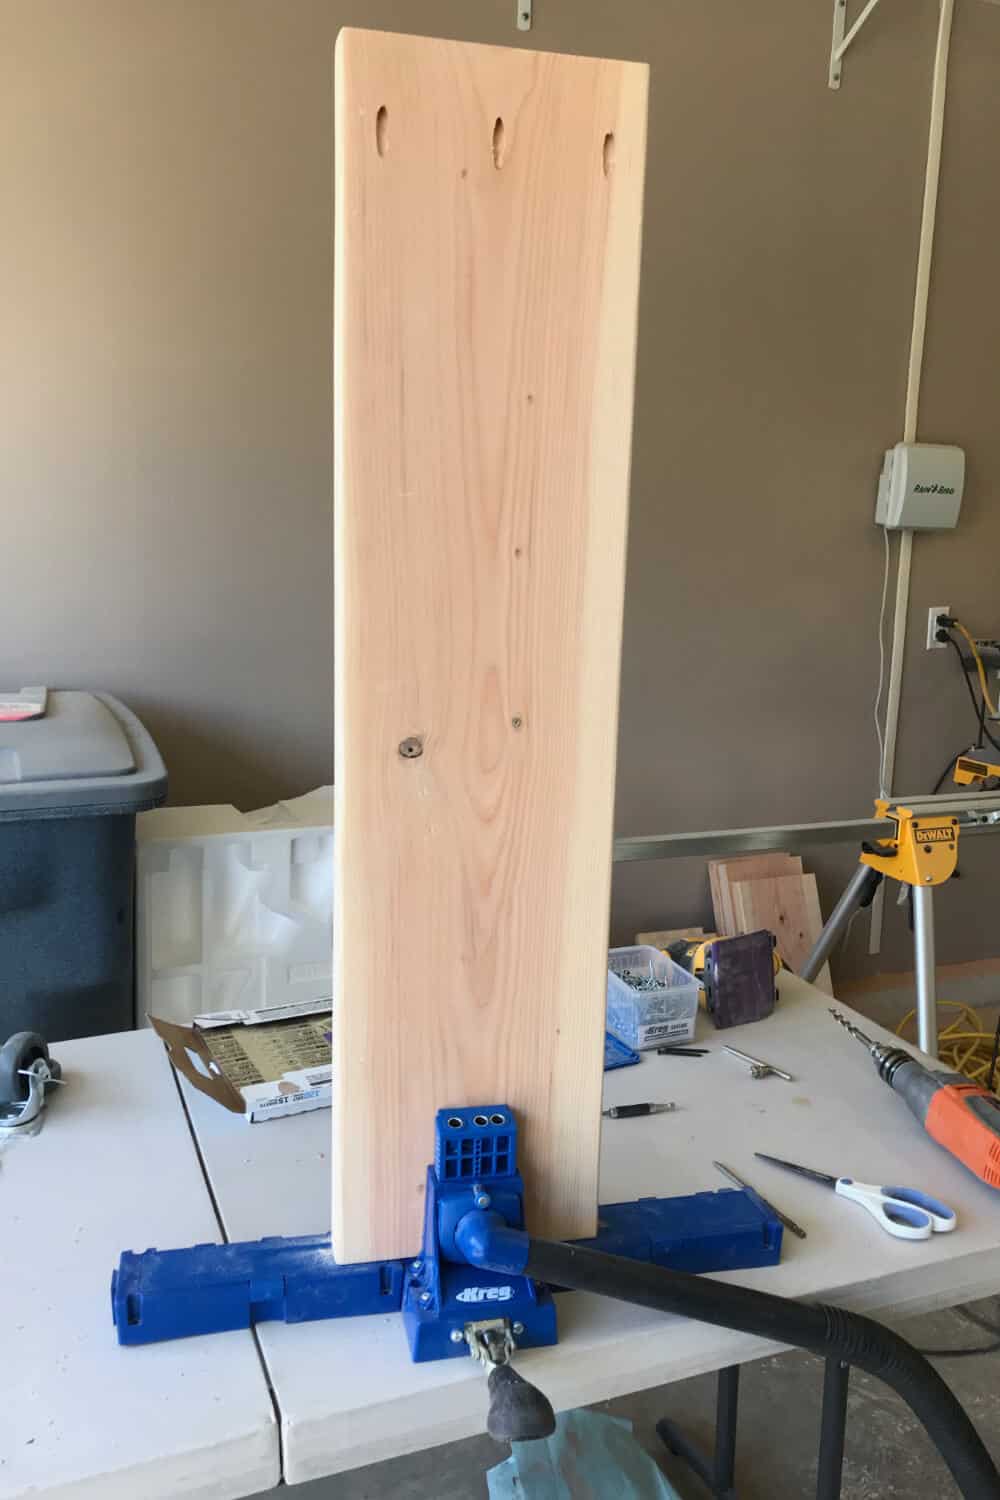
Headboard and Footboard
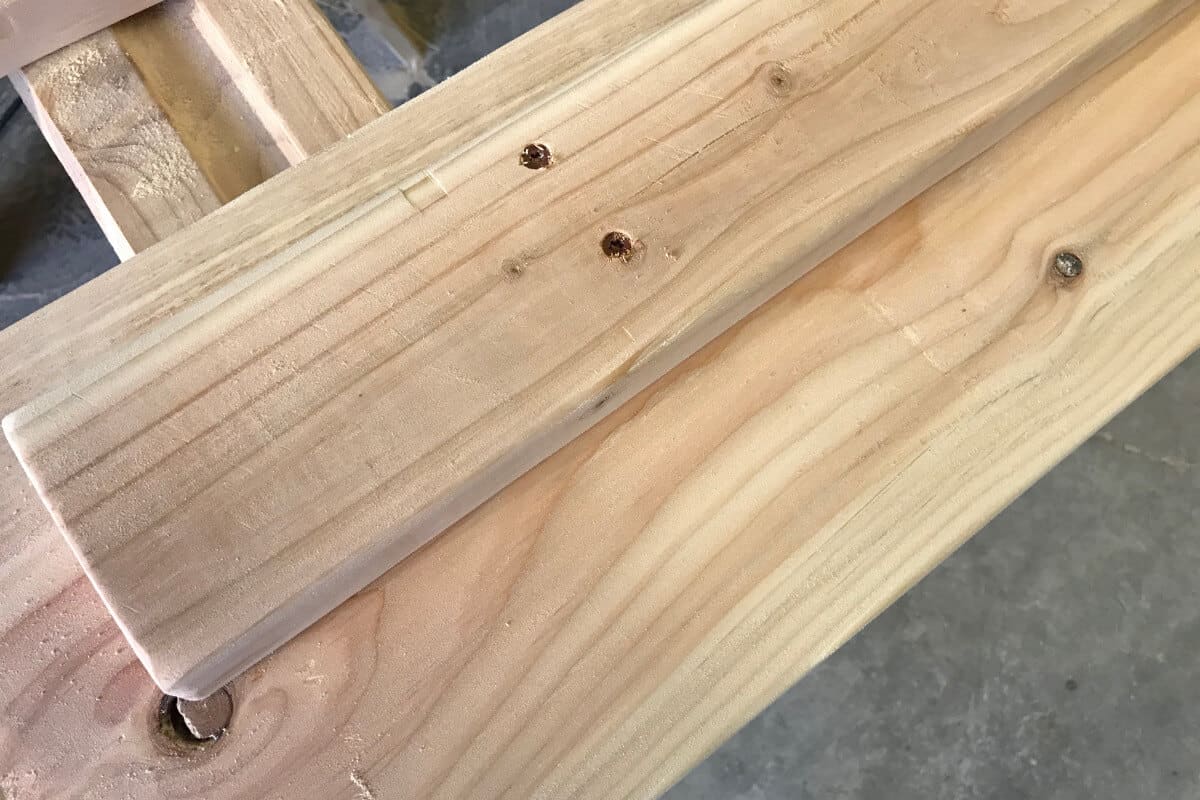
With the Kreg Jig, drill three pocket holes in each end of your headboard and footboard panel.
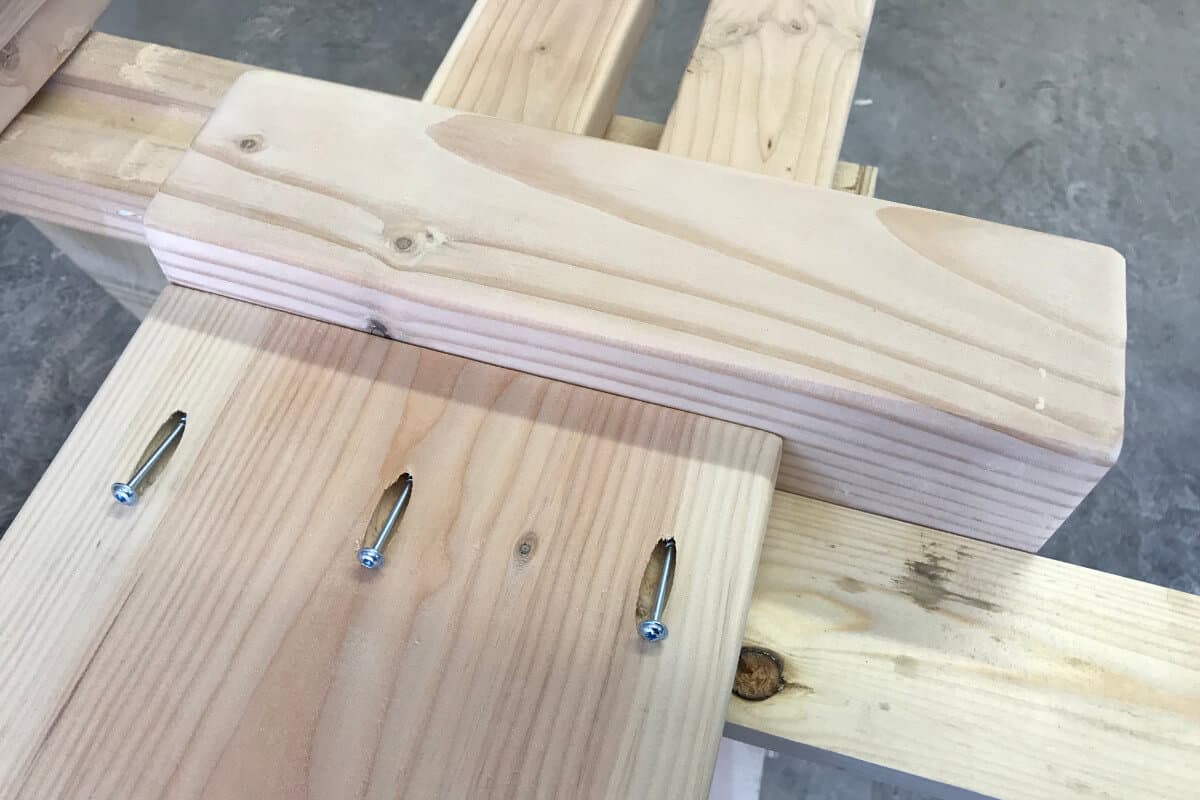
Next, attach the headboard and footboard panels to the legs with 2-1/2″ pocket hole screws.
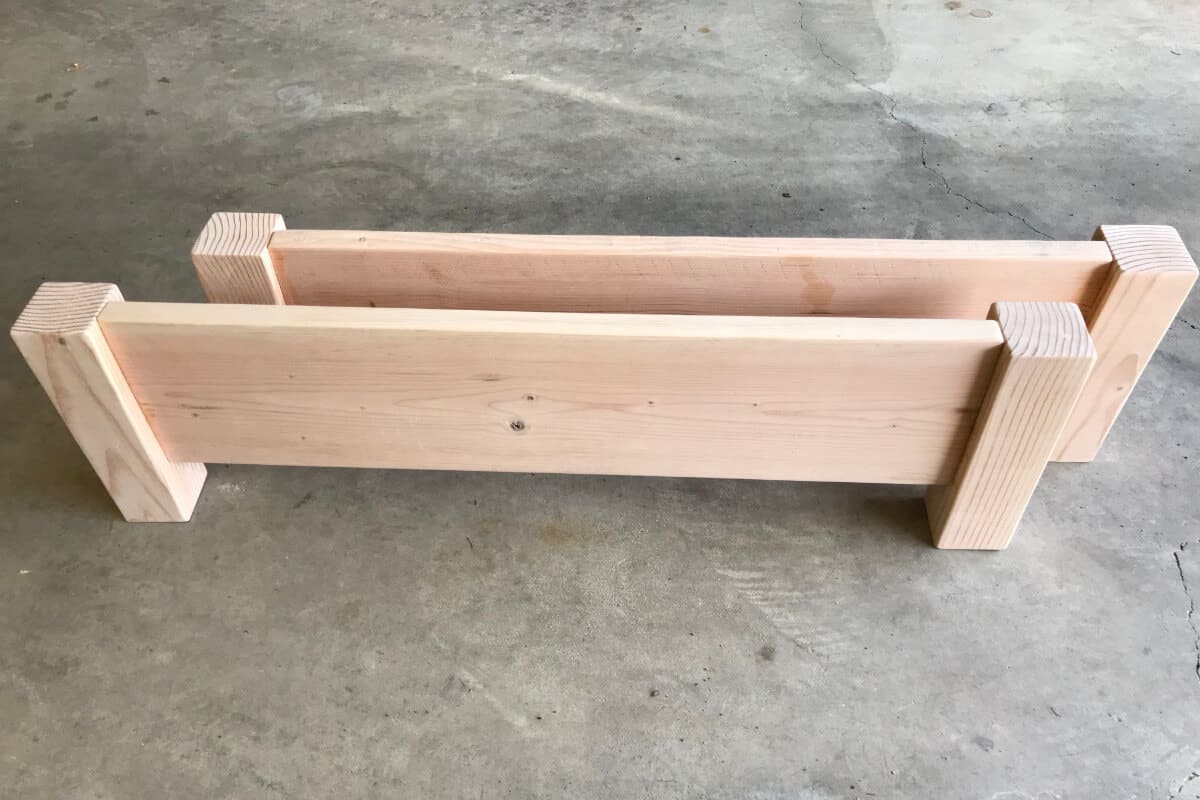
The headboard and footboard assembled. Pretty basic, right?
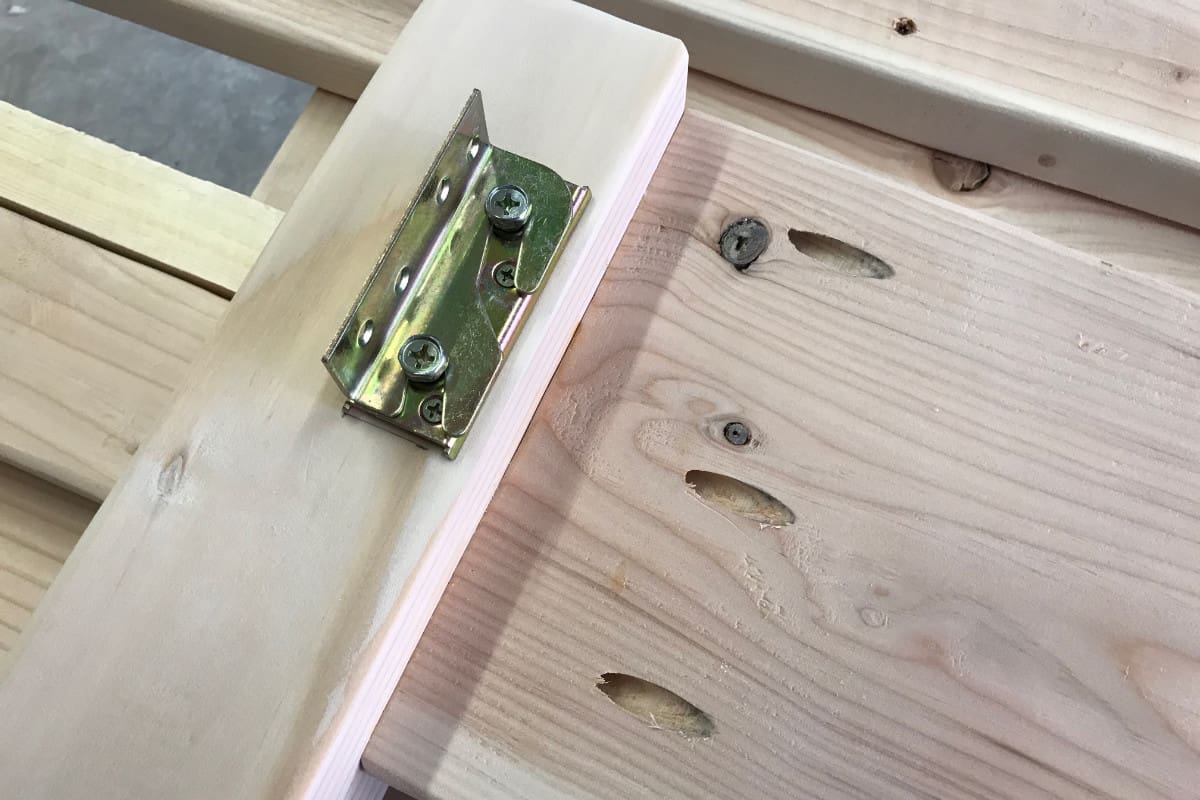
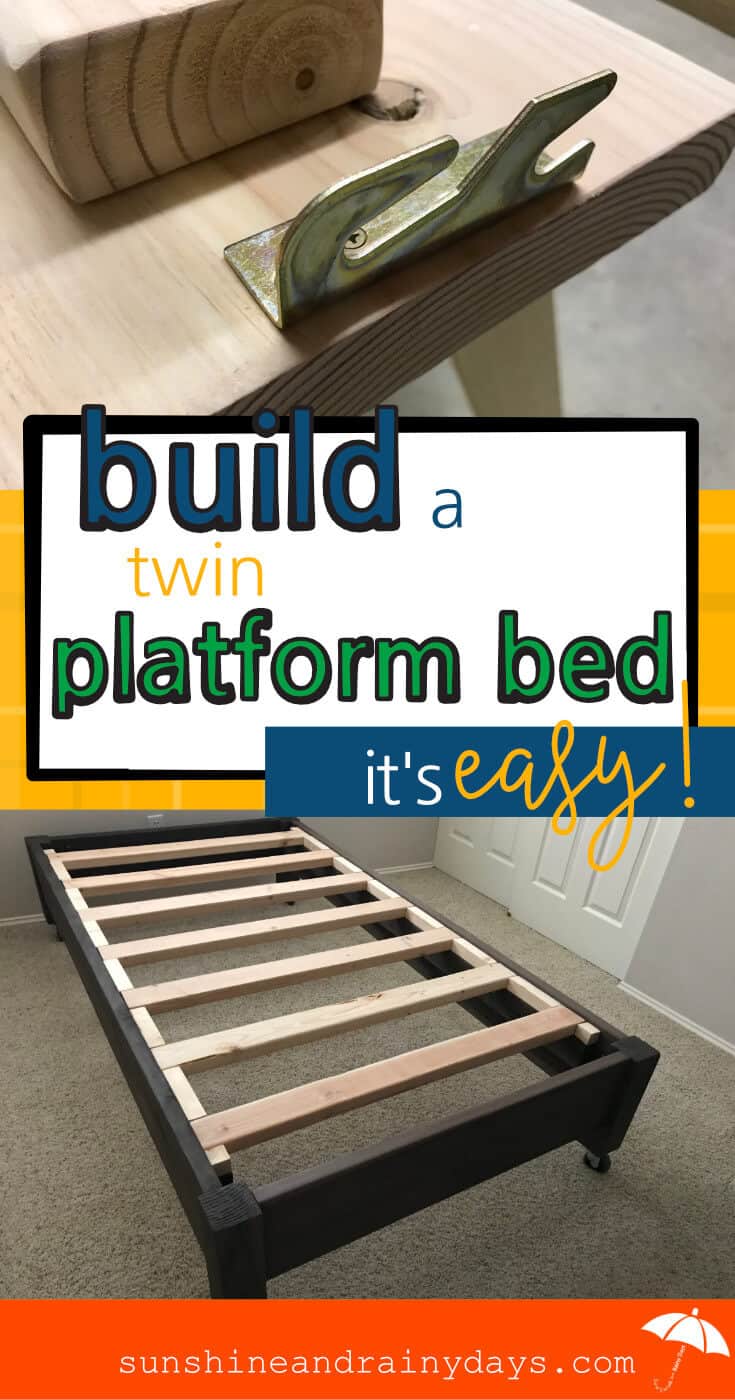
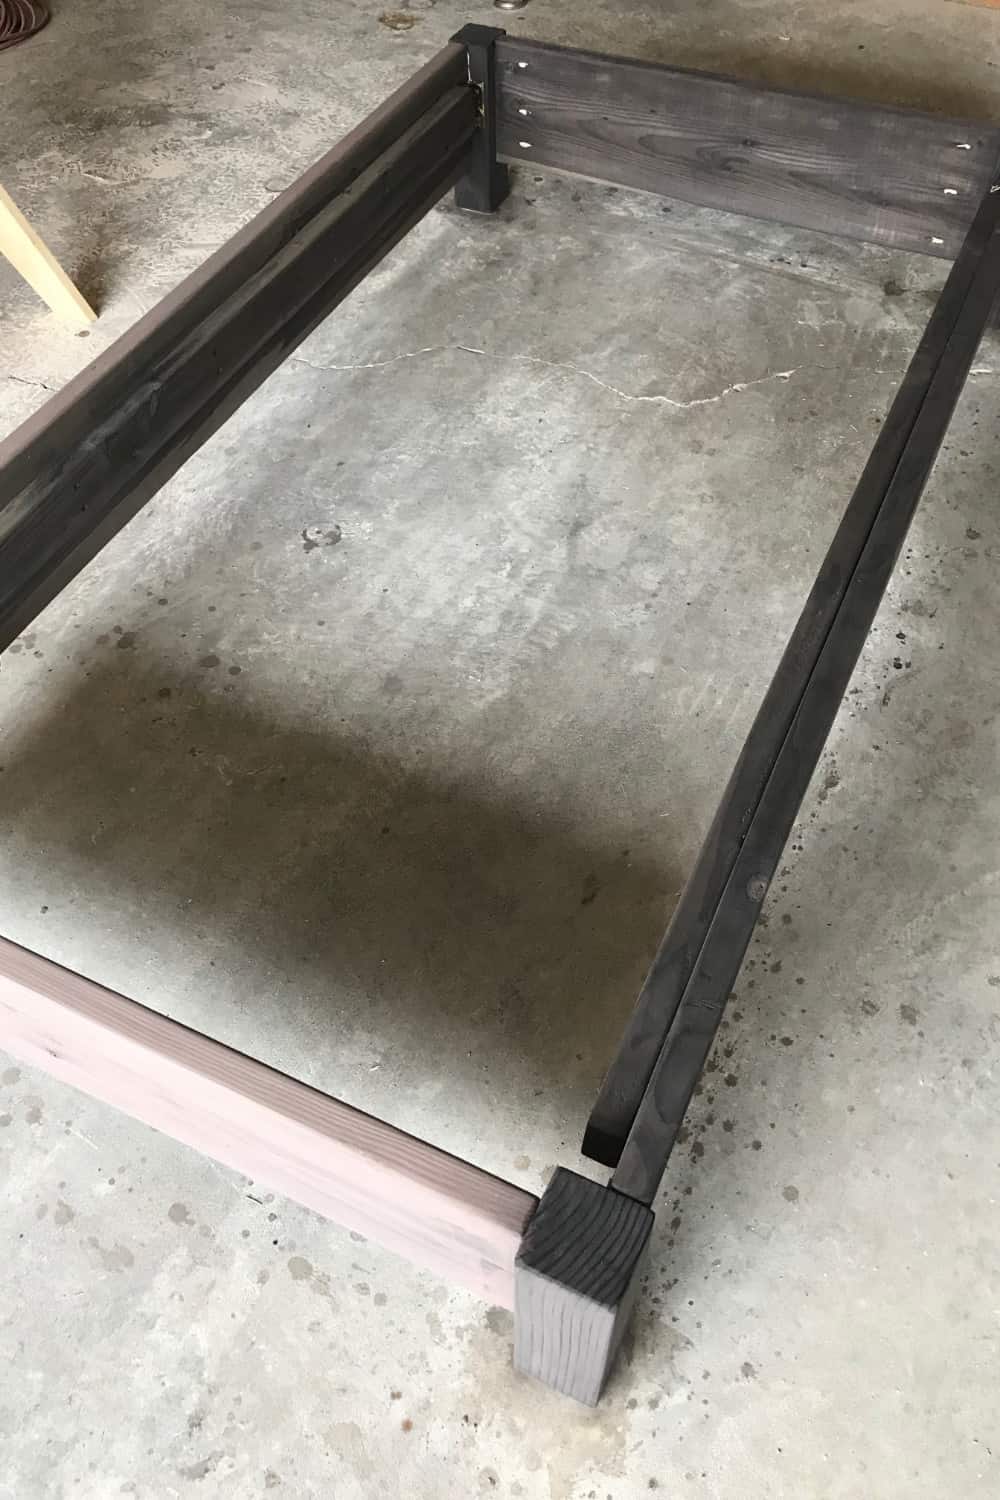
Bed Rail Hooks On Headboard And Footboard
Then, attach the bed rail hooks on each 4 x 4 leg.
I attached mine 2-1/2″ from the top and as close to the inside edge that I could, in order to leave room for the side rail.
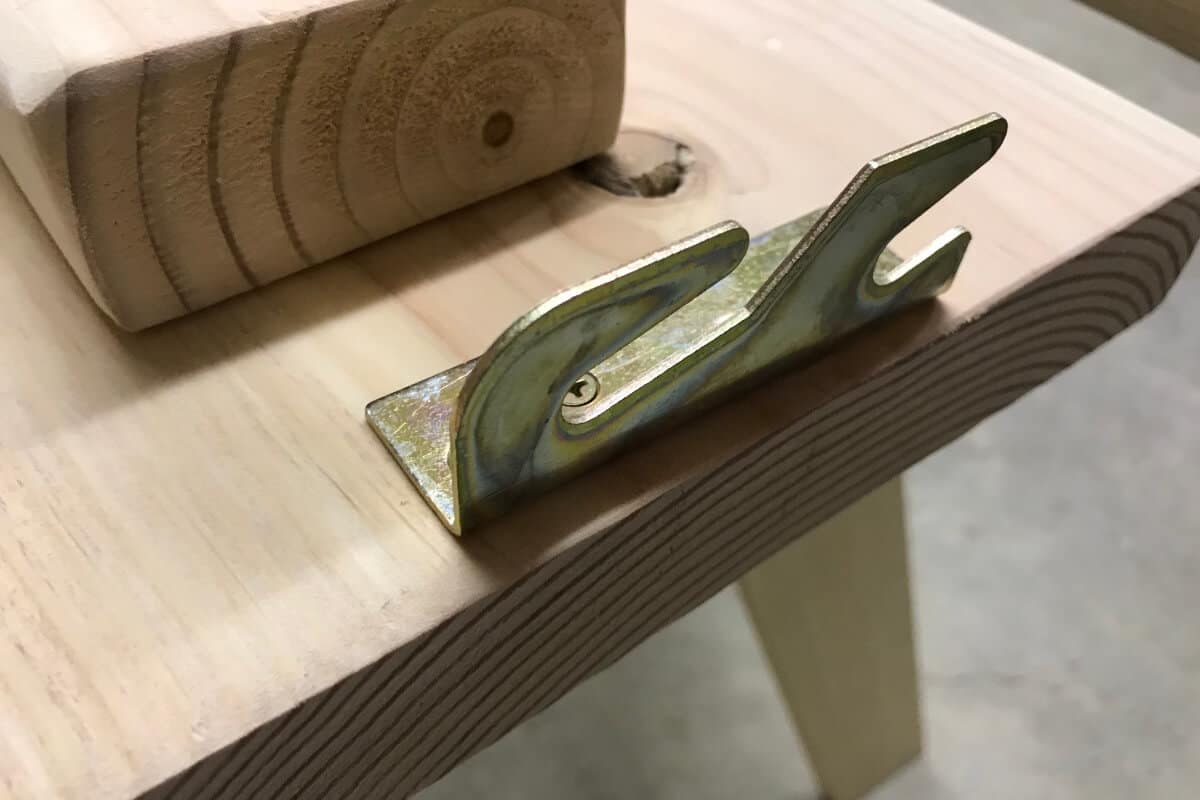
Oh my goodness! These are non-mortise bed rail hooks! I struggled with the mortise bed rail hooks I used on our DIY King Size Farmhouse Bed so I was pretty stoked to find these bed rail hooks!
Bed Slat Supports
Now it was time to attach the bed slat supports. To do this, I laid the 2 x 4 on the inside of the 2 x 10 side rail and placed my 2 x 2 on top so I would know where to attach the 2 x 4. We want the mattress to sit right on top of this platform bed.
I used Kreg Clamps and 2-1/2″ Deck Plus Screws to attach the bed slat supports.
Bed Rail Hooks On Bed Rails
This part was a bit tricky. The bed rail hooks needed to be lined up just right so the bed rail would sit flush with the headboard and footboard.
I laid the footboard and headboard on the ground with the hooks attached. Then, I had my husband hold the side rails up against it, where I wanted it to be, and marked the screw holes.
I’m glad I did it this way because the hooks sit back a bit on the bed rail in order to sit flush. I wouldn’t have known that if I had only measured the correct height.
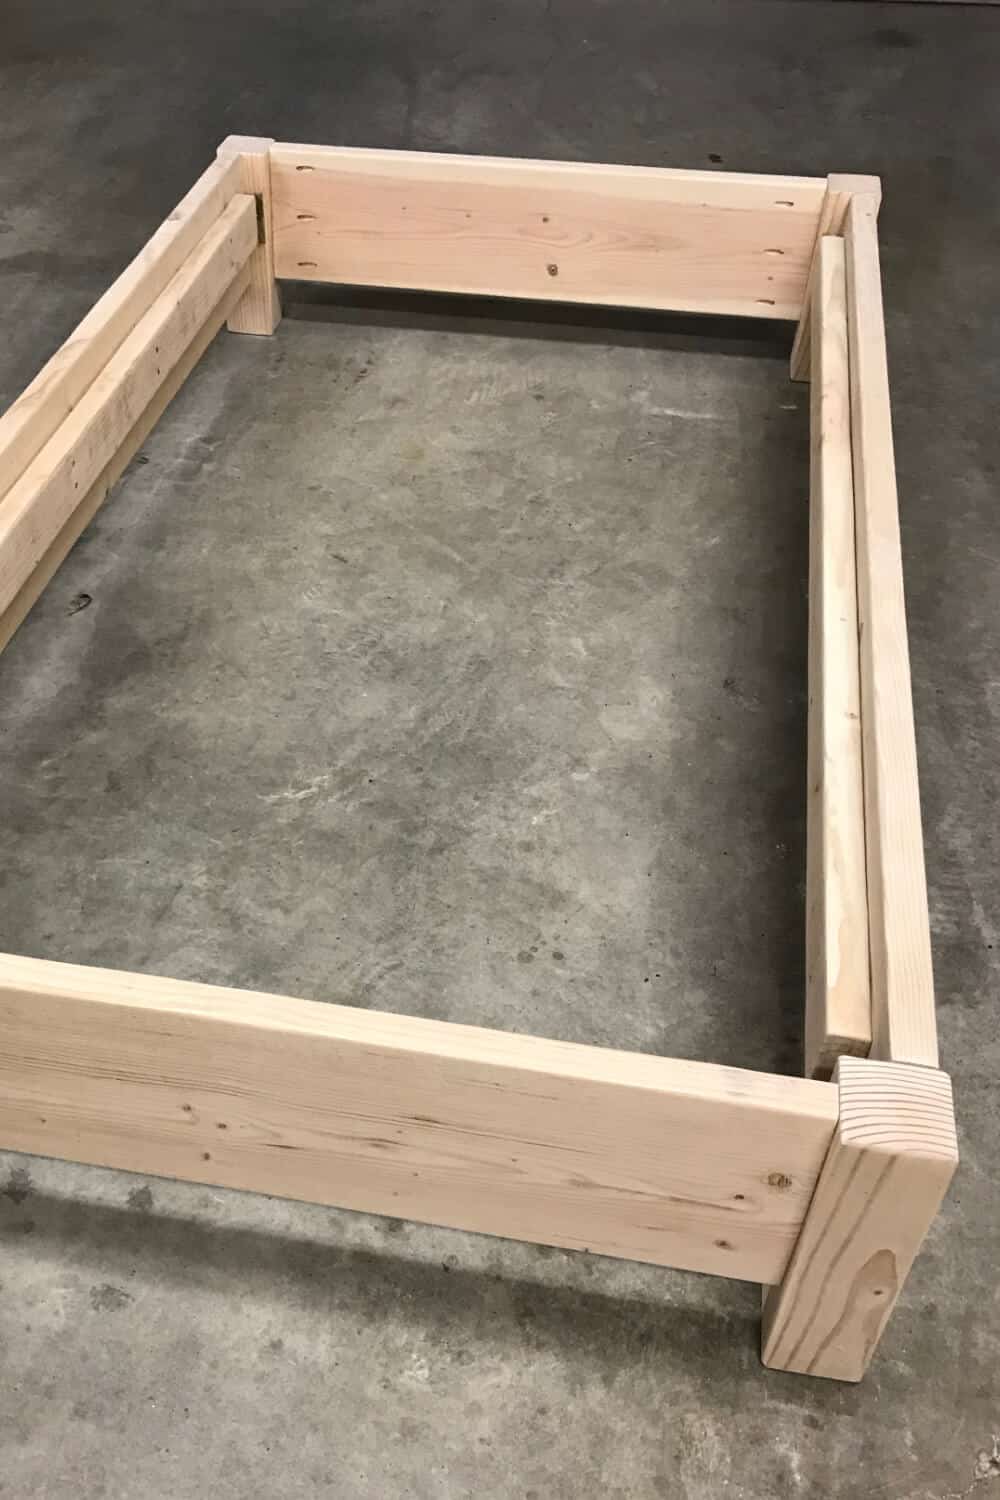
The bed rails were pretty easy to attach and it was all flush … enough!
Stain The Twin Platform Bed
I used Homemade Wood Stain for my Twin Bed.
After the bed was stained, I took it apart, laid the pieces on sawhorses, and finished each piece with a coat of wax.
I then attached a caster wheel to each leg.
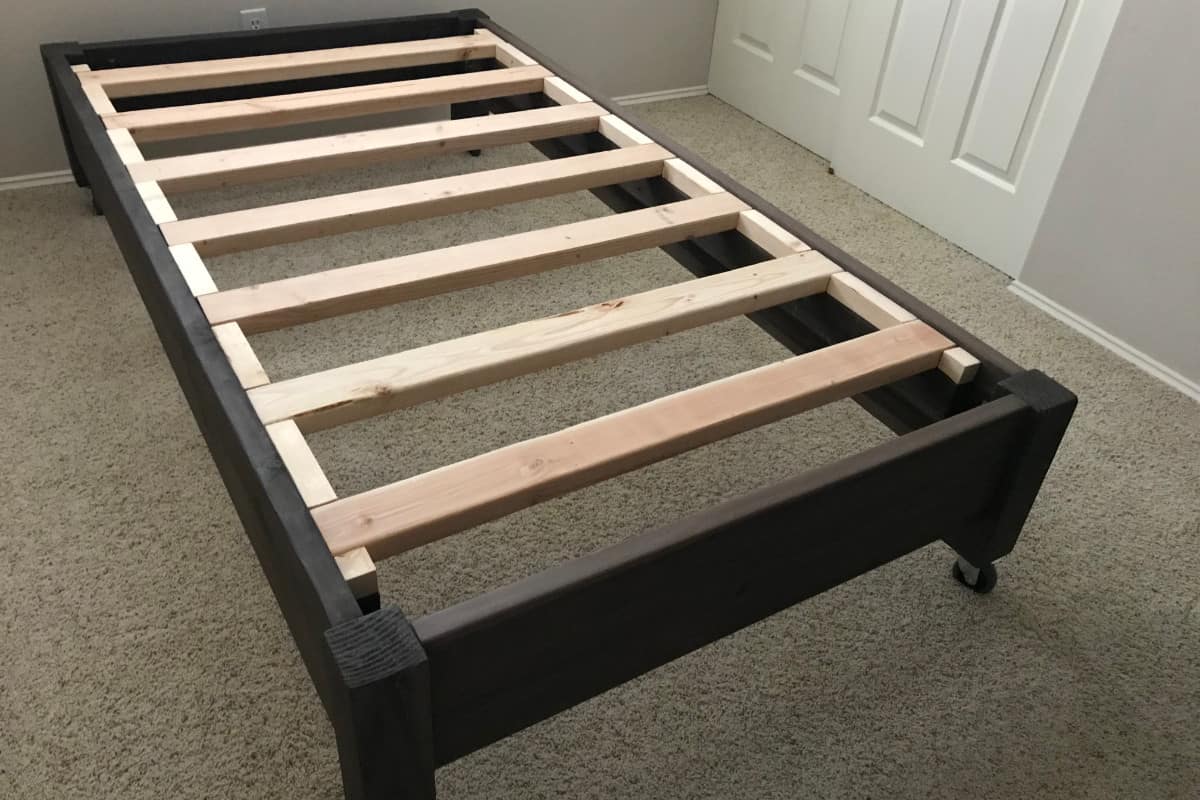
After the wax was dry, I took the bed pieces into the guest room and reassembled it.
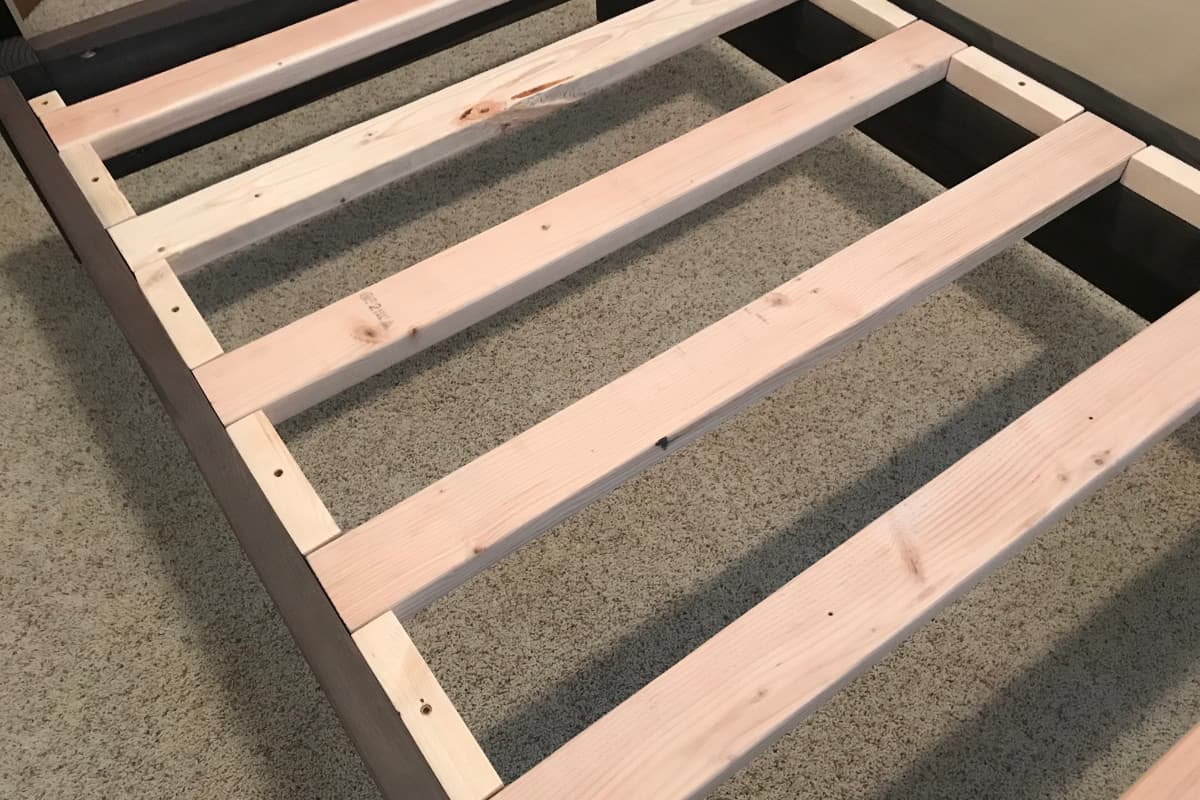
Slat Boards And Side Rail Blocks
This is where you would measure the inside dimension of your bed so you can cut your bed slats the proper width.
I placed the bed slats and side rail blocks where they needed to go.

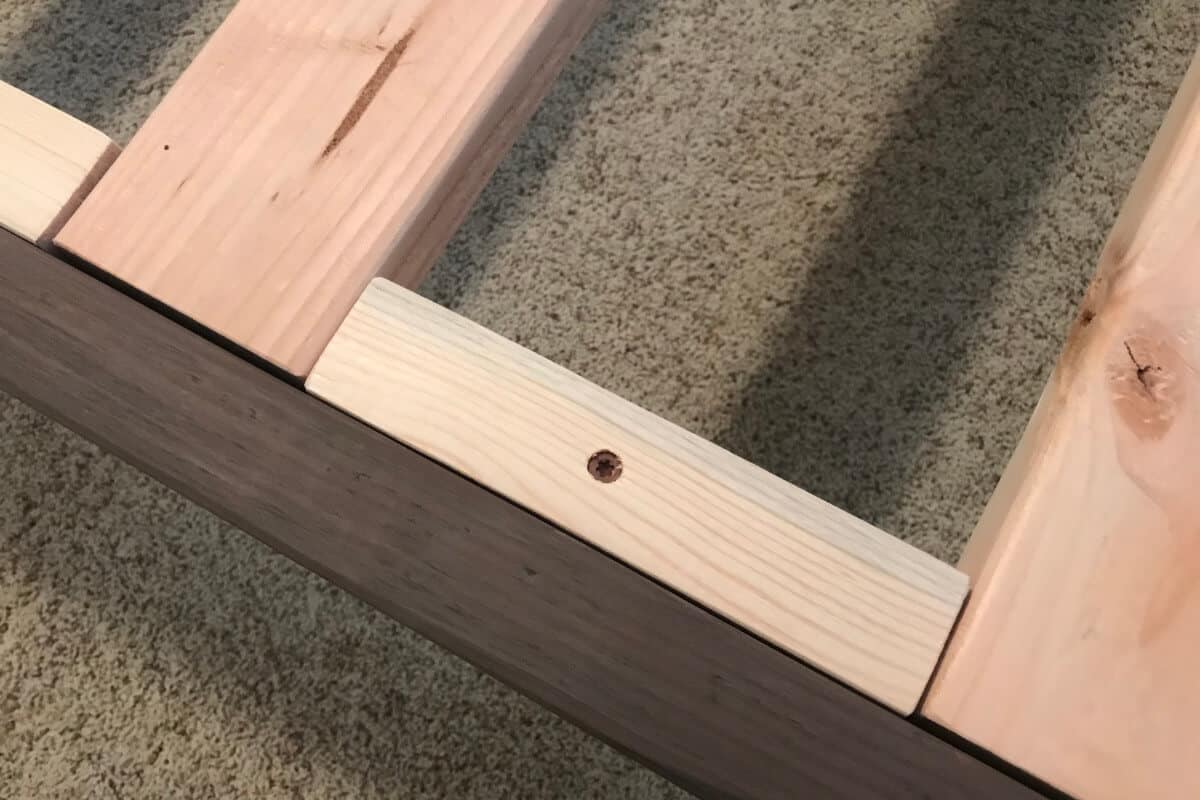
Next, I attached each block to the side rail support by pre-drilling a hole and then used one self-sinking screw in each block.
This was a bit tedious as I used my Kreg Clamp on each block to keep it from moving.
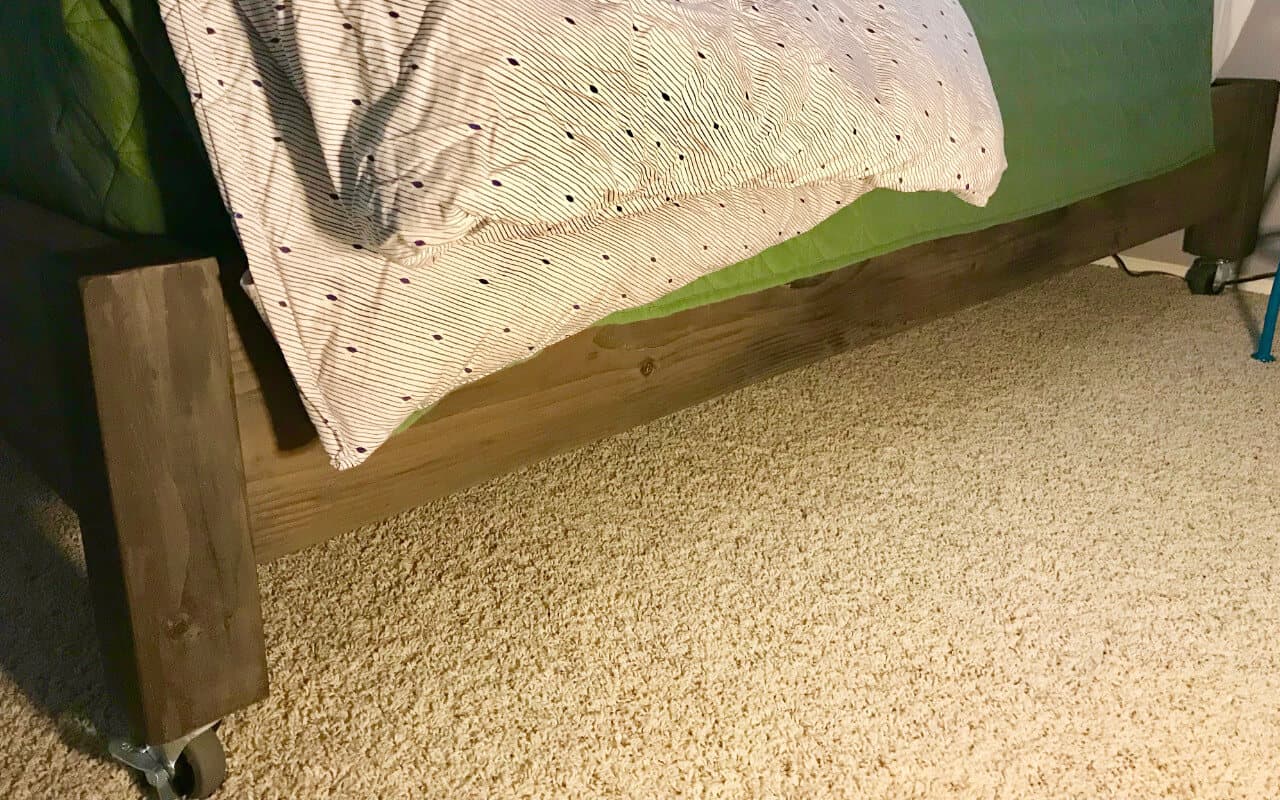
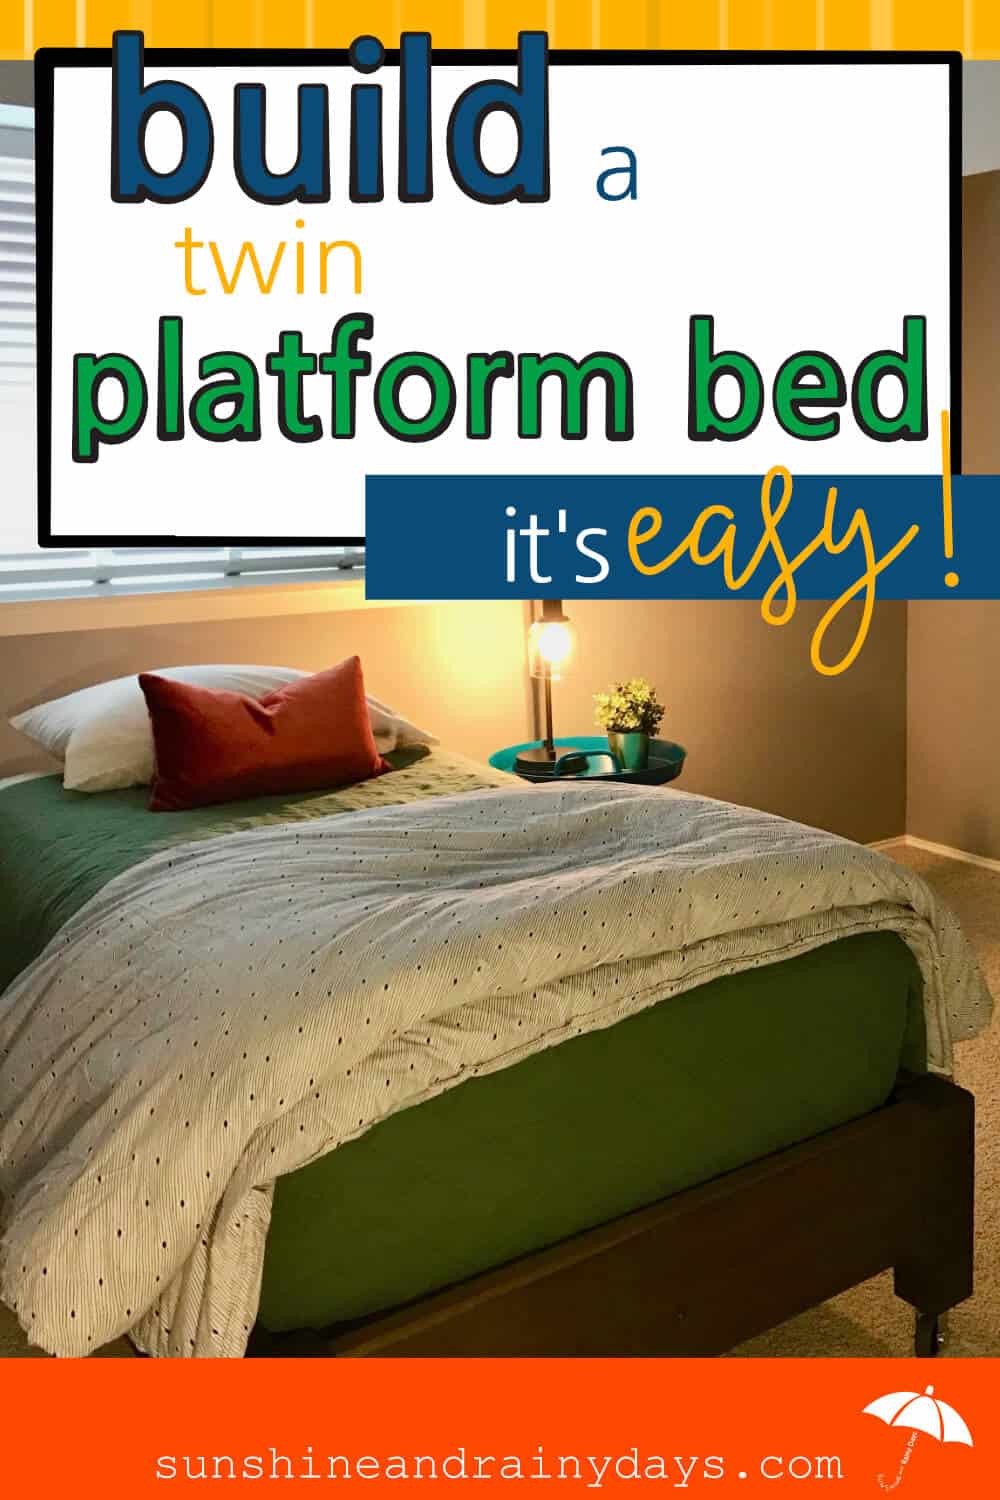
The finished bed height is approximately 28″.
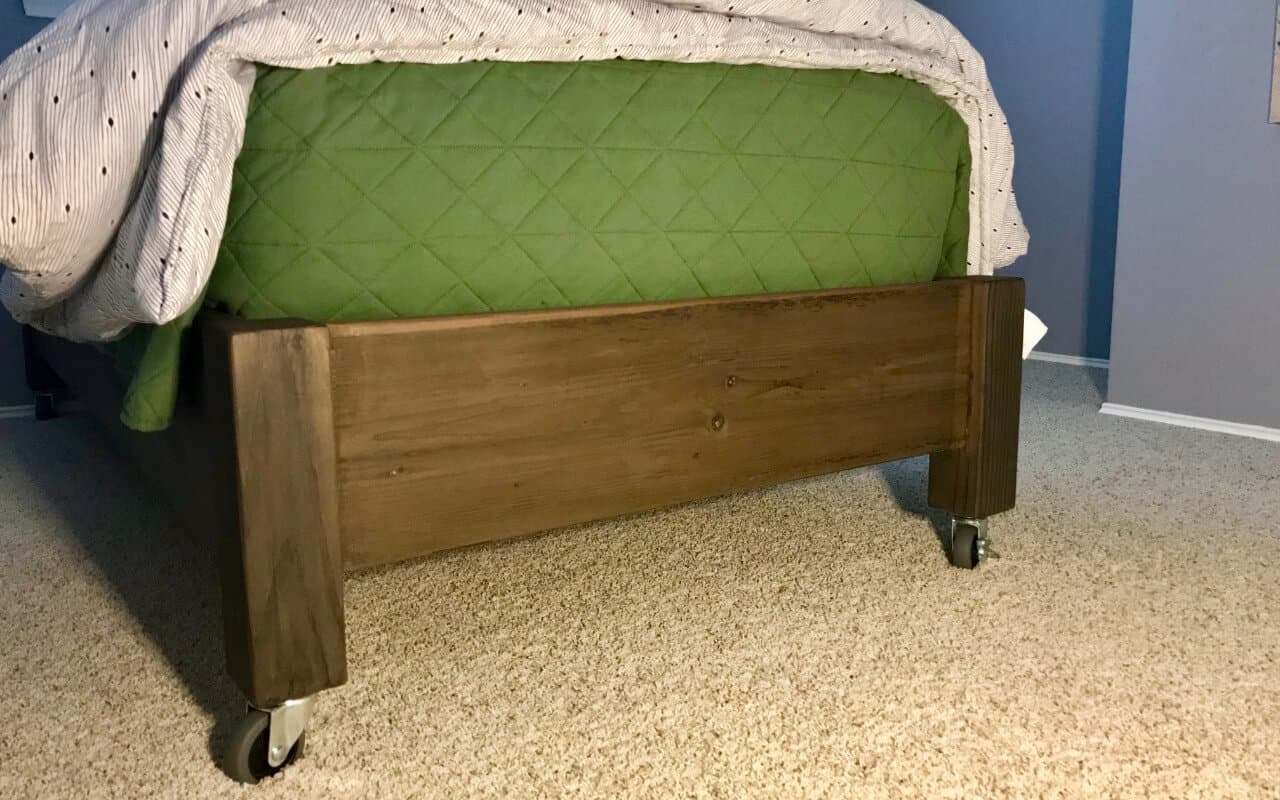
We are happy with this simple Twin Platform Bed! It was easy and inexpensive to build and should be a good thing to have around when the kids say goodbye to dorm life and rent a room, when they’re off at college.
Of course, we are also quite happy that our guest will not have to sleep on a mattress, on the floor.
Twin Platform Bed Resources