Graduation Photo Display

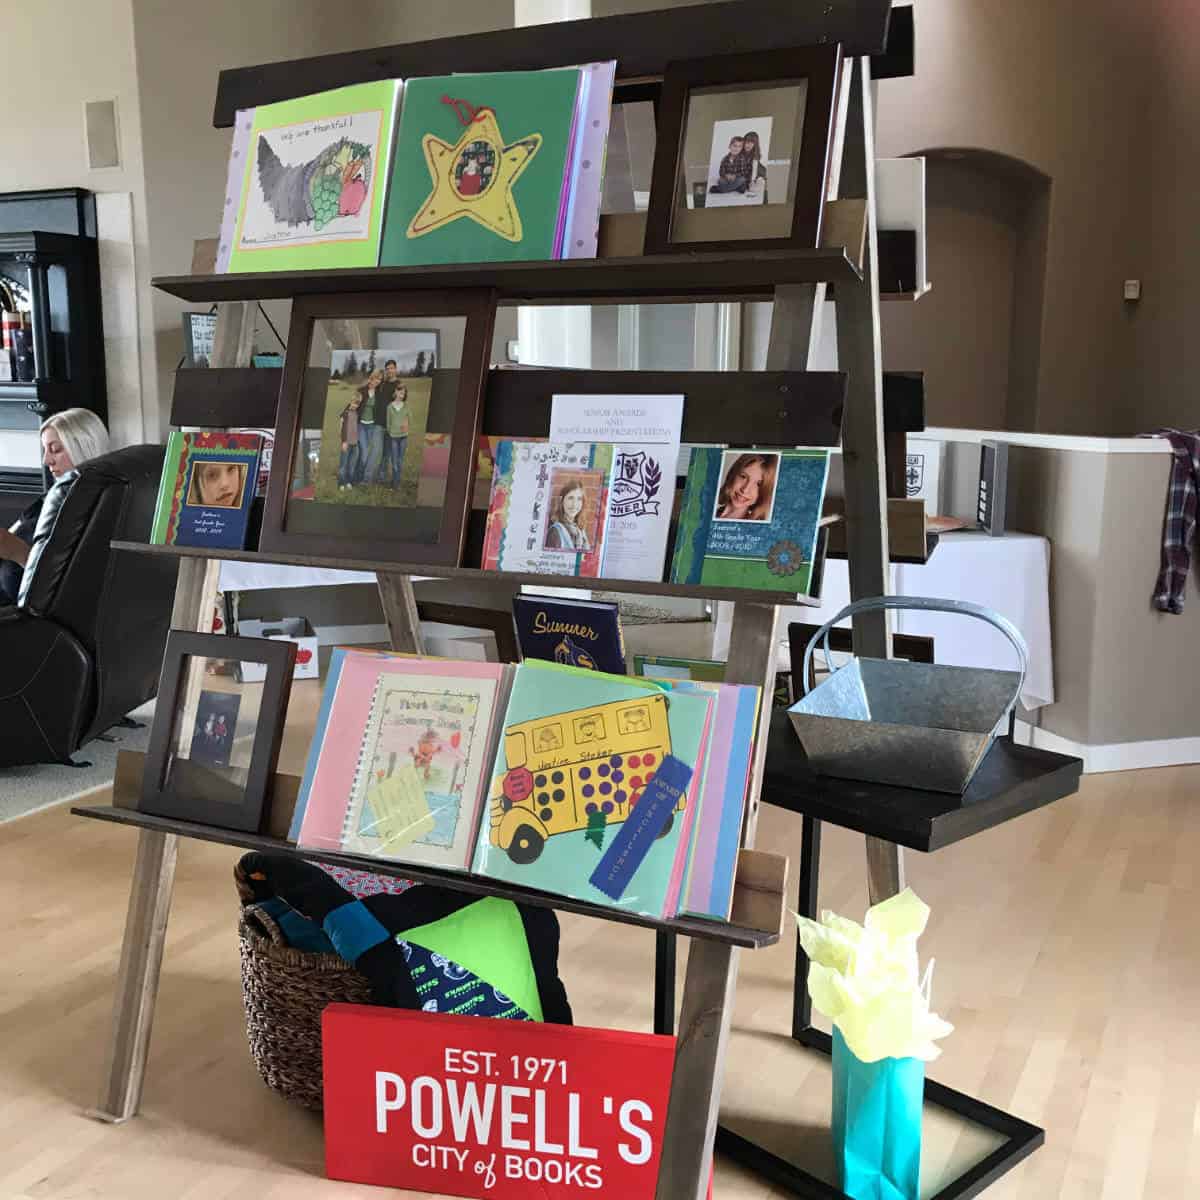
One of my favorite graduation party ideas was creating this DIY Graduation Photo Display to showcase photos, scrapbooks, awards, and memorabilia from preschool through college. Instead of creating a photo wall or printing dozens of loose pictures, this wooden A-frame display gave us a meaningful way to share years of memories while creating a sweet focal point for the party.
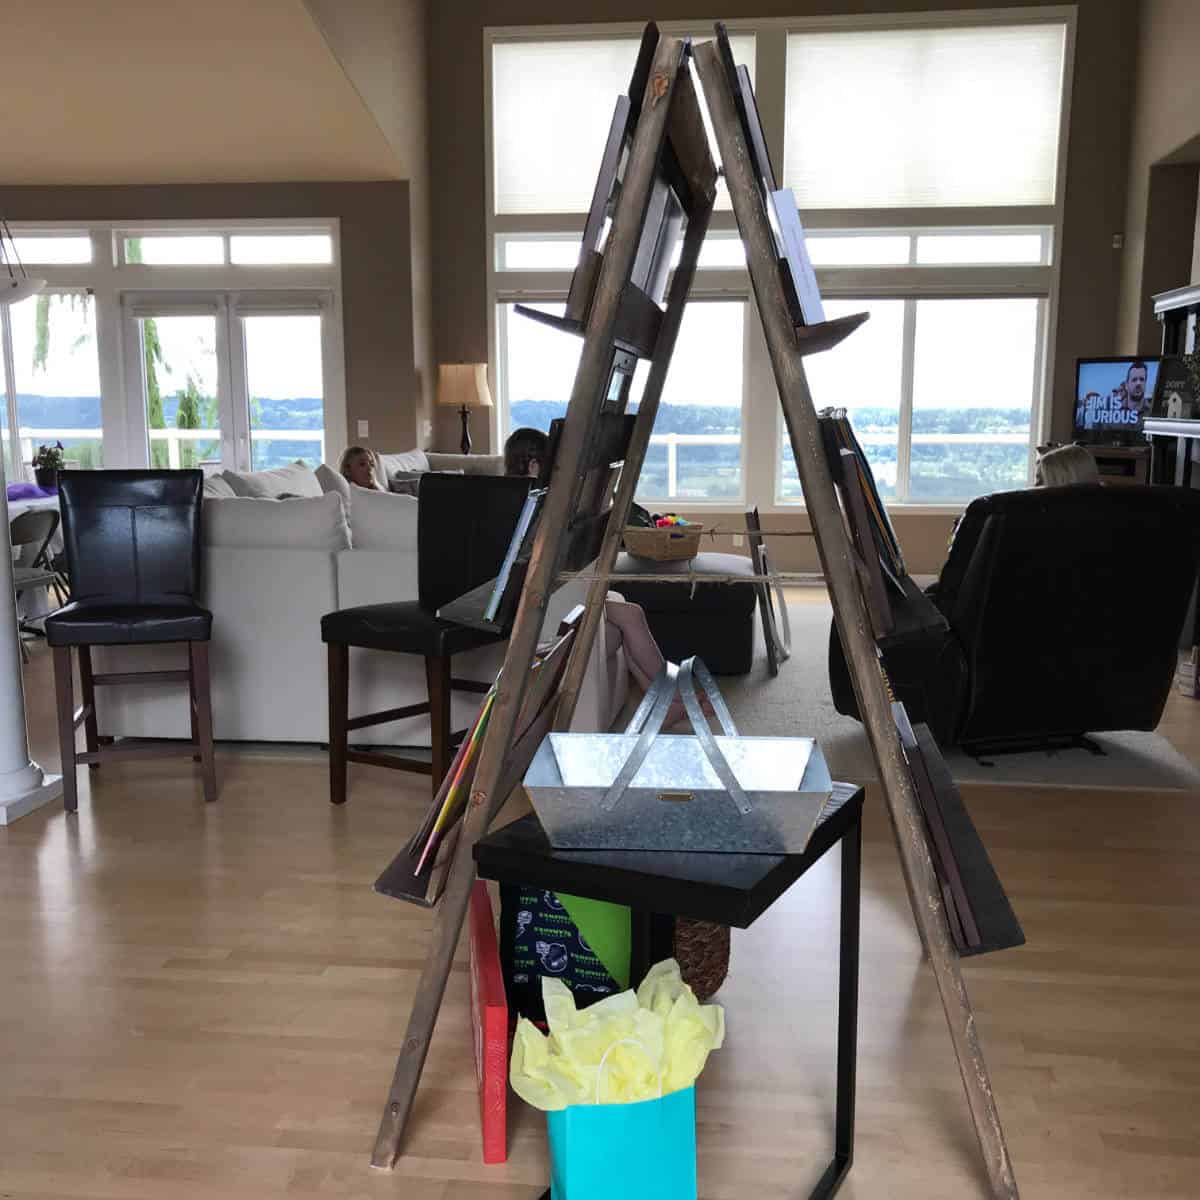
For our daughter’s high school graduation, I wanted to display photos and scrapbooks we already had instead of trying to come up with a photo wall and printing a whole bunch of pictures that I didn’t think anyone would care to look at. So, I found rustic boards at Home Depot (the kind you might use for an accent wall), built a frame out of 1 x 3’s, and created little shelves for the photos and scrapbooks to sit on. I made it A-frame style to sit right at our front entrance and included a little table with a metal basket for cards and a basket with the Quilt Out Of Dog Bandanas Justine had made with all of the scarves her dog got from the groomers.
Since Justine was going to college in Portland, we made her high school graduation party have a Portland theme and I made signs for each station. Powell’s Books was famous in Portland at the time so we dubbed the photo display Powell’s Books since it included scrapbooks.
Family and friends spent more time than I thought they would perusing scrapbooks and looking at photos. Friends she graduated with especially enjoyed the scrapbooks that included pictures of classmates, including themselves!
I posted a picture of this display on my Facebook page and a bunch of friends suggested I rent it out. That was a nice compliment but I felt the display wasn’t sturdy enough for that kind of endeavor although a friend did borrow it for their graduation party, too.
We had thought this photo display would be a temporary thing just for the party so I didn’t put a lot of effort into making it stand the test of time. But, we quickly found it came in useful for many things including our annual garage sale where it held books, pictures, and frames for sale.
When the photo display finally became a little too unsturdy and hard to store, we dismantled it. But then, my son’s college graduation was coming up and I needed the same way to display his photos and scrapbooks. He was a 2020 high school graduate and didn’t get a proper high school graduation party so we decided to do a nice celebration for his college graduation. So, I built a sturdier edition of the photo display knowing it would get used in many ways.
Again, this display was the focal point of the party with many friends finding themselves pictured in scrapbooks and taking a little trip down memory lane.
Graduation Photo Display Supplies
This post contains affiliate links. When you purchase through an affiliate link, we receive a small commission at no additional cost to you. Disclosure.
- 3 – 1 x 2 x 8 – For the front lip of each shelf
- 6 – 1 x 3 x 8 – For the frame and bottom of each shelf
- 2 – 1 x 6 x 8 – For the back support pieces
- Clamps
- Wood Glue
- Kreg Jig
- Pocket Hole Screws
- Drill
- Sander
- 220 Grit Sandpaper
- Stain
- Polyurethane
- Scrap Spacers
- Two Hinges
- Two Braces
Wood Cut List
You can modify these directions to make your photo display the size that works best for you but I will include the cuts I made for this photo display.
Listed below are the cuts to make although I would build the frame and attach the back support boards before you cut the shelf pieces to make sure you end up with the same dimensions that I did.
- 1 x 3 Cuts: 4 pieces at 63″ for the legs, 2 pieces at 27-1/2″ for the top of each frame, and 6 pieces at 32-1/2″ for the bottom of each shelf (cut these once the frame is built and you’ve checked your measurements)
- 1 x 2 Cuts: 6 pieces at 32-1/2″ (cut these pieces when the frame is built and you’ve checked your measurements)
- 1 x 6 Cuts: 6 pieces at 27-1/2″ for back support boards
Sometimes you will never know the value of a moment until it becomes a memory.
Dr. Seuss
How To Build A DIY Graduation Photo Display
This photo display is 63″ tall x 32-1/2″ wide. It was the perfect size to display a variety of scrapbooks and photos. I also built each little shelf with a lip in the front to keep things on the shelves.
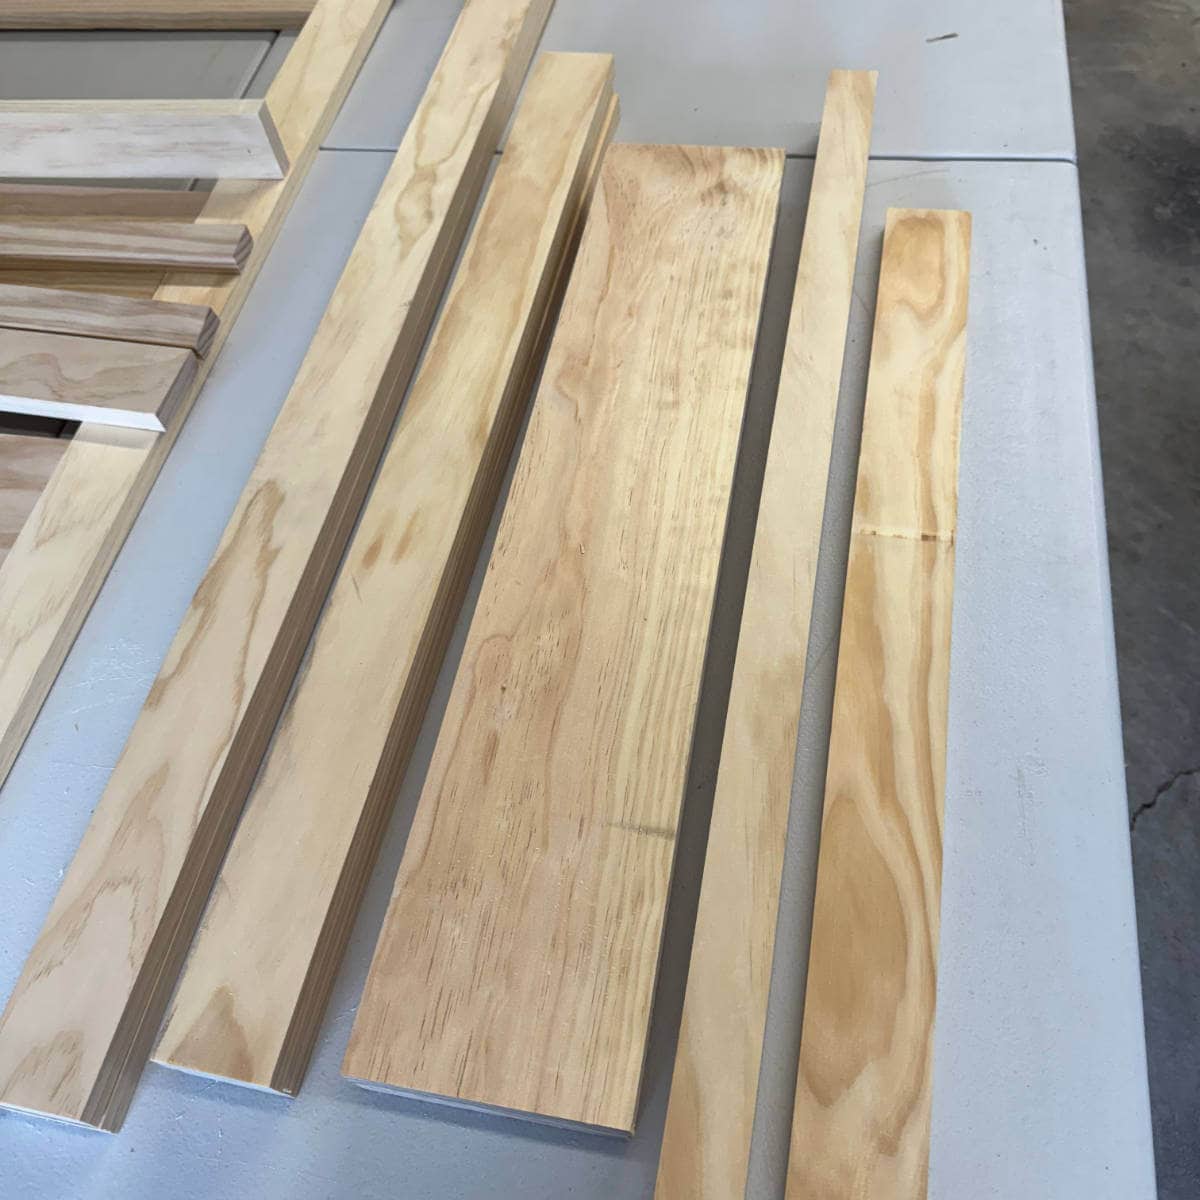
Step 1: Gather your supplies and cut your lumber. For this graduation photo display, I used nice wood that I wouldn’t need to sand too much or rip down to make the project easier.
One thing I learned from the first build was the books and photos would topple over if they didn’t have enough wood to lean on so I used wider boards as the back support boards.
Step 2: Do a quick sand using 220 grit sandpaper on each of your boards.
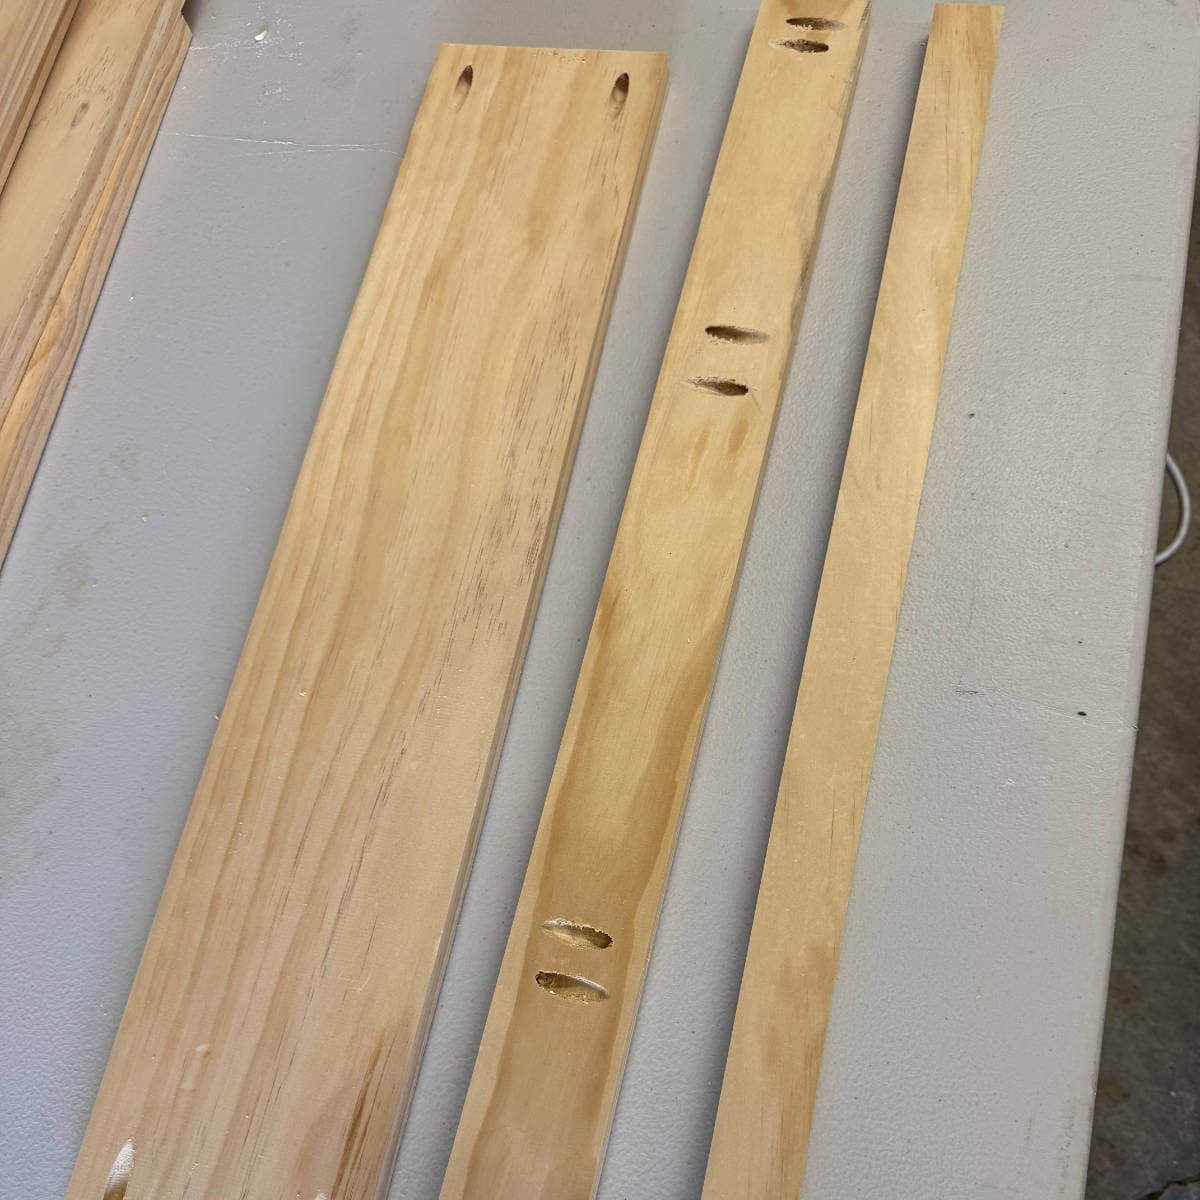
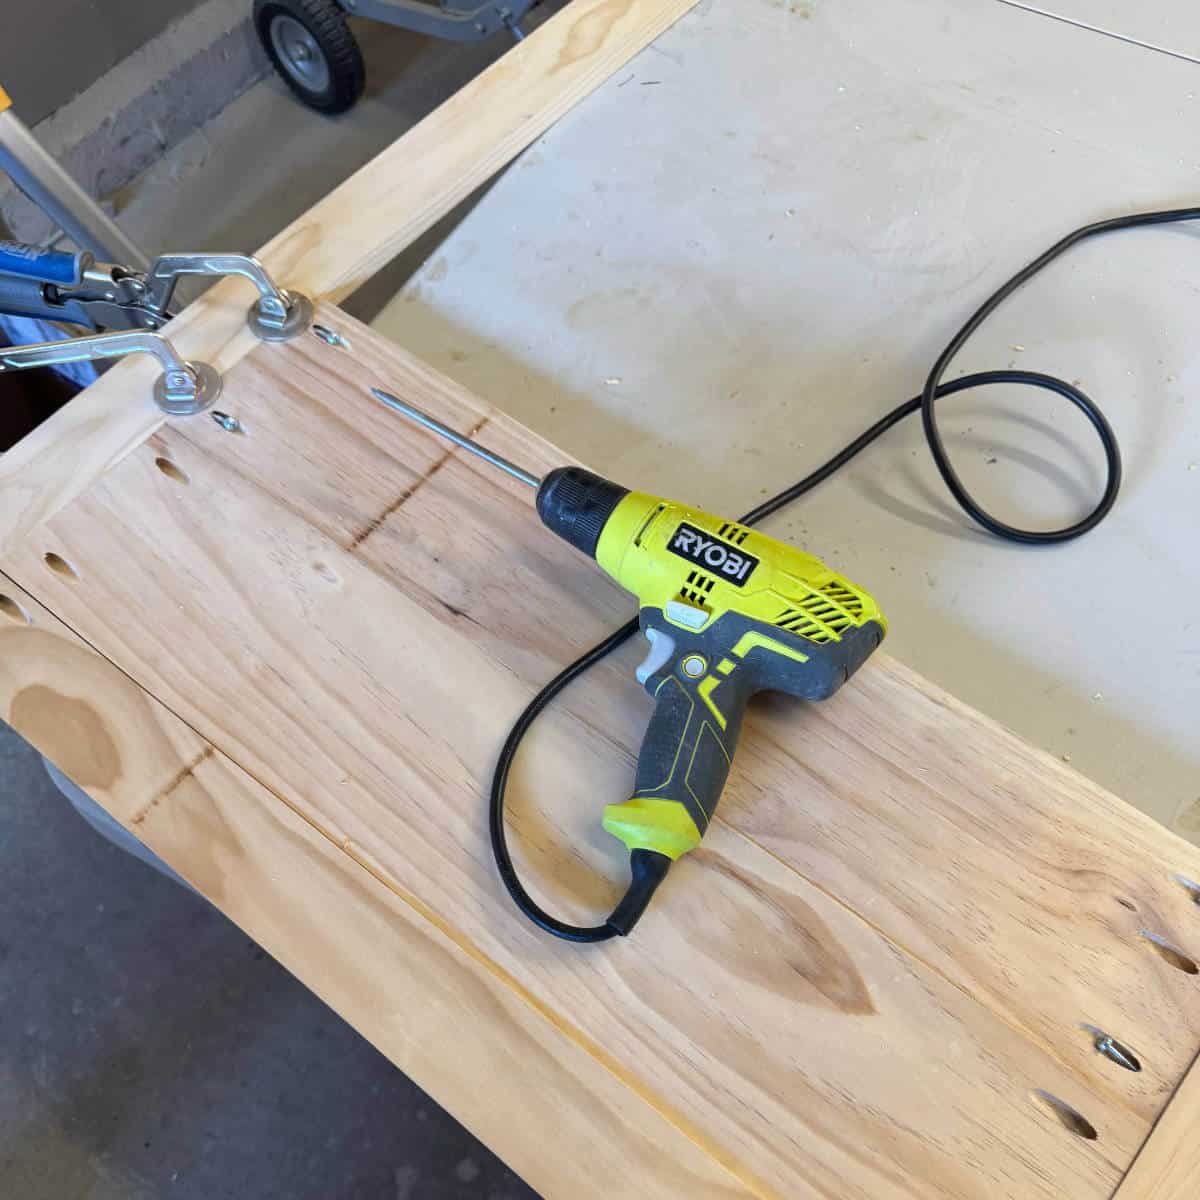
Step 3: Create pocket holes. You will need two pocket holes at the end of the top pieces and each back support board. Then, the bottom of each shelf will have pocket holes facing two directions to attach it to the front 1 x 2 lip and the back support board. I drilled four pocket holes in each direction.
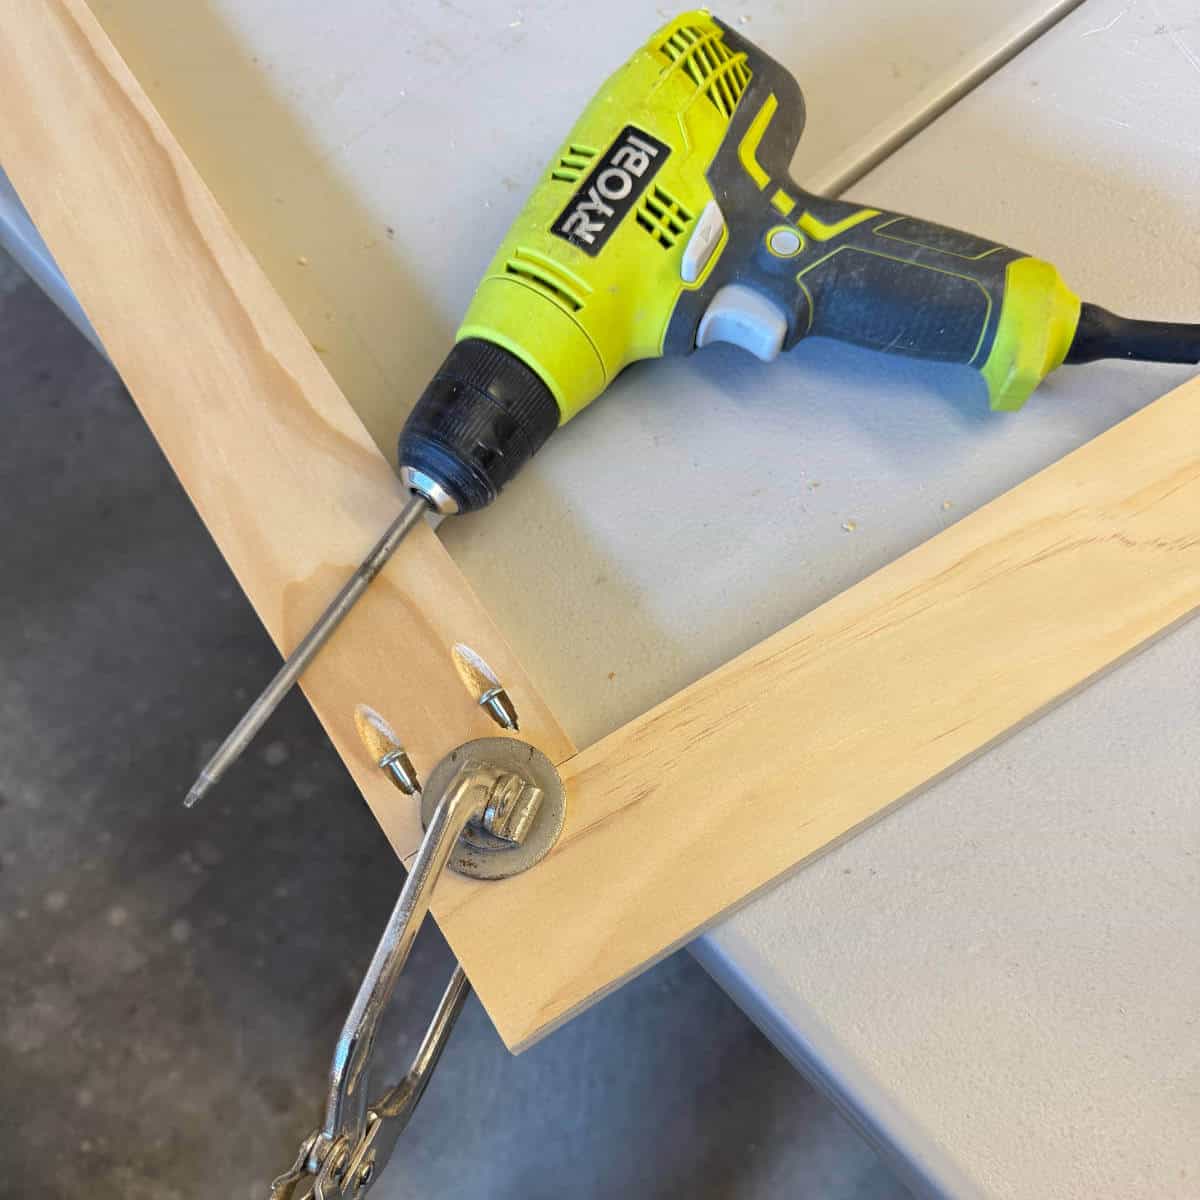
Step 4: Assemble the frames. First, I attached the top 1 x 3’s to the top of the 1 x 3 legs for both sides of the A-frame by using pocket holes and wood glue.
Step 5: Attach back support boards. Next, I used one back support board as a spacer at the top and attached a back support board just below it using pocket holes and wood glue. Clamps helped keep the boards in place. I did this for both sides of the A-frame.
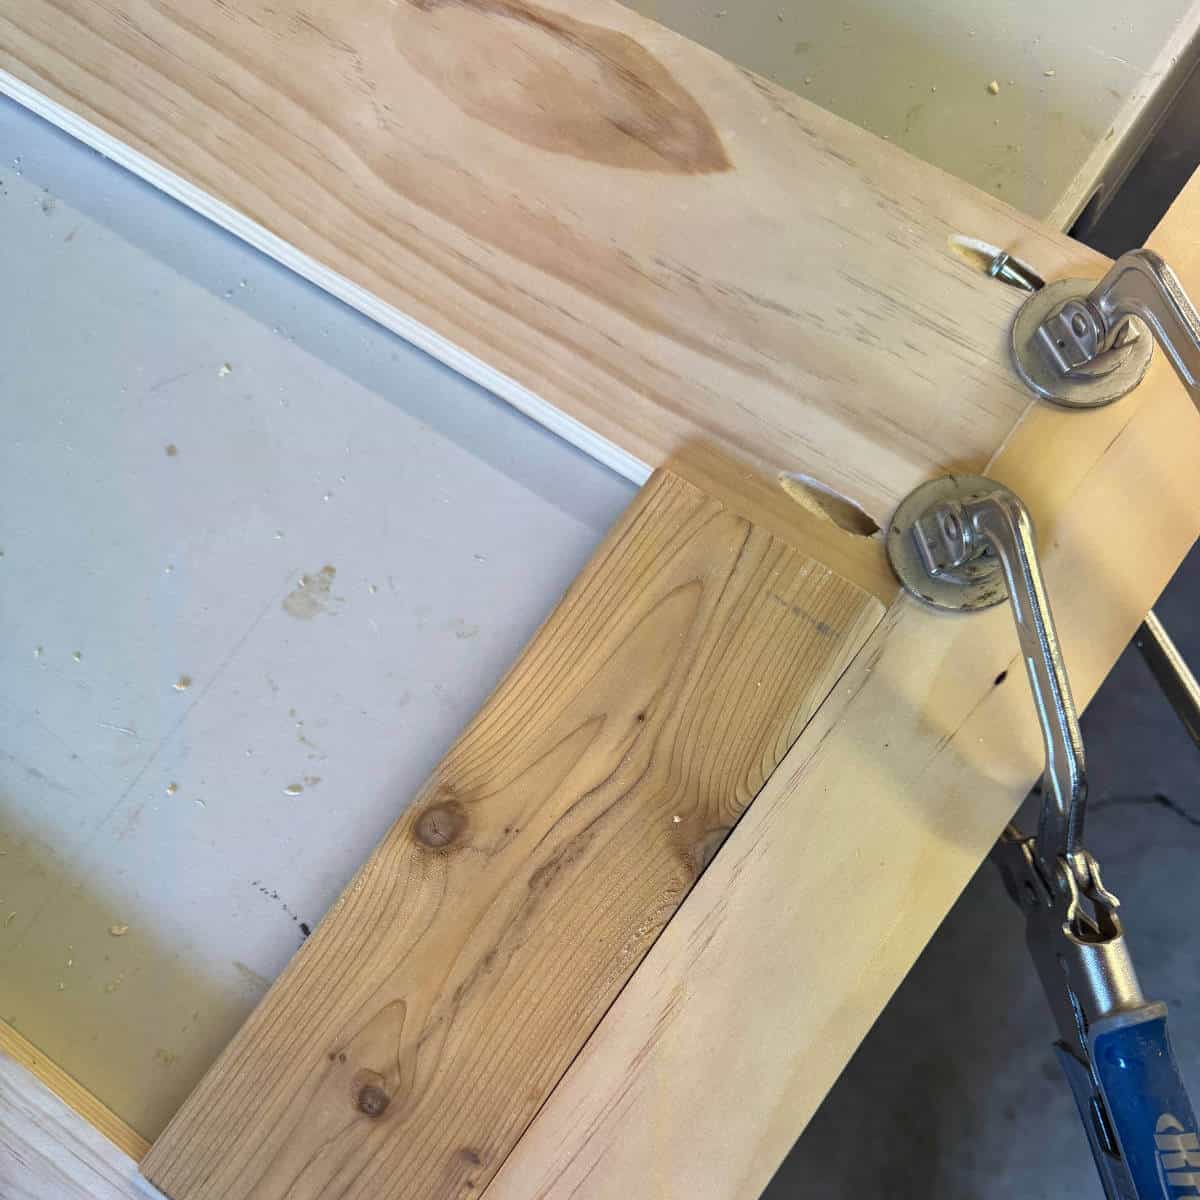
Step 6: Attach remaining back support boards. I cut two spacers out of scrap 2 x 4’s at 10-1/2″ and attached the remaining two back support boards on each side.
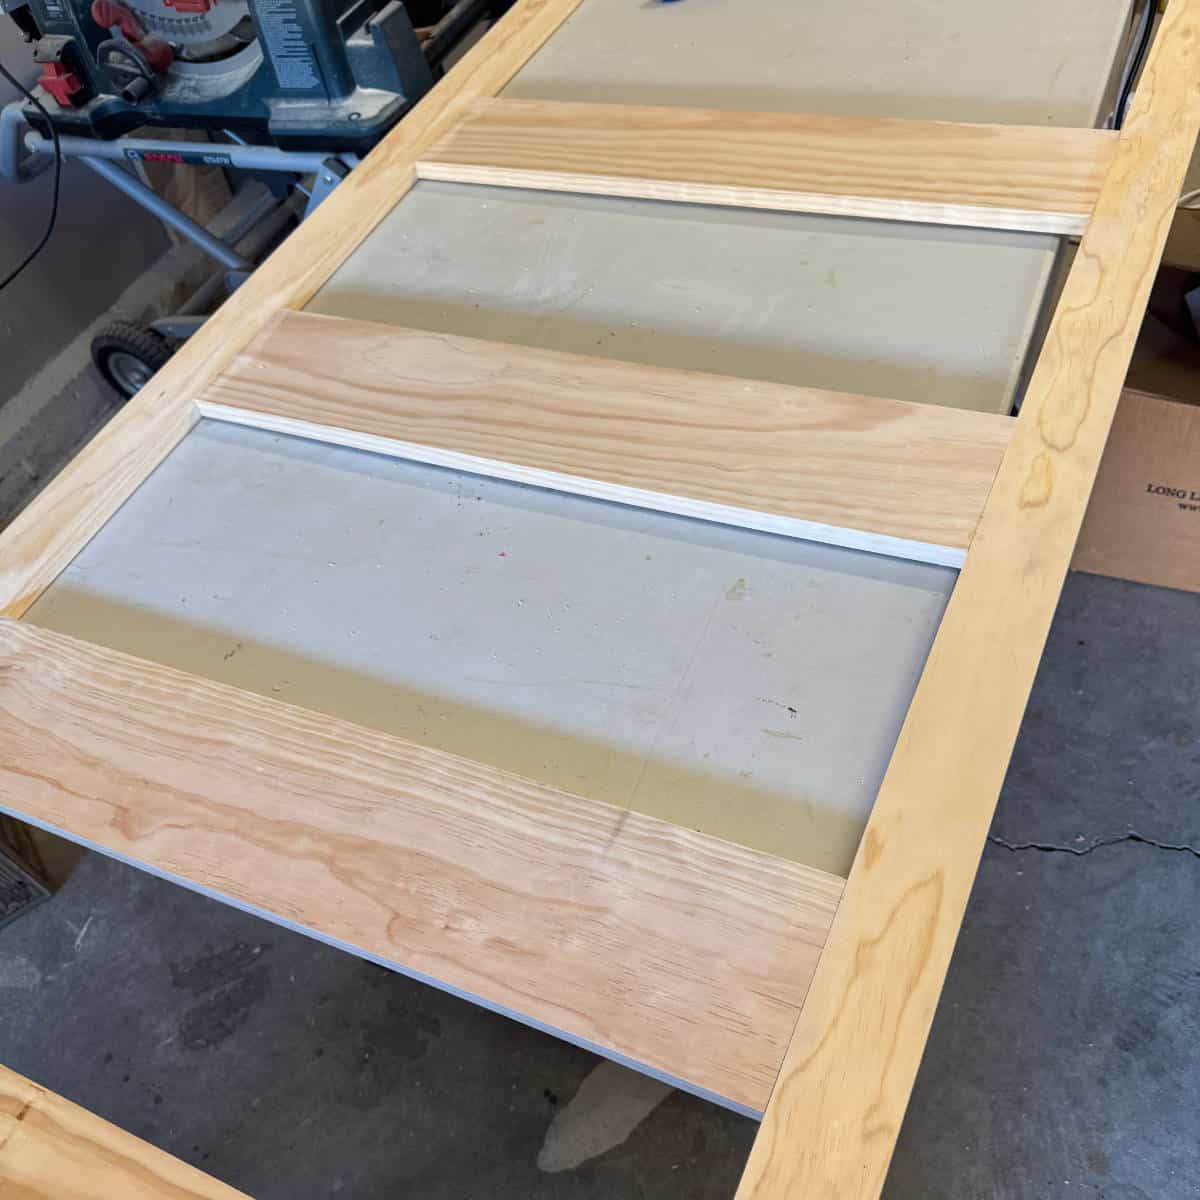
This is what each side will look like with the back support boards attached.
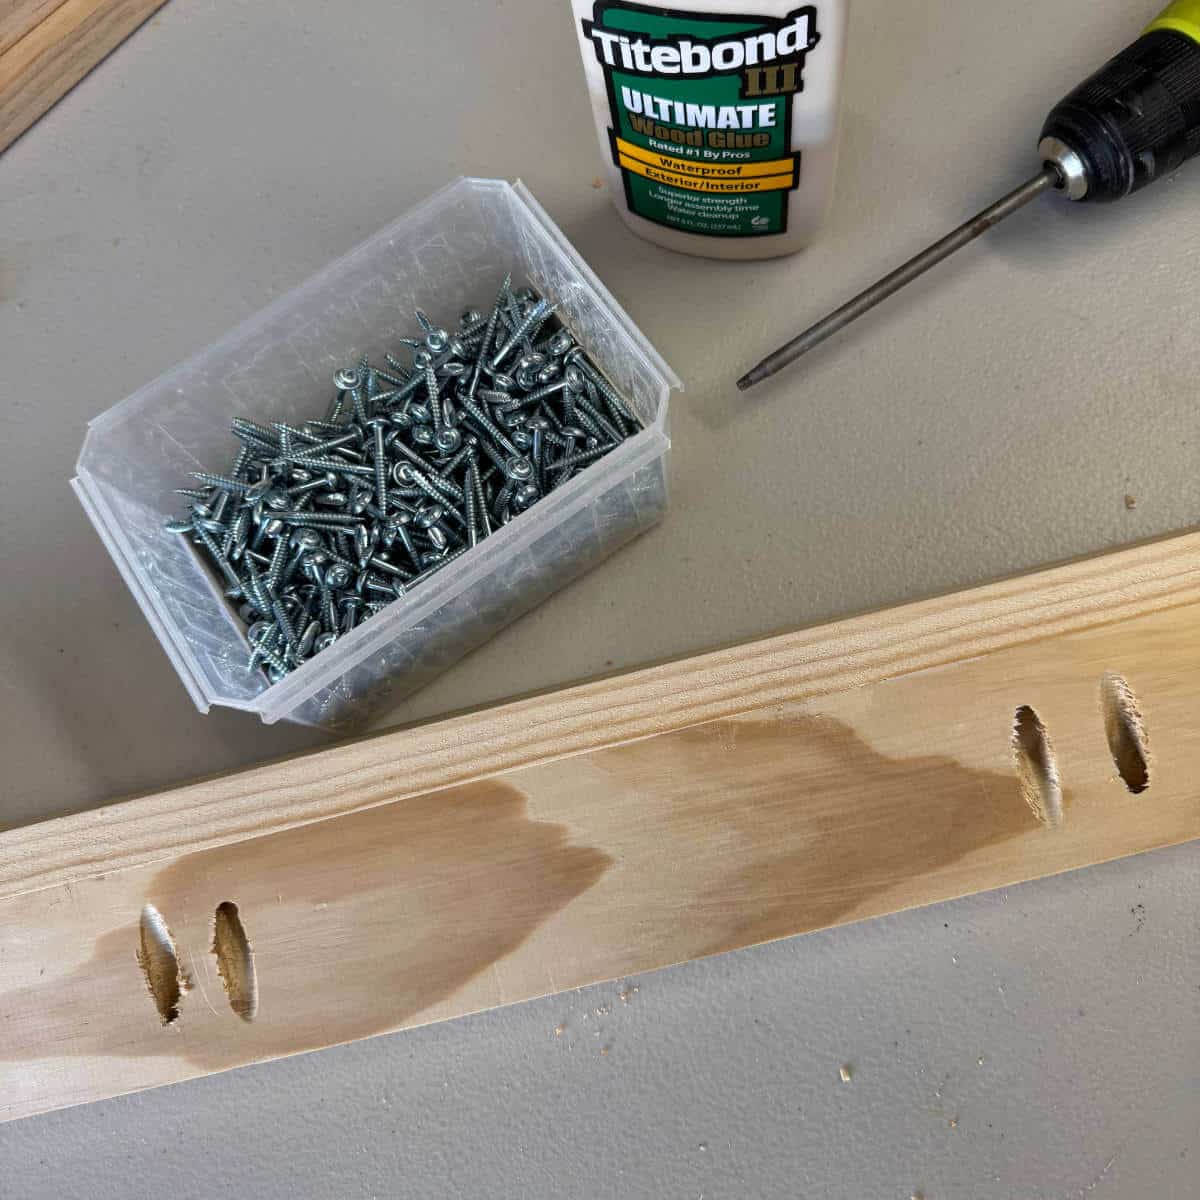
Step 7: Attach the shelf lips to the shelf bottoms using pocket hole screws and wood glue.

Step 8: Attach each shelf to the bottom of each back support board using pocket holes and wood glue.
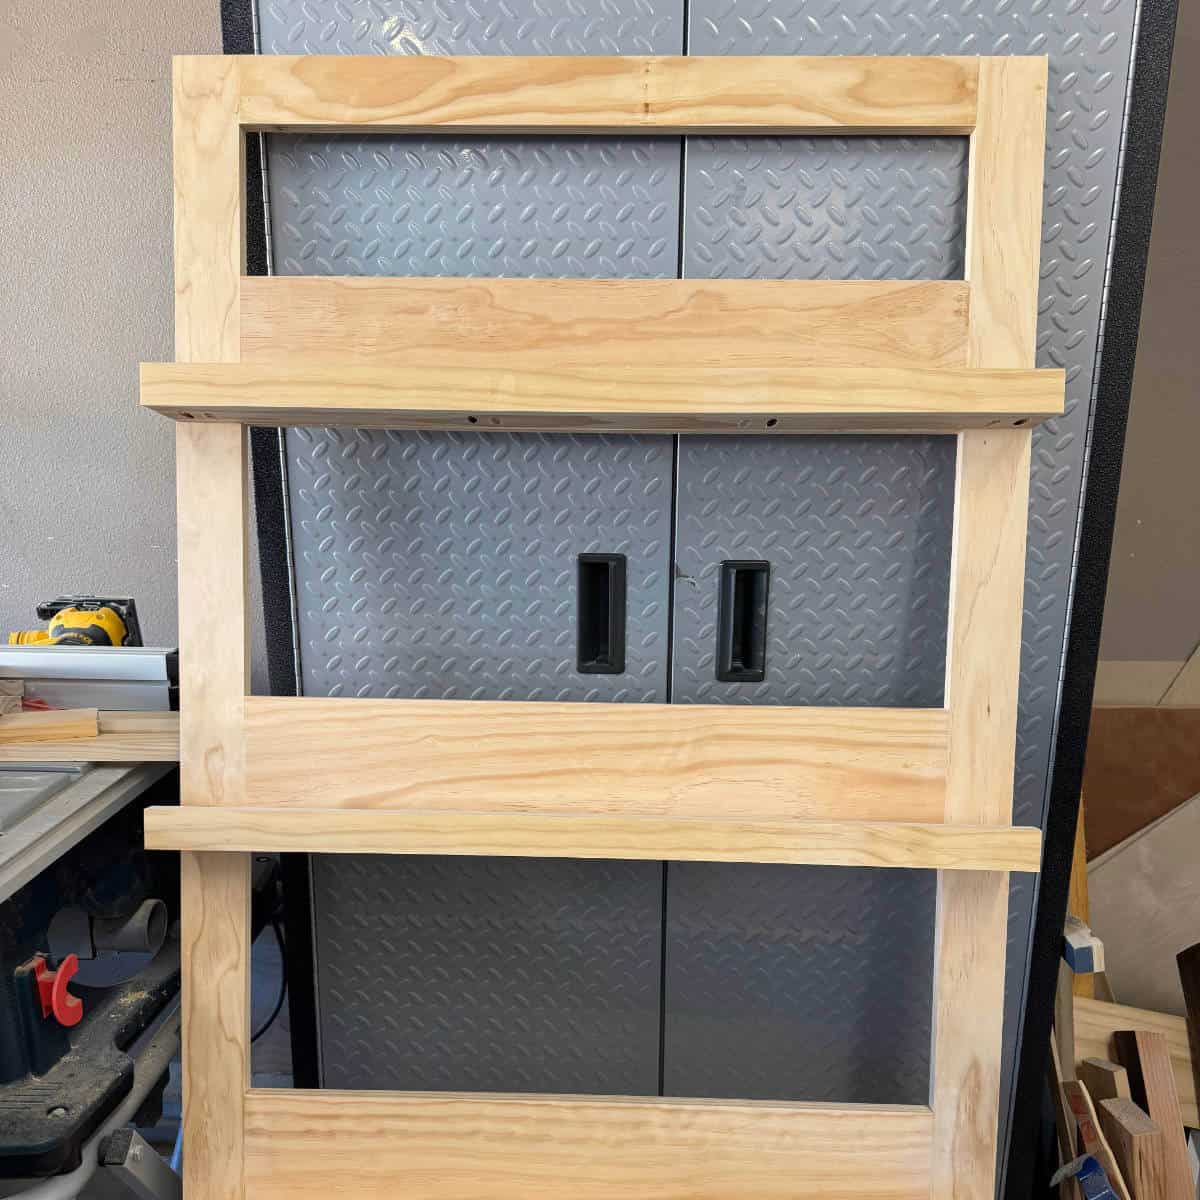
This is what each side will look like once the shelves are attached.
Step 9: Stain each side of the A-frame using your favorite stain.
Step 10: Polyurethane each side of the A-frame with your choice of polyurethane.
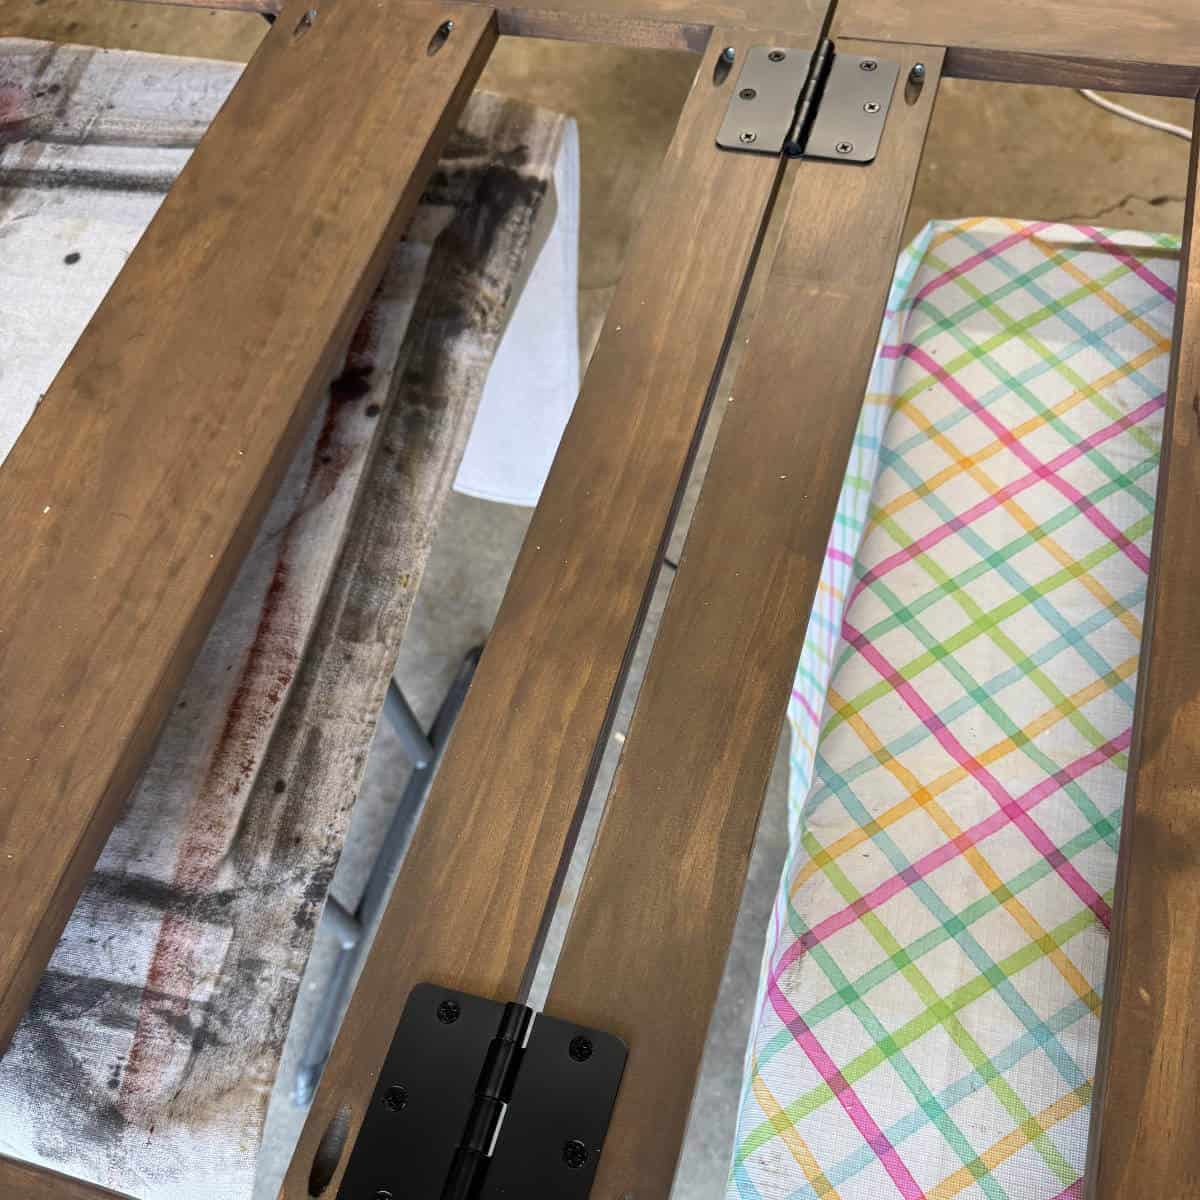
Step 11: Attach two hinges. Combine the two sides of your A-frame at the top using hinges. Regular door hinges will work just fine.
Step 12: Attach a brace to each side. These braces keep the A-frame from sliding outward and laying flat. For my daughter’s photo display, we used eye hooks and jute to connect them. For my son’s photo display, we used these braces for added stability.
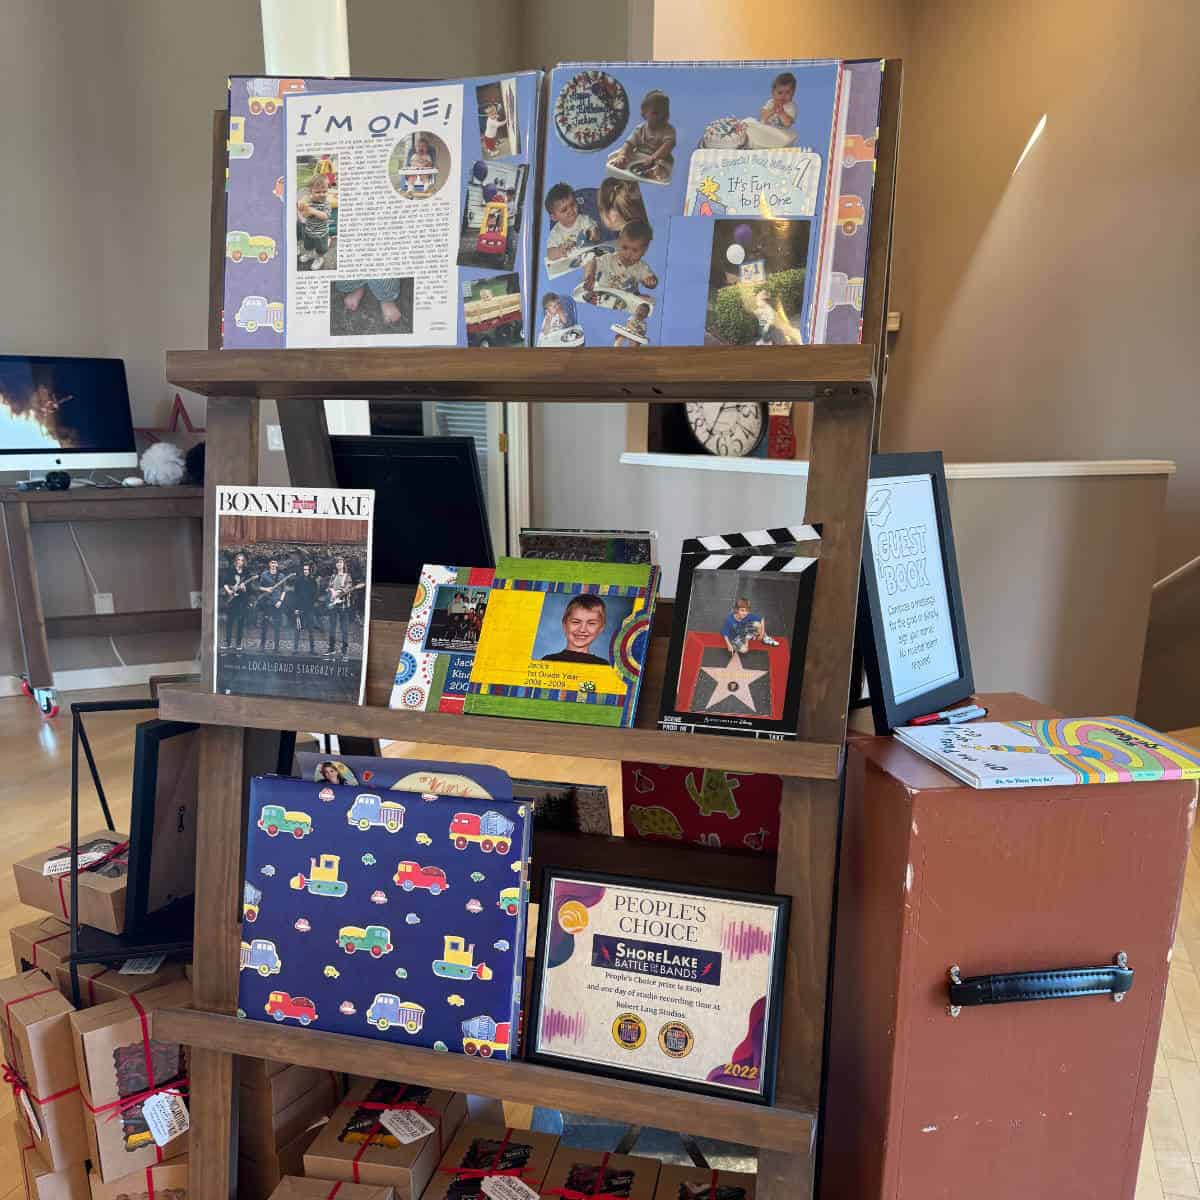
Step 13: Create your display! Photos, scrapbooks, awards, and memorabilia all work great on this display. We used my son’s band’s merch box on one end of the display for the guest book and arranged the party favors on the other end. It was a great focal point that served as decor and a photo display.
Since I built this graduation photo display, we’ve used it for our son’s college graduation party and a few garage sales. It has its own place in our garage for easy storage and use!
Frequently Asked Questions

Hi! I’m Bridget!
I create printables and DIYs to help you get organized and celebrate special occasions! It’s my mission to inspire you to get creative and find joy in every day!