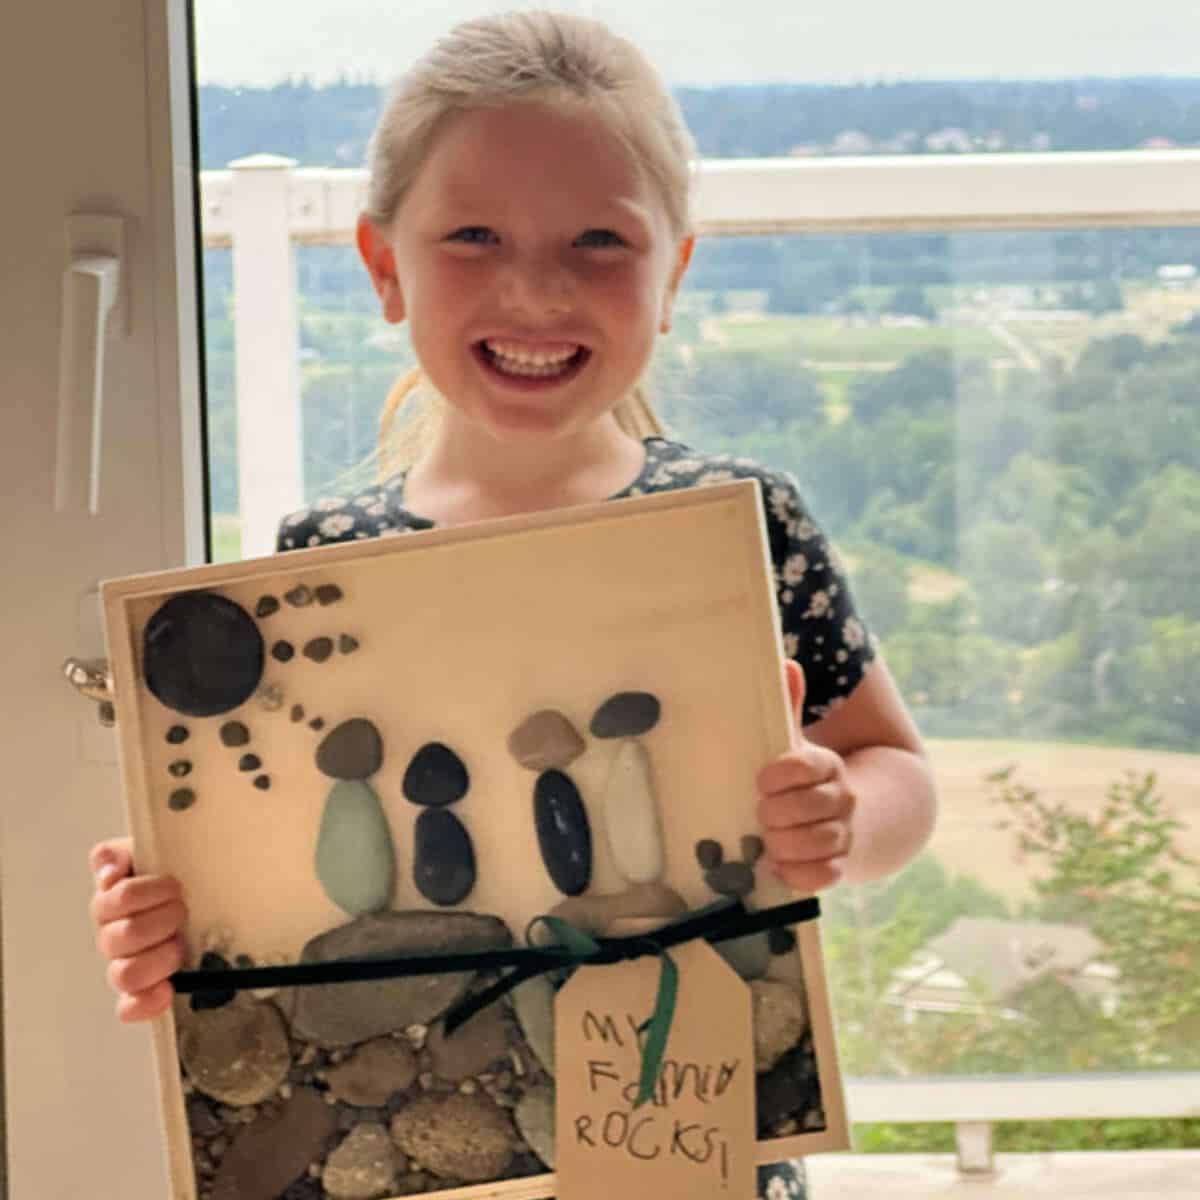
Family Portrait Rock Art Craft
Creating a family portrait rock art craft is a fun and creative way to combine the beauty of nature with the joy of crafting. This personalized piece of art is a great activity for kids or kids at heart. The process of transforming simple rocks into a family portrait is easy to do and makes a one-of-a-kind gift.
Supplies Needed
This post contains affiliate links. When you purchase through an affiliate link, we receive a small commission at no additional cost to you. Disclosure.
- Rocks – Smooth, flat rocks in various sizes, shapes, and colors.
- Glue Gun
- Wood Canvas – I purchased a 12 x 12 wood canvas in the craft section at Walmart.
Don’t want to make your own? Check out this custom family portrait pebble art you can have made just for you!
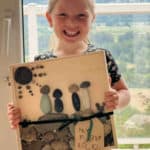
How To Make A Family Portrait With Rocks
My great niece wanted to make a rock family for her dad for his Birthday and we were happy to help! She loves to craft and so do I! In the past we’ve also made A Star From Paint Sticks and Melted Crayons Into Shapes. It’s fun to have a little one around to give you an excuse to craft!
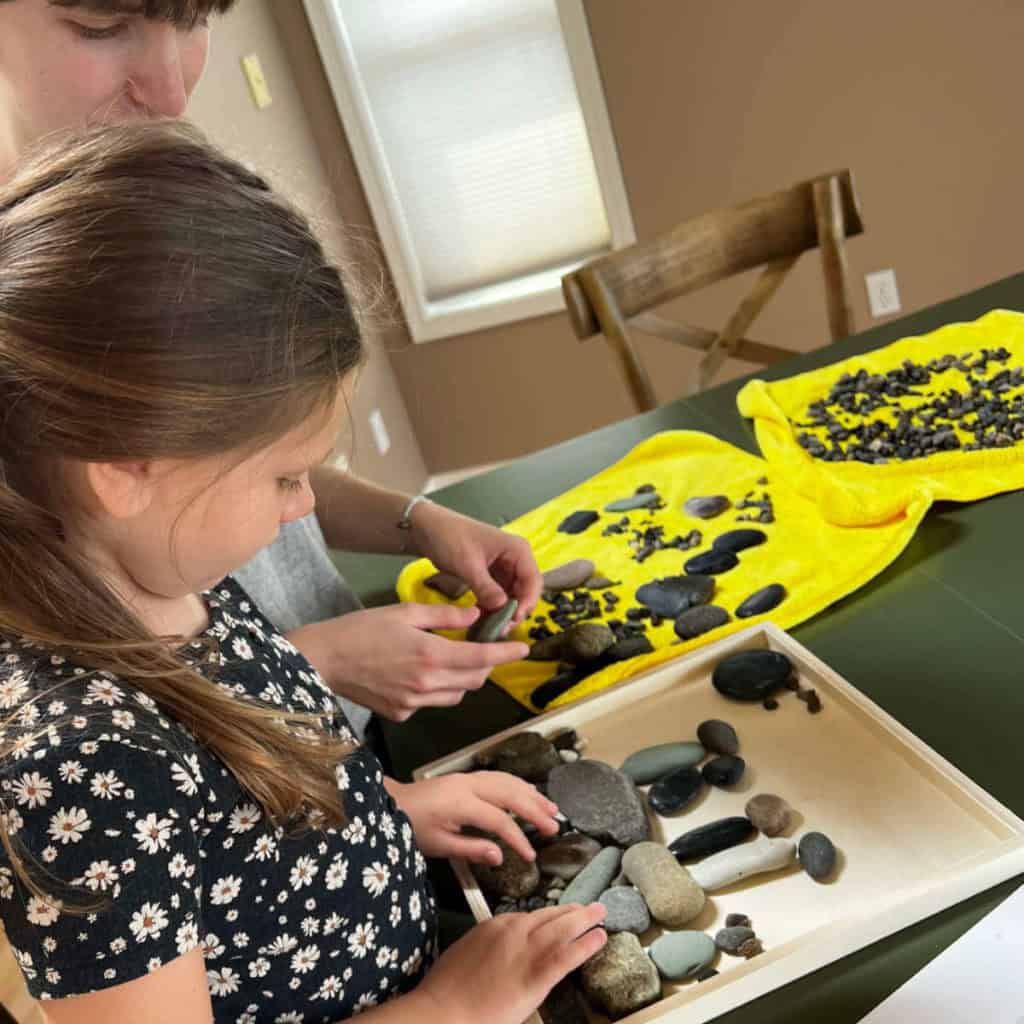
Step 1: Gather Rocks
We went to three different stores looking for nice, shiny flat rocks to buy but couldn’t find them. In retrospect, probably a hardware store would carry them. However, we searched our backyard and neighborhood sidewalk for rocks and the ones we found worked great and didn’t cost us anything!
You’ll want to find rocks of varying sizes, shapes, and colors. Smooth, flat rocks seem to work best. We also used pea gravel for sun rays and pets’ tails. Once you’ve gathered your rocks, wash them and let them air dry. We used a bucket to wash them in and then placed them on rags to dry.
Step 2: Plan Your Design
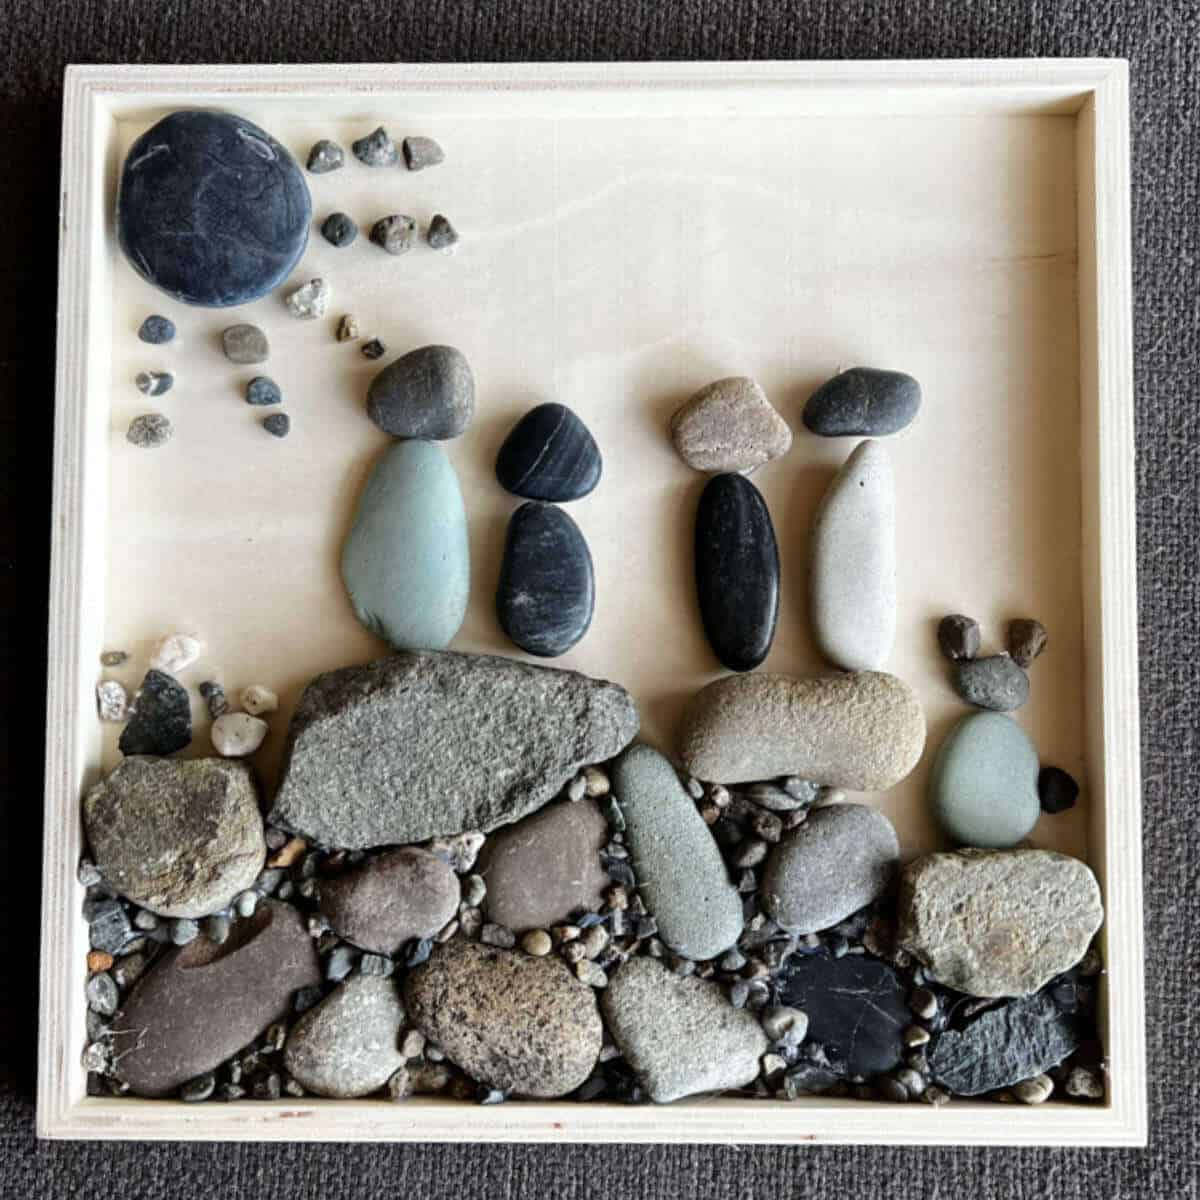
Place your rocks on your wood canvas to arrange your family portrait. Use long rocks for bodies and round rocks for heads. Pea gravel can be used for pets’ tails or sun rays. A flat, round rock can be used as a sun. Build a base under your rock family using large flat rocks and pea gravel. This is a great time to be creative!
At this point, you are doing a dry run. Nothing will be glued to the canvas until you have your design finalized.
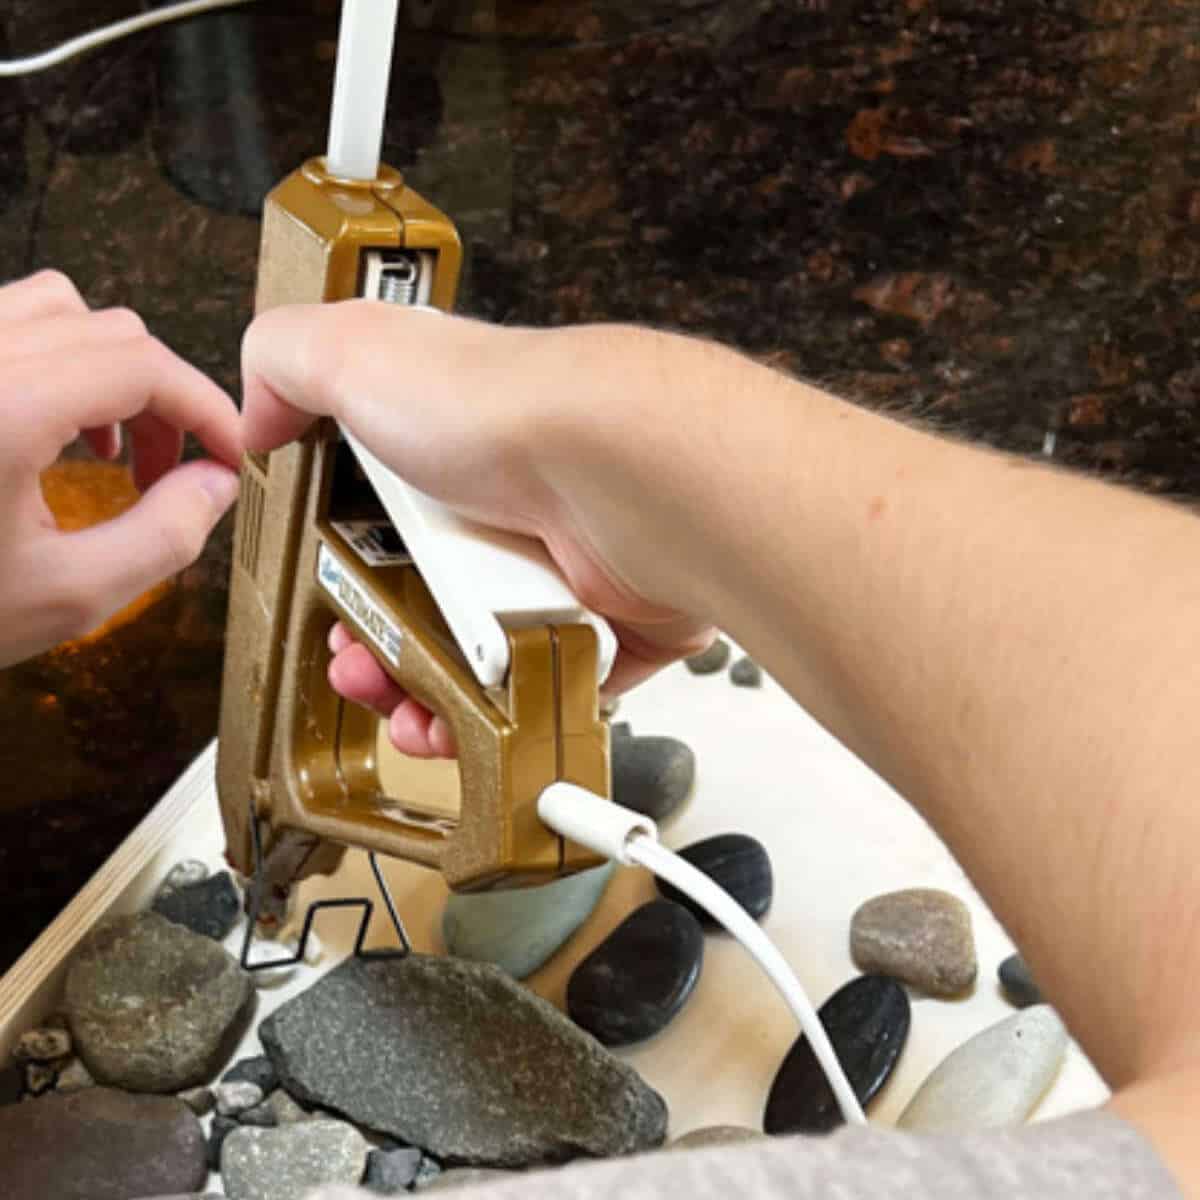
Step 3: Glue Rocks To The Canvas
Use a glue gun or strong adhesive to adhere the rocks to the wood canvas. We chose to use a glue gun because that’s what we had on hand and it seemed to work great! My daughter, Justine, glued the rocks down so little hands wouldn’t get burned. Be sure to leave the family portrait laying flat until the glue has set.
This Family Portrait Rock Art Craft is a lot of fun to make and can be hung on the wall for all to see!
Frequently Asked Questions

Hi! I’m Bridget!
I create printables and DIYs to help you get organized and celebrate special occasions! It’s my mission to inspire you to get creative and find joy in every day!