How To Turn A Coffee Table Into A Desk
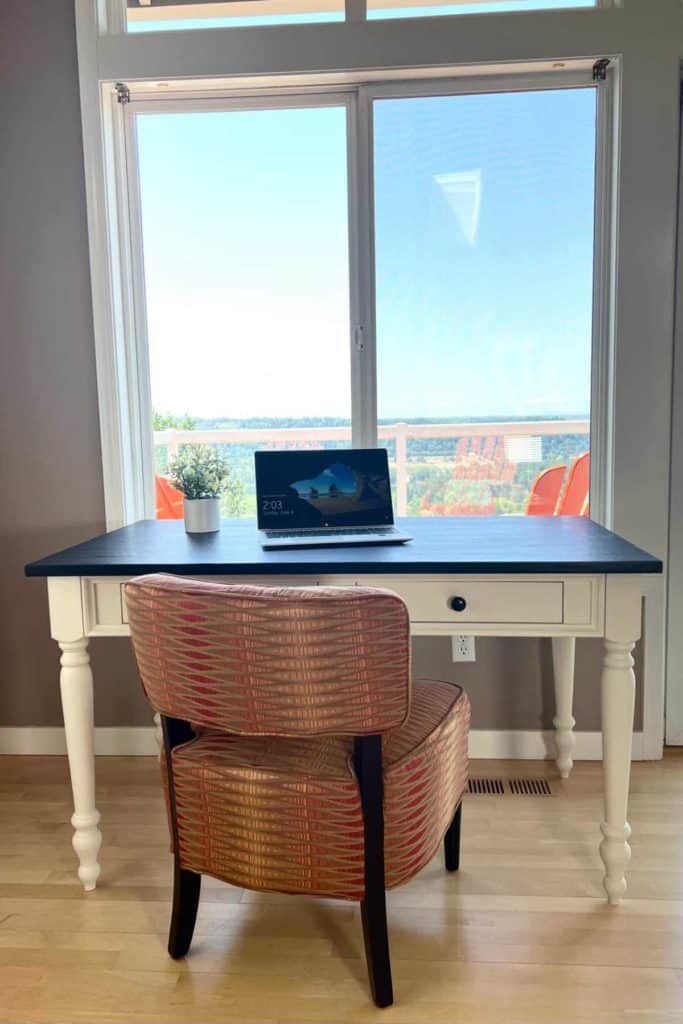
My niece moved to a new house and didn’t have room for her coffee table, so she brought it over to sell at our garage sale. I loved the look of the coffee table, but we didn’t need a coffee table. Then, when it didn’t sell, I decided to refinish the top to help her sell it for the price she wanted. I began to take the coffee table apart so I could refinish the top and realized it would be pretty simple to turn the coffee table into a desk by switching out the legs, AND I did need a desk!
So, I bought the coffee table from my niece and got to work!
What to look for if you want to turn a coffee table into a desk.
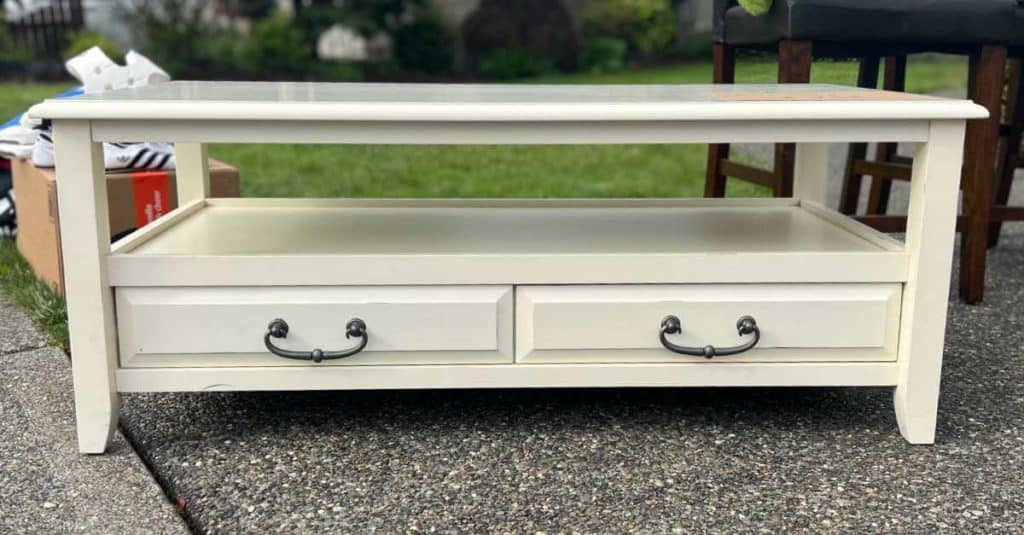
When you look at this, do you see a coffee table or do you see possibilities? It took me a while to realize this coffee table could become a desk.
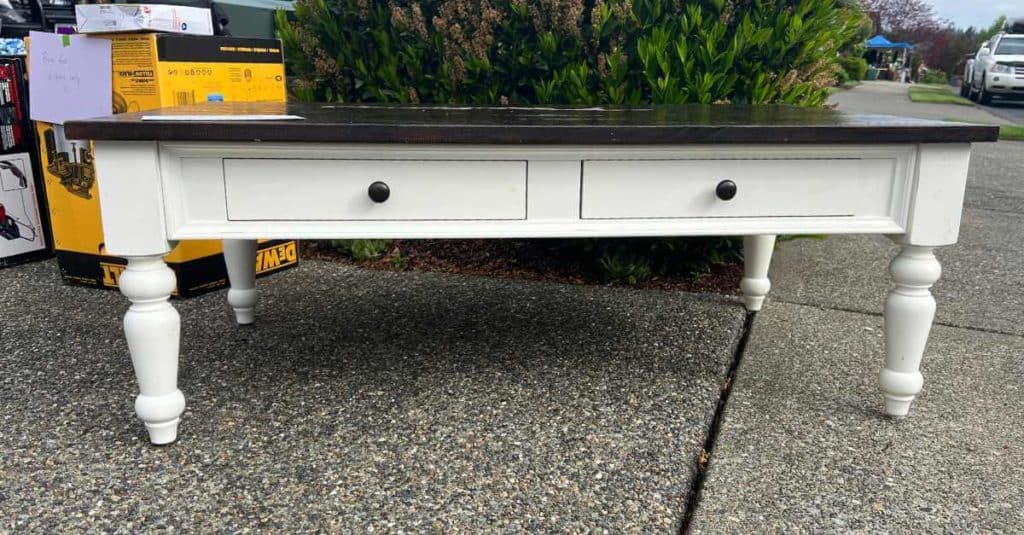
Although this particular coffee table was pretty easy to convert into a desk, not all coffee tables would be. Here are a few things to look for:
- Drawers at the top. Drawers aren’t always necessary, but they are nice for organizing all the little things that are helpful to have within reach when working at your desk.
- Drawer height. At desk height, the drawers should allow you to sit and put your legs under the desk. The drawer base on my coffee table desk is about 5-1/2″ high, and it works well!
- Leg assembly. Check how the legs are attached and if they can be easily removed. The coffee table I used had the legs attached with bolts. They weren’t glued on and could easily be removed.
- Table top size. Is the length and depth of the coffee table a good desk size? The coffee table top I converted to a desk is approximately 30″ x 52″ but you could easily use a smaller size as well.
- Likability factor. Do you like the style of the coffee table? The goal here is to create a desk using the existing style so it’s easy to convert.
Here’s a coffee table that wouldn’t be a great choice to convert into a desk. It could probably be done but it would take a LOT more work and advanced woodworking skills since the drawers are at the bottom.
Refinishing the top of a coffee table.
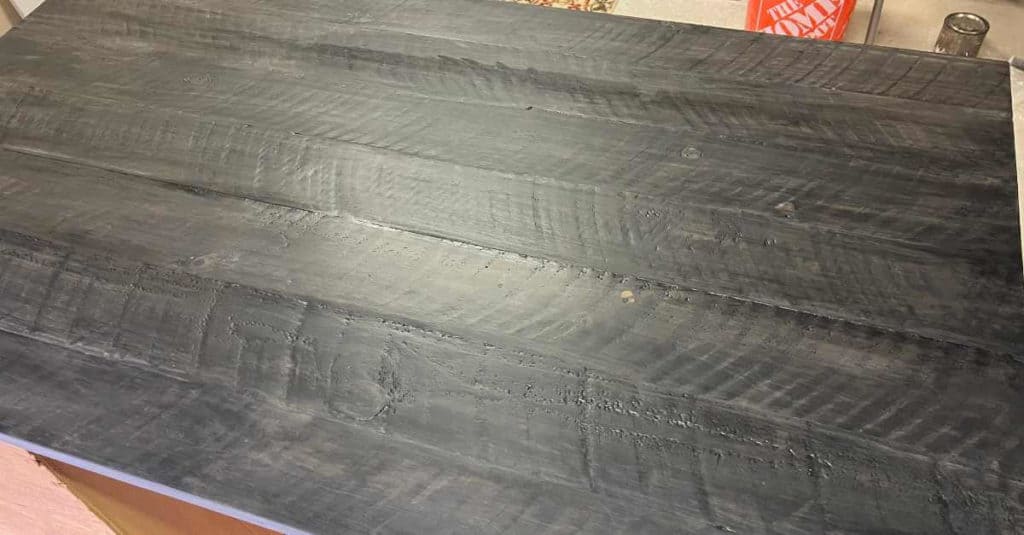
You may or may not need to refinish the coffee table you choose. The top of this coffee table needed some work. If I remember correctly, it had hot wax spilled on it.
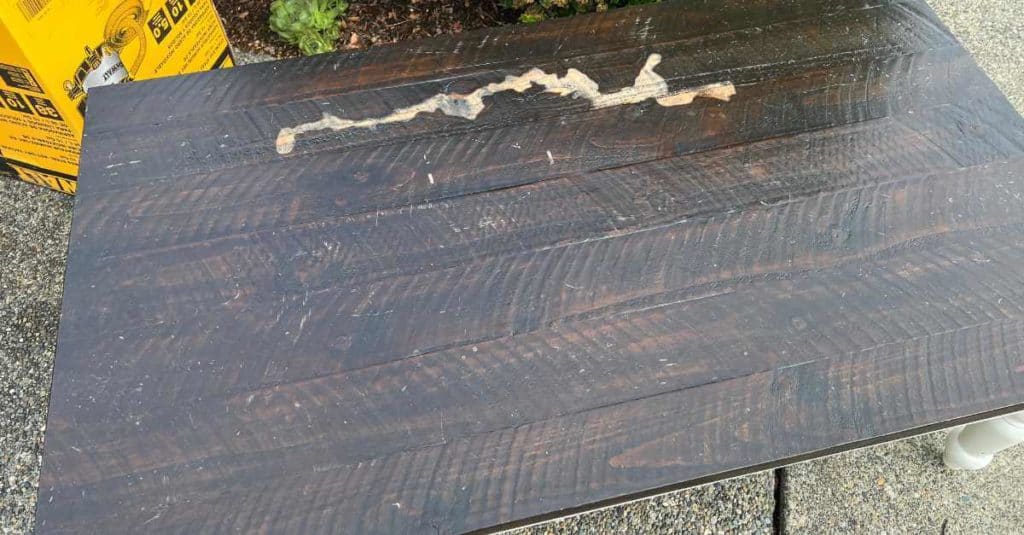
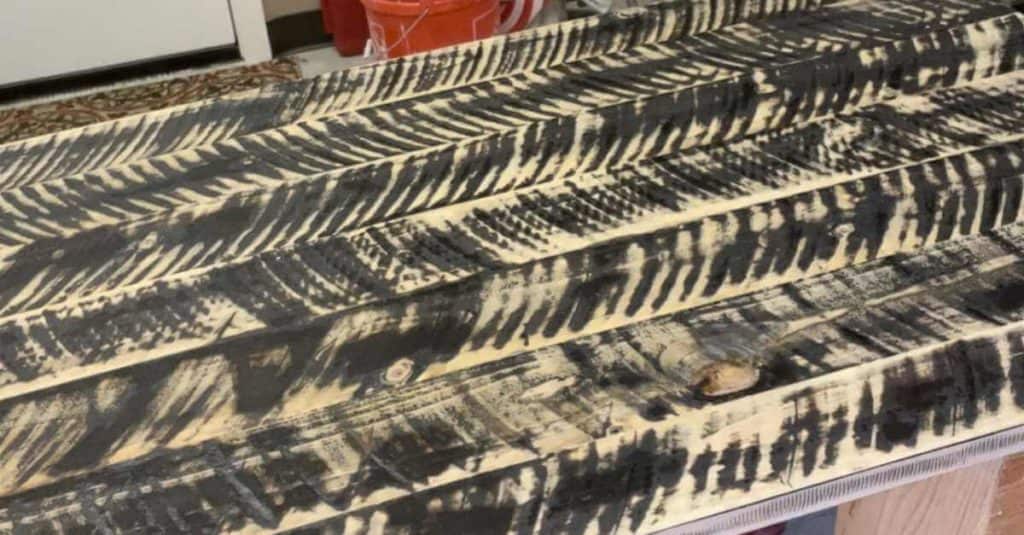
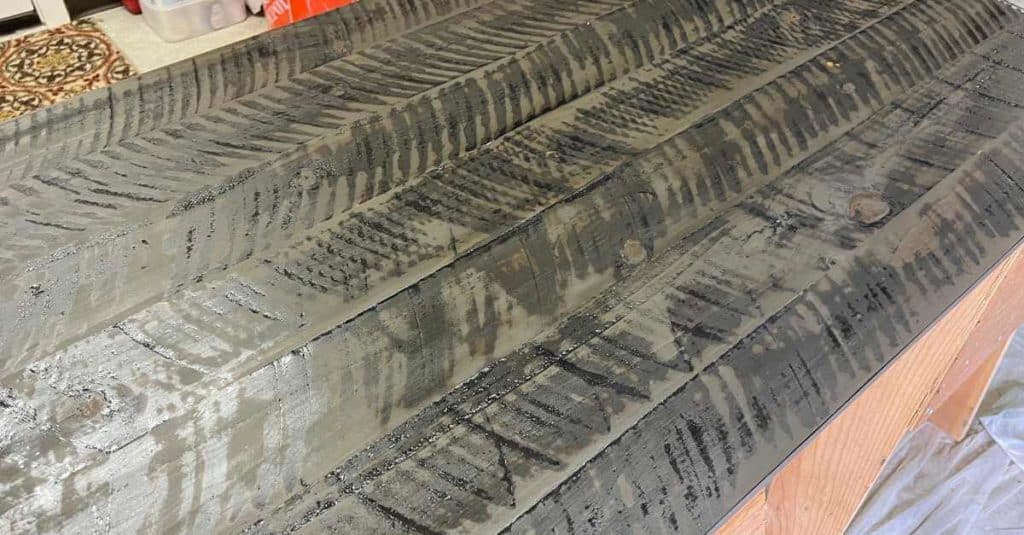
I mistakenly thought this coffee table top was solid wood but when I started sanding, I realized it was a veneer. Because it is a veneer with a lot of grooves, I couldn’t sand it down to raw wood or else I would sand the veneer right off. So, instead, I tried a few different stains to end up with a color that blended well with the old stain. I am pleased with the result, although it took a bit of trial and error to get the right color.
This post contains affiliate links. When you purchase through an affiliate link, we receive a small commission at no additional cost to you. Disclosure.
After I got the stain right, I finished the top with three coats of matte polyurethane, sanding lightly between each coat.
- Remove the top of the coffee table from the base.
- Use Krud Kutter Gloss-Off, with a lint-free rag, to remove the sheen from your coffee table top.
- If staining, sand the top to prepare it for stain. In my case, I did a light sand because the top was a veneer.
- Stain the top with your color of choice.
- Finish with matte polyurethane.

Remove the legs from the coffee table.
After the coffee table top was refinished, I set to work on the base of the desk.
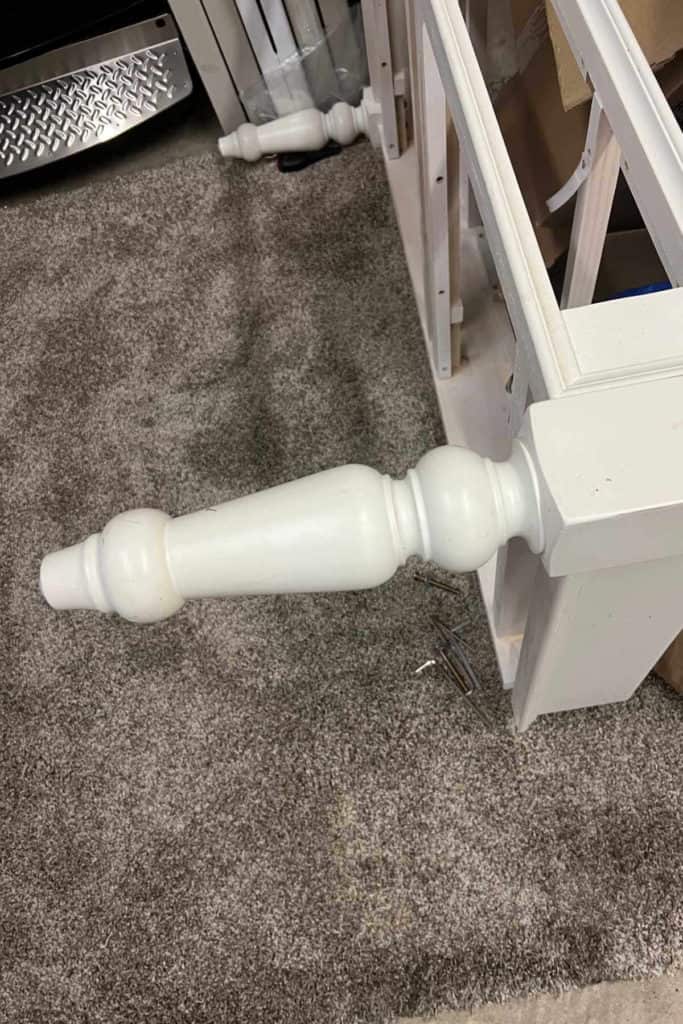
First up, I removed the coffee table legs that were attached with bolts.
Prep new, desk-height legs.
I took one of the coffee table legs to the hardware store to make sure the new desk-height leg shanks (the top of the legs) would fit in the space on the table.
The legs we chose had a slightly smaller shank than the original coffee table legs but they worked well. The reason we chose them is because the legs with a bigger shank (by 1/2″) were more than double the price and we were trying to do this project on the cheap!
Then, I used my table saw to cut a bit of the corner off the inside shank of the leg so I could drill holes to attach the legs to the desk base with bolts.
To drill the holes, I clamped the legs to the base and used the existing holes in the base as a guide to drill the holes. It was a little tricky to get the holes straight when working around the crossbars of the base but it worked.
Paint the base.
After the holes were drilled in the new legs, I painted the coffee table drawer base, the drawers, and the new, longer legs with Fusion Mineral Paint in the color Raw Silk.
Determine how to attach the new legs to the base.
The tricky part was figuring out how to attach the bolts to the legs because the previous coffee table legs had wood insert nuts. So, we went to the hardware store and I found tee nuts that I thought would work, however, after posting a quick video about it on YouTube, people smarter than me pointed out that this was an incorrect use of tee nuts because they would eventually come out and make the legs wobbly or even fall off.
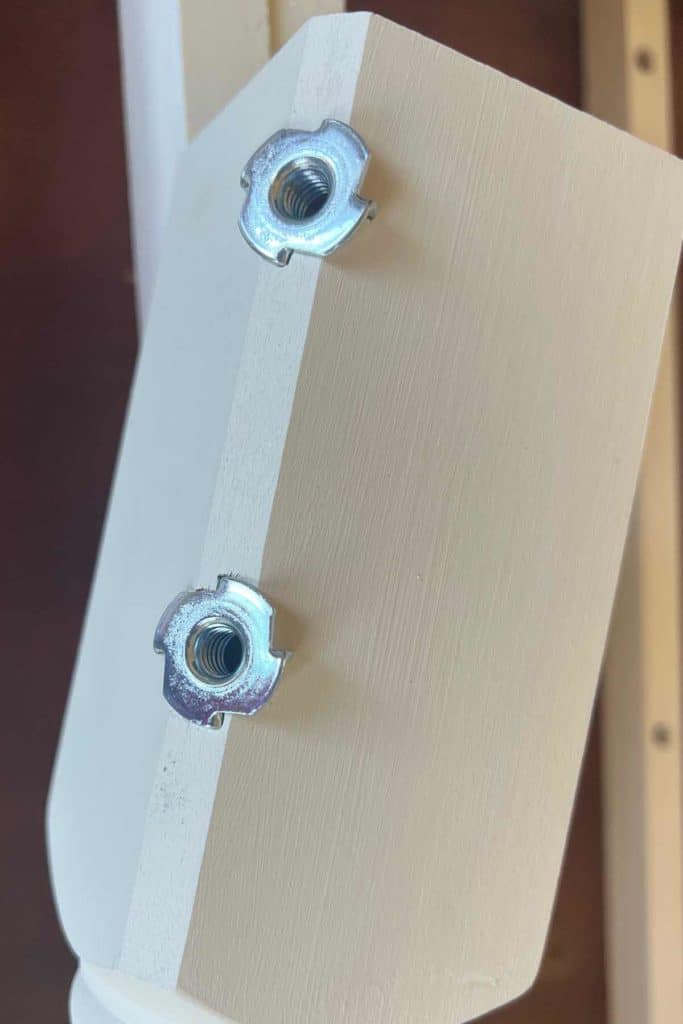
So, I did a little research and discovered that we could remove the wood nut inserts from the old legs using an Allen wrench and place them in the new legs.
At first, I thought it’d be easier to buy new wood nut inserts but even though I found the right size, I also discovered there are different threads per inch and couldn’t find the right threading for the bolts we wanted to reuse.
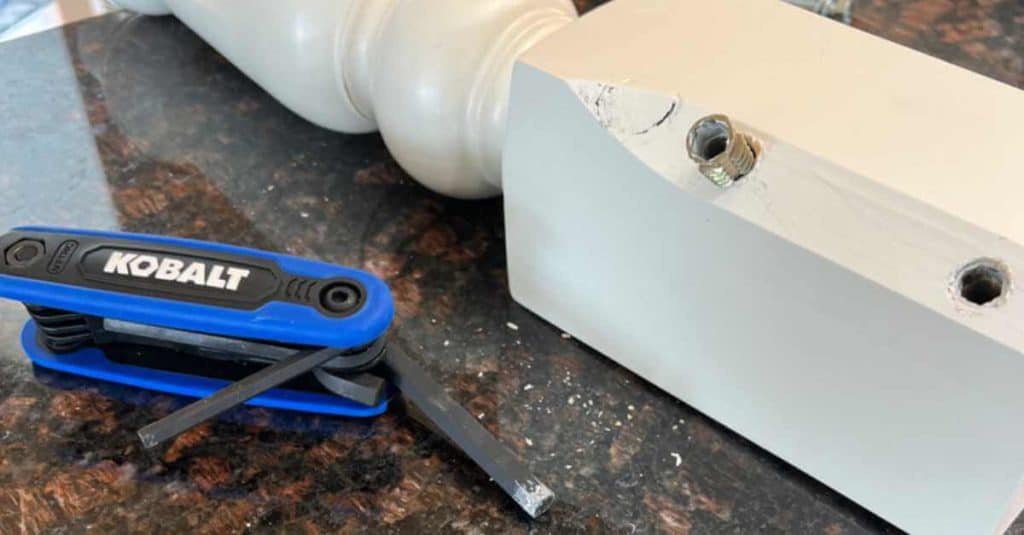
Removing wood insert nuts from the coffee table leg.
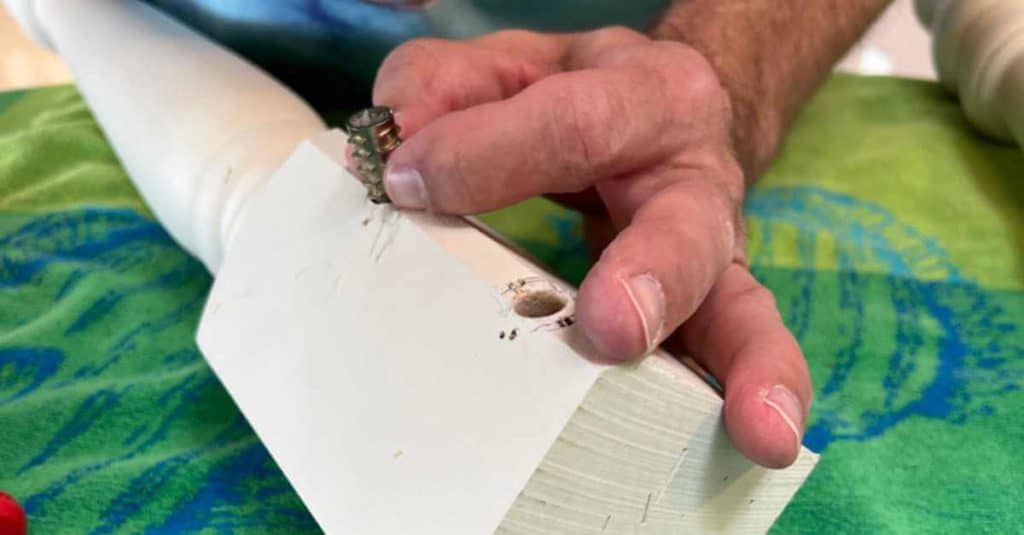
Placing wood insert nuts into new desk leg.
Assemble the desk.
Once we had the legs figured out, we attached the desk base to the desktop and then attached the legs.
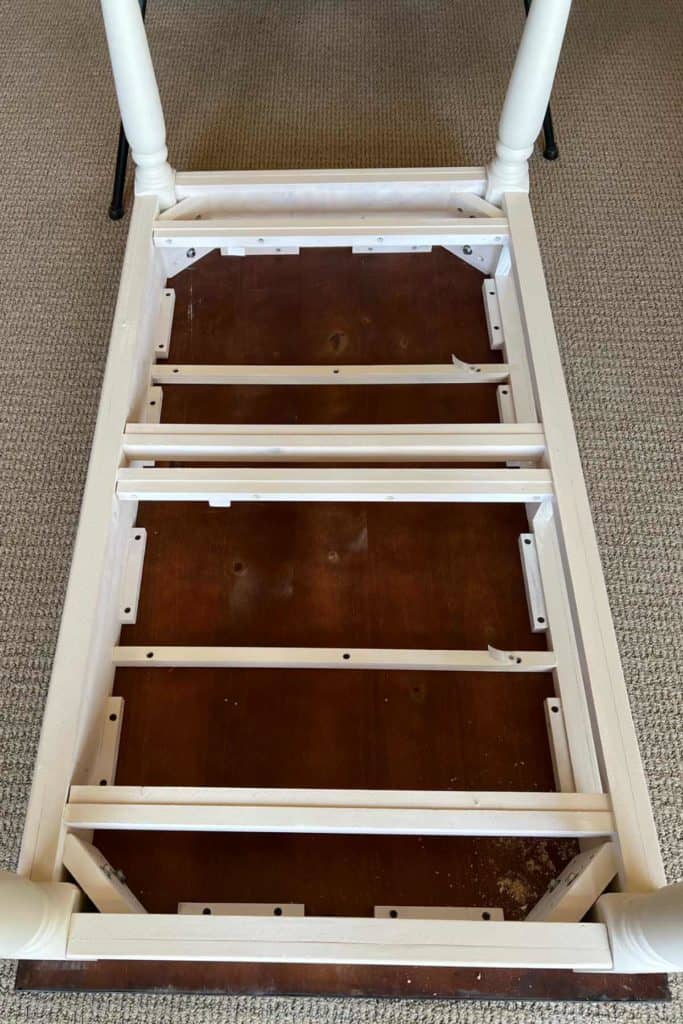
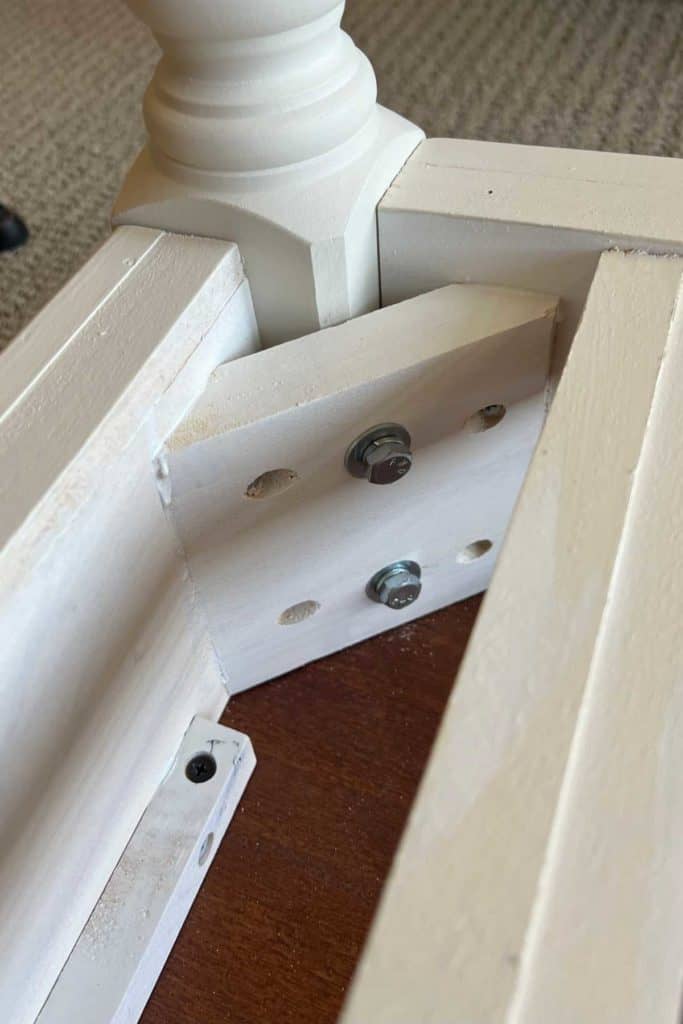
Figuring out the bolt and wood insert nuts was the most challenging part of this project but we got it done and are super happy with the results!
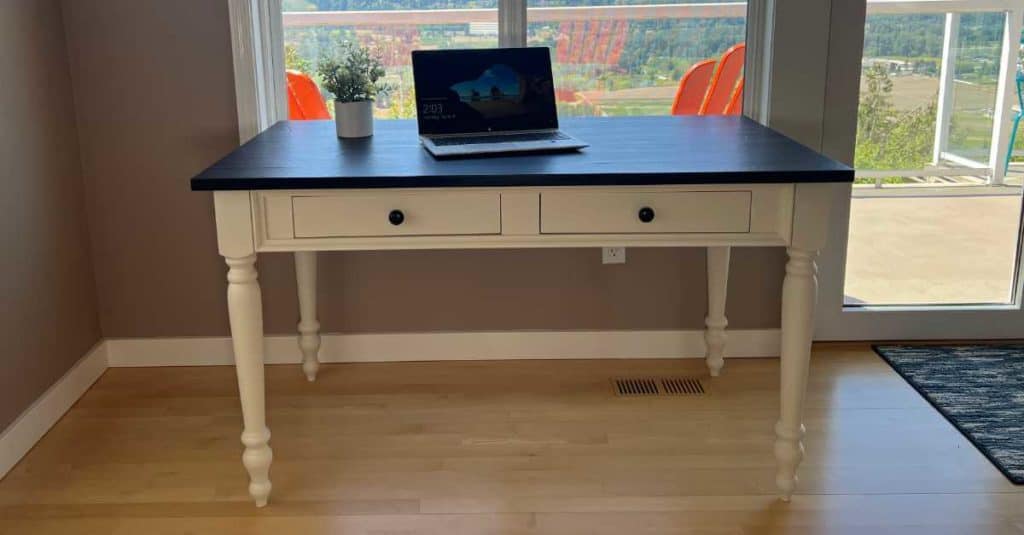
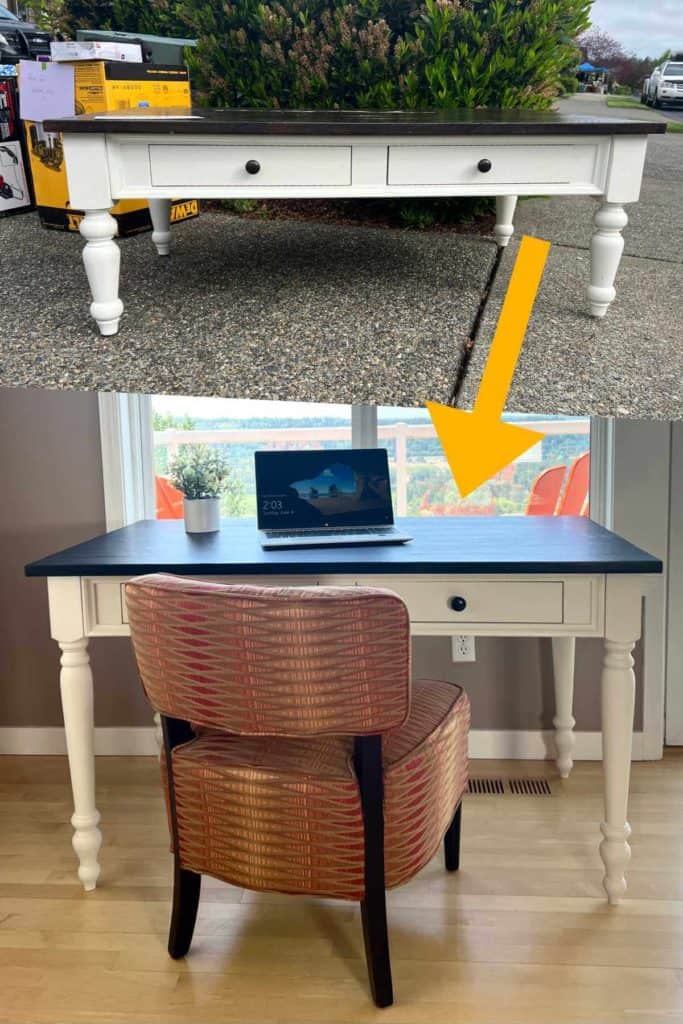
Turning a coffee table into a desk can be a creative and practical way to repurpose furniture into something you’ll use.

