
Printable Discbound Password Keeper
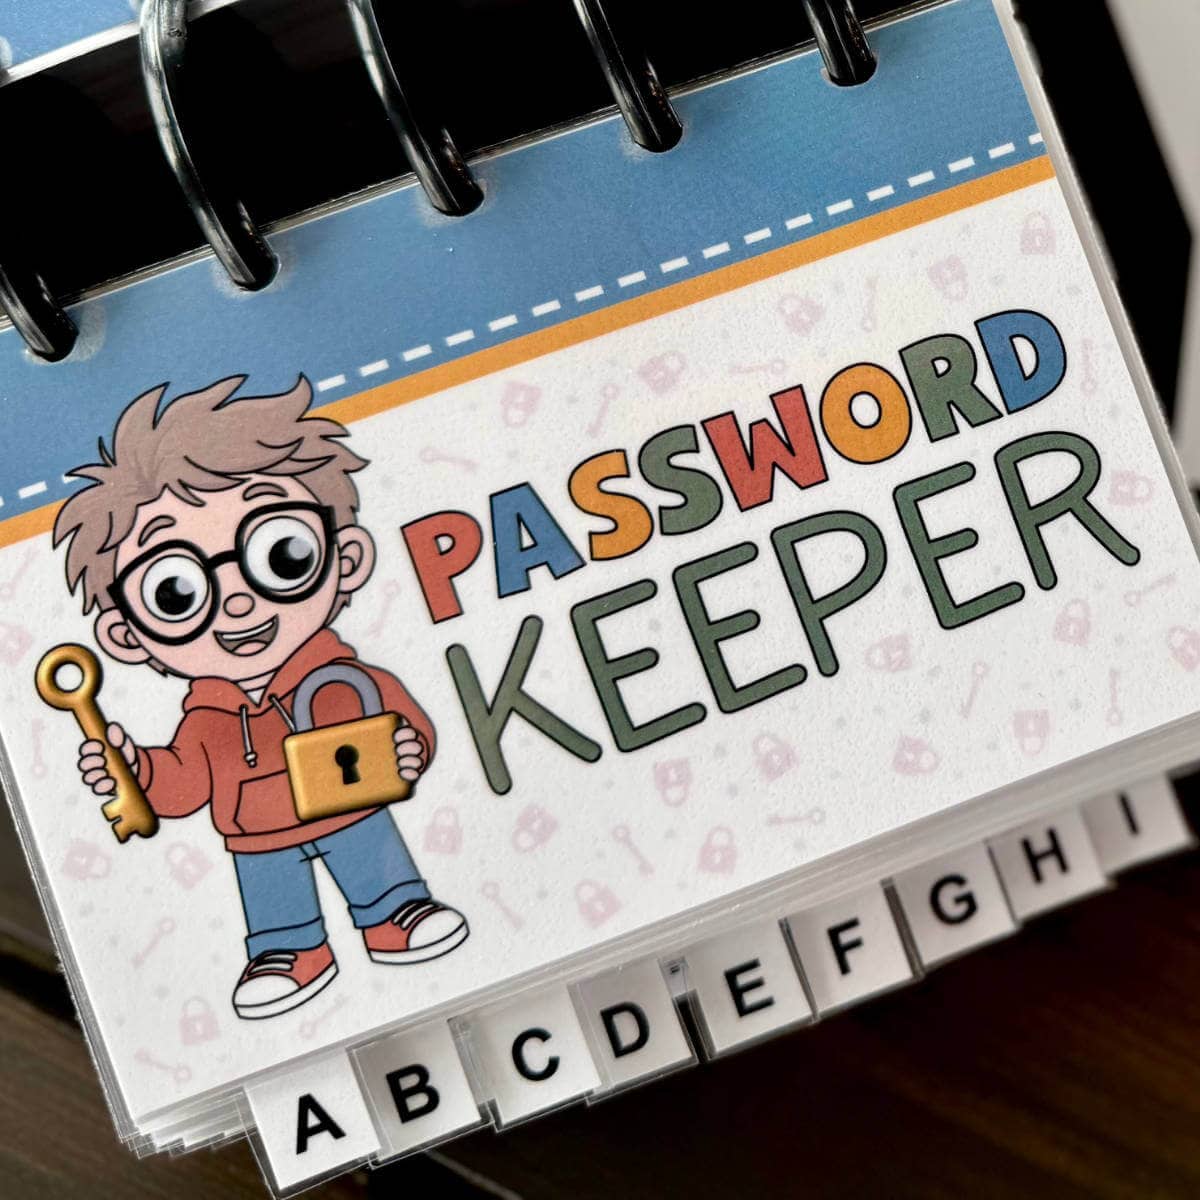
I searched high and low for a password book that would let me easily update password information without buying a whole new book or rewriting an entire page of passwords. I couldn’t find exactly what I wanted, so I created it! The Printable Discbound Password Keeper is designed to use with the discbound system so you can remove, replace, add, and rearrange pages whenever you need to.
Bonus: The pages are fillable PDFs, so you can type your passwords before printing or print blank pages and write them by hand.
If discbound sounds a little intimidating, don’t worry. I thought the same thing before I finally gave it a try. I’m so happy I did! It’s not as scary as it sounds. In fact, it’s super fun!
Here’s my favorite part. Each page holds just one password. When a password changes, you just remove that page, print a new one, and pop it back into your password keeper. No erasing. No squeezing tiny writing into the margins. No buying another password book because you’ve run out of room.
Do you have sticky notes with passwords haphazardly scrawled here and there, or do you rely on your memory to get you past the pearly password gates? If so, it’s time to get those passwords organized with this Printable Password Keeper!
For 10 years, our family kept passwords in a little black password book. It started beautifully. Every password was neatly written in pencil, alphabetized behind the correct tab, and easy to update. Then, life happened. The kids started adding passwords in pen. Old accounts were mixed in with current ones. Some letters had more passwords than others, so entries spilled onto pages that didn’t really match. The little alphabet tabs had definitely seen better days.
It was time for a change! I’m one of those people who likes having passwords written down and within an arm’s reach. I know there are plenty of digital password managers out there, and they work great for many people. But to me, it’s a little like paying with a credit card instead of cash. I like having something tangible that I can hold in my hands. That’s why I created this Printable Discbound Password Keeper!
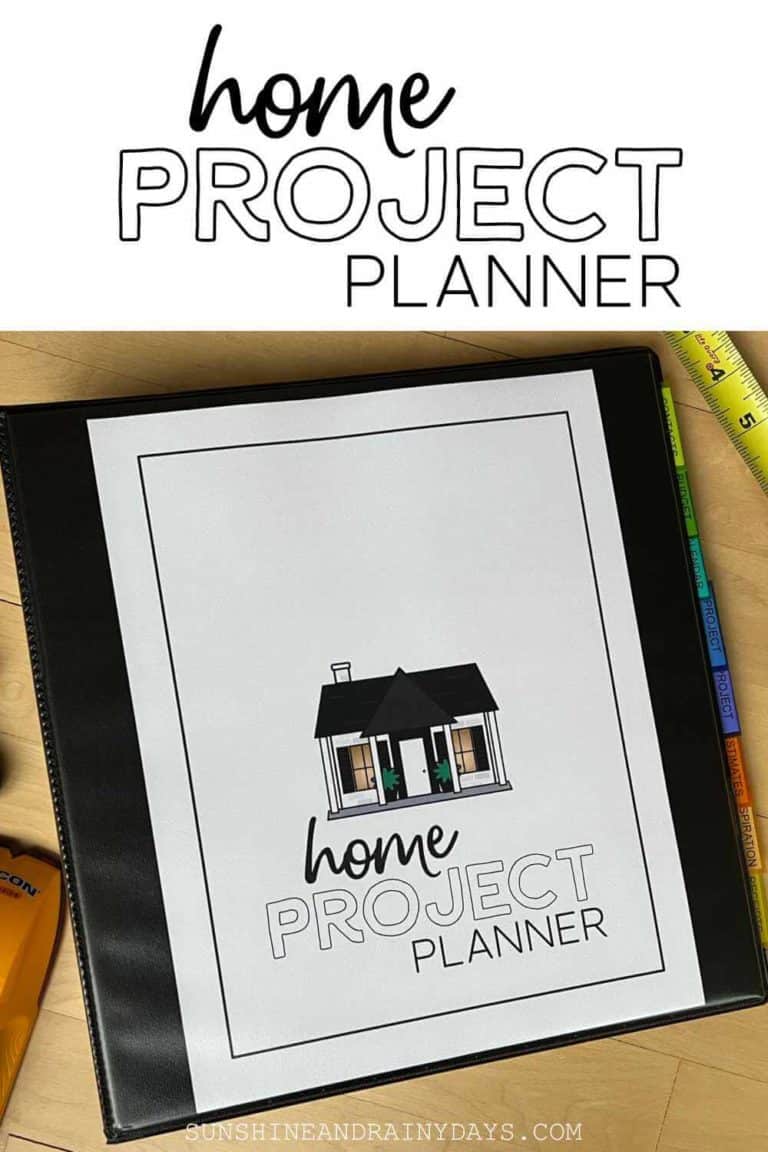
If you also prefer to write things down, you’ll love this Home Project Planner and this Fillable Things To Do Checklist.
This post contains affiliate links. When you purchase through an affiliate link, we receive a small commission at no additional cost to you. Disclosure.
What You’ll Need
With the right tools, this Discbound Password Keeper is a breeze to put together!
- Printable Discbound Password Keeper – Found below.
- Printer
- White Cardstock – This is the cardstock I use.
- Paper Cutter and Scissors
- Laminator and Lamination Sheets – Optional for Cover and Letter Dividers.
- Discbound Hole Punch – I have this Staples Arc Desktop Paper Punch, but there are many to choose from.
- Discs for Discbound System – These are 2″ discs because I have a lot of passwords!
Life changes. Passwords change. Your password keeper should make both easier.
How To Assemble Your Printable Discbound Password Keeper
Imagine having a way to save your passwords that allows you to replace individual pages as needed or remove pages you no longer need. This is the password book that was designed to grow with you!
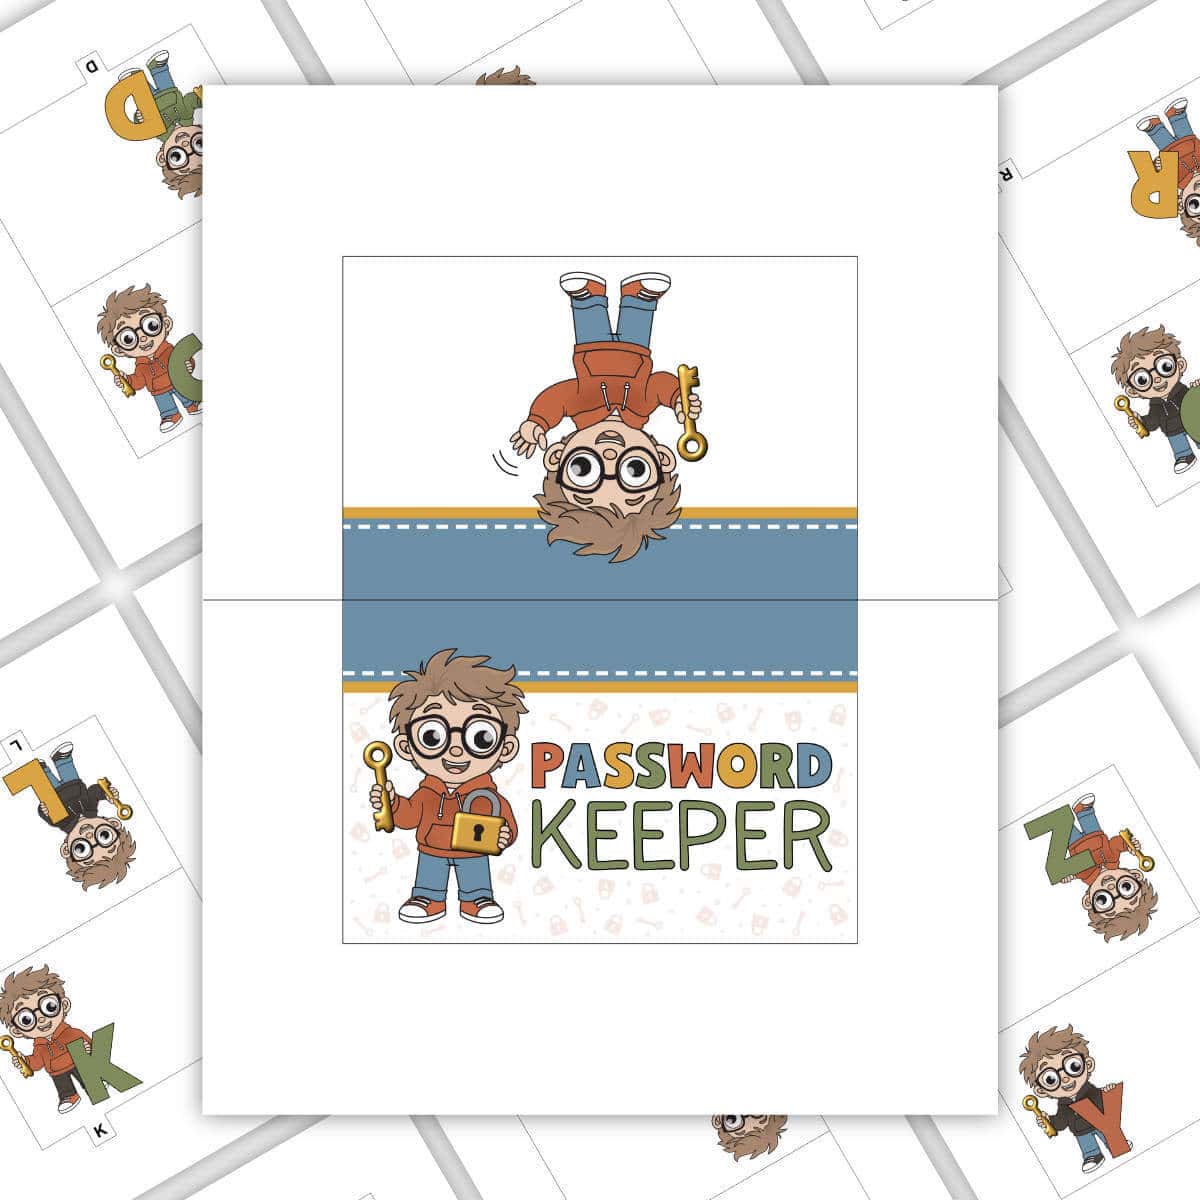
Step 1: Download And Save The File
Download the Discbound Password Keeper PDF file and save it to your computer.
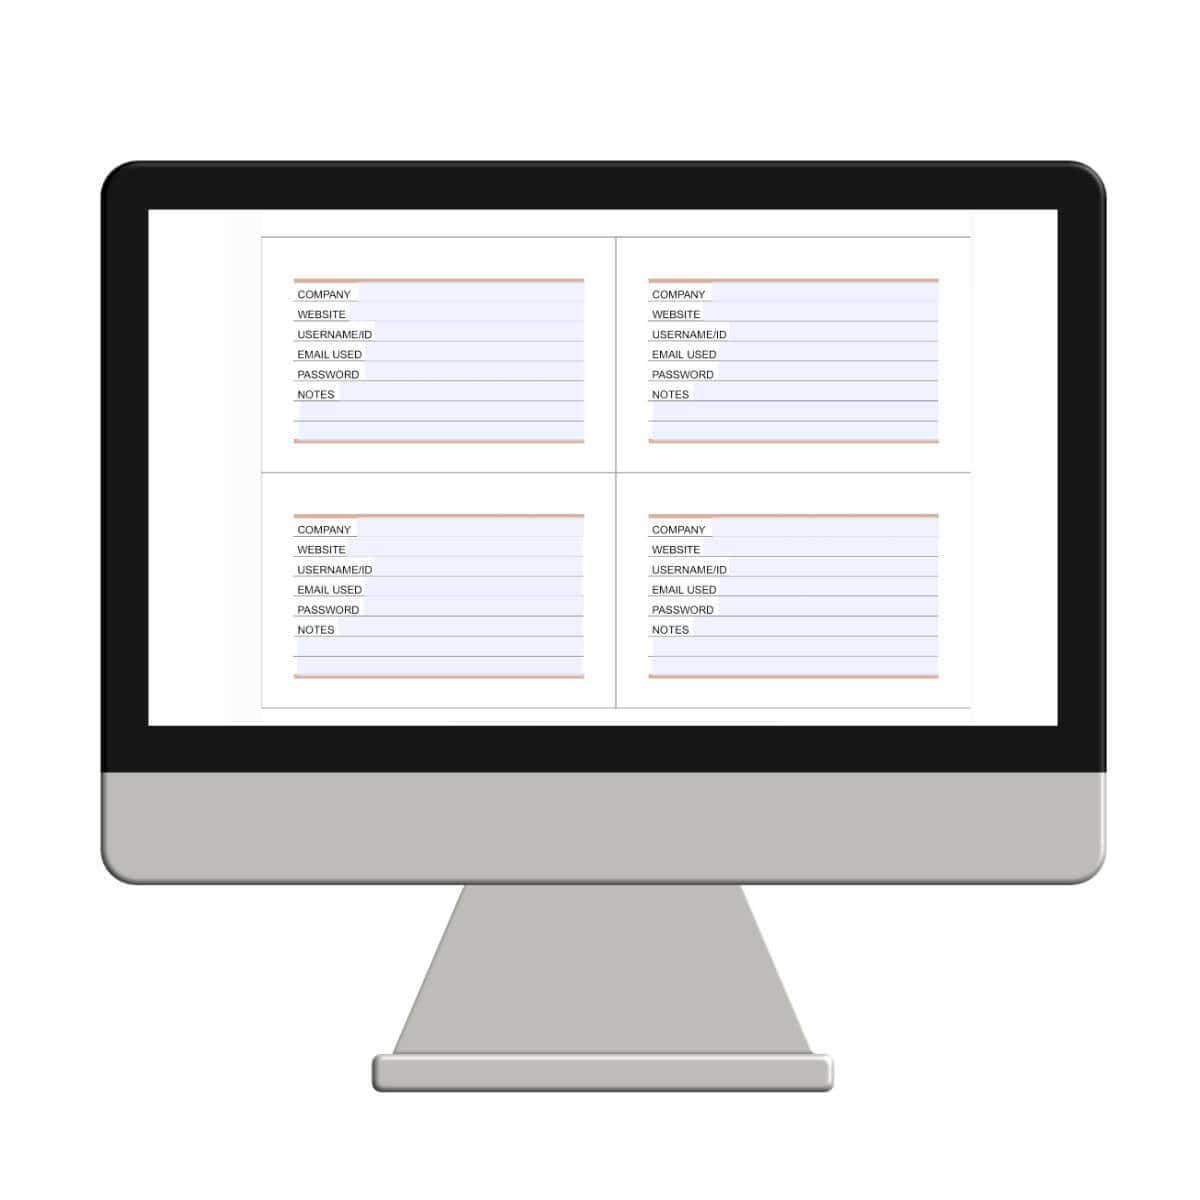
Step 2: Open The PDF In Adobe Acrobat Reader (Optional)
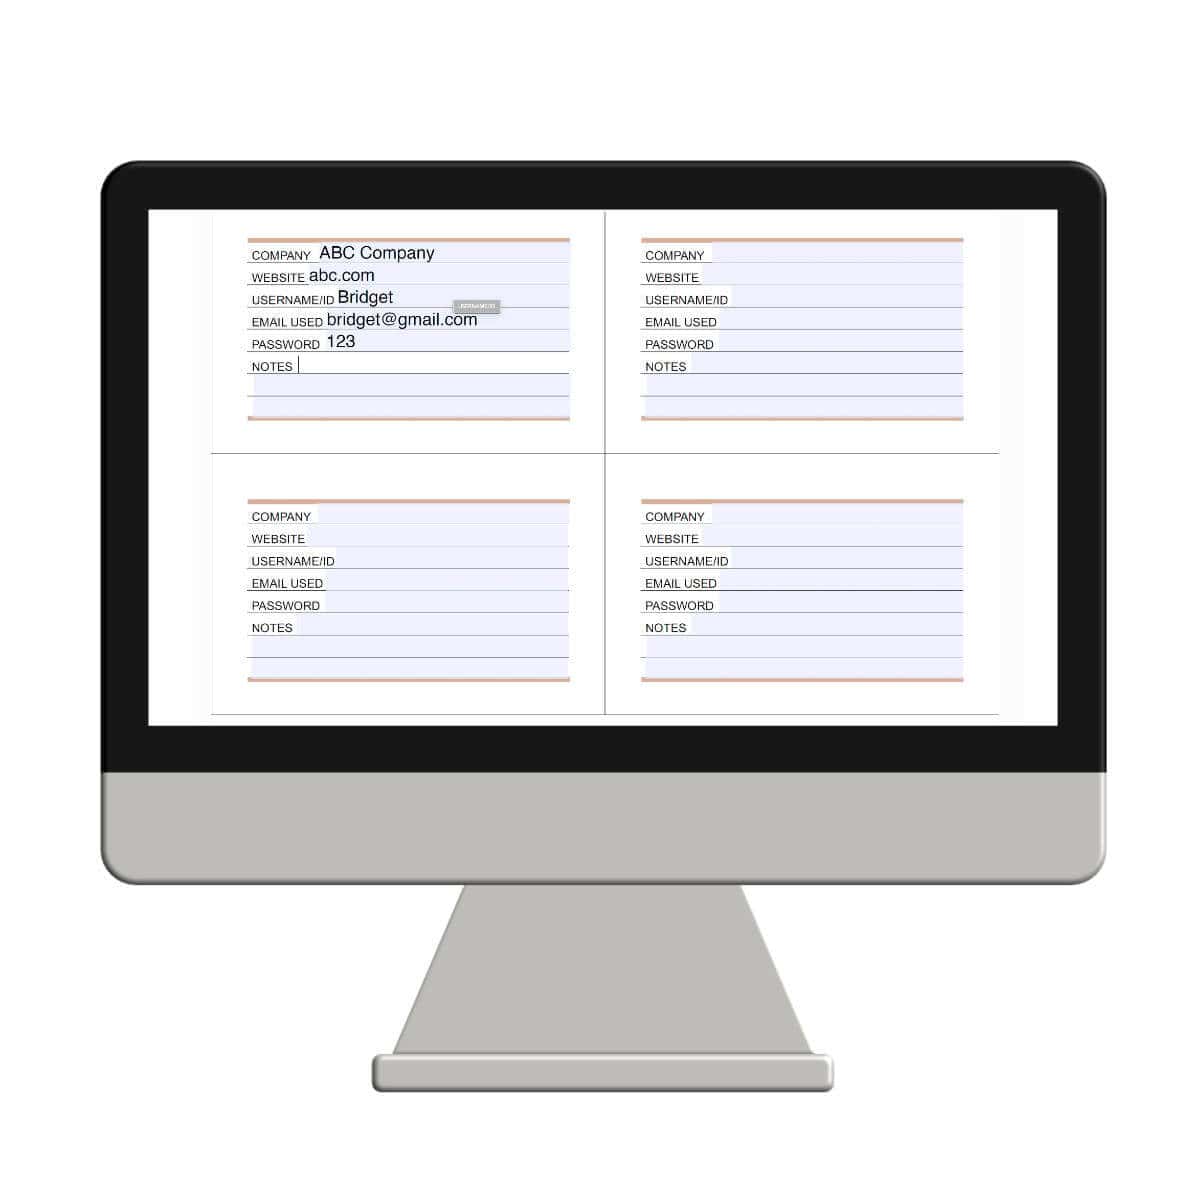
The Discbound Password Book was designed to print and use with your own handwriting, or you can fill in the fields on your computer before printing.
For the most reliable results, open the PDF in the latest Adobe Reader. Then, hover over the page to find the fillable fields. You can not change the design or lettering. The fillable fields are laid over a pre-made template which can’t be altered.
Step 3: Fill In Your Password Information
Click inside each fillable field and type your password information.
The fields you can include are:
- Company
- Website
- Username/ID
- Email Used
- Password
- Notes
Use one page for each password so you can easily replace an individual page when the information changes.
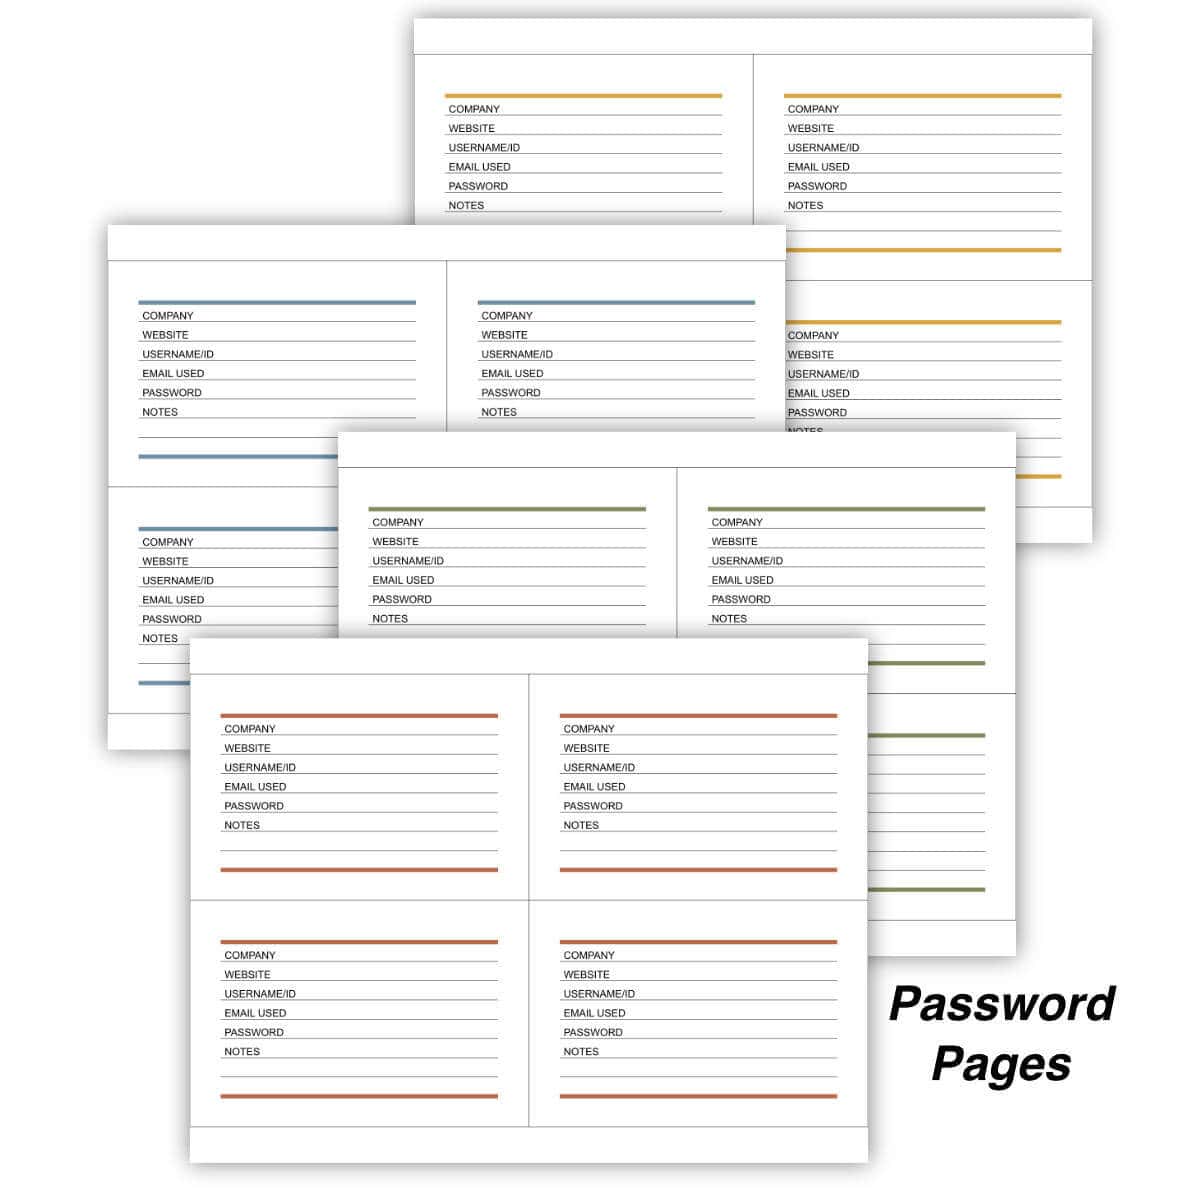
Step 4: Print The Password Pages 2 – 5
I chose not to save the file with passwords on it and, instead, printed the pages.
Then, I repeated this step until I had printed all of my password pages.
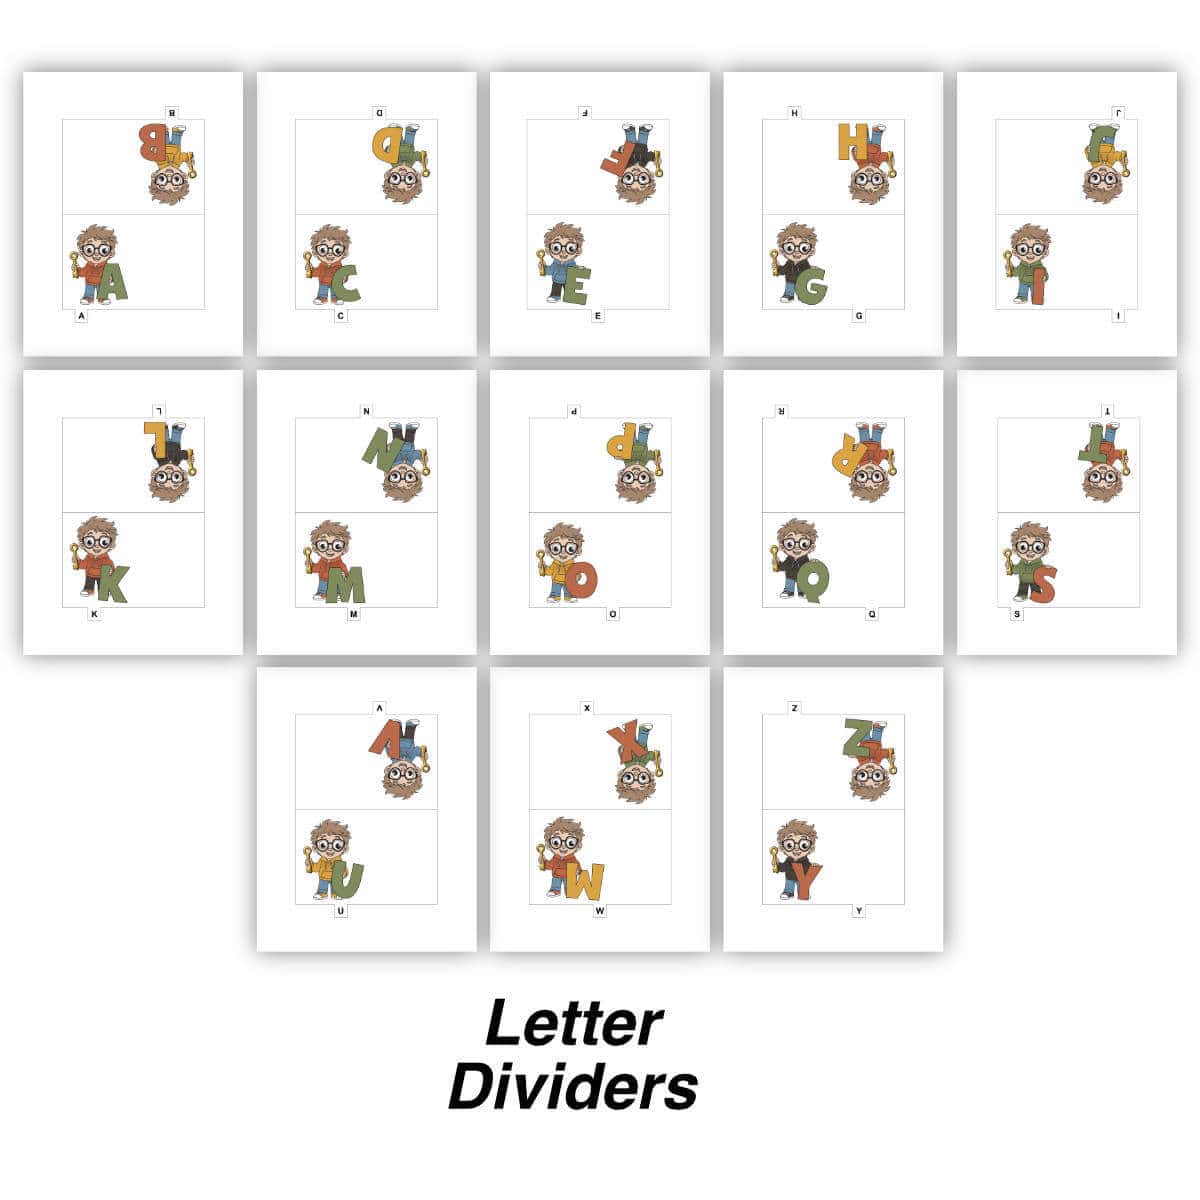
Step 5: Print The Password Keeper Cover and Alphabet Divider Tabs
Print the pages at 100% on cardstock for durability.
You will also want to print blank password pages to fill in by hand as needed.
Step 6: Cut The Pages
Use a paper cutter and scissors to cut each password book page.
A paper cutter will help you cut straight, even edges.
I used a paper cutter to cut all of the pages but used scissors to cut along the edge with the letter tabs.
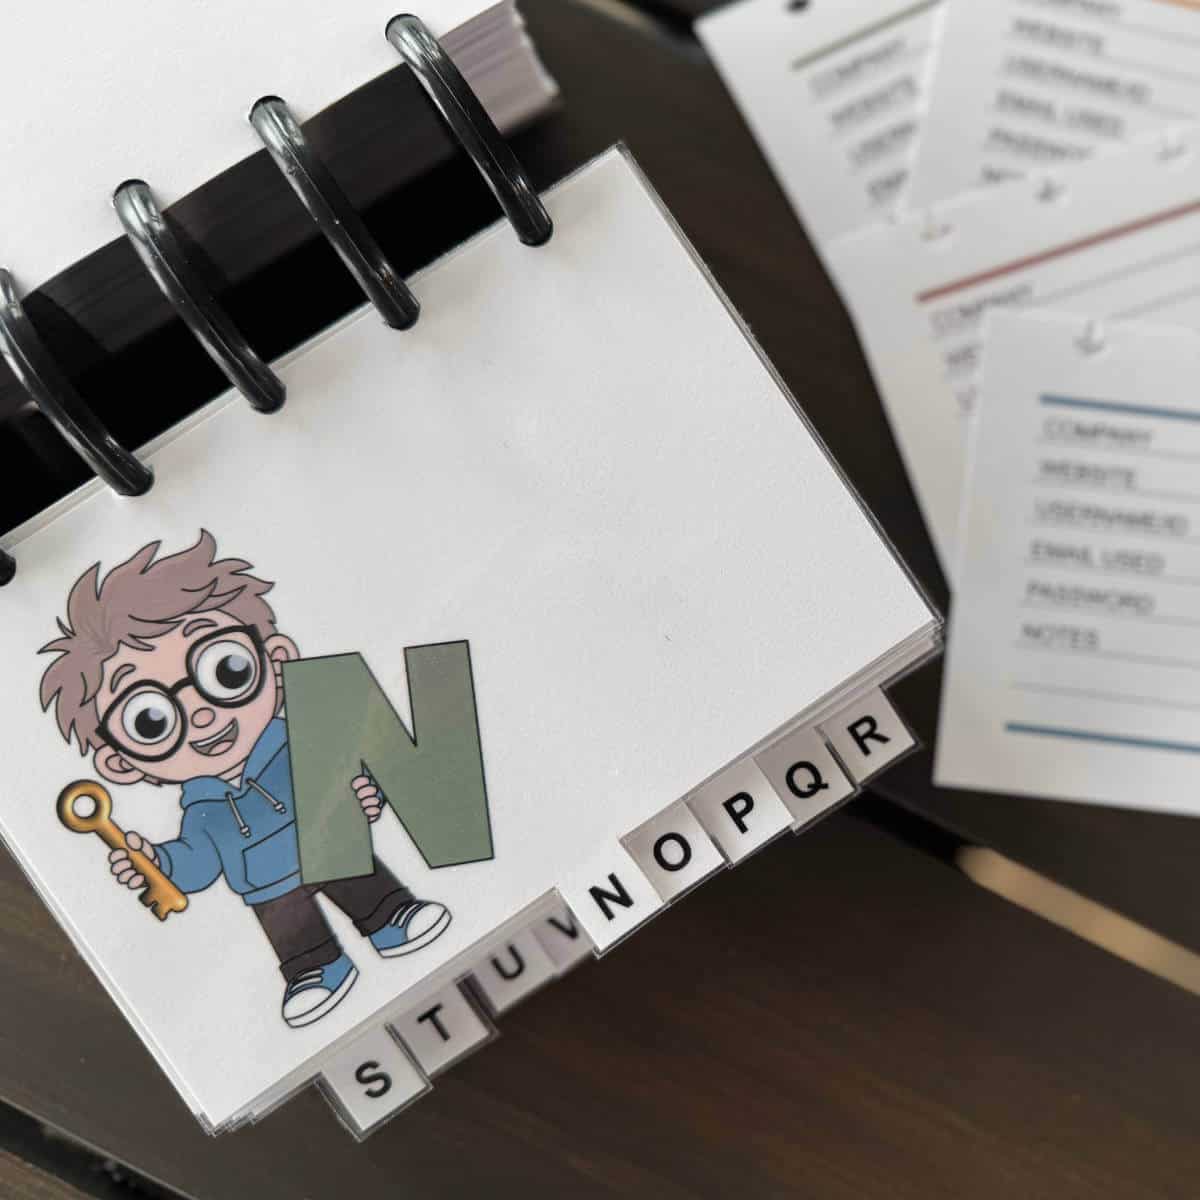
Step 7: Laminate The Cover And Divider Pages
Laminating is optional, but it can help protect your cover and divider pages and make them last a lot longer.
After laminating, trim around each page, leaving a small sealed edge around each piece.
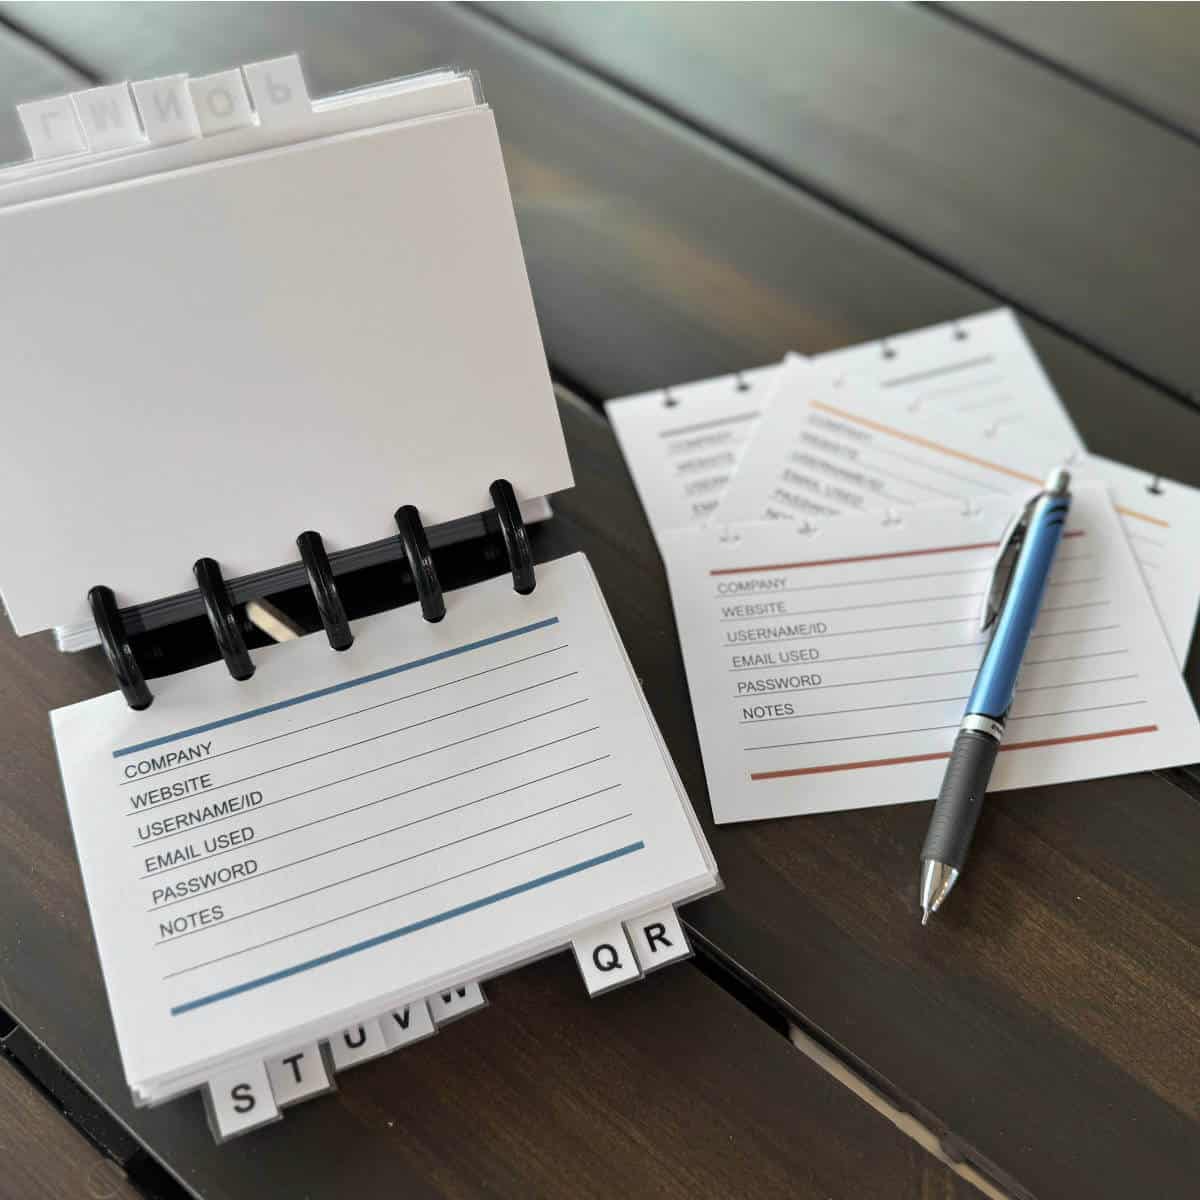
Step 8: Punch The Pages
Use a discbound hole punch to punch the top edge of each page, cover, and divider.
Make sure all pages are facing the right direction before punching so the holes line up evenly.
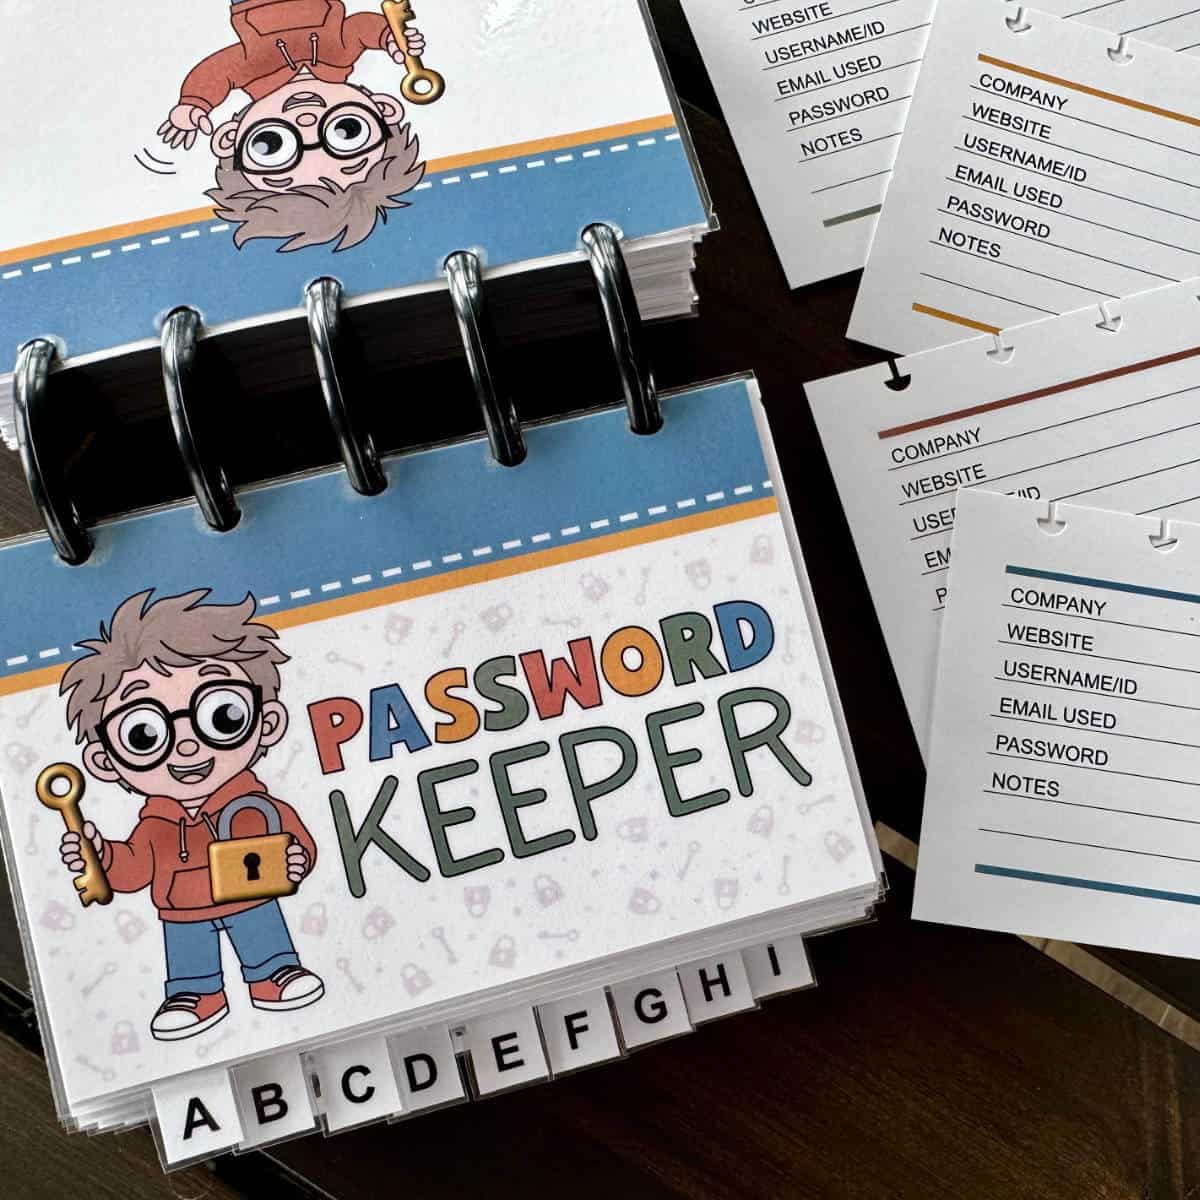
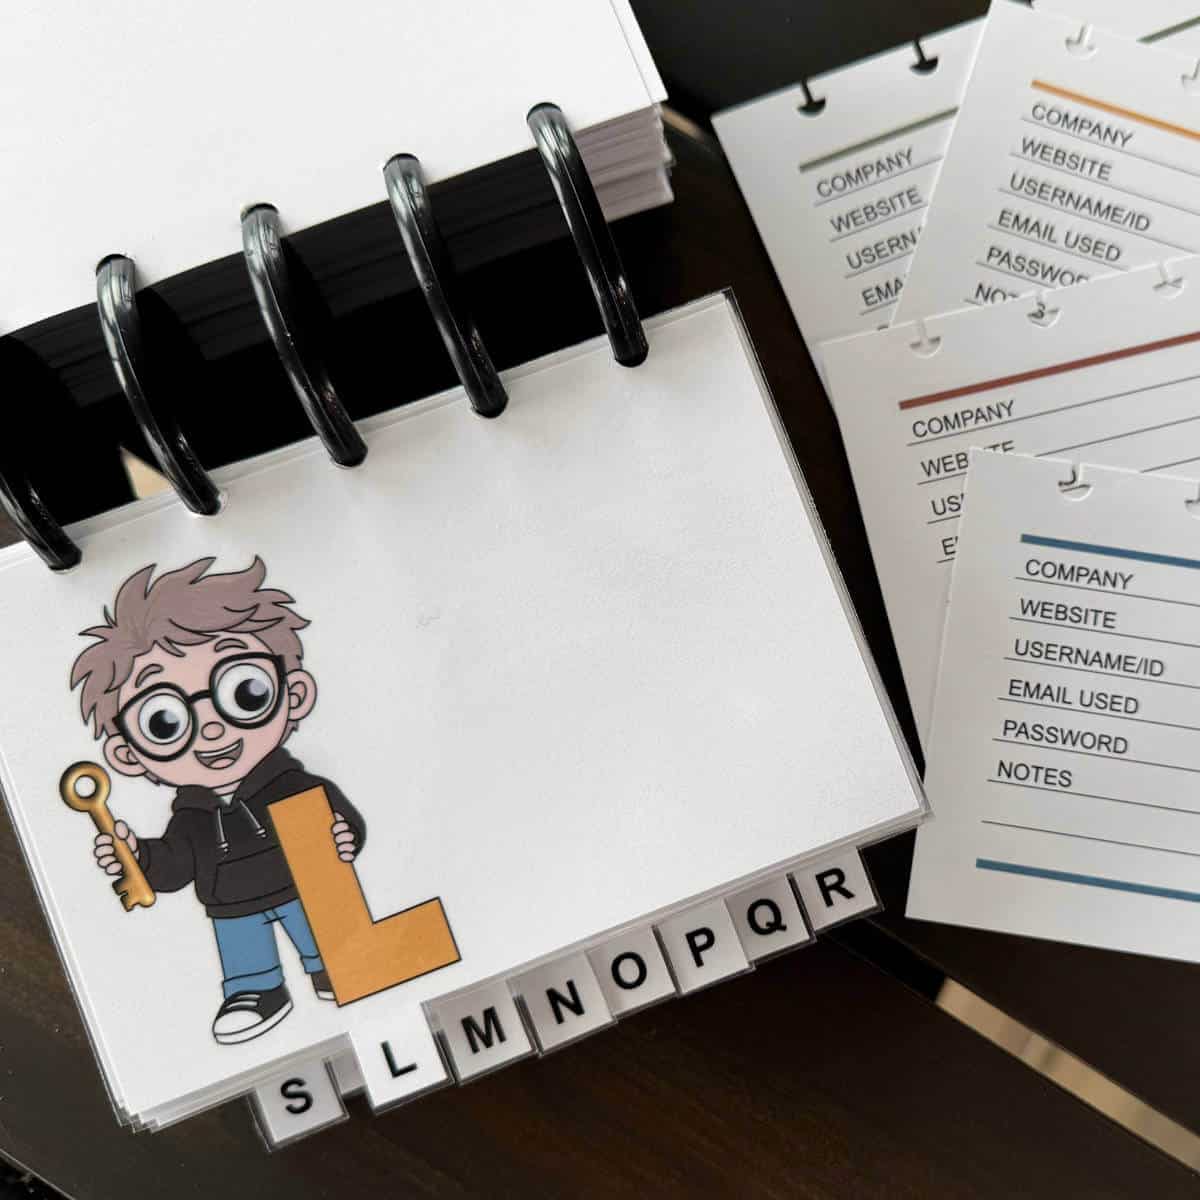
Step 9: Add The Pages To The Discs
Gently press each page onto the discs.
Start with the back cover, then the letter dividers, and front cover before adding in your password pages in alphabetical order.
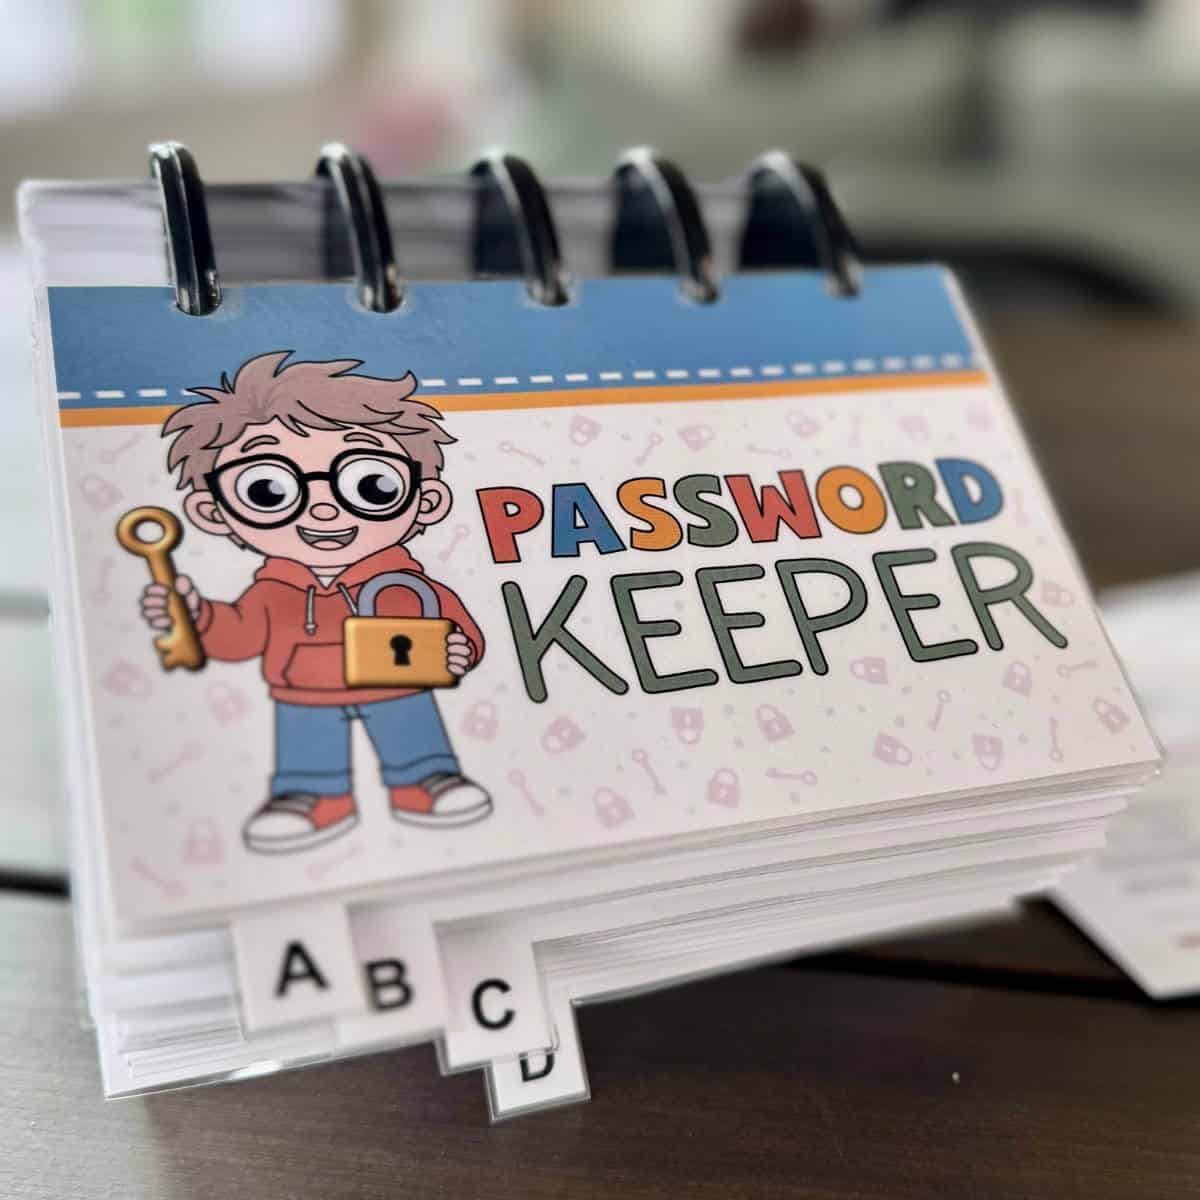
Step 10: Store Your Password Keeper In A Secure Place
Store your password book in a place that isn’t easily accessible to visitors.
Avoid leaving it next to your computer or carrying it with you unless necessary. Even so, you can easily remove a page if you have to have the information with you.
Personally, I leave my password next to my computer because it’s convenient and my computer is in a space where others don’t hang out. If I were to leave for a vacation, I would put the password book in a more secure place.
Step 11: Update Pages As Needed
When a username or password changes, remove the individual page and replace it with a new one.
You can add, remove, or rearrange pages at any time without rewriting your entire password book.
I’m pretty excited about this new way to save passwords! It is just the right size to keep next to my computer, and it is so easy to use!
Frequently Asked Questions
If you choose not to laminate your divider pages, the letter tabs may eventually get worn out and rip off. I didn’t laminate the divider tabs on my original password book, and in the six years I used it, a few of the tabs did rip off. Luckily, I was able to tape the tabs back on, and it didn’t affect its functionality.
Here is the password keeper that I used for six years. It still worked great, but I wanted to update the design to make it better for you!
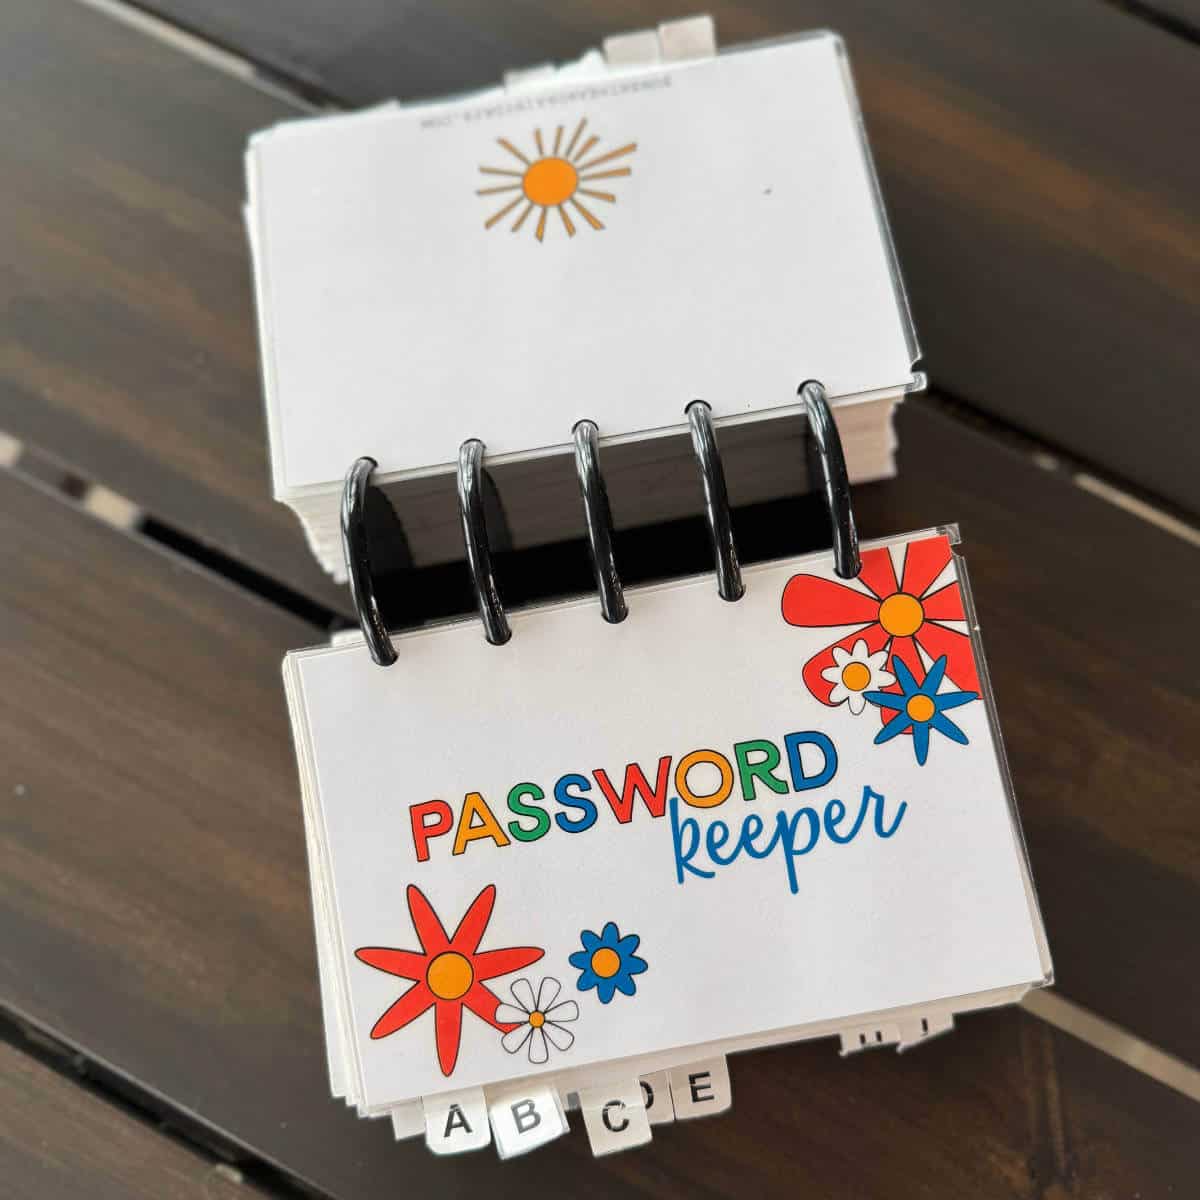
At first, the pages are a little stiff to move quickly, but with time, they loosen up and move nicely!
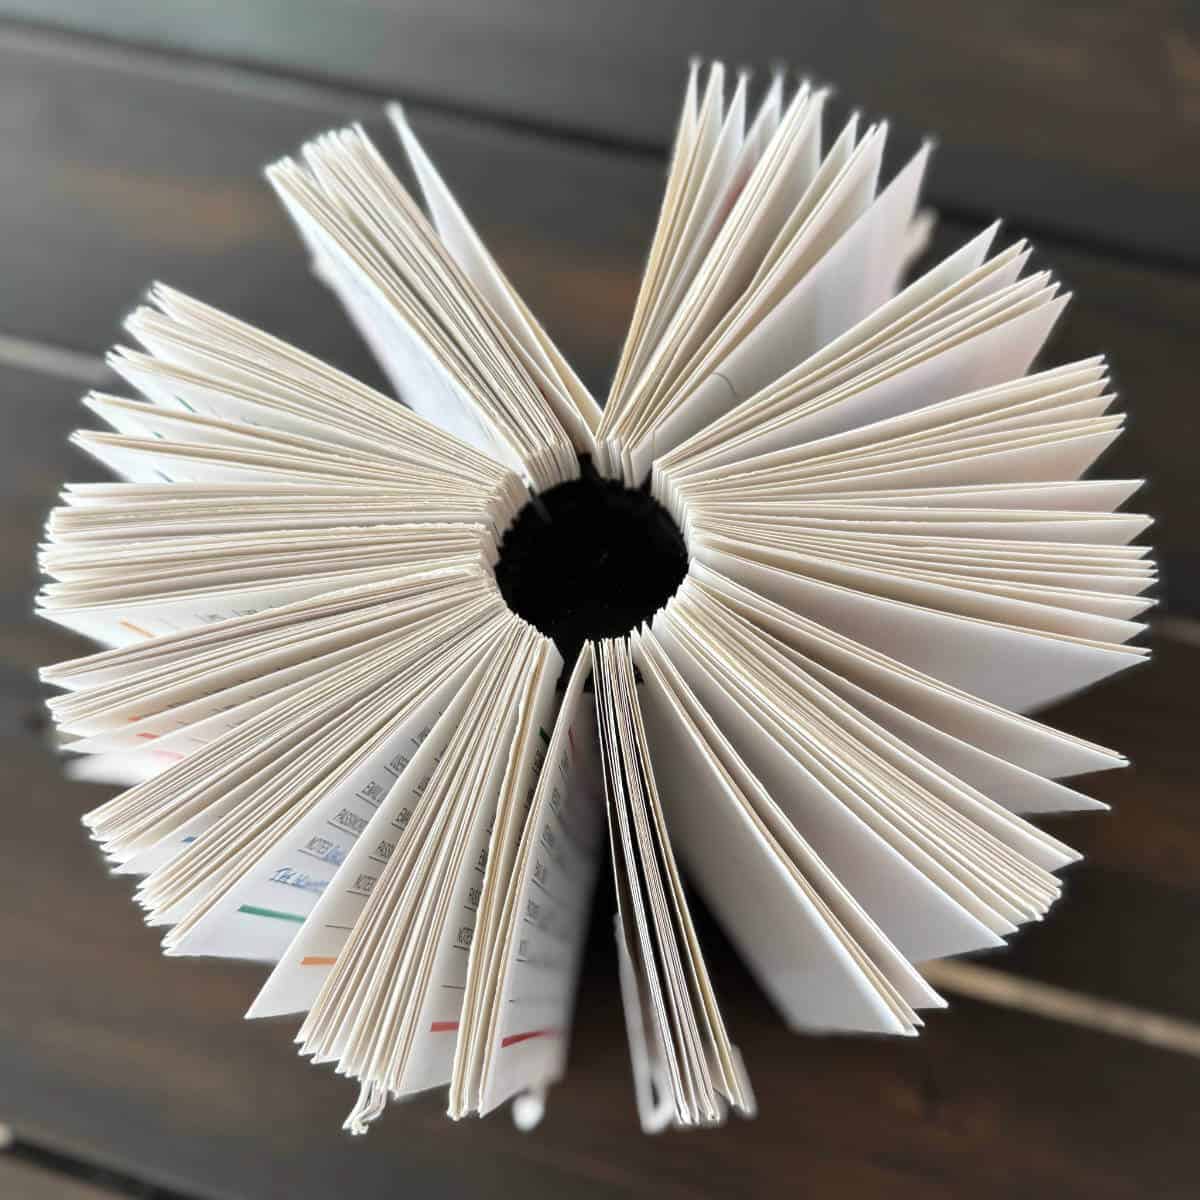
I have so many pages in my password book that it doesn’t completely close even with two-inch discs. I generally leave it open to the last page I referenced. It’s a bit like a Rolodex (but better) and works well for us! I also created The Ultimate Discbound Address Book without as many pages, and it closes nicely.

Hi! I’m Bridget!
I create printables and DIYs to help you get organized and celebrate special occasions! My mission is to inspire you to get creative and find joy in every day!

What size are the pages after trimming?
Hi Skye! The pages are approximately 5-1/2″ x 3-3/4″ when they are trimmed!