How To Make A Spider Mum Paper Flower
Do you like to get creative and make stuff? Lately, I’ve been wanting to create and these Spider Mum Paper Flowers were easy and fun to make with stuff I already had around the house!
Paper Spider Mum Supplies
This post contains affiliate links. When you purchase through an affiliate link, we receive a small commission at no additional cost to you. Disclosure.

How To Make A Paper Spider Mum
Make A Spider Mum Out Of Paper!
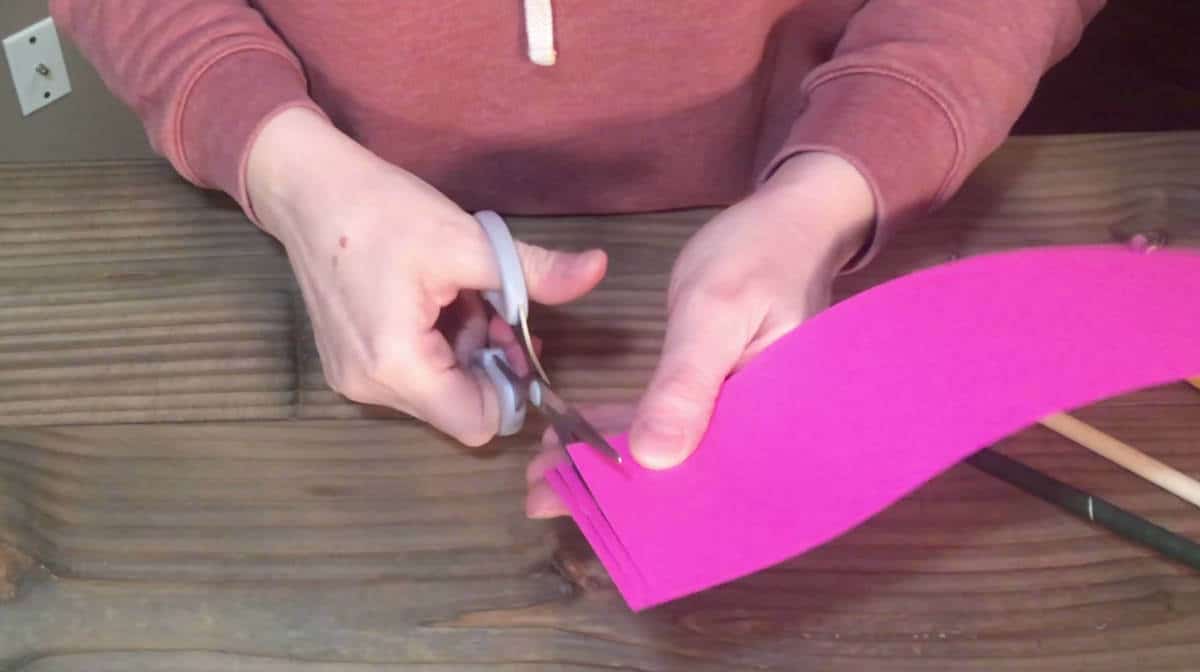
- Cut your 12 x 12 cardstock into 3″ or 4″ strips.
Decide how big you want your flower to be or make both sizes.
- Cut fringes on your cardstock strip.
There are fancy fringe scissors that will help you do this faster but I just used regular scissors and cut my fringe in about 2mm increments. I left about a 1/2″ strip on the bottom.
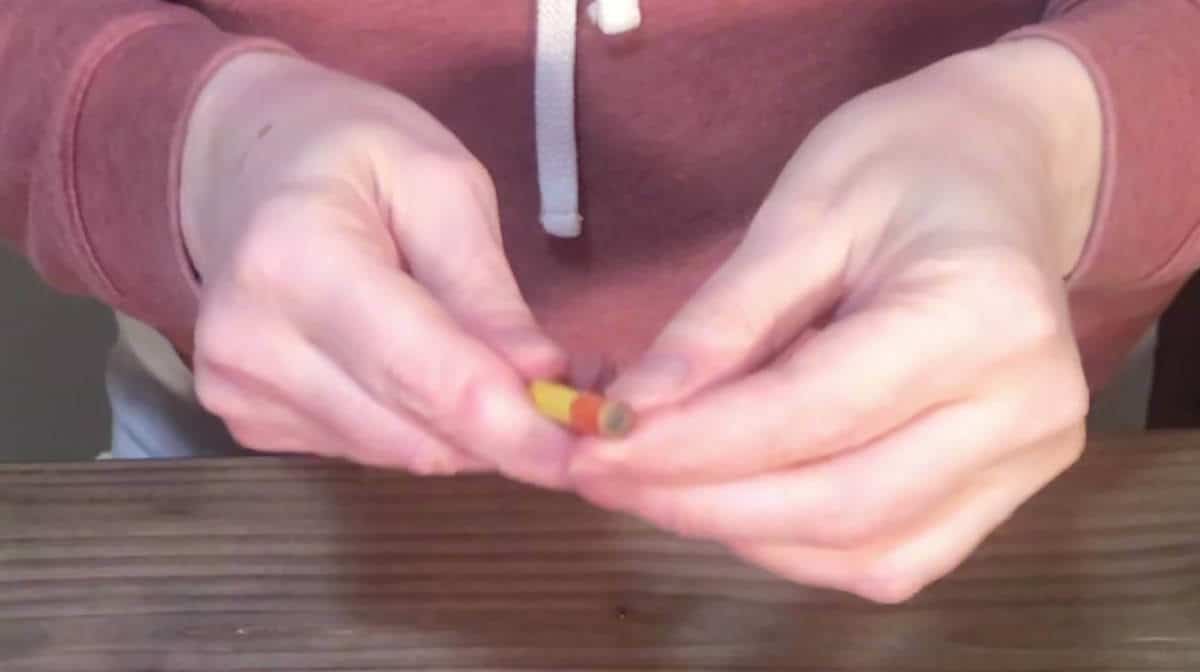
- Put double stick tape on one end of your flower stem (pencil or wooden dowel).
This will help keep your flower in place.
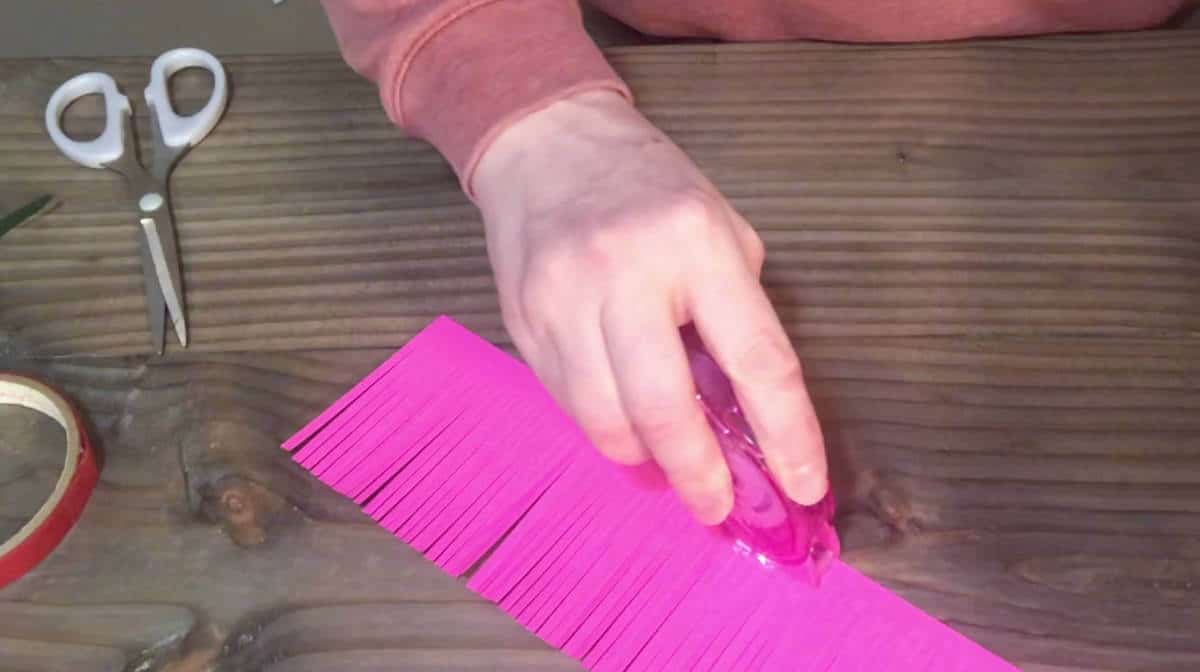
- Use an adhesive runner to run a line of adhesive down the edge of the cardstock you didn’t cut.
If you skip this step, your paper flower may pull apart.
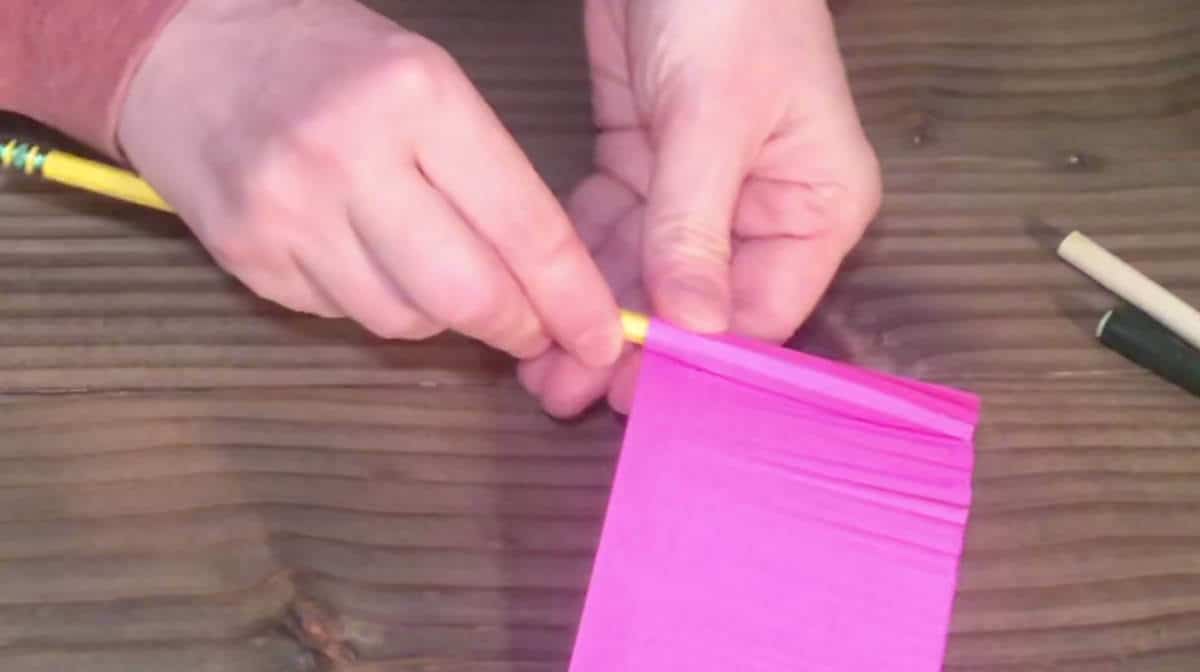
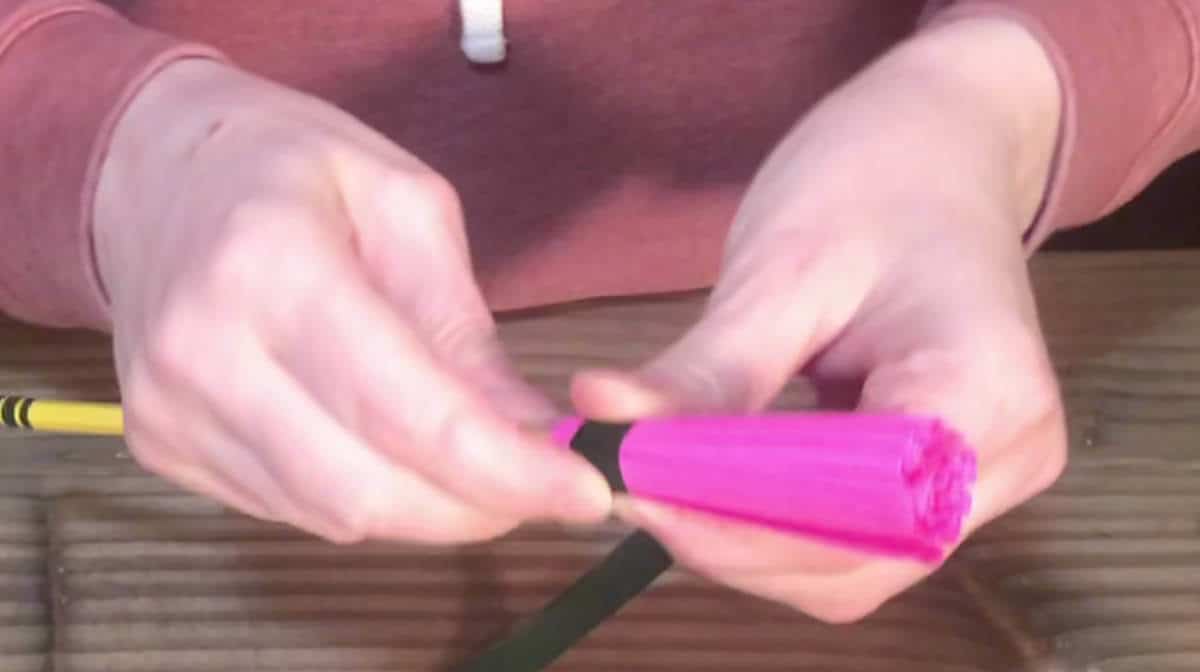
- Roll the fringed cardstock onto the end of a pencil or wooden dowel.
Try to keep the base even. You will be covering it with floral tape though so no need to keep it perfect.
- Place double-stick adhesive on the base of your flower.
This will help the floral tape stay in place.
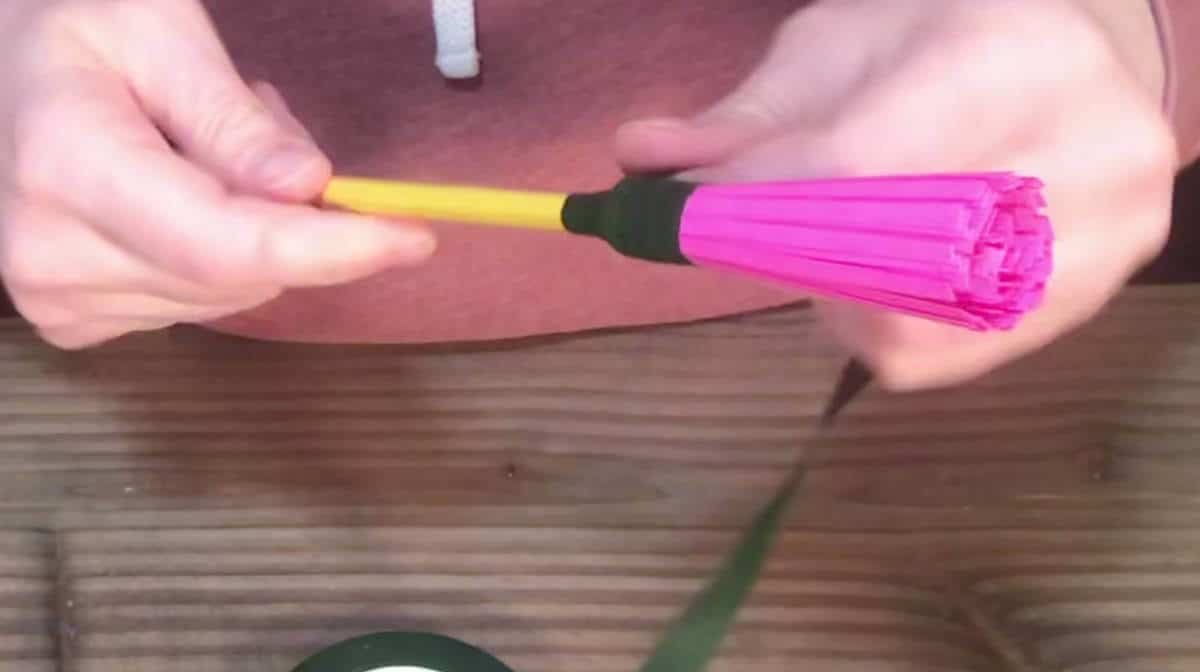
- Wrap floral tape around the base of your flower and ‘stem’.
Make sure to put plenty of floral tape at the base of the flower and where the flower transitions to the stem so it stays in place.
- Continue wrapping the floral tape around your flower ‘stem’ until you reach the bottom.
I haven’t found a great way to adhere the floral tape to the bottom. Maybe more double stick tape?
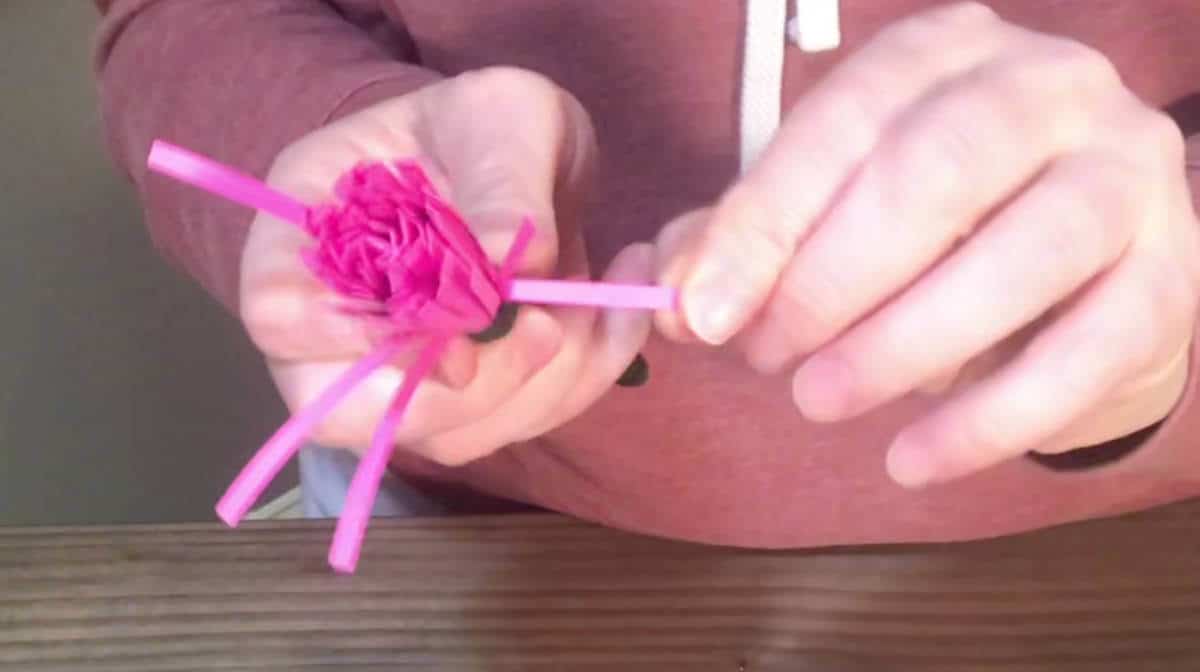
- Use your thumb and fingers to curl each piece of fringe on your Spider Mum.
This is a tedious process that can take a bit of time but fun, all the same.
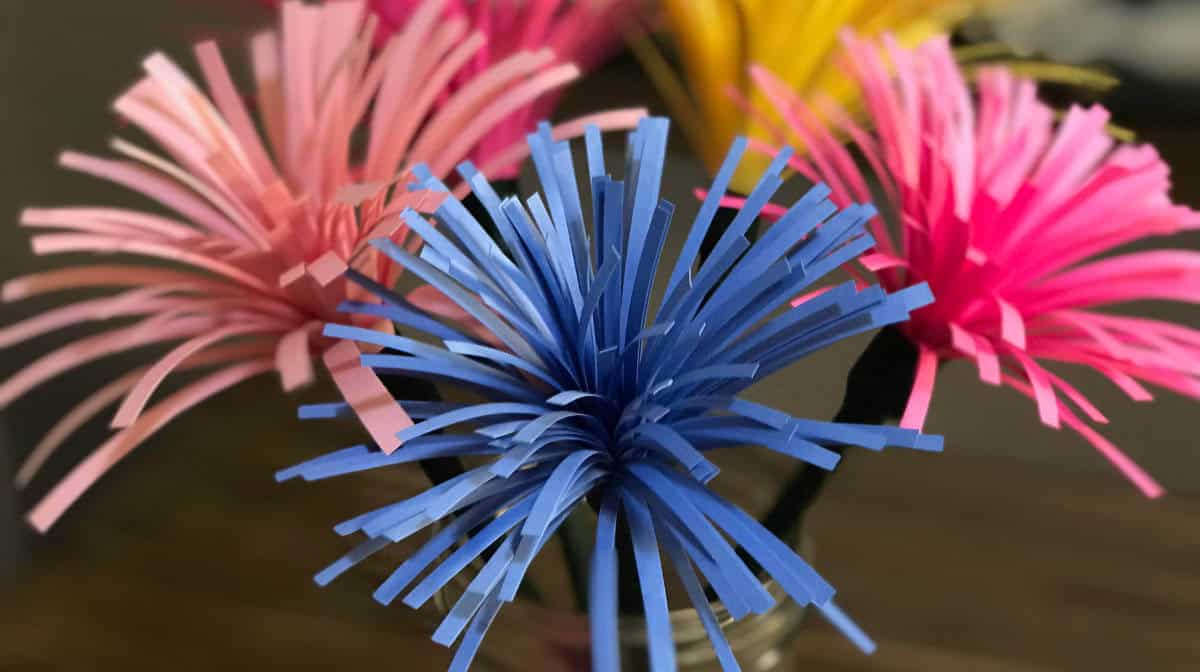
- Place your Paper Flower in a vase!
These Spider Mum Paper Flowers are super easy to make and you don’t need a fancy cutting machine to make them!


