DIY Paper Chain Table Runner For Parties
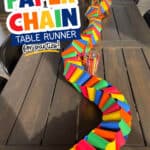
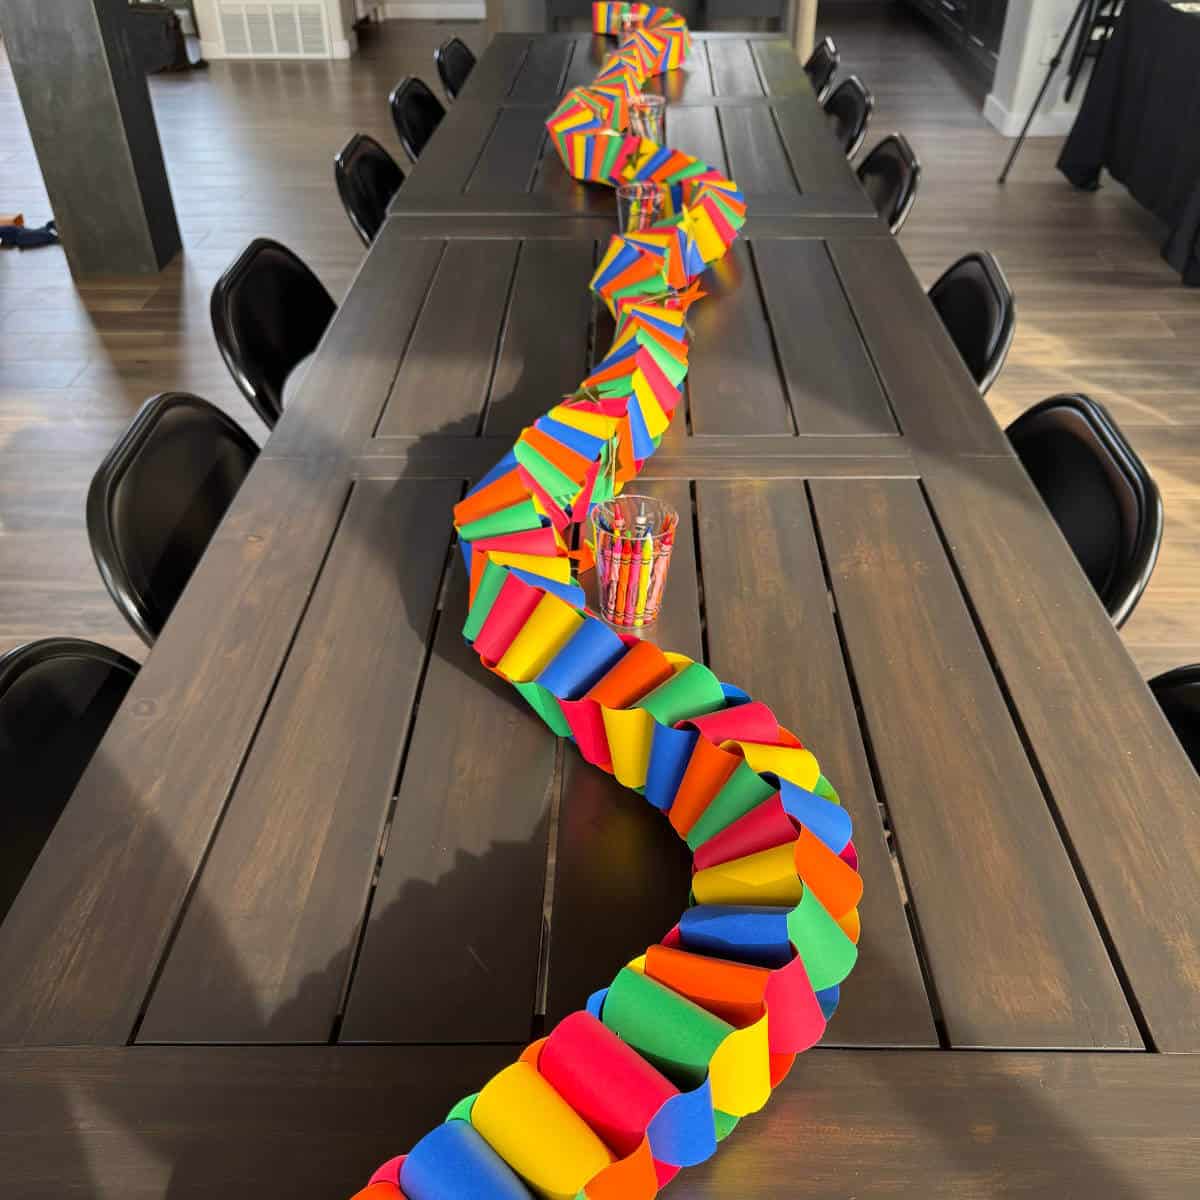
For my great-nephew’s birthday party, my niece took an old idea and made it new and interesting! The idea of a paper chain as a table runner was brought to a new level by cutting the paper into wider strips and twisting the chain once it was on the table. I was surprised at how well this DIY Paper Chain Table Runner For Parties turned out!
What makes this different from a traditional paper chain is the size of the loops and the way the finished chain is arranged. The wider strips create a fuller look, and twisting the chain down the center of the table turns a simple childhood craft into colorful party decor!
This post contains affiliate links. When you purchase through an affiliate link, we receive a small commission at no additional cost to you. Disclosure.
What You Need To Make This DIY Paper Chain Table Runner For Parties
- 8-1/2″ x 11″ Multicolor Craft Cardstock – The fun part is you can use the colors that fit your party!
- Paper Cutter – You could get by with scissors, but it would take forever, and a paper cutter is good to have around.
- Stapler – Tape works in a pinch, but a stapler is a bit easier. I ran out of staples, so my niece continued on with tape. It worked but took a bit longer.
How To Make This Paper Chain
I wish I had gotten pictures of my niece in action, but I didn’t realize just how awesome this paper chain table runner would be at the time. However, the directions are simple.
1. Cut The Paper
Use a paper cutter to cut the cardstock into four strips, each approximately 2-3/4″ wide and 8-1/2″ long. You’ll be cutting the paper horizontally, so out of an 11″ length, you’ll get four strips of paper.
2. Assemble The Paper Chain
Use a stapler to form a ring out of the first strip of paper. My niece put two staples in each ring, one on each side. Then, thread the next strip of paper through the first ring and staple. Continue on until the runner is as long as you’d like it to be. On the final ring, twist the ring so the staples are hidden underneath the previous ring.
Tip: If you’re decorating more than one table, make one paper chain for each table.
3. Twist The Paper Chain
Lay the paper chain in the middle of the table and twist it and do a little zigzag for interest.
What Occasions Does This Work For?
We used this Paper Chain Table Runner for my great-nephew’s 5th birthday party, but it could be used for many different occasions. Paper chains aren’t just for kids! Use colors that coordinate with your party, and you could use this idea as a Simple Graduation Party Idea, for Christmas parties, Easter celebrations, school events, and more!
Try red and green for Christmas, pastels for Easter, school colors for graduation, or colors that match your birthday party theme.
More Birthday Party Ideas
If you happen to be hosting a child’s birthday party, be sure to check out these ideas to keep the kids entertained!
- Guess How Many Puppy Party Game – Have guests guess how many treats are in a jar for a simple game that works well for all ages.
- Adopt A Puppy Party Activity – Set up an adoption station where kids can choose a small stuffed puppy to take home as a party favor.
- Puppy Dough Activity Kit – This puppy-themed activity kit makes a great prize or party favor!
- Put Out The Fire Beanbag Game – This beanbag game stayed busy throughout the duration of my great-nephew’s birthday party.
Sometimes, it’s the simple and easy ideas that make a big impact! This DIY Paper Chain Table Runner is an inexpensive way to add color and interest to your party tables without spending much on supplies. You can customize the colors for just about any celebration, from birthdays and graduations to holiday get-togethers. Even an old-fashioned paper chain can become something special with a little creativity!
Frequently Asked Questions

Hi! I’m Bridget!
I create printables and DIYs to help you get organized and celebrate special occasions! My mission is to inspire you to get creative and find joy in every day!