Stage Your Home Without Spending A Dime
The way you stage your home and the way you live are two completely different things. Living comfortably in your home may mean there is a little clutter and personality scattered throughout. You probably also have turned a blind eye to many things in your home that are not in their proper place. When you sell your house, staging simplifies your home and creates a blank slate where buyers can envision their own comforts of home.
In 5 Steps To Stage Your Home, we went over the basics of staging. Those basics are spiff up your yard, sell your stuff, pack what you don’t need before the move, freshen up your home, and show a home filled with happiness!
We have been working hard to stage our home and, for the most part, we have arrived successfully at the other side of staging and wanted to share how we put our own advice into action! Most of the steps we used to stage our home didn’t cost a dime!
Are you ready for a tour?

Family Room
Family Room Before
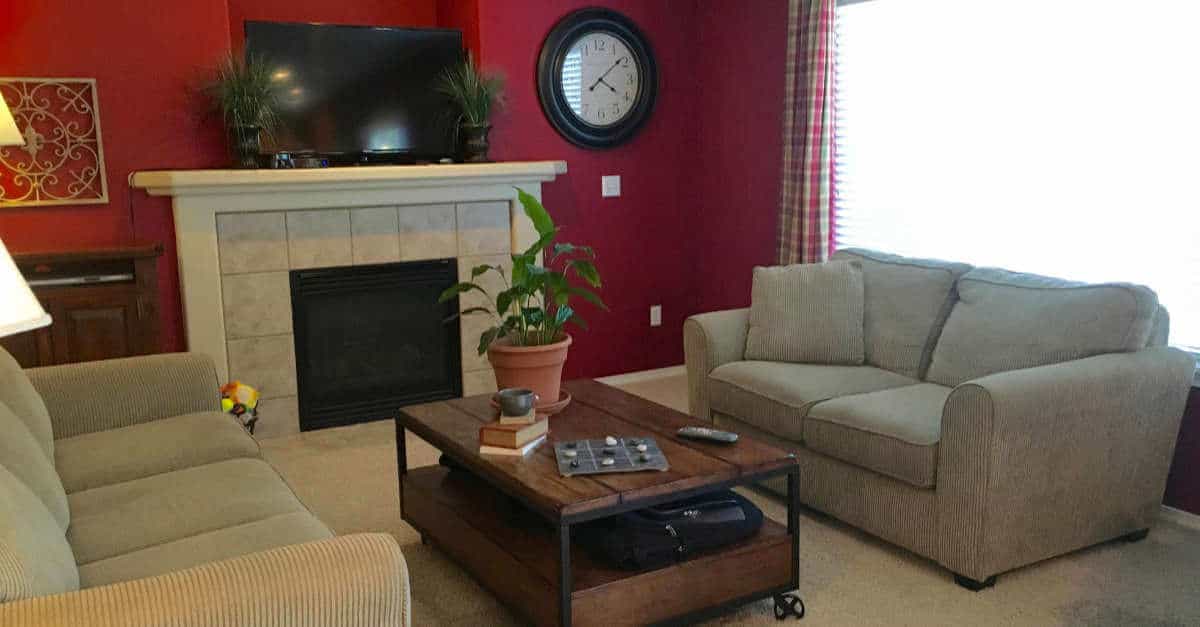
That red paint is so cozy and those curtains were hand made by none other than me. The problem is, red is a little bold and may throw buyers off. Those curtains, well, they were created over 10 years ago. It’s time to say good-bye!
Family Room After
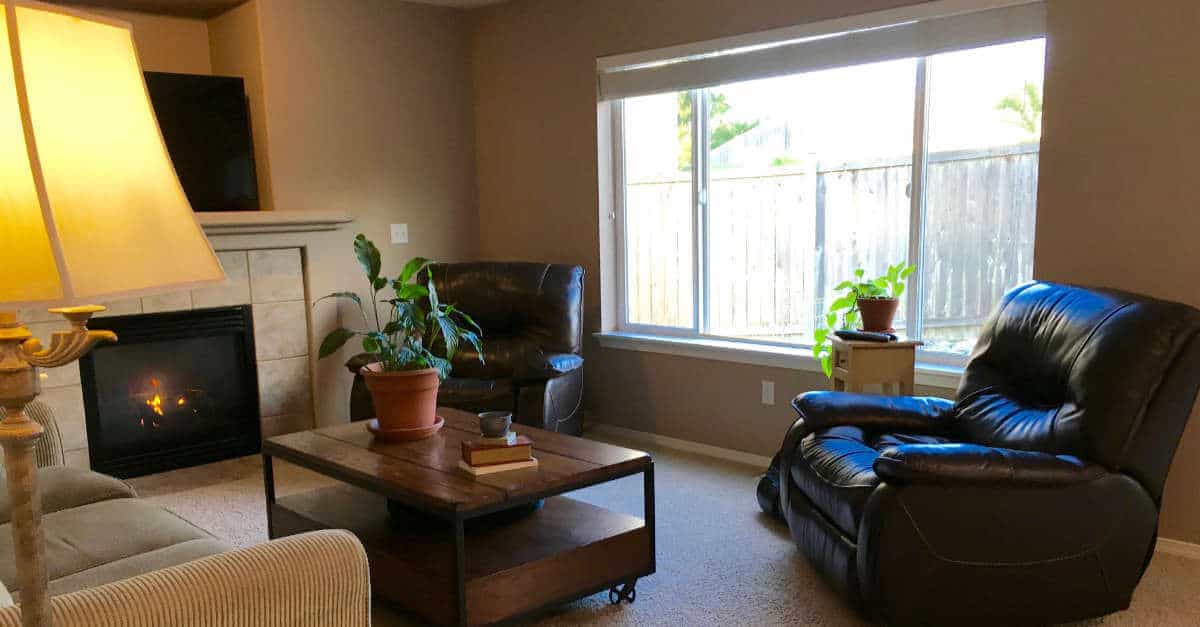
Steps We Took To Stage The Family Room
Paint – The red walls had to go! Okay, okay, the paint was an expense but it made a huge difference!
Declutter – The decluttering of the family room resulted in many items heading to the garage for our garage sale!
Rearrange – There was just too much seating in this room. Watch for the loveseat to make an appearance in another room and the small end table came from the formal living room (Steve has to have a place to put his coffee, after all)!
Clean – We gave the family room a thorough cleaning including the blinds and window.
Great Room
View of the Great Room Before
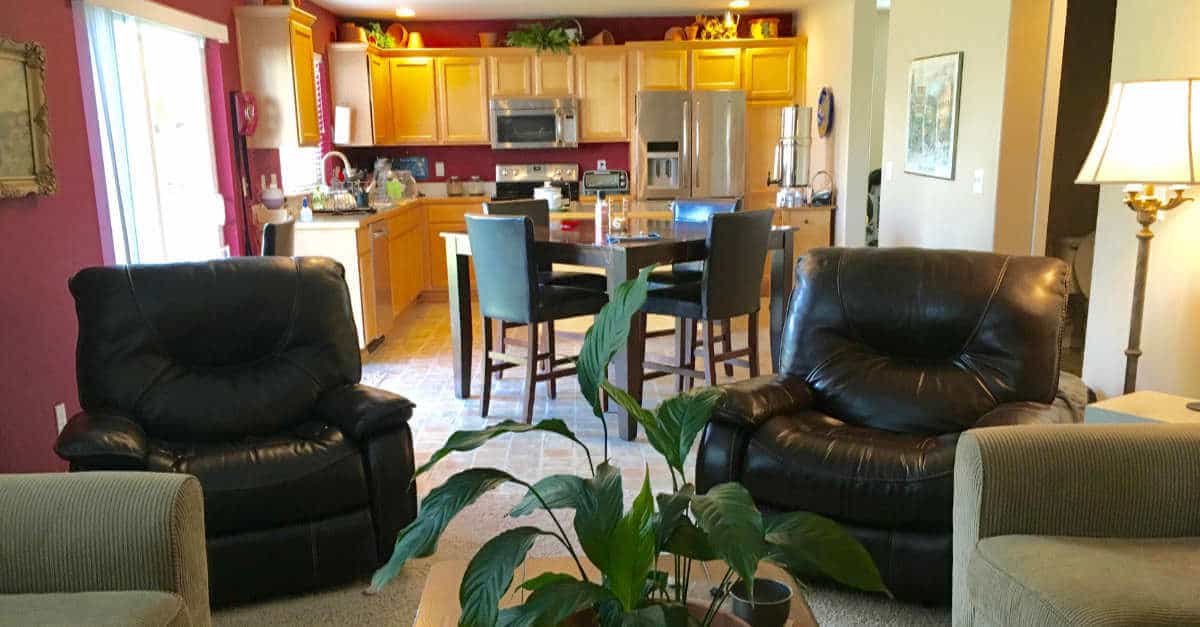
There is just way too much going on here. Too much to look at and no room for imagination.
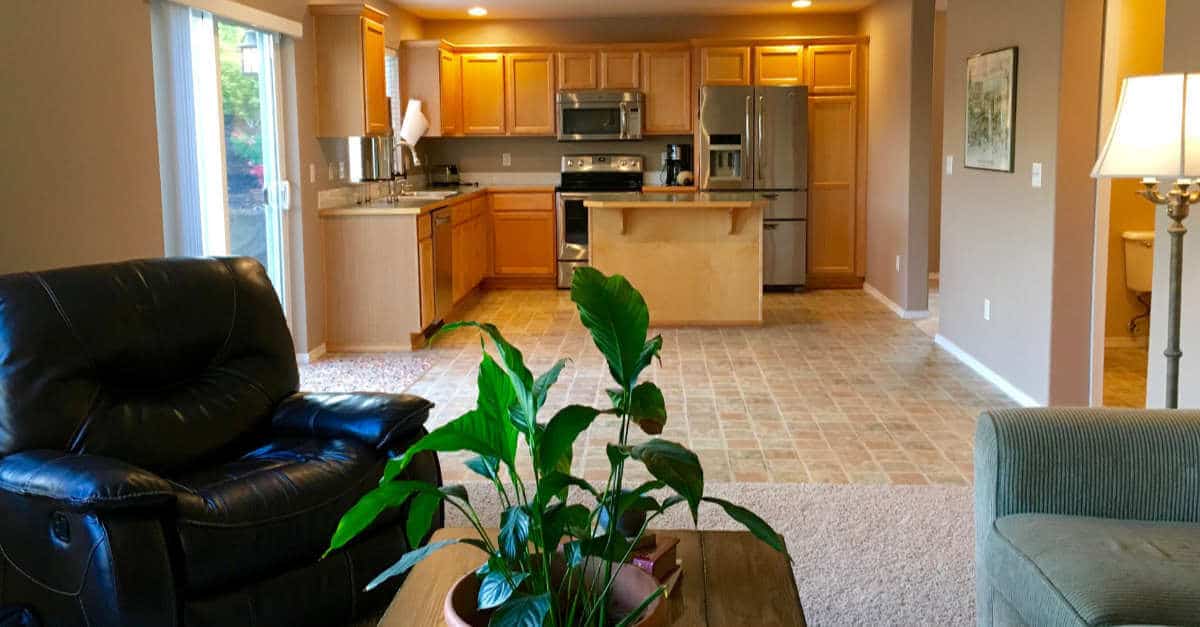
Wow! What a difference!
Kitchen
Kitchen Before
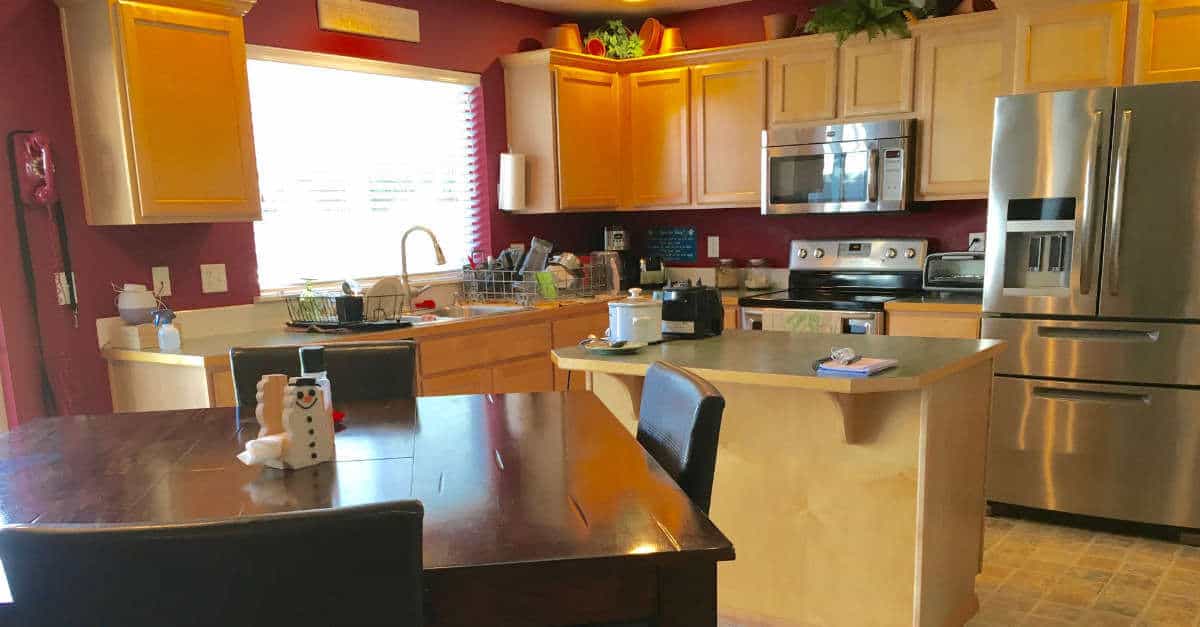
My eyes don’t know where to go.
Kitchen After

Ahhh! My eyes can relax now!
Steps We Took To Stage The Kitchen
Paint – The red was meant to make those cupboards ‘pop’! Nonetheless, there were grease splatters around the stove so we freshened it up with a satin paint!
Declutter – All of the decorations came off the top of the cupboards and were sold in the garage sale. We purchased a new dishwasher and were able to get rid of the drying racks on the counter! Everything on the walls went away and only small appliances used on a daily basis were left out.
Rearrange – The table is gone! You will see it soon!
Clean – Blinds, windows, and window tracks were cleaned. Everything else got a good scrub too!
Update – Those green countertops are begging to be retired and that floor wants to be wood! Not gonna happen! We are doing this on a dime!
Living Room
Formal Living and Dining Room Before
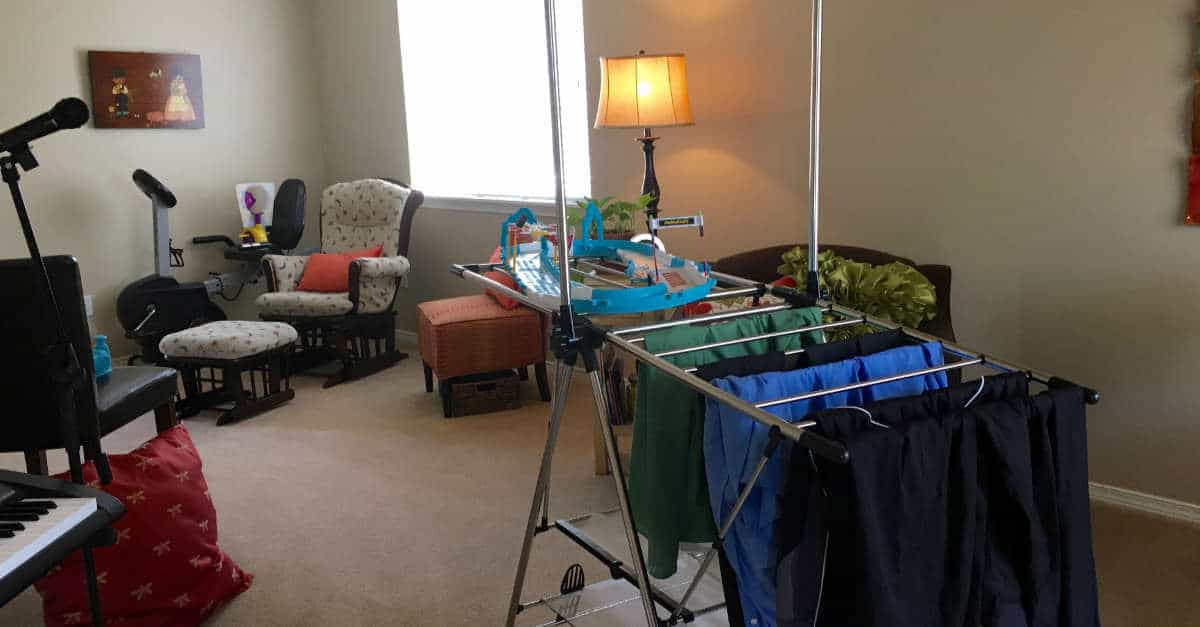
Isn’t it pretty? We made this space function for our needs. Video game room, music room, exercise room, and clothes drying room. This is the stuff that makes you shudder when you see the picture.
Formal Living and Dining Room After
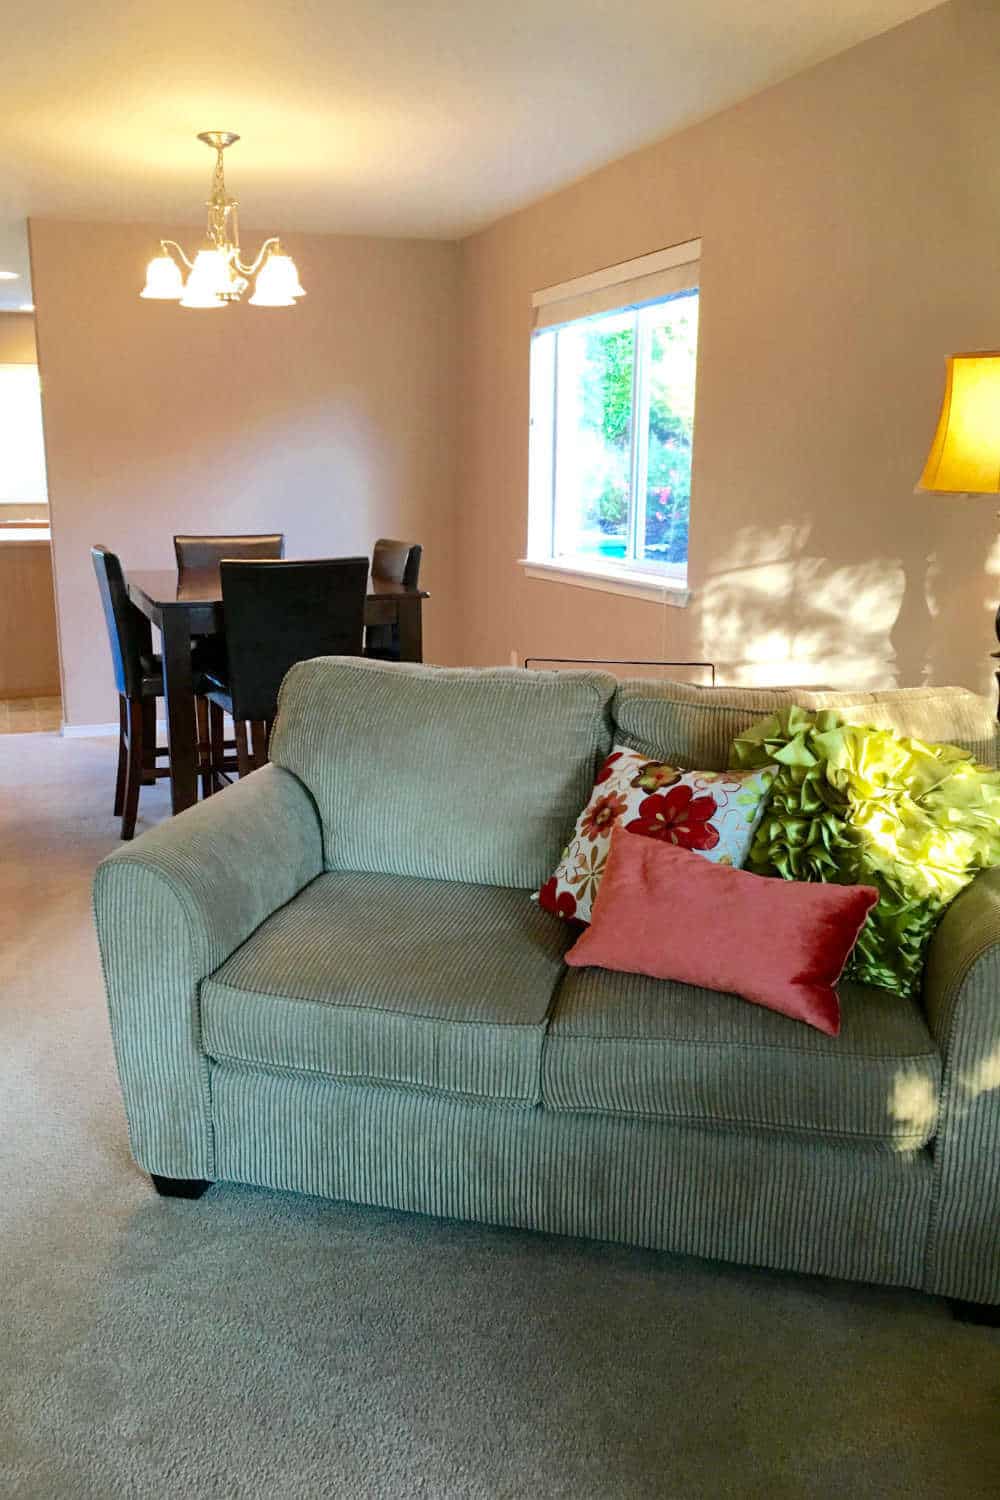
Can you believe this is the same room? We staged the rooms for their intended purpose, plus a few instruments!
Steps We Took To Stage The Formal Living And Dining Rooms
Paint – A fresh coat of paint throughout! There were some high ceilings in here but we made it happen!
Declutter – Boy, did we ever! The video games moved to the front room and the music is still there. If you have some decluttering to do, check out these decluttering tips.
Rearrange – The table has found a wonderful home and there will be no confusion as to what this room is supposed to be! Doesn’t that loveseat look marvelous there too?
Clean – Blinds, windows, window tracks, light fixtures, baseboards. The whole shebang!
Update – No updates are needed here!
Office
Office Before
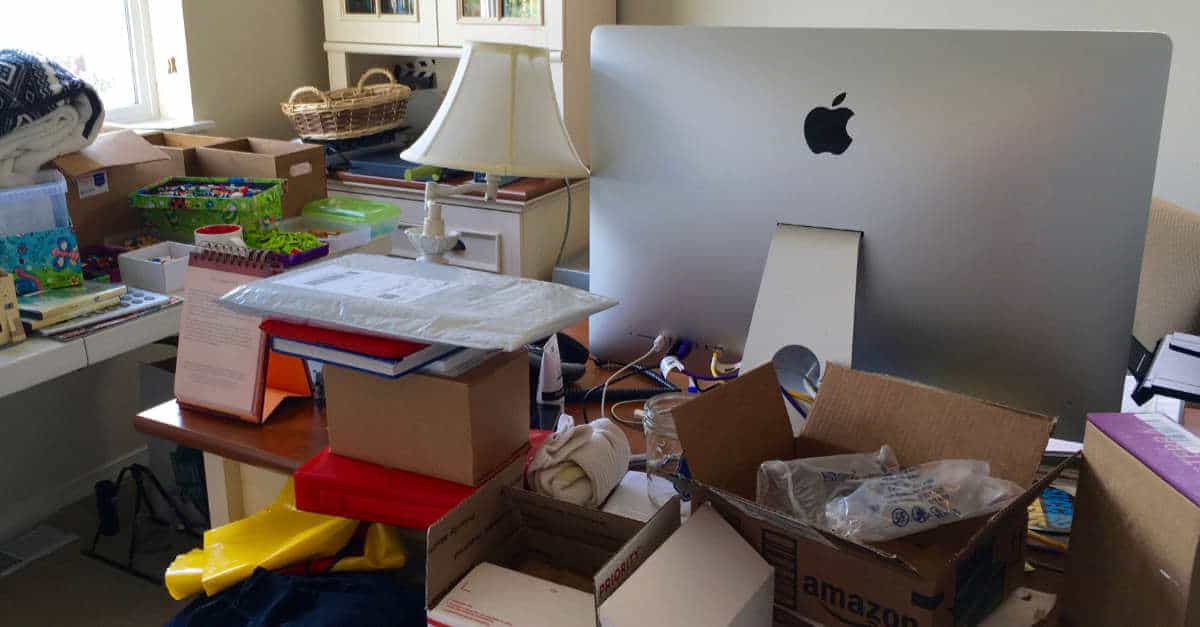
Ugh! This is ‘the room’ where everything was piled up as we staged the rest of the house.
Office After
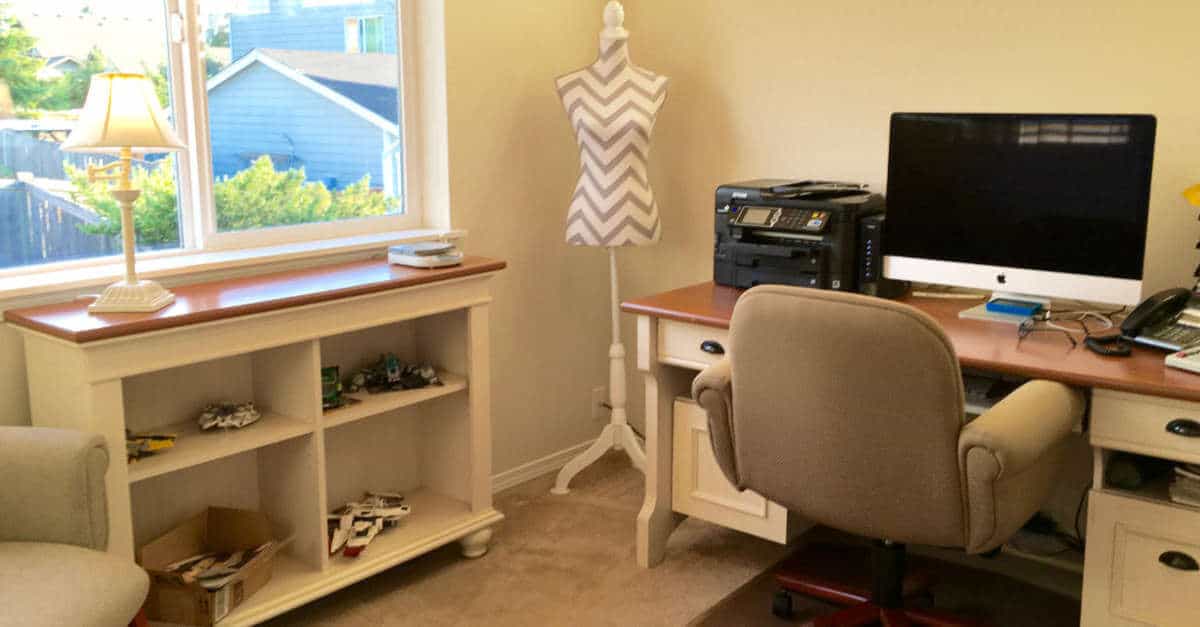
A rearrangement of furniture and clearing out did wonders!
Steps We Took To Stage The Office
Paint – We did not paint this room.
Declutter – Did we ever! Garage salers were thrilled to buy that stuff up!
Rearrange – I don’t prefer to sit with my back facing the door but it sure opens the room up!
Clean – Blinds, windows, window tracks, baseboards, and floors.
Update – Not needed!
Bedroom
Jack’s Room Before
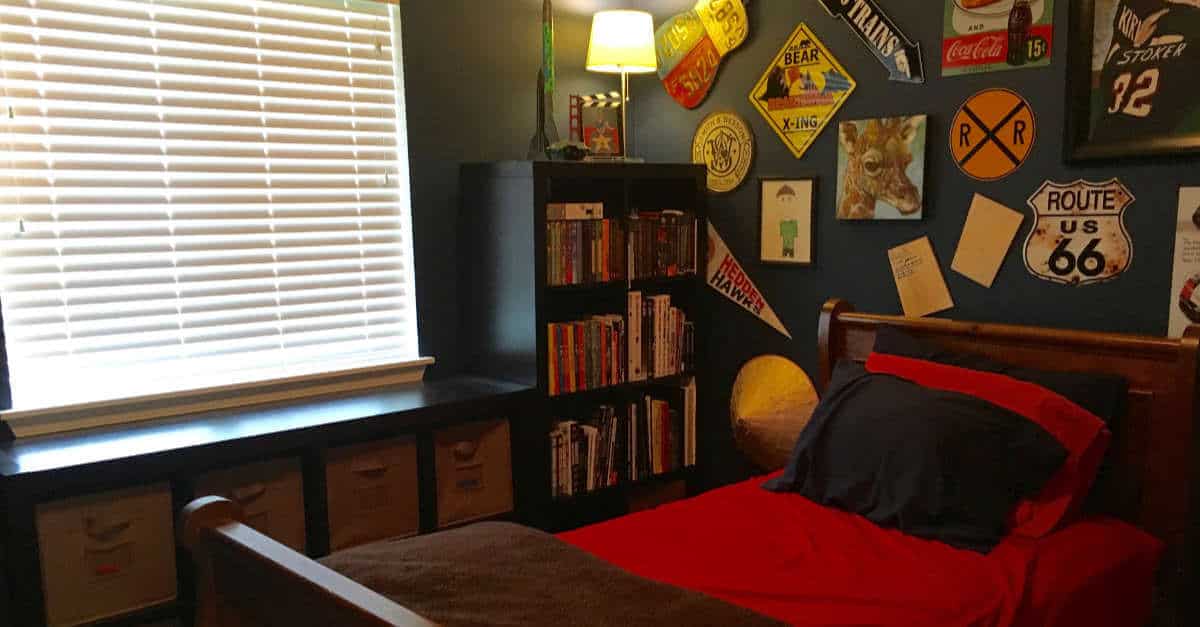
Not much was done here!
Jack’s Room After
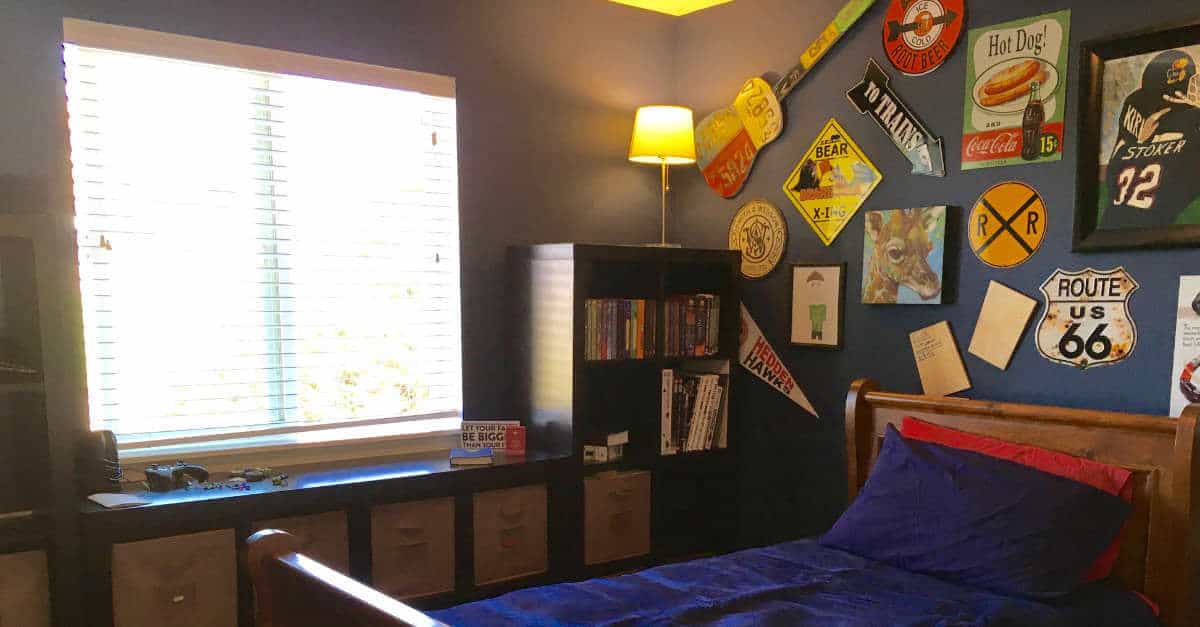
We made a decision to not do too much to Jack’s room other than to pack a few boxes!
Steps We Took To Stage Jack’s Room
Paint – Left alone.
Declutter – We packed a few boxes of books and memorabilia.
Rearrange – I would love to take his desk and computer out but he uses it daily so we left it alone!
Clean – Blinds, windows, window tracks, baseboards, and floors.
Update – Nope! Not here!
Bedroom
Justine’s Room Before
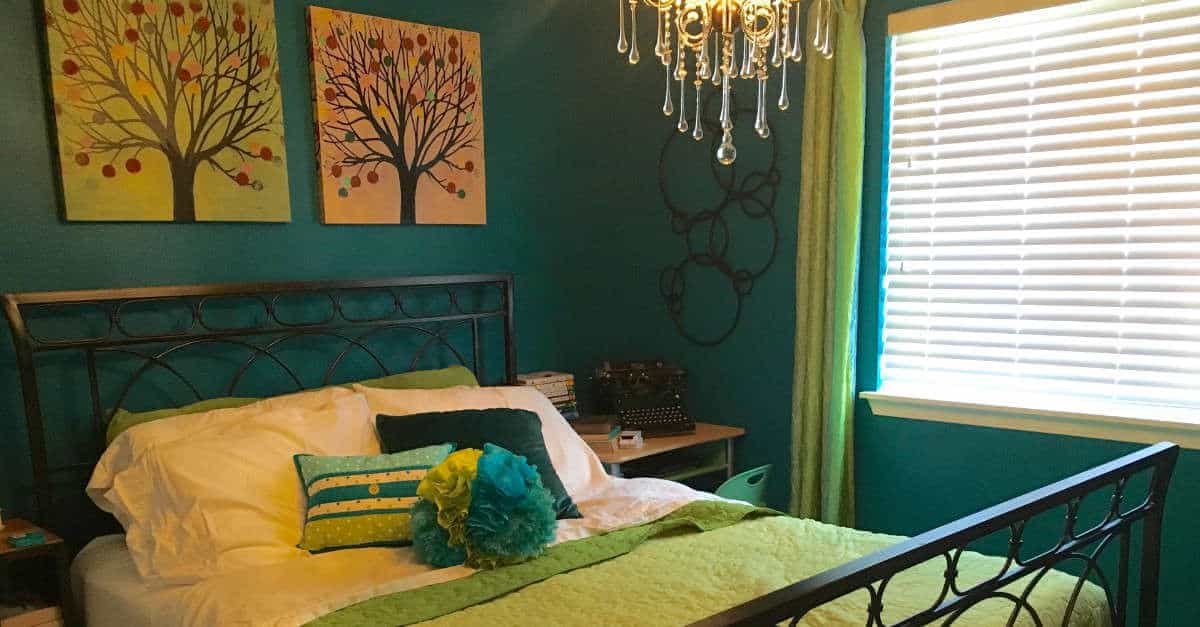
Not half bad!
Justine’s Room After
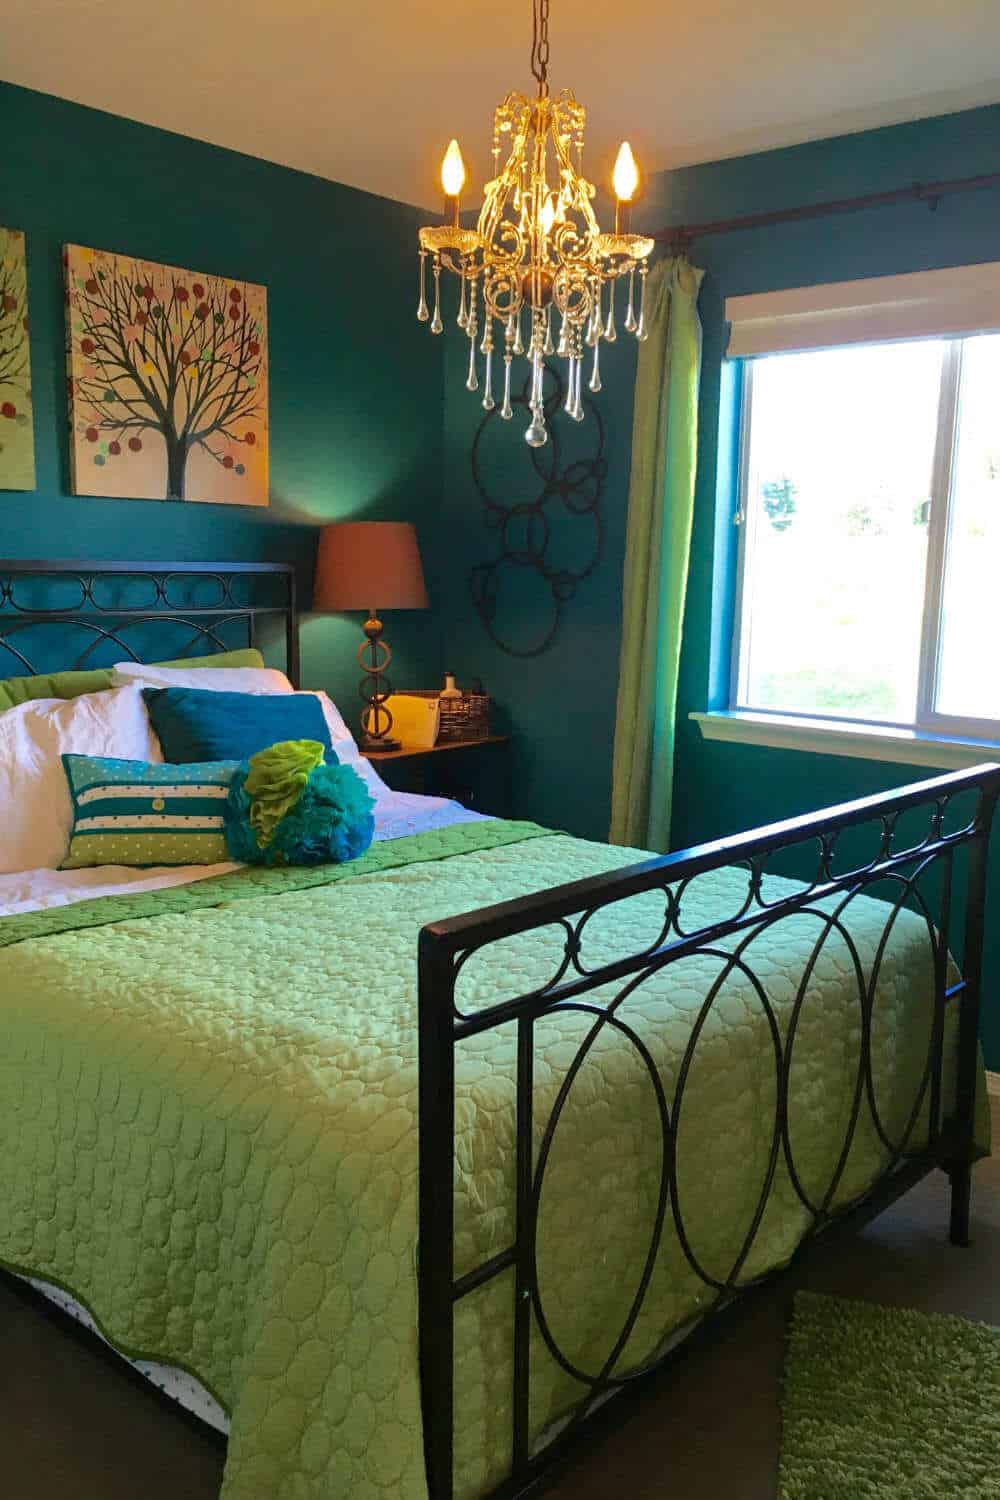
We didn’t do too much to Justine’s room either.
Steps We Took To Stage Justine’s Room
Paint – Left it alone!
Declutter – Justine packed her books and a few other things.
Rearrange – We took a shelf and her desk to the garage!
Clean – Blinds, window, window tracks, baseboards, and floors.
Update – Nope!
Bathroom
Full Bath Before
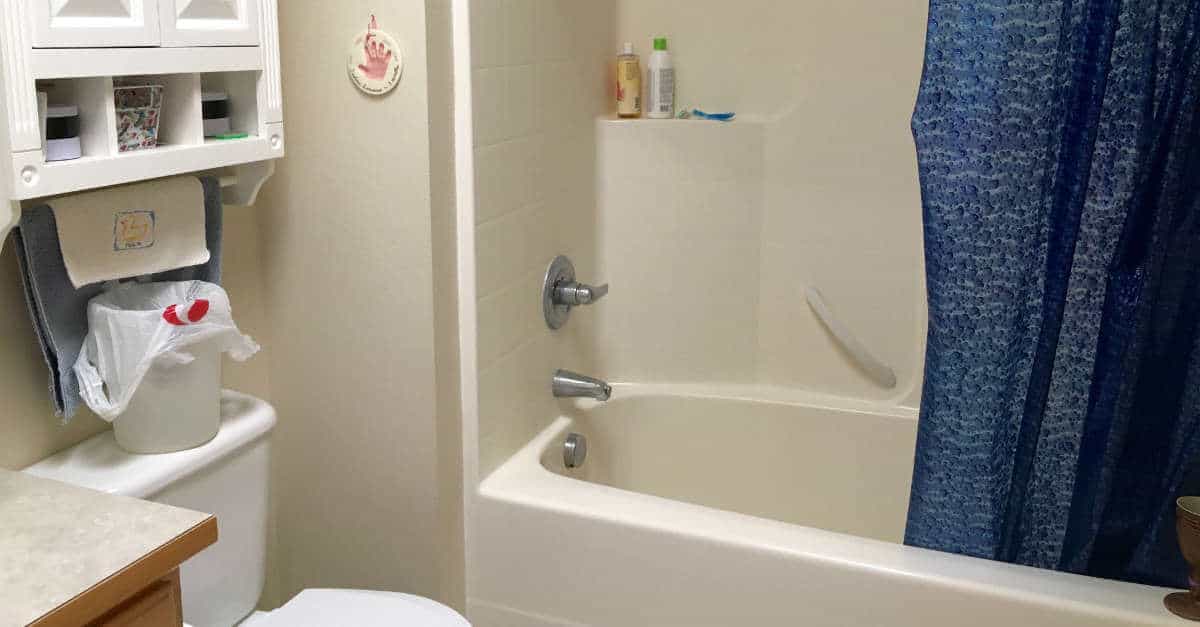
Our goal here was to make the bathroom as open as possible.
Full Bath After
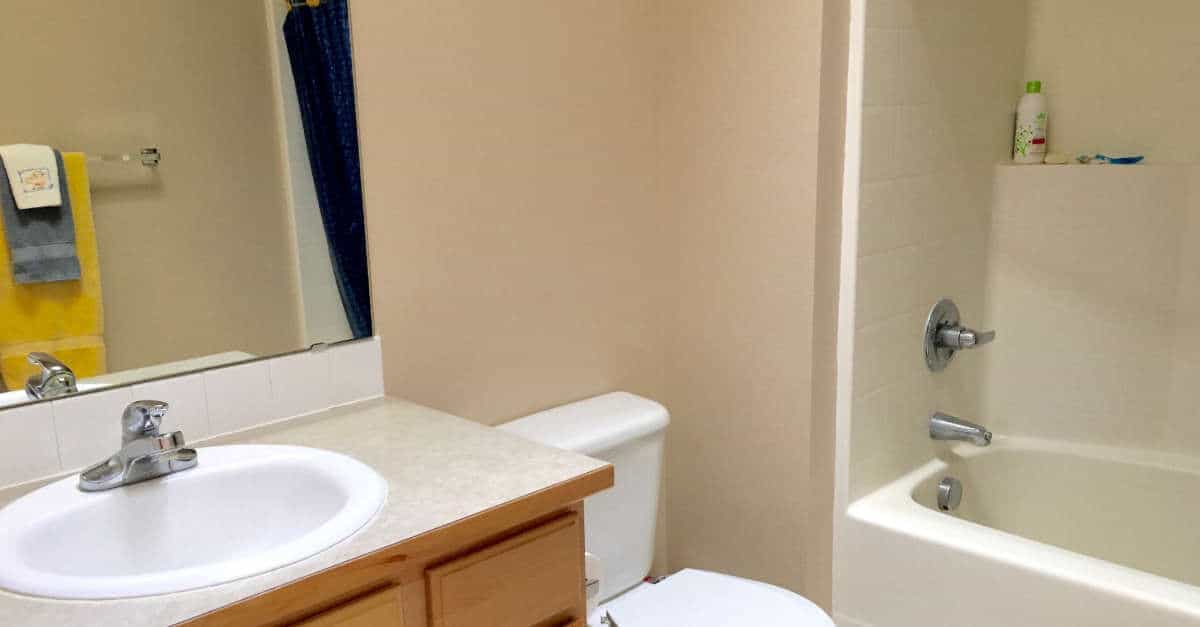
Steps We Took To Stage The Full Bath
Paint – The bathroom received a fresh coat of paint!
Declutter – Everything came off the walls and counter.
Rearrange – The shelf above the toilet was sold in the garage sale.
Clean – From top to bottom!
Update – Not needed.
Master Bedroom
Master Bedroom Before
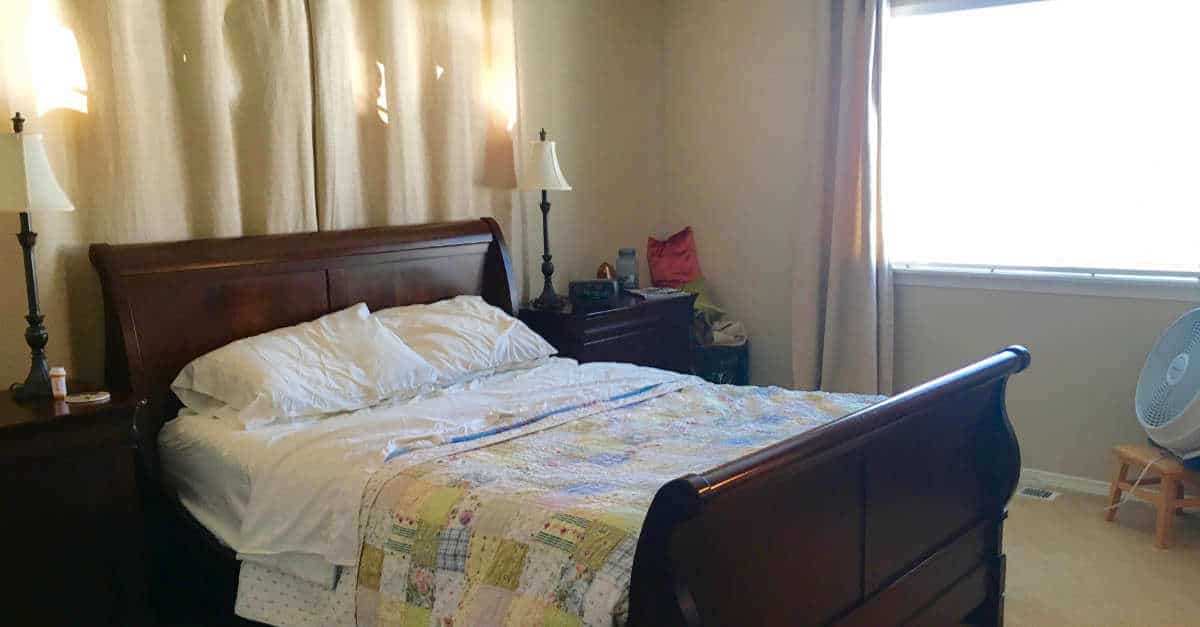
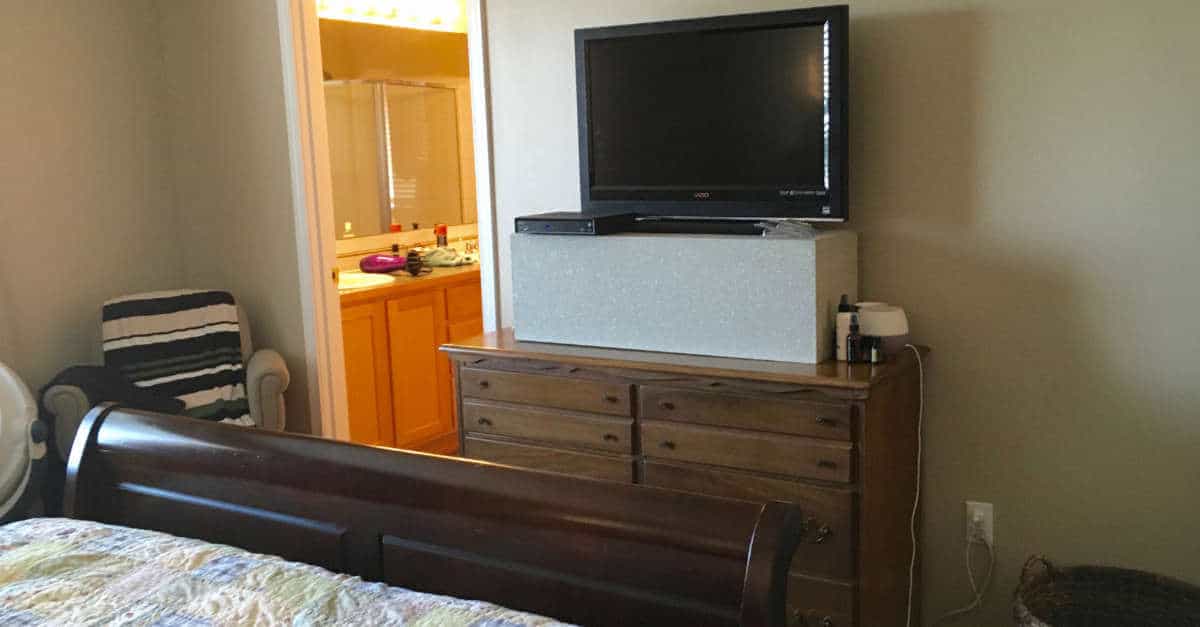
The television, on top of a box, on top of a dresser. That’s stylin’ right there!
Master Bedroom After
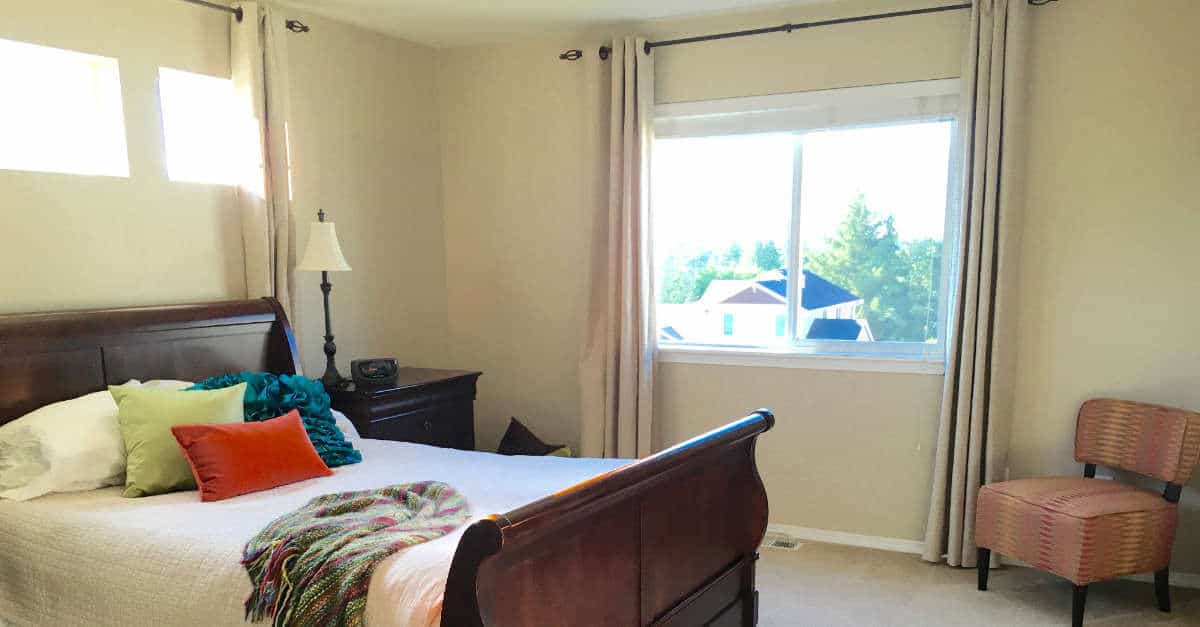
Steps We Took To Stage The Master Bedroom
Paint – Not needed.
Declutter – Oh yeah! We packed or sold everything in the dresser!
Rearrange – The dresser, television, and fancy box made it to the garage! The orange chair from the video game room was moved up to give a ‘pop’ and the chair that was there went back to the office. It’s truly musical chairs! We also switched the quilt out with a neutral quilt we had on hand and actually used those decorative pillows!
Clean – Blinds, windows, window tracks, baseboards, and floors.
Update – Not a dime spent here!
Master Bathroom
Master Bath Before
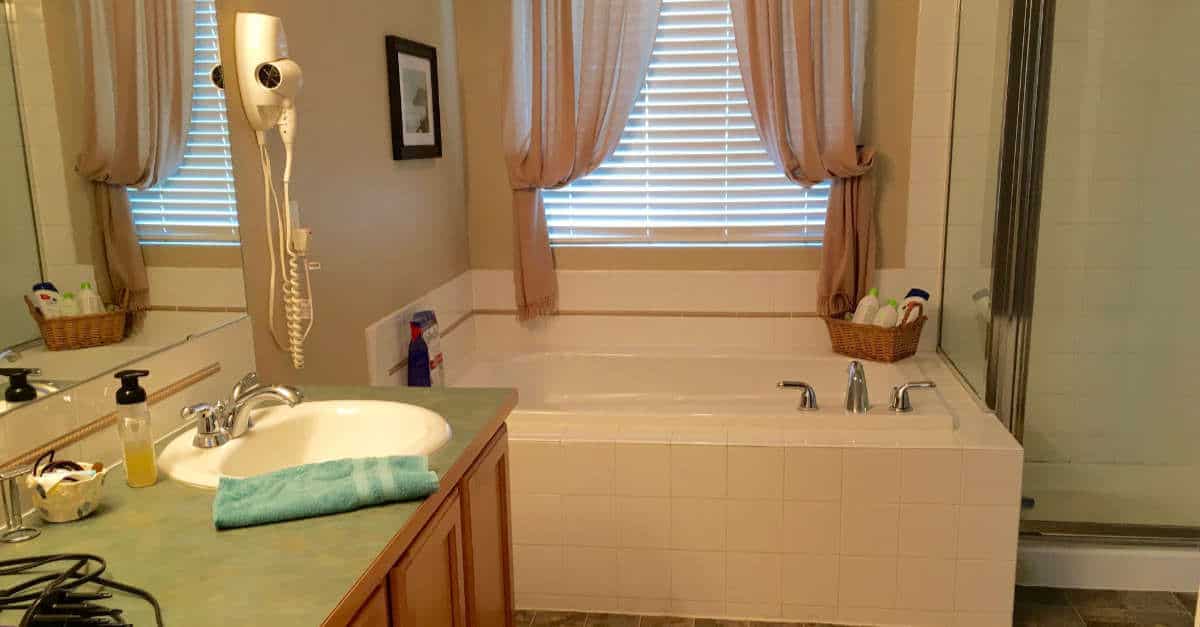
Master Bath After
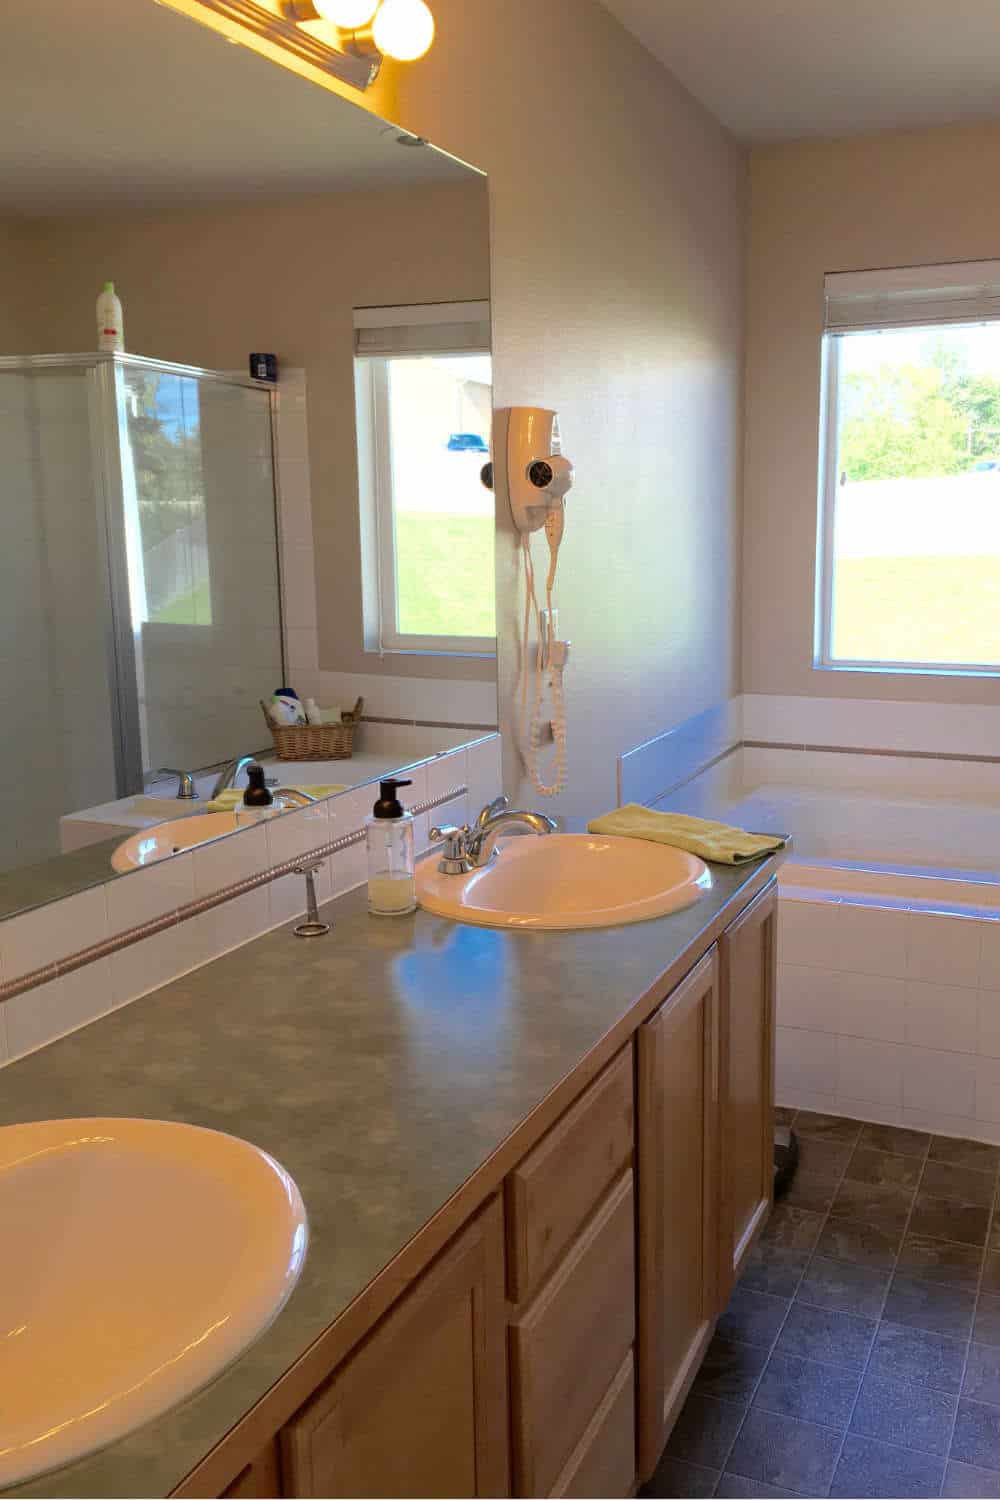
Steps We Took To Stage The Master Bathroom
Paint – The master bath got a fresh coat of paint!
Declutter – Bathroom countertops seem to attract EVERYTHING from the drawers.
Rearrange – Nothing to rearrange here!
Clean – Blinds, windows, window tracks, light fixtures, everything got a good wipe down and the cupboards and drawers were cleaned out and organized!
Update – There’s that green countertop again! Not spending a dime on anything but paint here!
Master Closet
Master Closet Before
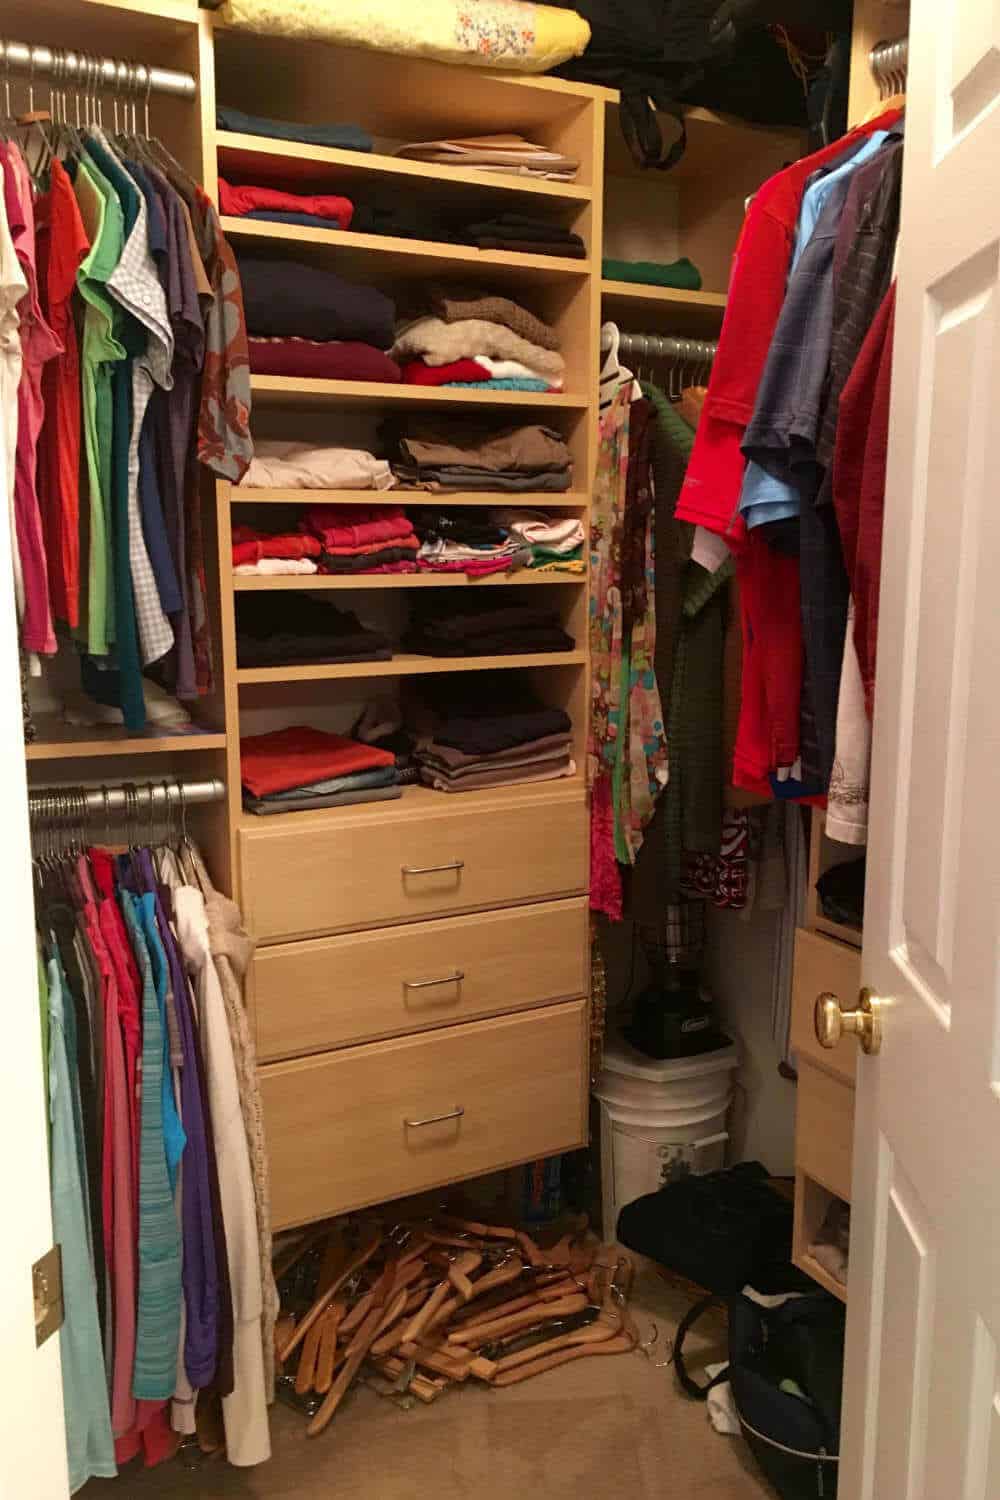
We’ve been to open houses where the master closet was stuffed so full you couldn’t even walk in. It’s not quite that bad here but there was room for improvement!
Master Closet After
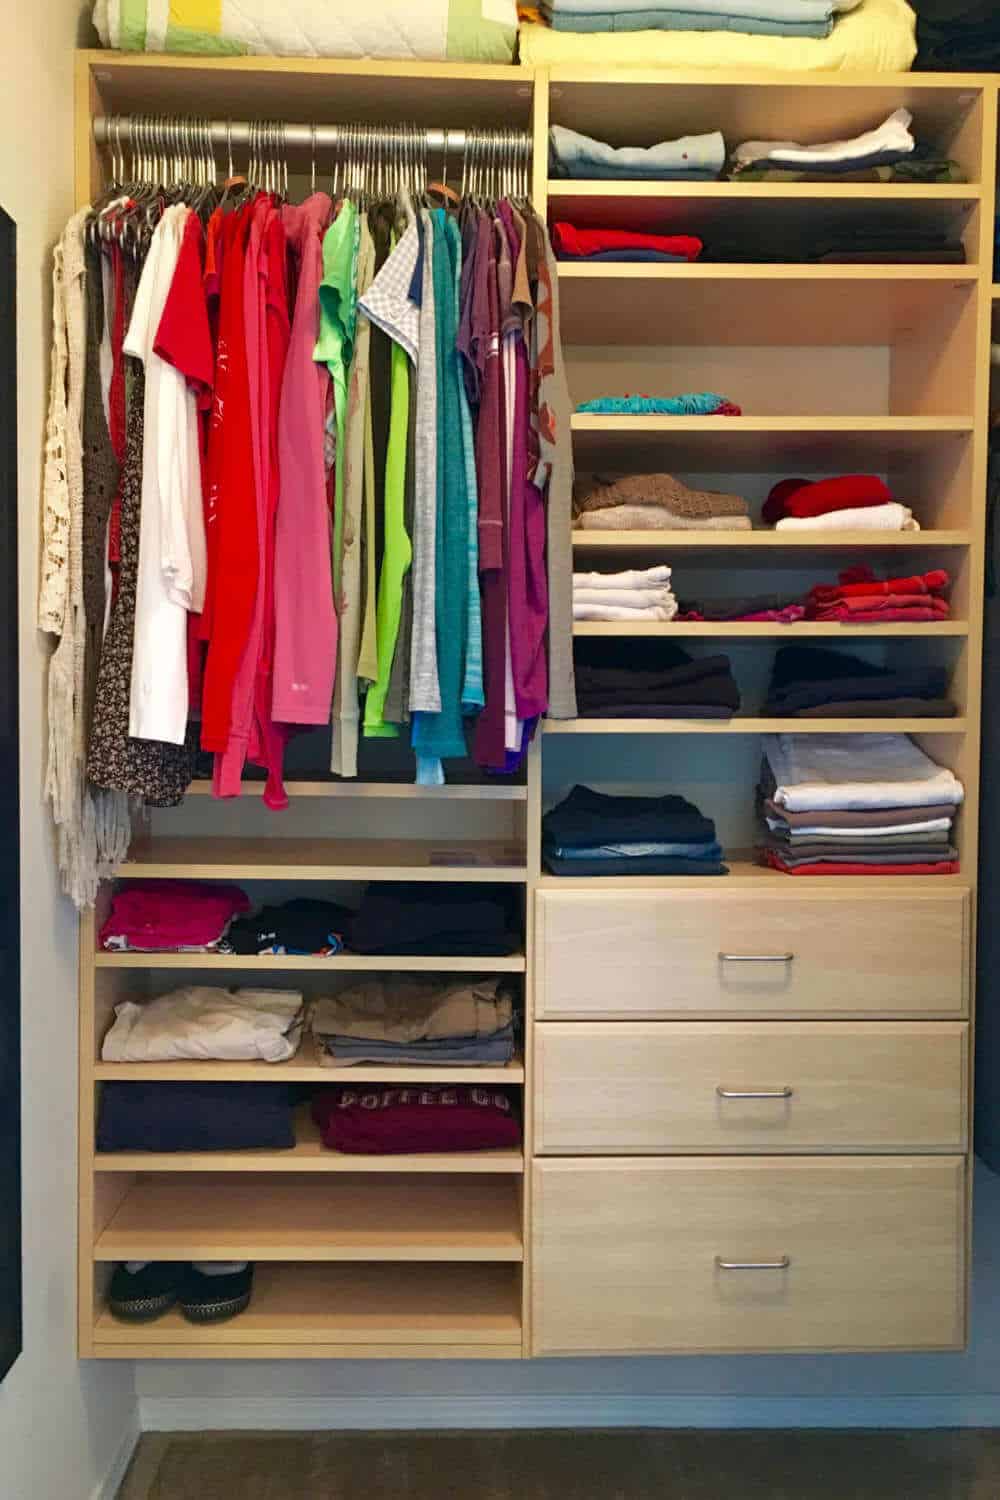
Steps We Took To Stage The Master Closet
Paint – Nope!
Declutter – Believe it or not, this is my side of the closet and that is all the clothing I own! A little went to the garage sale. We boxed up those hangers on the floor, in case we need them in our new home. It makes a closet appear so much cleaner when the floors are clear.
Rearrange – I moved all of my hanging clothes to one section and put the shelving back in for a much cleaner look.
Clean – We wiped down all of the shelving and drawers, baseboards, and floors.
Update – No updates here.
This post contains affiliate links. When you purchase through an affiliate link, we receive a small commission at no additional cost to you. Disclosure.

Home staging videos!
Oh my goodness, you guys! This has been so much fun! I even made a video of before and after staging. Let me know what you think!
Jack played his guitar for background music on this one!
When staging your home, walk in the front door with a fresh set of eyes. What can you do to clear floor space? How can you rearrange your home to make it show the best it possibly can?
It doesn’t cost a dime to declutter, rearrange, and clean. Look at the difference it makes!
There will be give and take, depending on how much longer you will be living in your home. For the life of me, I couldn’t convince Steve to store his drums. Something about humidity and they could get ruined. So there they sit in the formal living room!
Now the challenge is to keep this place in tip top shape and to find our new home. We are ready!
More Home Staging Resources
Create a Home Staging Binder for potential buyers so they can learn more about your home and neighborhood! You can purchase the Home Staging Binder here or in the Home Seller’s Resource, below!
Home Seller’s Resource
There’s a LOT to think about when you’re getting your home ready to sell. Use the Home Seller’s Resource to help you get organized and ready to sell your home, for top dollar!




Great job! You immediately inspired me. Most posts are not for regular people. Not everyone can spend a fortune to stage their home. It is amazing what you accomplished with what you had plus a bit of paint. Bravo!
Hi Alicia! The paint color is Eiffel For You, a BEHR paint purchased at The Home Depot.
What color paint did you use?
First off, I couldn’t stop tapping my fingers to Zack’s background music! Great job Zack! 🙂 Secondly, this is probably my favorite post you’ve ever done Jayleen, and you know how much I love your posts! That was fun and you guys did such a wonderful job staging. Beautiful home! It will sell quickly for sure! 🙂
Yay! I’m so happy you liked it, Kay! We are hoping it sells fast and for a great price! Zack has been learning how to record so he was happy to help me out!