Bunny Stencil For Preschool Painting
This Bunny Stencil For Preschool Painting provides a fun way for young children to create their own artwork while also improving their fine motor skills and creativity. Whether it’s for an Easter celebration or just for fun, this bunny template is here to help you provide a fun activity for the little kids in your life. Below I’ll share tips and ideas on how to use this bunny stencil.
When my nieces were growing up, I loved getting together with them for craft days! Now that they’ve grown and some have their own kids, we’ve hosted a few craft days that incorporate crafts for my now-adult daughter, son, nieces, and their kids!
At a spring craft day, we chose to gather supplies for the preschoolers to do a little painting!
Supplies
This post contains affiliate links. When you purchase through an affiliate link, we receive a small commission at no additional cost to you. Disclosure.
- Bunny Stencil – found below
- Printer – To print the stencil.
- Card Stock – In two colors so there is contrast between the colors that allows you to see where you’re painting.
- Scissors or Cutting Machine – If you need multiple stencils for lots of kids, you might want to buy the SVG file to use with your cutting machine.
- Painter’s Tape – So you can tape the stencil and painting page down without damaging the paper.
- Washable Paint
- Paper Bowls – For paint.
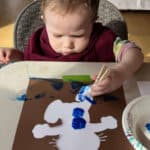
- Clothespins – To put cotton balls on for painting.
- Cotton Balls – Clip cotton balls in clothespins to use for painting.
- Wet Washcloths or Wipes – To clean paint off little hands.
Every child is an artist.
Pablo Picasso
How To Use The Bunny Stencil
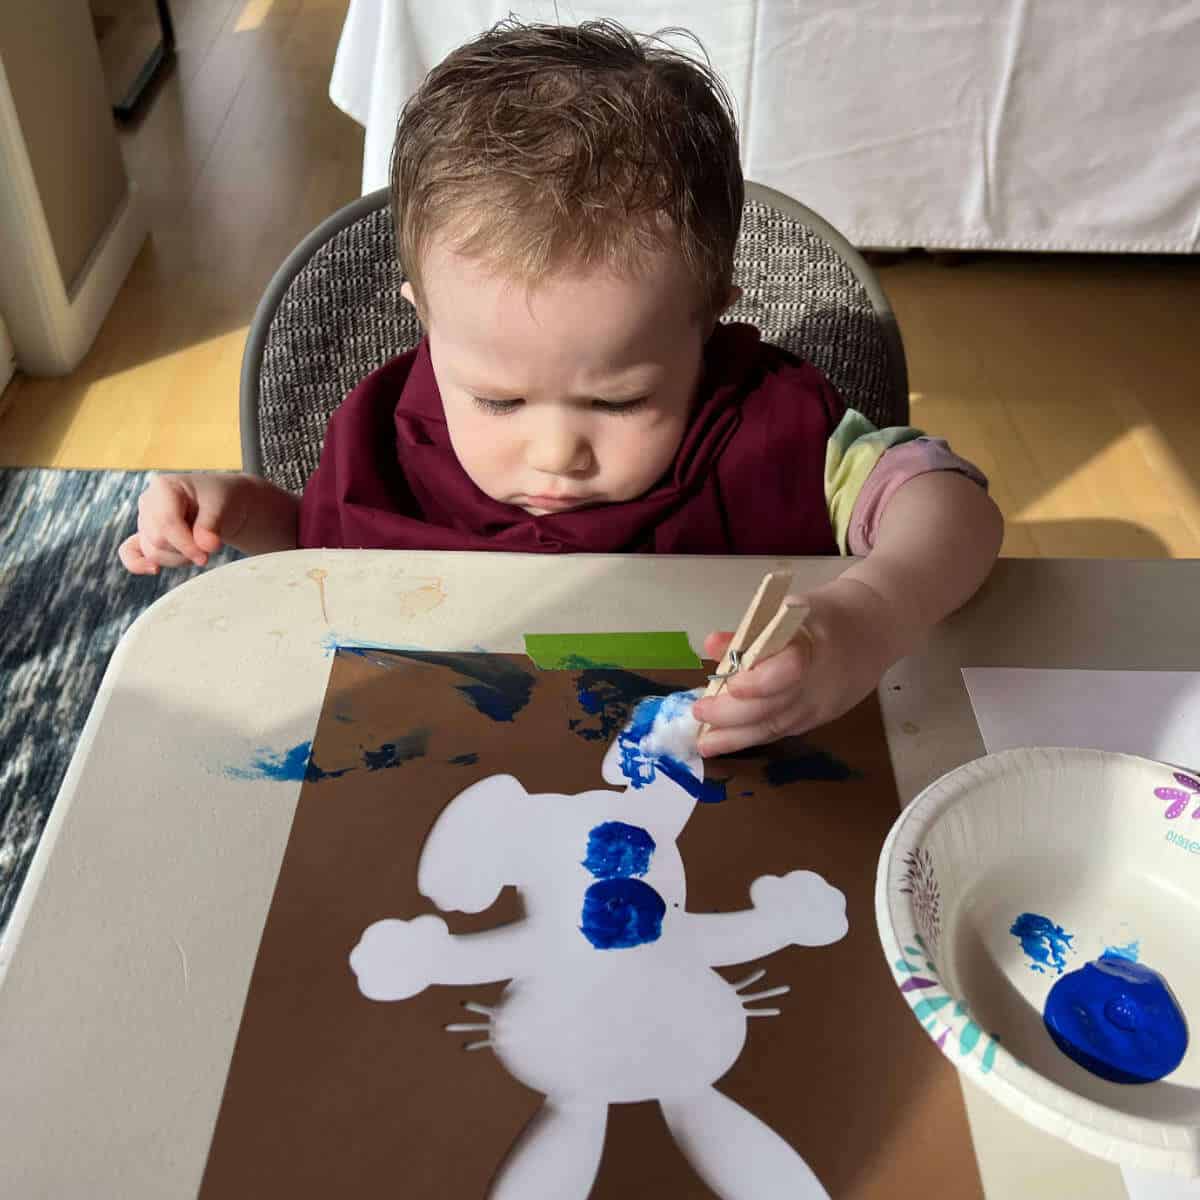
- Print the Bunny Stencil on card stock. Tip: I suggest printing on a piece of color card stock to stand out on the white card stock you’ll be painting on.
- Cut the stencil. You may choose to use the inside or outside shape for your painting (or paint two and use both). Tip: A cutting machine (Silhouette or Cricut) will make this step much easier.
- Place your Bunny Stencil on top of a piece of white card stock and use painter’s tape to tape the edges to a table. Tip: I had only taped the top and bottom, but the card stock underneath did slip around a bit, so I suggest taping all four edges. If you’re painting around the bunny template, double up the painter’s tape and tape it to the center of the white card stock. Tip: We used a plastic table that cleaned up easily. You may also want to place a plastic tablecloth or something under where the little ones will paint.
- Provide paper bowls, washable paint, and clothespins with cotton balls clipped in the ends for painting.
- Help little ones dot the paint. Likely they will free-style and paint their way … that’s okay! Tip: Let the little ones create their own masterpiece!
- Let the paint dry.
- Once dry, remove the stencil.
- Enjoy the artwork! You may choose to write their name and the date if you plan to keep the painted bunny as a keepsake.
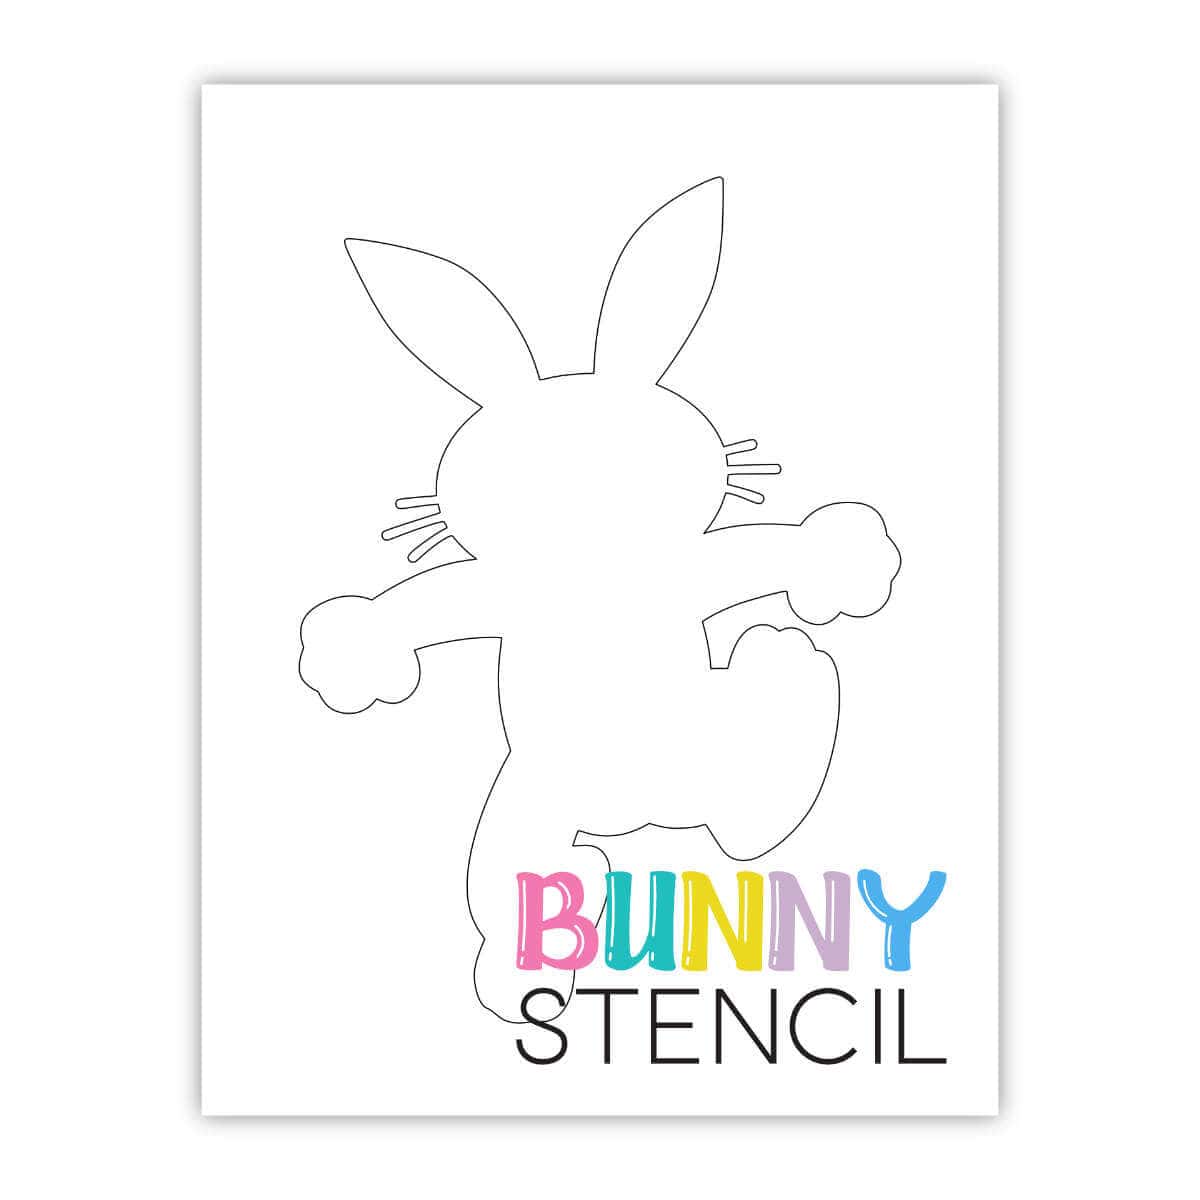
Get Your Bunny Stencil Here
The Bunny Stencil PDF comes with instructions and a stencil template.
This was a fun paint project for the nieces and nephews, and the older ones had fun mixing paint colors to come up with their own colors!
More Spring Craft Day Ideas
- Easter Bunny Footprint Craft – This is a fun way to make Easter keepsakes and little kids will be amused with getting their feet painted.
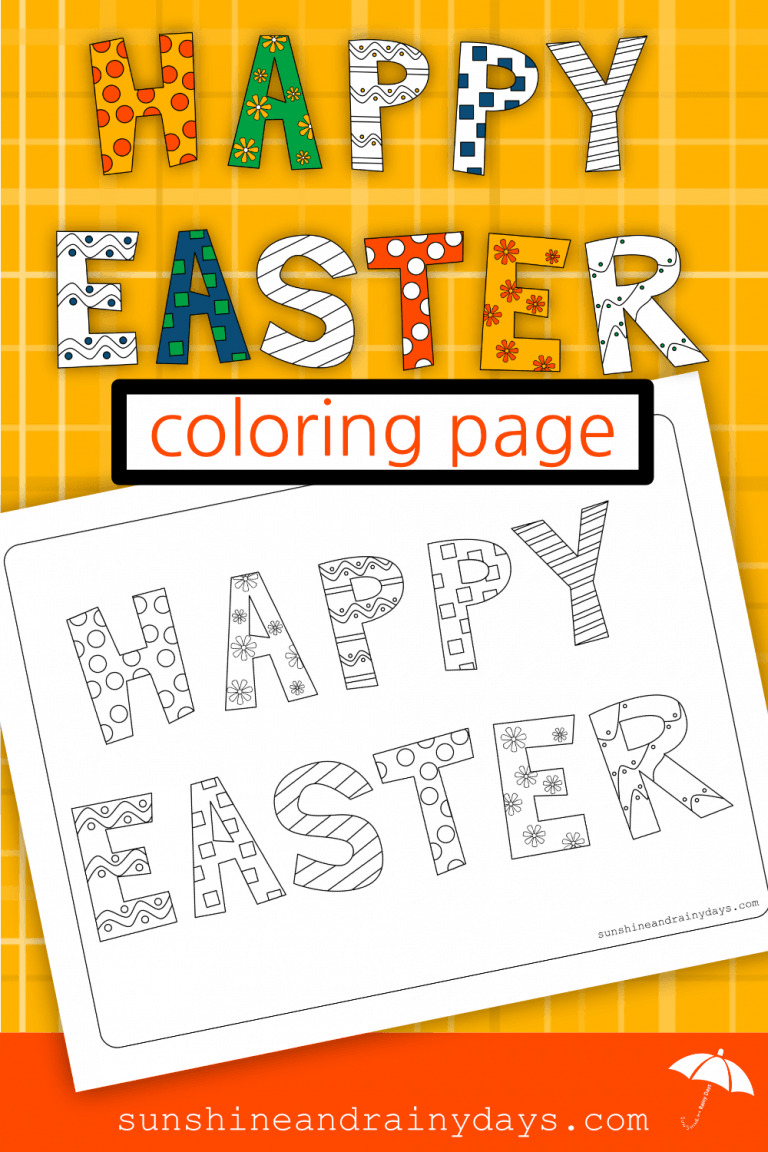
- Printable Easter Eggs Coloring Pages – Let your creativity soar with these coloring pages.
- DIY Mini Paper Easter Basket Template – This one is more for adults or older kids, but I helped my 4-year-old great-niece make one, and she loved it!
- Create Simple Watercolor Easter Egg Art with Stickers – This is a fun way for little ones to create using stickers!

Hi! I’m Bridget!
I create printables and DIYs to help you get organized and celebrate special occasions! It’s my mission to inspire you to get creative and find joy in every day!