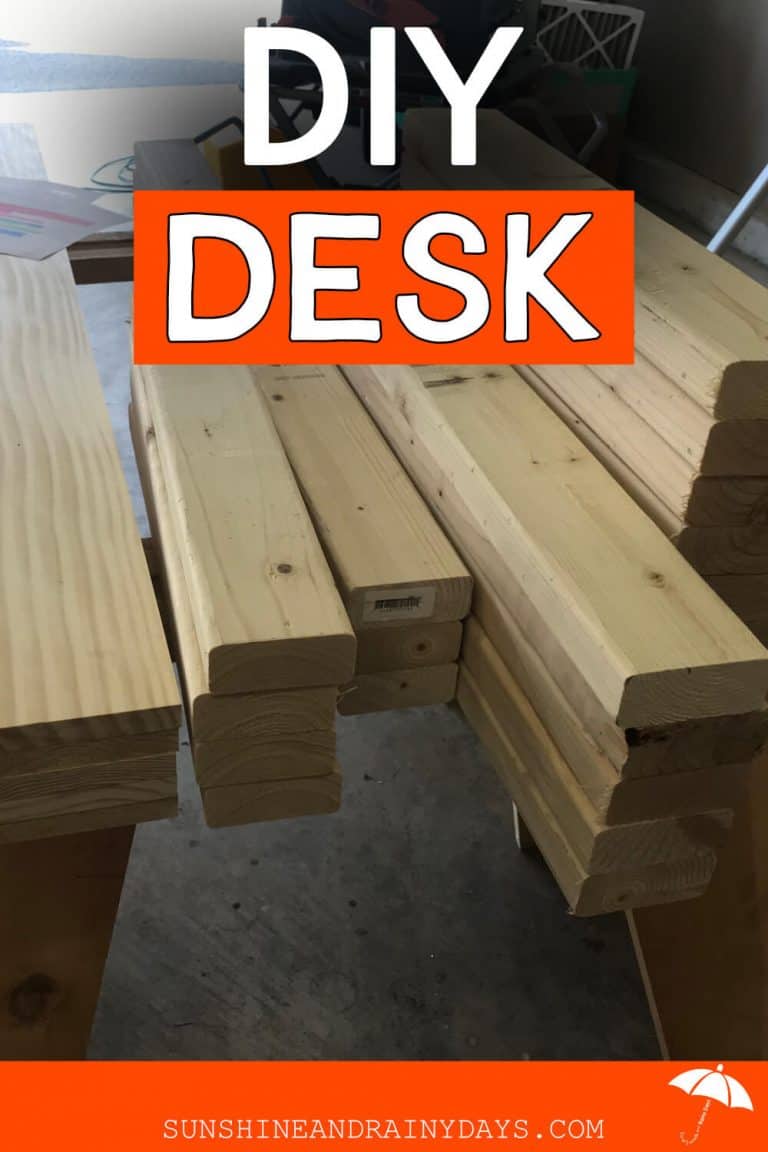
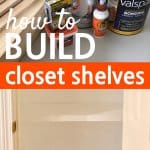
How To Build Closet Shelves
Recently, we went on an adventure to check out the latest Street of Dreams in Portland, Oregon. One thing I noticed about the homes we visited was the closet systems were custom made. A few homes had pre-made closet systems installed but most were custom and I loved them! I had to learn how to build closet shelves! After all, house projects are fun and rewarding!

Our new (to us) home has quite a bit of storage space. It even had a closet dedicated to wine complete with a wine rack that held 120 bottles of wine. We aren’t big wine drinkers so I set out to create a craft closet! Now THAT’s something I can get excited about!
We sold the wine rack on the Facebook marketplace for $40 and headed to the hardware store.
How To Build Closet Shelves
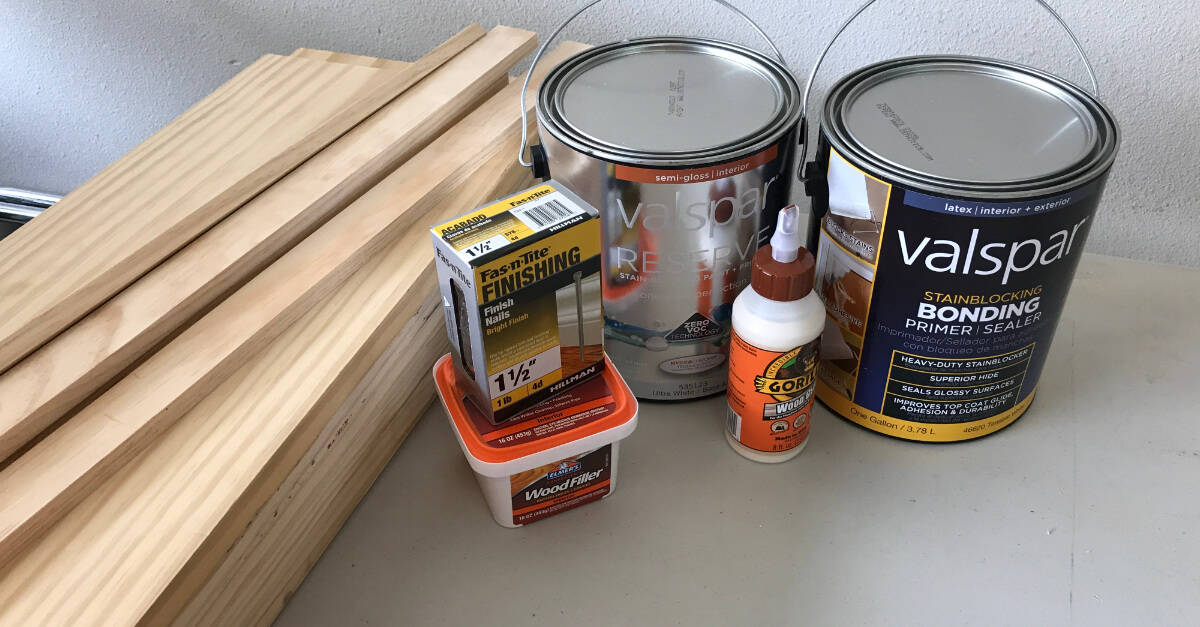
Materials Used To Build Closet Shelves
This post contains affiliate links. When you purchase through an affiliate link, we receive a small commission at no extra cost to you. Read our disclosure.
- 1″ x 12″ Select Pine – for shelving
- 1″ x 2″ Select Pine – to use as brackets
- 1/2″ x 2″ Select Pine – for facing
- Chop Saw
- Gorilla Wood Glue
- Carpenters Wood Filler
- Putty Knife
- Sander
- Sand Paper
- Valspar Stainblocking Bonding Primer/Sealer
- Valspar Reserve Ultra White Paint
- Paint Tray
- Foam Roller
- Roller
- Clamps
- Level
- Nail Gun
- Stud Finder
Steps To Build Closet Shelves
Cut Boards
Cut 1″ x 12″ select pine to desired length. Our closet is 32″ and, thankfully, the Lowe’s guy cut the shelf boards for me!
Using a Chop Saw, cut 1″ x 2″ select pine. For four shelves, I cut four 32″ pieces to place at the back of the closet and eight 11″ pieces for the sides. I also chose to cut an angle on the 11″ pieces for a finished look.
Cut 1/2″ x 2″ pine the same length as your shelves.
Fill Imperfections
No matter how long you stand in the store searching for a flawless board, you will have imperfections. This is a great time to fill them with wood filler.
Sand All Boards
With Select Pine, there wasn’t a lot of sanding to do but I gave it a once over anyway. I chose to use select pine so I would have less work to get a great, smooth finish.
Prime Each Board
It seems like this would be an easy step to skip but it is an important one. The gal at the paint desk explained that wood absorbs paint and we would need multiple layers without the primer.
Use a foam roller for a smooth finish.
If you’d rather stain your shelves, check out these closet shelves I built!
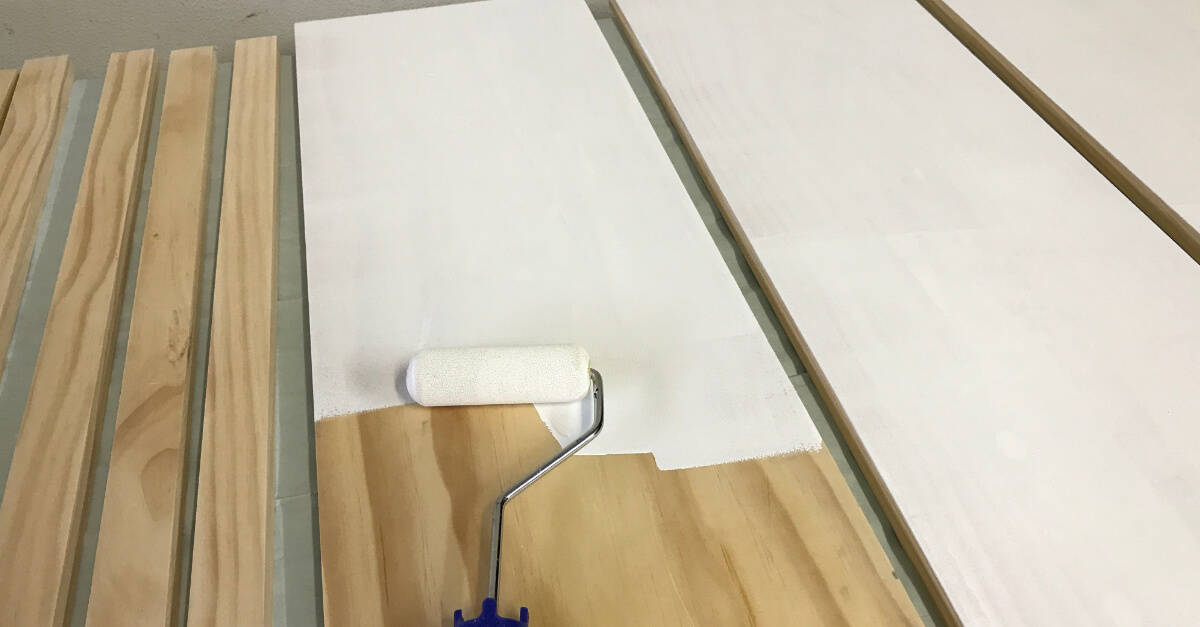
Paint Each Board
Use a foam roller to paint each board.
Paint Closet
While the paint is out, go ahead and paint the closet too! Painting everything the same color gives your closet a clean look.
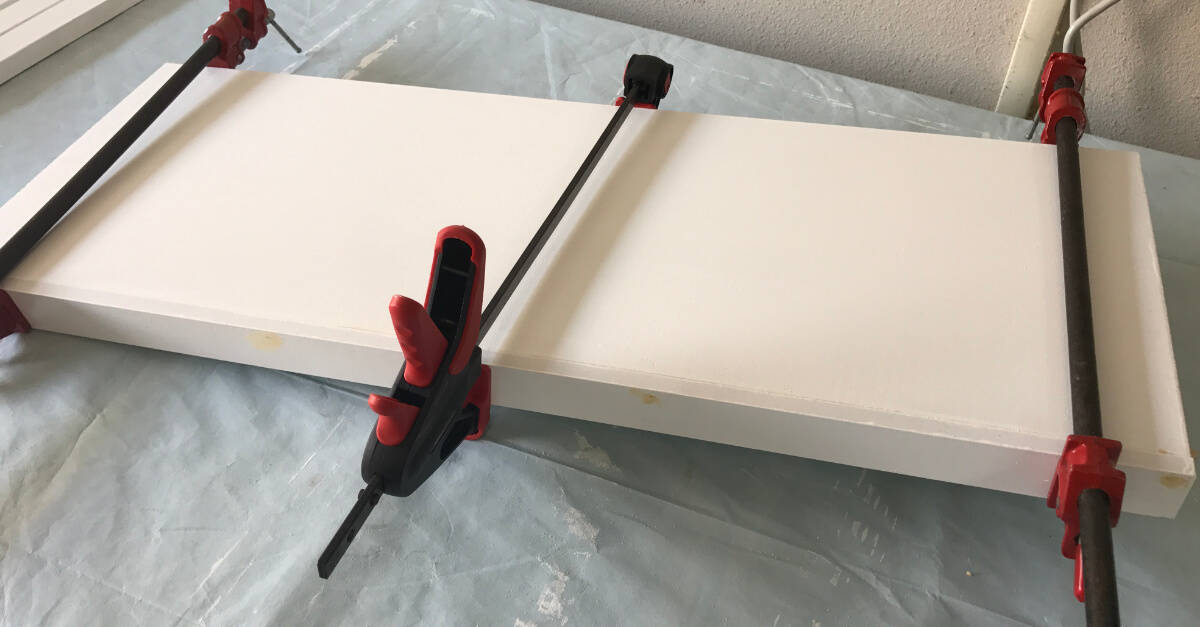
Glue Face Boards to Shelves
Place a bead of wood glue down the front edge of your shelf and spread with a putty knife. Place your Face Board on the edge of the shelf front and clamp. Use a paper towel to wipe off excess glue that seeps through.
This step is entirely optional. I love the chunky look a face board gives. Plus, all the Street of Dreams houses had them!
Nail Face Boards
Use a Nail Gun to secure the face boards in place.
Mark The Closet
Determine where you want shelves to be placed in the closet and make a mark.
Use a level to draw a straight line where the bottom of your shelf bracket will go.
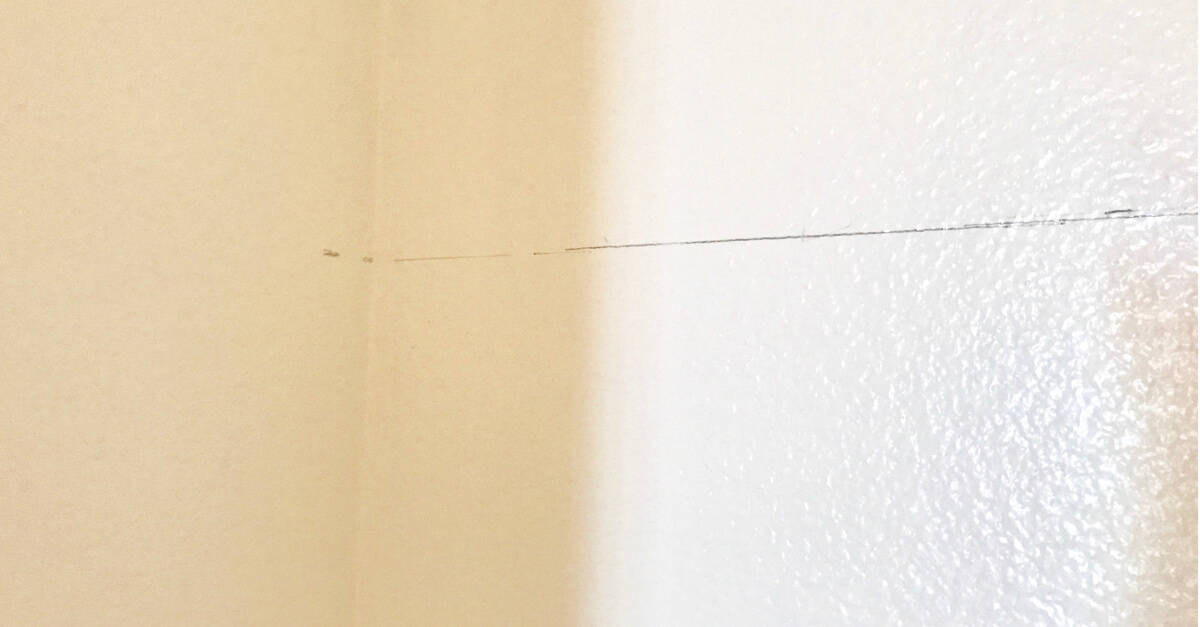
Draw a short line on each side of the closet as well. I used a laser level to do this.
Find Studs
Use a stud finder and mark below each line where the studs are.
Secure Brackets
Use a nail gun to secure brackets in place. Be sure to nail into studs.
Fill Holes
Fill nail gun holes on brackets and face boards with wood filler and lightly sand.
Paint
Paint the front of brackets and face boards with a final coat of paint to cover wood putty.
Let paint completely dry.
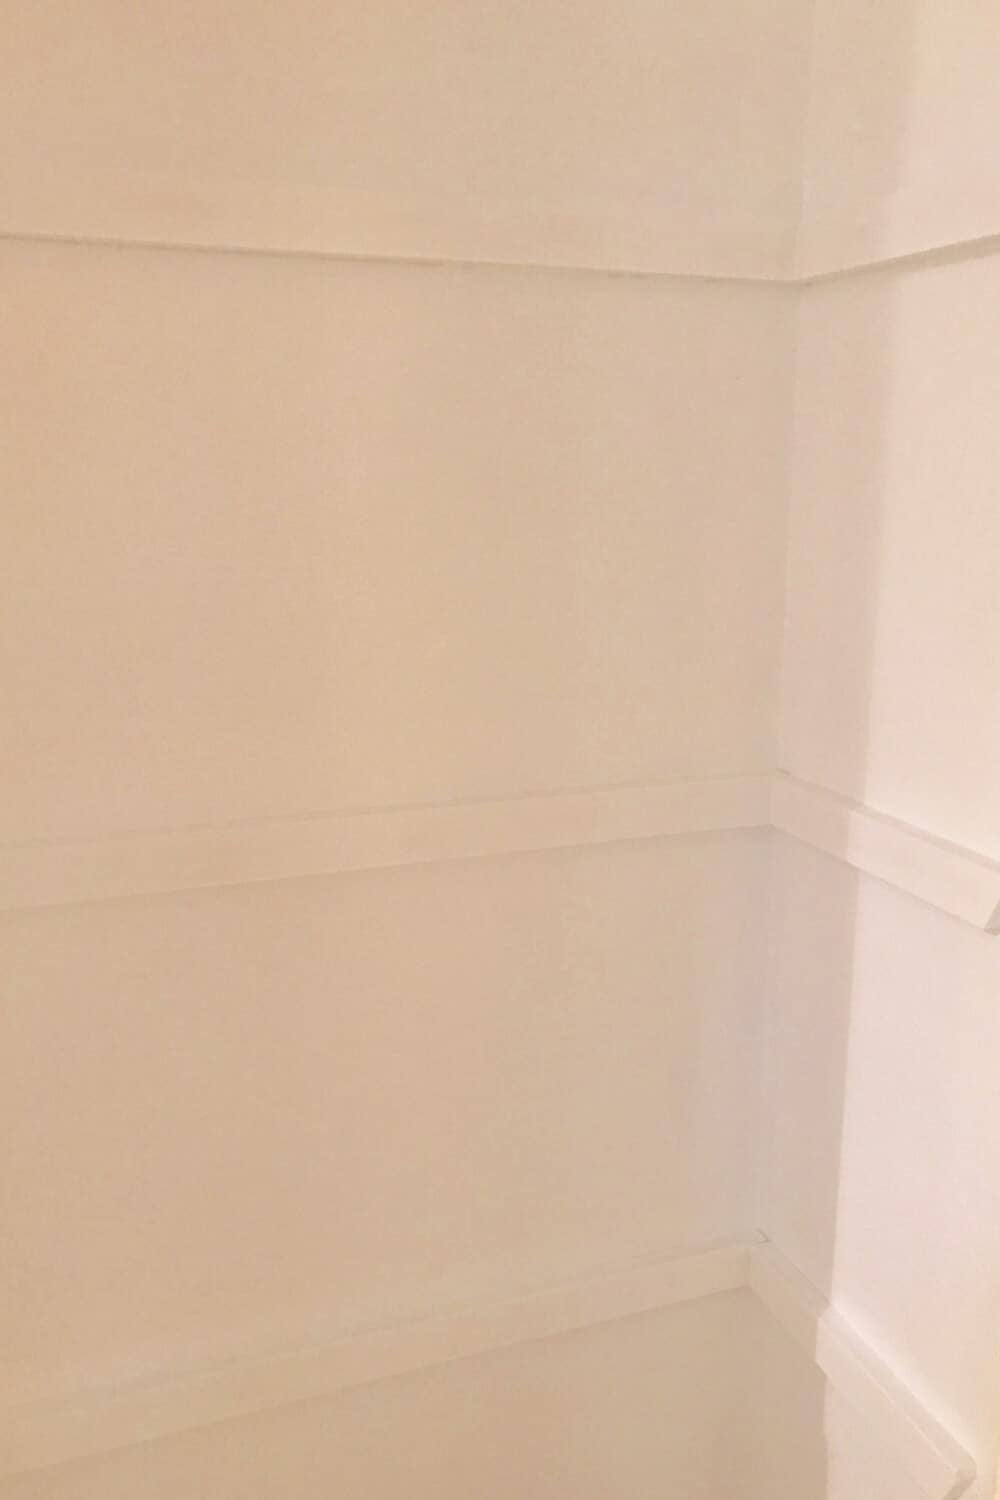
Install Shelves
Place shelves on brackets.
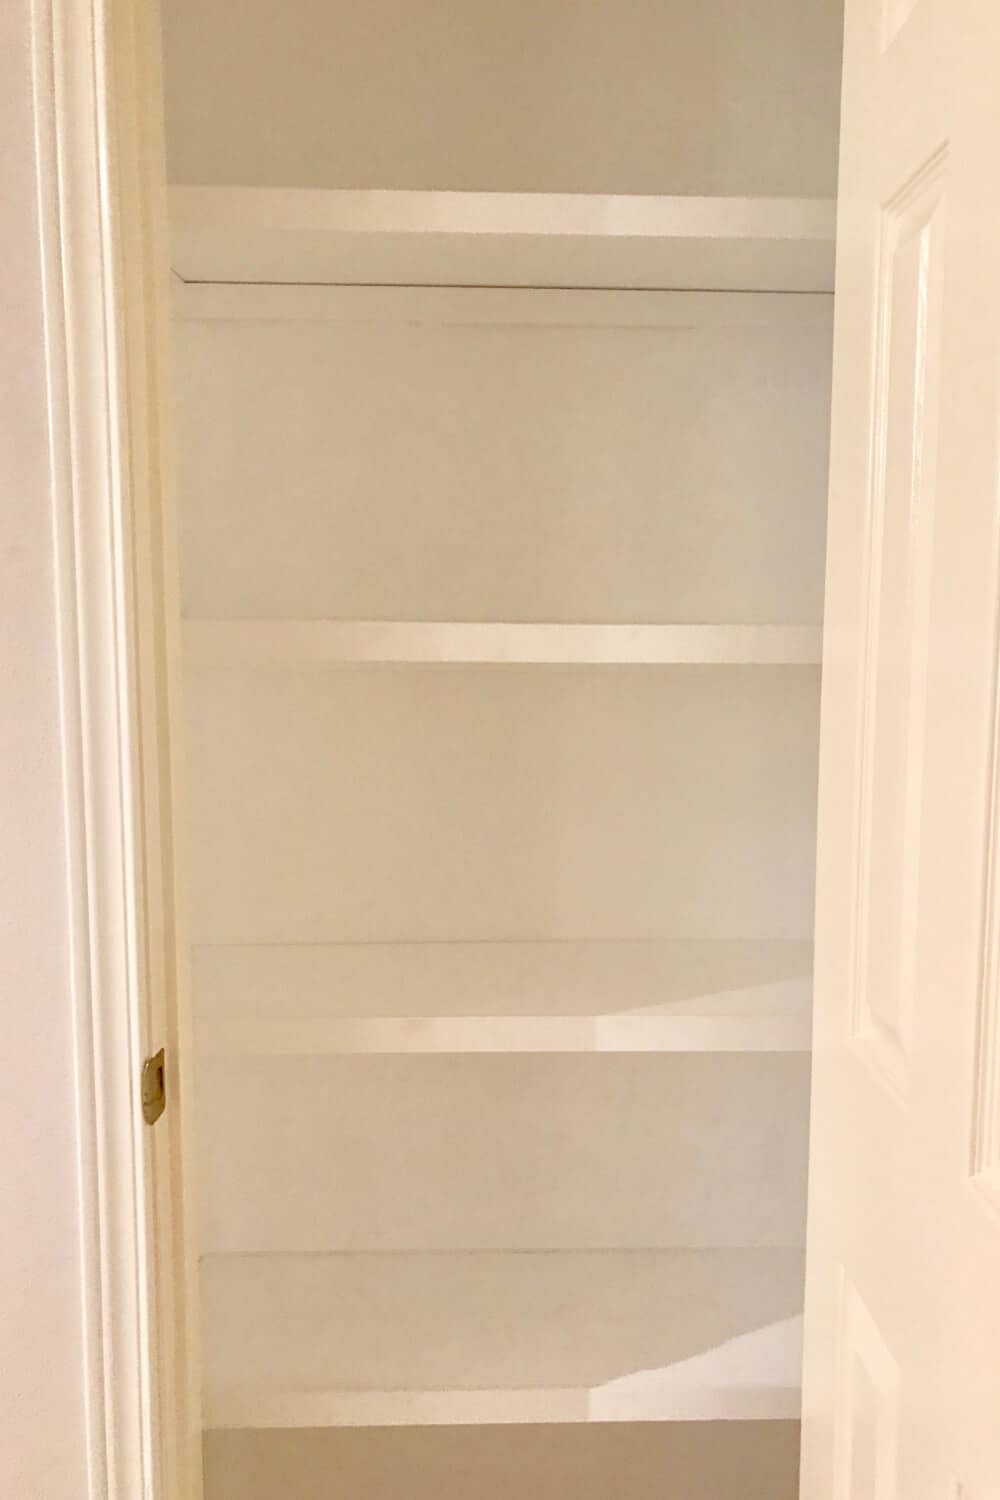
You’re done!
Give the paint a good week to dry before loading up the shelves.
We spent about $150 to complete this project. Thankfully, we were able to borrow power tools from my dad! Woot! Woot! Future closet projects will not cost as much because we still have plenty of primer, paint, wood glue, and wood filler to use.
I’m so happy with the way this closet turned out! No more wine closet here!
I can’t wait to organize this closet space with my craft supplies!